Main tutorial
```markdown
Mid-Track Fake Drop Design From Scratch (Session View) — Drum & Bass in Ableton Live 🎛️🔥
1. Lesson overview
A mid-track fake drop is that moment where the track pretends to drop—energy spikes, the crowd braces… and then you swerve: cut the drums, flip the groove, or hit a tension loop before the real drop lands even harder.
In this lesson you’ll design a DnB fake drop entirely in Session View, using clips and follow actions to quickly audition variations, then commit the best take into Arrangement.
You’ll learn:
- How to build a fake-drop scene system (build → bait → fake → real)
- How to use clip envelopes for fast automation (filter, reverb, pitch)
- How to create impactful silence without losing momentum
- How to capture it cleanly into Arrangement 🎚️
- A pre-fake build (riser + drum tease)
- A “bait” moment that feels like the real drop
- The fake drop (sub-only / vocal chop / halftime switch / reverb tail)
- A hard re-entry into your main 2-step / rolling groove
- Rolling minimal DnB
- Neuro-ish heavier DnB
- Jungle/amen-driven material
- Use your main 2-step or break-driven pattern.
- If using Drum Rack:
- Drum Buss
- Glue Compressor
- EQ Eight
- Keep SUB clean and consistent.
- SUB: sine or triangle, mono, no reverb.
- On SUB track:
- In Scene B, remove the snare on 2 and 4 for the last bar or two.
- Replace with:
- Mode: LP24
- Starting cutoff: `8–12 kHz` → automate down to `300–800 Hz` near the transition
- Resonance: `10–25%` (don’t whistle)
- Open the DRUM clip → Envelopes
- Choose Mixer → Track Volume or Auto Filter → Frequency
- Draw a ramp down in the final 1 bar
- Create a MIDI clip with Operator
- Automate filter cutoff rising over 4–8 bars.
- Decay: `3–6 s`
- Pre-delay: `10–25 ms`
- High cut: `6–10 kHz` (keeps it dark)
- Dry/Wet: `15–35%`
- Keep top drums (hats/crashes) and a fake snare, but remove kick + sub.
- Add a big impact and a short bass stab (mid-only).
- DRUMS clip: delete kick hits for 1 bar.
- SUB track: stop clip (empty slot) or reduce clip gain to -inf.
- BASS: use a “statement” stab (e.g., resampled mid growl).
- Put a crash on beat 1, but choke it quickly:
- Make the drums feel like they’re switching to halftime.
- Keep a snare on beat 3 only for 1 bar.
- Great for heavier DnB and neuro moments.
- DRUMS: mute entirely for 1–2 beats, then bring a tiny hat tick back.
- SUB: play a long sustained note (root note) at low velocity.
- VOX/CHOPS: one-shot phrase, chopped, drenched.
- EQ Eight: HP at `150–250 Hz`
- Reverb: Decay `4–8 s`, Dry/Wet `25–45%`
- Delay (Echo or Simple Delay):
- Auto Filter after reverb/delay:
- Take a break slice (Amen, Think, etc.) and loop a 1/8 or 1/16 fragment.
- Automate filter + pitch down slightly.
- Duplicate your break clip.
- Turn on Loop, set loop length `1/8` for the last beat.
- Use clip Transpose: `-2 to -5 semitones` (taste).
- Add Redux (very subtle) for grit:
- Keep a distorted reese tail playing, but remove transient impact.
- Make a micro “void” of 1/4–1/2 beat where almost nothing hits.
- Auto Filter LP12
- Saturator
- Utility
- Drum Buss transient boost by automating Drive slightly up on bar 1.
- Or automate Utility gain +0.5 to +1 dB on the drum group for bar 1 only.
- Launch Build
- Hit Bait once
- Ableton auto-advances into Fake Drop
- You manually launch Real Drop when it feels right 🎯
- Fake drop is too long: In DnB, fake drops usually hit hardest at 1/2 bar to 2 bars. Longer can kill dancefloor momentum.
- No “bait” cue: If you don’t promise the drop (crash/snare/impact), the fake won’t land as a joke/twist.
- Sub disappears with no replacement: If you remove sub, give them something—vocal hook, reverb tail, stutter loop, or noise lift.
- Reverb tail mud: Huge tails are great, but HP filter your reverb returns (`200–400 Hz`) so the real drop is clean.
- Kick/snare timing gets sloppy: When you re-enter, make sure transient starts are tight and not late due to clip start offsets.
- Use a “void hit”: 1/4 beat of near-silence right before the real drop. It feels violent when drums return.
- Pitch dive the bait: Transpose the bait stab down `-2 to -7 semitones` over 1 beat (clip envelope) for a neuro-style “fall.”
- Make the fake drop mono and narrow:
- Distorted reverb return: Put Saturator after Reverb on your return track (Drive `2–6 dB`) for gritty tails.
- Gate your noise: Use Gate on the FX/noise channel keyed from hats to create rhythmic tension without full drums.
- You built a mid-track fake drop using Session View scenes as a performance and idea-generation system.
- The essential recipe is: Build tension → Promise the drop (bait) → Swerve (fake) → Slam back (real).
- Clip envelopes + stock devices (Auto Filter, Reverb, Echo, Utility, Drum Buss, Glue Compressor) are enough to make it sound pro.
- Record your best performance into Arrangement and refine the micro-timing.
---
2. What you will build
A 16–32 bar mid-track section that includes:
It’ll be adaptable for:
---
3. Step-by-step walkthrough
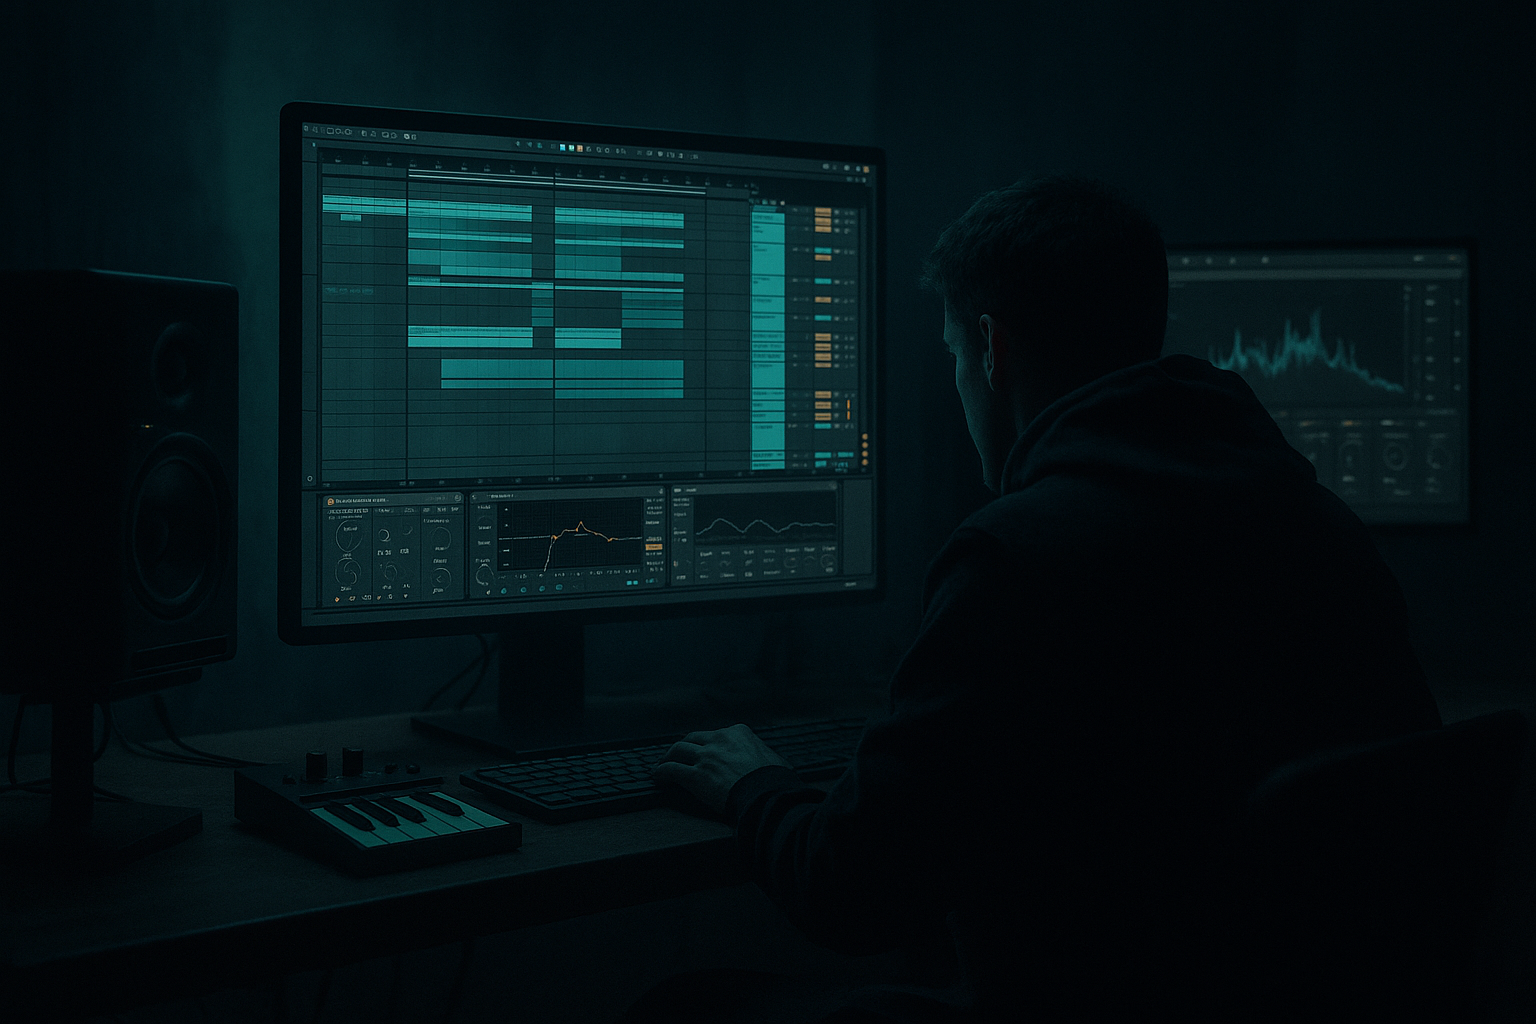
A) Session View setup: your fake-drop “performance rig”
1. Set tempo: `172–176 BPM` (classic modern DnB).
2. Create these tracks (names matter for speed):
- DRUMS (Drum Rack or audio loops)
- BASS (your main bass group)
- SUB (separate clean sine/sub layer)
- MUSIC/ATMOS (pads, reese layer, drones)
- FX (risers, impacts, downlifters, noise)
- VOX/CHOPS (optional, but great for bait moments)
3. Create Scenes (rows) and name them like this:
- `A - Groove (Main)`
- `B - Build (Tension)`
- `C - Bait (Fake Drop Cue)`
- `D - Fake Drop (Swerve)`
- `E - Real Drop (Back In)`
✅ Workflow tip: Color-code scenes:
Build = orange, Fake = red, Real = green.
---
B) Build your baseline groove clips (Scene A)
You need a solid “truth” so the fake drop has something to contrast.
DRUMS (Scene A)
- Kick on 1
- Snare on 2 and 4 (in DnB phrasing)
- Hats shuffled 1/16 with swing
Quick stock processing chain (DRUMS):
- Drive: `5–15%` (taste)
- Boom: `0–20%` (watch sub)
- Damp: `10–30%`
- Attack: `3 ms`
- Release: `Auto`
- Ratio: `2:1`
- GR: aim `1–3 dB`
- Roll sub junk under `25–30 Hz` (unless you really need it)
BASS + SUB (Scene A)
- EQ Eight: cut everything above ~`120–200 Hz` if needed
- Compressor (sidechain from DRUMS kick/snare group)
- Ratio `4:1`, fast attack, medium release—aim subtle movement
---
C) Create the “Build” scene (Scene B): tension without giving it away 😈
Duplicate Scene A clips into Scene B, then modify.
#### 1) DRUM tease (remove the obvious anchors)
- snare rolls, rim ticks, or ghost notes
- a break slice loop filtered down
Stock device move (DRUMS): Auto Filter
Clip Envelope method (fastest in Session View):
#### 2) FX riser + noise lift
On FX track, add an Audio clip of noise/riser—or synth one quickly:
- Osc: Noise
- Filter: LP
Add Reverb (FX):
---
D) Build the “Bait” scene (Scene C): make them believe it’s dropping ✅
Scene C should feel like the drop hits—for half a second.
#### Option 1: “Drop hit” with missing weight
How:
Add a crash that lies 🎯
- Clip gain envelope down after 1/8–1/4 note.
#### Option 2: “Half-time bait”
---
E) The Fake Drop scene (Scene D): the swerve moment 🌀
This is where you create the illusion: space + tension loop + vocal/FX hook.
Choose one of these classic DnB fake-drop designs:
#### Design 1: Sub-only + vocal chop + huge tail (minimal roller style)
VOX chain (stock):
- 1/4 or dotted 1/8
- Feedback `20–35%`
- automate cutoff down to make it “sink”
Key trick:
In the Fake Drop scene, increase reverb send dramatically for 1 bar, then hard cut it right before the real drop (next step).
#### Design 2: Stutter loop + filter choke (jungle-friendly)
How in Session View:
- Downsample: small amount
- Bit reduction: cautious—too much kills punch
#### Design 3: Reece wash + silence pocket (dark/heavy)
Stock chain (BASS group) for the fake moment:
- Drive `3–8 dB`, Soft Clip ON
- Width: reduce to `0–30%` (tightens menace)
- Gain: automate down for the silence pocket
---
F) The “Real Drop” scene (Scene E): snap back like a guillotine ⚔️
Scene E is your normal groove again—BUT with one extra “welcome back” punch.
Real drop enhancements (choose 2–3):
1. Re-intro fill: a single snare flam or tom fill in the last 1/2 bar of Scene D.
2. Sub reset: ensure SUB note starts exactly on beat 1, clean attack.
3. Impact layering: impact + sub drop (very short) on beat 1.
4. Drum emphasis: add an extra ride or crash only on the first bar back.
Master or Drum bus quick emphasis:
---
G) Make it performable: Follow Actions & Launch settings (Session View power move) 🎬
To audition fake drop variations quickly:
1. For your Scene B clips (Build):
- Clip Launch Mode: Trigger
- Quantization: 1 Bar
2. For Scene C (Bait) and Scene D (Fake):
- Set Clip Lengths to 1 bar each (or even 1/2 bar for bait)
3. Use Follow Actions on the Scene C clips:
- Follow Action Time: `1 bar`
- Action: Next
- This automatically jumps from Bait → Fake when you trigger Bait.
Now you can:
---
H) Record into Arrangement cleanly
1. Press Global Record (top transport).
2. Trigger scenes in real time: A → B → C → D → E.
3. Stop.
4. Go to Arrangement View and refine:
- tighten clip edges
- add tiny fades
- reinforce the real drop with a micro-fill
---
4. Common mistakes
---
5. Pro tips for darker/heavier DnB 🖤
Put Utility on MUSIC/ATMOS and set Width `0–50%` during fake—then open back up on the real drop.
---
6. Mini practice exercise (15–20 minutes) ⏱️
1. Create 5 scenes: Groove / Build / Bait / Fake / Real.
2. Make two fake-drop versions:
- Version A: Sub-only + vocal
- Version B: Stutter loop + filter choke
3. Use Follow Actions so Bait auto-advances into Fake.
4. Record a performance into Arrangement twice, choosing a different timing for when you trigger the real drop.
5. Pick the best take and commit.
Success criteria:
When you listen back, you should physically feel the moment where you expected the drop, got tricked, then got rewarded.
---
7. Recap
If you tell me your sub style (clean sine vs distorted) and drum vibe (roller vs jungle), I can suggest a specific fake-drop design that fits your sound palette.
```

