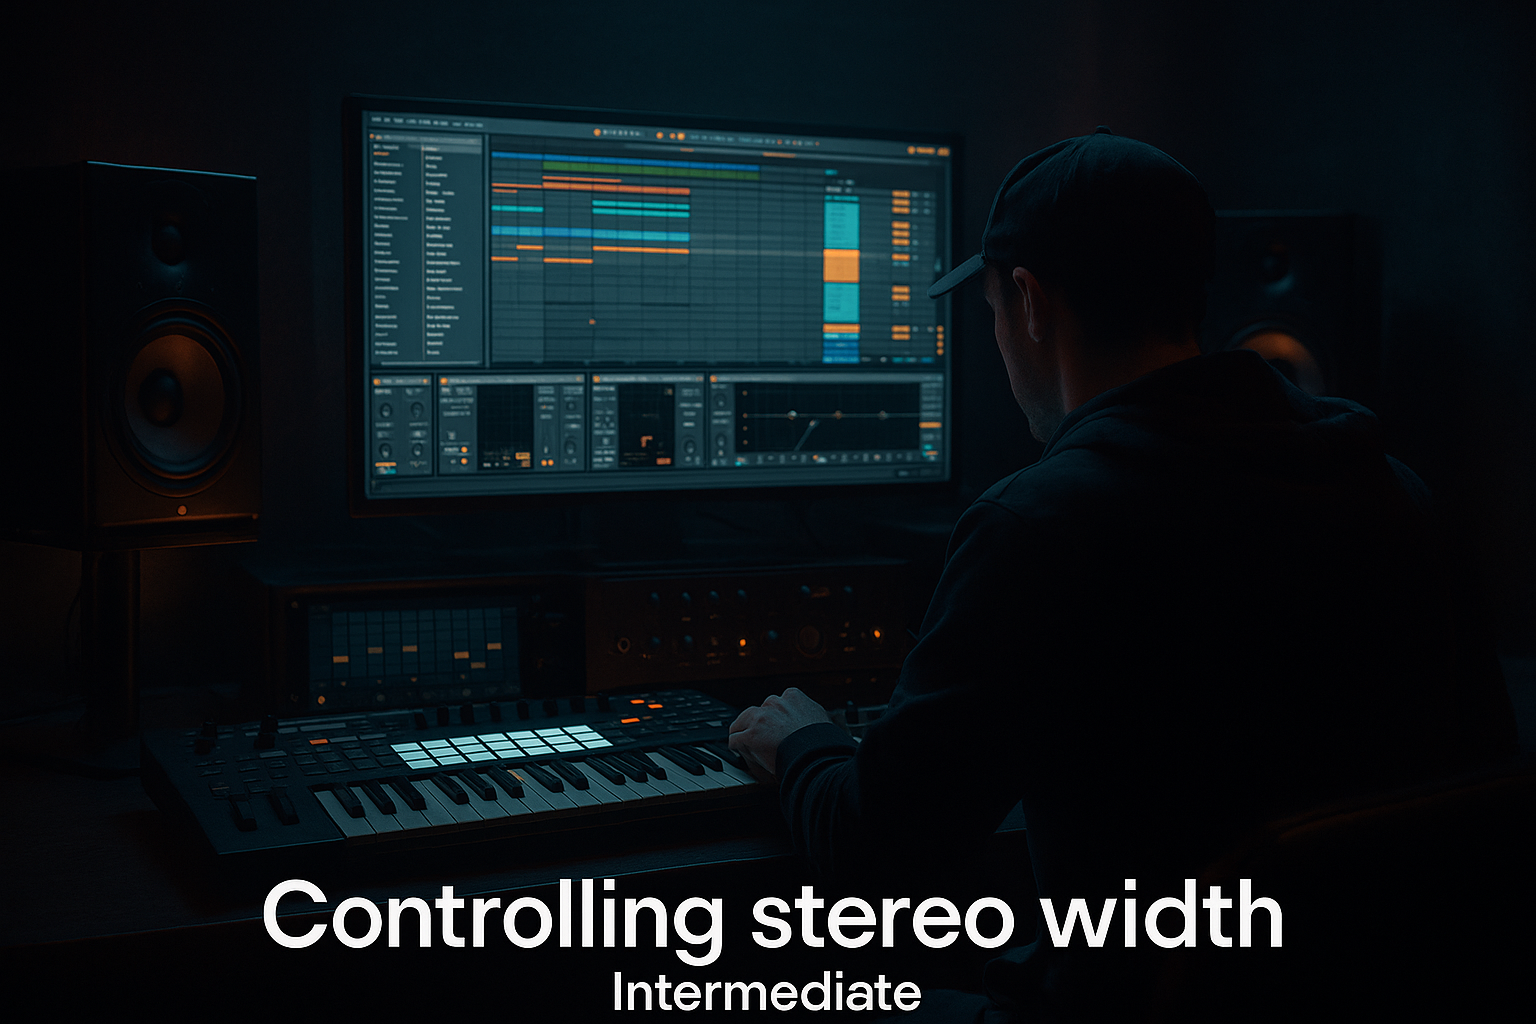
Main tutorial
Lesson Overview
In this lesson, you’ll build a Midnight Amen-style jungle arp that feels like it was lifted from a dusty midnight record bin: chopped, saturated, slightly unstable, and full of vinyl character. The sound sits in that sweet spot between classic amen-era jungle energy and modern dark DnB tension, making it useful for intros, tension bars before a drop, breakdowns, and switch-up sections.
This technique matters because DnB often needs movement without clutter. A simple arp can fill space, create momentum, and hint at melody while leaving room for the kick, snare, sub, and breakbeat to hit hard. When you add vinyl-style chopping, saturation, and filtering, the arp stops sounding clean or generic and starts sounding like part of a real underground record.
We’ll keep this beginner-friendly and build everything in Ableton Live 12 using stock devices. You’ll learn how to:
- make a rhythmic arp line
- chop it like a sample
- give it grit and age
- place it in a DnB arrangement
- keep the low end clean so it doesn’t fight the bass or break
- a minor-key synth phrase or vocal slice
- chopped into short, rhythmic stabs
- filtered and saturated for a worn vinyl feel
- slightly pitched and time-shifted for human movement
- suitable for looping over an amen break or roller drum groove
- ready to automate into a build, breakdown, or pre-drop tension section
- Simpler or Sampler-style sample playback
- Arpeggiator
- Auto Filter
- Saturator
- Redux for bit-crushed age if needed
- Delay and Reverb for space
- optional Drum Rack style chopping if you want to trigger slices manually
- Making the arp too bright
- Leaving too much low end in the arp
- Using too much reverb
- Over-chopping until the rhythm stops flowing
- Saturating so hard that the sound gets harsh
- Ignoring the breakbeat
- Layer a quiet sub-safe bass note under the arp phrase only if needed
- Use call-and-response
- Automate filter cutoff on the last half of a phrase
- Try subtle pitch drift
- Use return tracks for atmosphere
- Make one slice slightly late
- Reference real DnB structure
- keep it rhythmic and short
- use filtering and saturation for character
- protect the sub and drum transients
- arrange it in phrases, not just loops
- resample when you want the most authentic jungle feel
Why this works in DnB: the genre loves contrast. A tight, gritty arp against a sub-heavy drop creates tension. The ear hears the arp as energy and texture, while the drums and bass do the heavy lifting. That’s the foundation of a lot of jungle, rollers, neuro-inspired dark DnB, and amen-led arrangements.
What You Will Build
By the end, you’ll have a 2-bar jungle arp loop that sounds like:
Musically, think of it as a call-and-response layer: the arp plays a short phrase, then leaves space for drums and bass to breathe. It should feel like an old record sampled, re-edited, and pushed through a modern DnB mix.
You’ll learn a practical workflow using:
Step-by-Step Walkthrough
1. Choose a source with vocal or tonal character
Start with a short source that already has personality. For this lesson, the easiest options are:
- a single vocal chop
- a sustained vocal “ahh” or “ohh”
- a one-note synth phrase
- a short sampled stab from your own library
For a “Midnight Amen” feel, choose something minor and moody. If you use a vocal, pick a phrase or syllable with a clear tone, like “night,” “time,” “go,” or a breathy “ah.” The goal is not a full vocal lead — it’s a texture source that can become musical.
Drag the sample into an audio track. Then:
- turn on Warp
- set Warp mode to Complex Pro for vocals, or Beats if it is a more percussive stab
- trim the sample so you only keep the useful part
- if needed, transpose it down -2 to -5 semitones for a darker vibe
Beginner tip: if your sample is too clean, that’s okay — we’ll age it later.
2. Turn the sample into a playable instrument
Drag the sample into Simpler on a MIDI track. Set Simpler to Classic mode if you want more natural sample behavior, or keep it in One-Shot if the source is already short and punchy.
Suggested settings:
- Start: around 0–10% to cut off dead air
- Voices: 1 for a tight chopped feel
- Glide: off for now
- Filter: low-pass around 6–10 kHz if the sample is bright
- Amp envelope release: short, around 50–150 ms
Why this matters: DnB arrangements often need fast, controlled sounds. A short vocal or synth chop in Simpler lets you “play” the source like an instrument instead of leaving it as a static audio file.
If you want a more chopped-vinyl personality, reduce the sample length slightly and use tiny bits of the phrase. In jungle, short fragments often sound more authentic than long clean melodies.
3. Build the arp rhythm with MIDI
Create a 2-bar MIDI clip and place one repeated note, like C2, D#2, or G2 depending on your source and key. If the source is a vocal, you can often use one note and let the sample’s tone do the work.
Add Arpeggiator before Simpler in the MIDI effect chain:
- Rate: 1/16 or 1/32 for faster jungle motion
- Style: Up, Down, or Converge if you want a tight pattern
- Gate: 35–65% for chopped spacing
- Distance: 1–3 octaves if you want a wider rhythmic sweep
- Steps: 8 or 16 for beginner-friendly movement
Now make the MIDI clip more interesting by adding rests:
- leave gaps on beats 2 and 4 to make room for the snare
- use shorter note lengths for a more chopped feel
- shift a few notes slightly off-grid if you want a human, broken-vinyl vibe
Musical context example: if your track has a classic amen break at 174 BPM, place the arp in the gaps between snare hits. That way the arp adds energy without masking the break’s transients.
4. Shape the chop so it feels like old vinyl
Add Auto Filter after Simpler. This is where the sound starts to feel like a sampled record instead of a sterile MIDI patch.
Try these starting points:
- Filter type: Low-Pass 12 or Low-Pass 24
- Cutoff: around 300 Hz to 2.5 kHz depending on how bright you want it
- Resonance: small amount, around 5–20%
- Drive: if available in the filter, use a little for extra edge
Automate the cutoff across 2 or 4 bars:
- start slightly closed during the intro or tension section
- open it gradually before the drop
- close it again for a darker switch-up
For a chopped-vinyl feel, automate quick little filter dips on selected notes rather than one smooth sweep only. This makes the arp feel like it is being manually sampled and re-triggered.
Why this works in DnB: filter movement creates forward motion without adding more notes. That’s perfect in DnB, where groove and energy are often more important than dense harmony.
5. Add saturation to make it sound aged and aggressive
Drop in Saturator after the filter. This is a key part of the “Midnight Amen” character because it gives the arp thickness, grit, and a slightly overloaded tape/record feel.
Good starting settings:
- Drive: 2 to 6 dB
- Soft Clip: On
- Curve Type: Analog Clip or Soft Sine if you want smoother heat
- Output: lower it so the level stays controlled
If the sound gets too sharp, pull back the filter cutoff a bit. If it gets too flat, raise the drive slightly and bring back some high end with the filter.
Beginner rule: don’t chase loudness here. You want texture, not distortion that crushes the groove.
If your arp is a vocal chop, saturation helps the syllables sit like an instrument instead of sounding like a dry sample. This is especially effective in darker DnB, where vocal fragments are often treated like rhythmic percussion.
6. Add vinyl-style instability and age
This is where the “chopped-vinyl character” really comes alive. Use very small doses of motion and degradation:
- Add Redux for subtle bit reduction
- Downsample: gentle amount, not extreme
- Bits: keep it mild; too much gets harsh fast
- Add Auto Pan for movement
- set Rate very slow, or use a synced rhythmic setting if you want pulse
- keep Phase lower if you want the motion to stay focused
- Add a touch of Vinyl Distortion only if you want an obvious old-record flavor, but use it lightly
If you prefer a cleaner route, skip heavy degradation and instead use:
- tiny pitch changes in the clip
- small velocity variations
- slight timing offsets on select notes
A useful trick: duplicate the arp track, then detune the second one by +5 to +9 cents and keep it very quiet. This adds a subtle chorus-like wobble that can feel dusty and wide without sounding obvious.
7. Make it fit the DnB low-end and breakbeat
In DnB, the arp is a support element. It should not interfere with:
- the kick
- the snare
- the sub
- the main bass movement
Do this:
- High-pass the arp around 120–250 Hz using Auto Filter or EQ Eight
- If the sound is muddy, cut a little around 200–400 Hz
- Keep the arp in mono or near-mono if the arrangement is busy
- Check levels so it sits behind the drums and bass
If you are using an amen break, try placing the arp in the off-beat spaces or during the tail of the snare. The arp should support the rhythm, not clutter the transient hits.
For basslines in rollers or darker half-step sections, use the arp as a response layer. Let the bass answer the arp phrase, or let the arp fade out when the bass hits harder.
8. Add space with delay and reverb, but keep it controlled
Add Echo or Delay for movement, then keep it short and dark:
- Delay time: 1/8, 1/8D, or 1/16 depending on groove
- Feedback: low to moderate, around 10–30%
- Filter: roll off highs so the repeats don’t hiss too much
- Dry/Wet: keep it subtle
Add Reverb if the arp needs atmosphere:
- Decay: short to medium
- Pre-delay: around 10–25 ms
- Low cut: raise it so the reverb doesn’t cloud the low mids
- Dry/Wet: low, usually 5–15%
For a more authentic jungle feel, send the arp to a return track instead of putting reverb directly on the channel. That keeps the dry attack focused and gives you better mix control.
Pro arrangement move: automate the delay send higher in the last 1–2 beats before a drop, then cut it suddenly. That creates tension without washing out the break.
9. Chop the phrase into an arrangement-friendly loop
Now turn the loop into a proper DnB section:
- duplicate the 2-bar arp for 8 or 16 bars
- mute it during the first bar of the drop if you want the drums to hit clean
- bring it back in on bar 3 or bar 5 as a development layer
- remove a few notes in the second 8 bars to create variation
A simple jungle arrangement idea:
- Bars 1–8: filtered arp and break intro
- Bars 9–16: add sub and heavier drums
- Bars 17–24: arp opens up and gets more saturated
- Bars 25–32: drop the arp out briefly for a drum/bass switch-up
Keep it DJ-friendly by leaving room at the intro and outro. Even a gritty arp works better when the arrangement has breathing space.
10. Resample if you want more authentic chopped-vinyl character
Once you have a working version, render the arp to audio. In Ableton, you can:
- solo the track
- record it onto a new audio track
- or freeze and flatten if you are ready
Then cut the audio clip into smaller slices:
- chop on transients or word starts
- reverse one slice occasionally
- shift a slice slightly early or late
- shorten one repeat to create a stumble
This is a classic jungle workflow: once a sound is resampled, it becomes less “plugin clean” and more like a real edited break-era record element.
If you are using vocals, resampling is especially useful because you can treat syllables like drum hits. That makes the arp feel integrated with the breakbeat instead of floating above it.
Common Mistakes
- Fix: lower the filter cutoff, reduce high end with EQ Eight, or soften with Saturator drive instead of adding treble.
- Fix: high-pass around 120–250 Hz so it doesn’t fight the sub and kick.
- Fix: shorten decay, reduce dry/wet, or move reverb to a send so you can control it better.
- Fix: keep a core repeating pattern and only vary 1–2 notes or slices per bar.
- Fix: back off the drive, use Soft Clip, and check the output level.
- Fix: place the arp around the snare and ghost-note space, not on top of every drum transient.
Pro Tips for Darker / Heavier DnB
- Keep it mono and low, or skip it if the mix is already full.
- Let the arp answer the bass, or let the bass answer the arp. This is huge in rollers and darker halftime sections.
- Open slightly into bar 2, then snap it shut again. That creates urgency.
- Detune the sample or automate clip transpose by a semitone for a bar in the breakdown. Small changes can feel very “old record.”
- Keep delay/reverb on sends so you can pull them out fast before the drop.
- A tiny late chop can create that human, broken-vinyl feel without sounding sloppy.
- In many underground tunes, the arp appears in the intro, tension bars, or mid-drop switch-up, not constantly from start to finish.
Mini Practice Exercise
Spend 10–20 minutes building a quick Midnight Amen arp loop:
1. Pick a 1–2 second vocal chop or tonal sample.
2. Put it into Simpler and create a 2-bar MIDI clip.
3. Add Arpeggiator at 1/16 or 1/32.
4. Add Auto Filter and Saturator.
5. High-pass the sound so it stays out of the sub range.
6. Automate the filter across the 2 bars.
7. Add a small delay send.
8. Duplicate the loop for 8 bars and remove a few notes in the final 2 bars.
9. Resample one pass and cut it into 2–4 small audio slices.
10. Listen in context with an amen break and a sub bass.
Goal: make it feel like a dark jungle support layer that could sit behind a drop, not like a shiny lead sound.
Recap
The core idea is simple: take a vocal or tonal sample, turn it into a short arp, then give it chop, saturation, filtering, and controlled space so it feels like a worn vinyl fragment in a DnB tune.
Remember the essentials:
If it sounds like a dusty midnight sample that drives the groove without crowding the mix, you’ve nailed the vibe.

