Main tutorial
Midnight Amen: Ragga Cut Modulate Using Macro Controls (Ableton Live 12) 🌙🔥
Skill level: Beginner
Category: DJ Tools (DnB/Jungle performance tools inside Live)
---
1. Lesson overview
In this lesson you’ll build a performance-ready “Midnight Amen” ragga-cut tool in Ableton Live 12—a rack that lets you slice a ragga vocal (“pull up!”, “selecta!”, etc.) into rhythmic cuts and modulate the cut pattern using Macro controls.
You’ll end up with something you can play like an instrument while DJing or arranging: hit one MIDI note = instant ragga stab, twist macros = gated rolls, stutters, tape-stop dips, dark reverb throws and amen-style rhythmic energy.
---
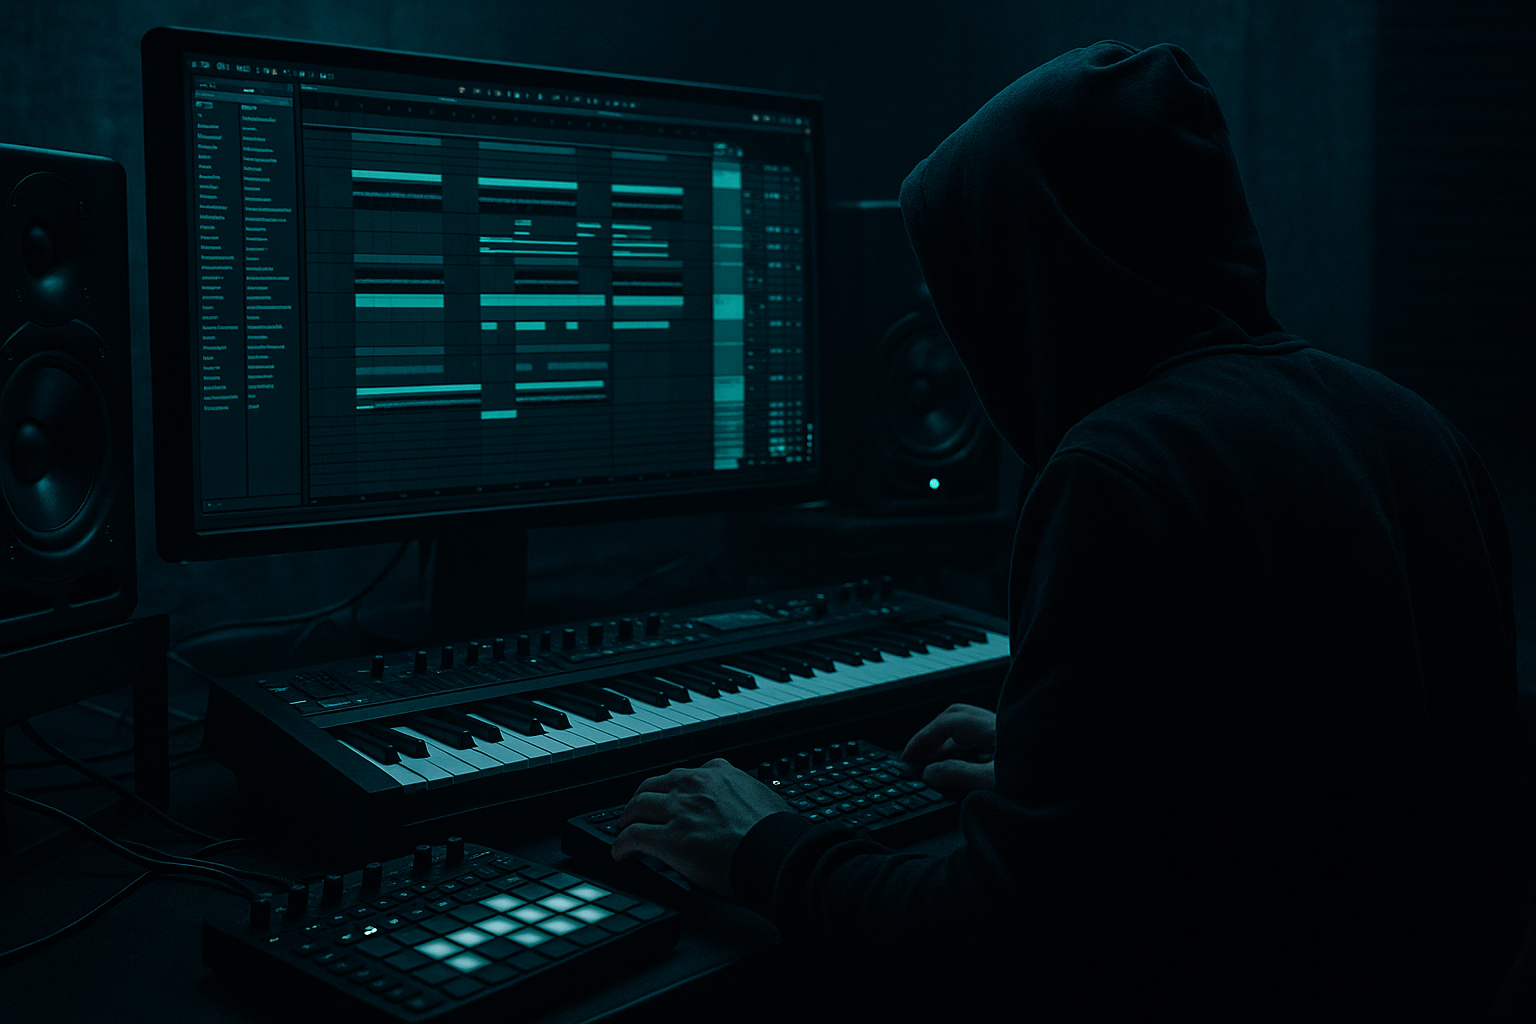
2. What you will build
A single Instrument Rack (or Audio Effect Rack, depending on your sample approach) that includes:
- A ragga vocal loaded in Simpler (Slice mode) so you can trigger chops via MIDI 🎹
- A gating/stutter section controlled by macros (auto rhythm cutting) ✂️
- A “midnight” FX chain: dub delay, dark reverb, filter movement, saturation 💨
- A macro mapping layout designed for performance (8 macros) 🎛️
- An arrangement workflow to drop these cuts over a rolling DnB beat (think 170–175 BPM)
- Rate: `1/4` or `1/2` (Sync ON)
- Shape: Sine for smooth, or Random for chaos
- Amount: small at first (e.g., enough to move but not destroy timing)
- CUT Depth: 0–20%
- Filter: open (6–10 kHz)
- FX: mostly dry
- CUT Rate: 1/16
- CUT Depth: 80–100%
- CUT Shape: high (more square)
- Slight Echo (10–20%)
- CUT Depth: medium
- Filter: darker (800 Hz – 2 kHz)
- Echo: 25–40%
- Reverb Throw: 15–30%
- Pitch Dip: down toward -7 to -12
- Heavy reverb moment
- Then snap back to dry on the drop
- Record macro moves into Arrangement, or
- Use Clip Envelopes: open clip → Envelopes → choose the Rack → choose the Macro.
- 8-bar phrases: Put a ragga cut at the end of bar 8 (a callout before a drop).
- Snare punctuation: Trigger on beats 2 and 4 occasionally, not constantly.
- Pre-drop hype: Last 1 bar before the drop: increase CUT Rate from `1/8 → 1/16`, then slam it dry on the downbeat.
- Answer the drums: If your beat has an Amen-ish ghost note run, use short ragga hits that “reply” on offbeats.
- Add a Noise gate feel: Put Gate after the FX chain, lightly, to tighten tails.
- Make it gritty but controlled:
- Parallel “Shadow FX” chain:
- Dark filter moves: Auto Filter LP24 with a touch of resonance; keep it moving slowly with LFO for “midnight” vibe.
- DnB timing trick: Nudge some MIDI notes a few ms early (negative delay) for urgency.
- You loaded a ragga vocal into Simpler (Slice mode) and made it playable via MIDI.
- You built an Amen-style cut modulator using Auto Pan as a rhythmic gate.
- You created a Macro layout designed for performance: cut rate/depth/shape + dark FX throws.
- You added LFO modulation for evolving “midnight” movement.
- You learned how to use scenes and clip envelopes to make it DJ-ready in Live 12.
---
3. Step-by-step walkthrough
Step 0 — Session setup (DnB defaults)
1. Set tempo to 174 BPM.
2. Create/bring in a basic beat (for context):
- Drum Rack with kick/snare/hat loop OR a break loop.
- Keep it simple: you’re building a DJ tool.
Workflow tip: Work in Session View first so it’s playable like a DJ tool, then record into Arrangement.
---
Step 1 — Load a ragga vocal into Simpler (Slice mode)
1. Create a MIDI Track → drop an audio ragga phrase onto it. Live will create Simpler.
2. Open Simpler and set:
- Mode: `Slice`
- Slice By: `Transient` (good starting point)
- Adjust slice markers so the key phrases (“pull up”, “selecta”, “wicked”) land cleanly.
3. In Simpler:
- Enable Warp if needed (keeps timing stable).
- Set Trigger mode (so each MIDI note triggers its slice cleanly).
- Set Voices: `1` (monophonic cuts feel tighter for DJ-style stabs).
DnB feel: Ragga cuts often hit just before the snare or on the snare. You’ll test that later.
---
Step 2 — Make it playable: a simple MIDI clip
1. Create a 1-bar MIDI clip on this track.
2. Draw a few notes (C1, D1, E1, etc.) to trigger different slices.
3. Start with sparse placement:
- A single cut on beat 2 (snare)
- Another on beat 4 (snare)
- Then add a couple of syncopated hits
Now you have manual ragga chops. Next: the “Amen-style” modulation.
---
Step 3 — Build a Macro-controlled “cut modulator” (Auto Gate) ✂️
We’ll use Auto Pan as a rhythmic gate (classic trick, super effective in DnB).
1. After Simpler, add: Auto Pan
2. Set Auto Pan like this:
- Amount: `100%` (full gate)
- Phase: `0°` (hard on/off)
- Shape: start around `Square` (or close to it)
- Rate: choose `1/8` to start (sync ON)
3. Click Map on Auto Pan and ensure it’s affecting volume (default behavior).
- With Phase at 0° and Amount at 100%, it behaves like a rhythmic cutter.
What this gives you: instant “stutter-gate” cuts that can feel like jungle edits when you modulate rate + shape.
---
Step 4 — Put everything into an Instrument Rack and map Macros 🎛️
1. Select Simpler + Auto Pan (and any devices you’ll add next).
2. Press Cmd+G / Ctrl+G to group into an Instrument Rack.
3. Click Macro controls and map parameters.
Here’s a strong beginner-friendly macro layout:
#### Suggested Macro mappings (8 Macros)
1. CUT Rate → Auto Pan `Rate`
- Range: `1/16` to `1/4` (keep musical)
2. CUT Depth → Auto Pan `Amount`
- Range: `0%` to `100%`
3. CUT Shape → Auto Pan `Shape`
- Range: ~`50%` (more rounded) to `100%` (square)
4. Filter → Auto Filter `Frequency` (add Auto Filter after Auto Pan)
- Set Auto Filter: `LP24`, slight drive if desired
- Range: `200 Hz` to `10 kHz`
5. Dub Delay → Echo `Dry/Wet` (add Echo)
- Echo settings: `Sync ON`, `1/8` or `1/4`, `Feedback 20–45%`
6. Reverb Throw → Reverb `Dry/Wet` (add Reverb after Echo)
- Reverb: `Decay 2–5s`, `Low Cut ~300 Hz`, `High Cut ~8 kHz`
7. Grime → Saturator `Drive` (add Saturator near end)
- Range: `0–8 dB` (watch levels!)
8. Pitch Dip → Simpler `Transpose` (or `Detune`)
- Range: `0` to `-12 st` (for tape-stop-ish drops; keep subtle at first)
Important: Map ranges thoughtfully—beginners often map full ranges and it becomes unusable fast.
---
Step 5 — Add “Midnight” movement with an LFO (Live 12) 🌙
Now we’ll modulate one macro-target (like Filter or CUT Rate) for evolving rhythm.
1. Add LFO (stock Ableton MIDI device) after the rack devices (or anywhere; it modulates parameters globally).
2. Click Map in LFO and map it to:
- Auto Filter `Frequency` or Auto Pan `Rate`
Starter settings:
DnB idea: Use LFO on filter frequency for that rolling, moody movement while the cuts stay rhythmic.
---
Step 6 — Create DJ-tool style “scenes” (Session View performance) 🎚️
Make 3–5 clips/scenes that represent different intensities:
Scene 1: “Straight Cut”
Scene 2: “Amen Stutter”
Scene 3: “Midnight Throw”
Scene 4: “Pull-Up Drop” (classic ragga move 😄)
To automate macros per scene:
---
Step 7 — Arrangement ideas: placing ragga cuts like real DnB 🥁
Here are practical placements that sound authentic:
Keep it sparse: Ragga cuts are spice, not the whole meal.
---
4. Common mistakes
1. Too much CUT Depth all the time
- If everything is gated, the ear gets tired fast. Use it as a moment.
2. Mapping macros with extreme ranges
- Example: Filter from 20 Hz to 20 kHz makes the macro feel unusable. Narrow it.
3. Echo/Reverb washing out the mix
- High-pass your reverb (low cut ~300 Hz) and keep throws short.
4. Clashing with the snare
- If your cut hits exactly on a punchy snare every time, it can weaken the snare. Offset or alternate placements.
5. No gain staging
- Saturator + FX can add lots of level. Use Utility at the end of the rack to trim output.
---
5. Pro tips for darker/heavier DnB 🖤
- Saturator: try `Soft Clip` ON
- Add Drum Buss with tiny Drive (2–5) and Damp to darken
- In the Rack, create 2 chains: Dry + FX
- Put Echo/Reverb/Saturation on FX chain only
- Map a macro to chain volume (or chain selector) for clean throws.
---
6. Mini practice exercise (10–15 minutes) 🧪
1. Pick one ragga phrase and slice it into at least 8 slices.
2. Make a 2-bar clip with:
- Bar 1: 2–3 sparse hits
- Bar 2: one “stutter moment” on the last half-bar
3. Perform and record macro moves:
- Start dry
- Build CUT Rate from 1/8 to 1/16
- Add a quick Echo throw on the last hit
- Filter down to dark right before returning to dry
Goal: you should end up with a repeatable DJ tool fill that you can drop into any rolling tune.
---
7. Recap ✅
If you want, tell me what kind of ragga sample you’re using (short shouts vs longer phrases) and whether your beat is more 2-step roller or amen/jungle, and I’ll suggest a tight macro range + scene layout that fits your exact vibe.

