Main tutorial
Minor Scale Basics for Drum & Bass (Ableton Live)
Teacher: energetic, clear, professional — let’s get musical and make some dark, rolling DnB. 🎧⚡
---
1. Lesson overview
This lesson teaches the practical basics of minor scales and how to apply them directly inside Ableton Live for drum & bass production. You'll learn how the natural, harmonic, and melodic minor scales work, how to lock your MIDI to a minor key, and how to craft basslines, chords, and melodies that sit in a minor tonal world — with concrete Ableton device chains, settings, and an arrangement workflow suitable for 170–176 BPM DnB / jungle / rolling bass.
Target tempo: 174 BPM (typical DnB).
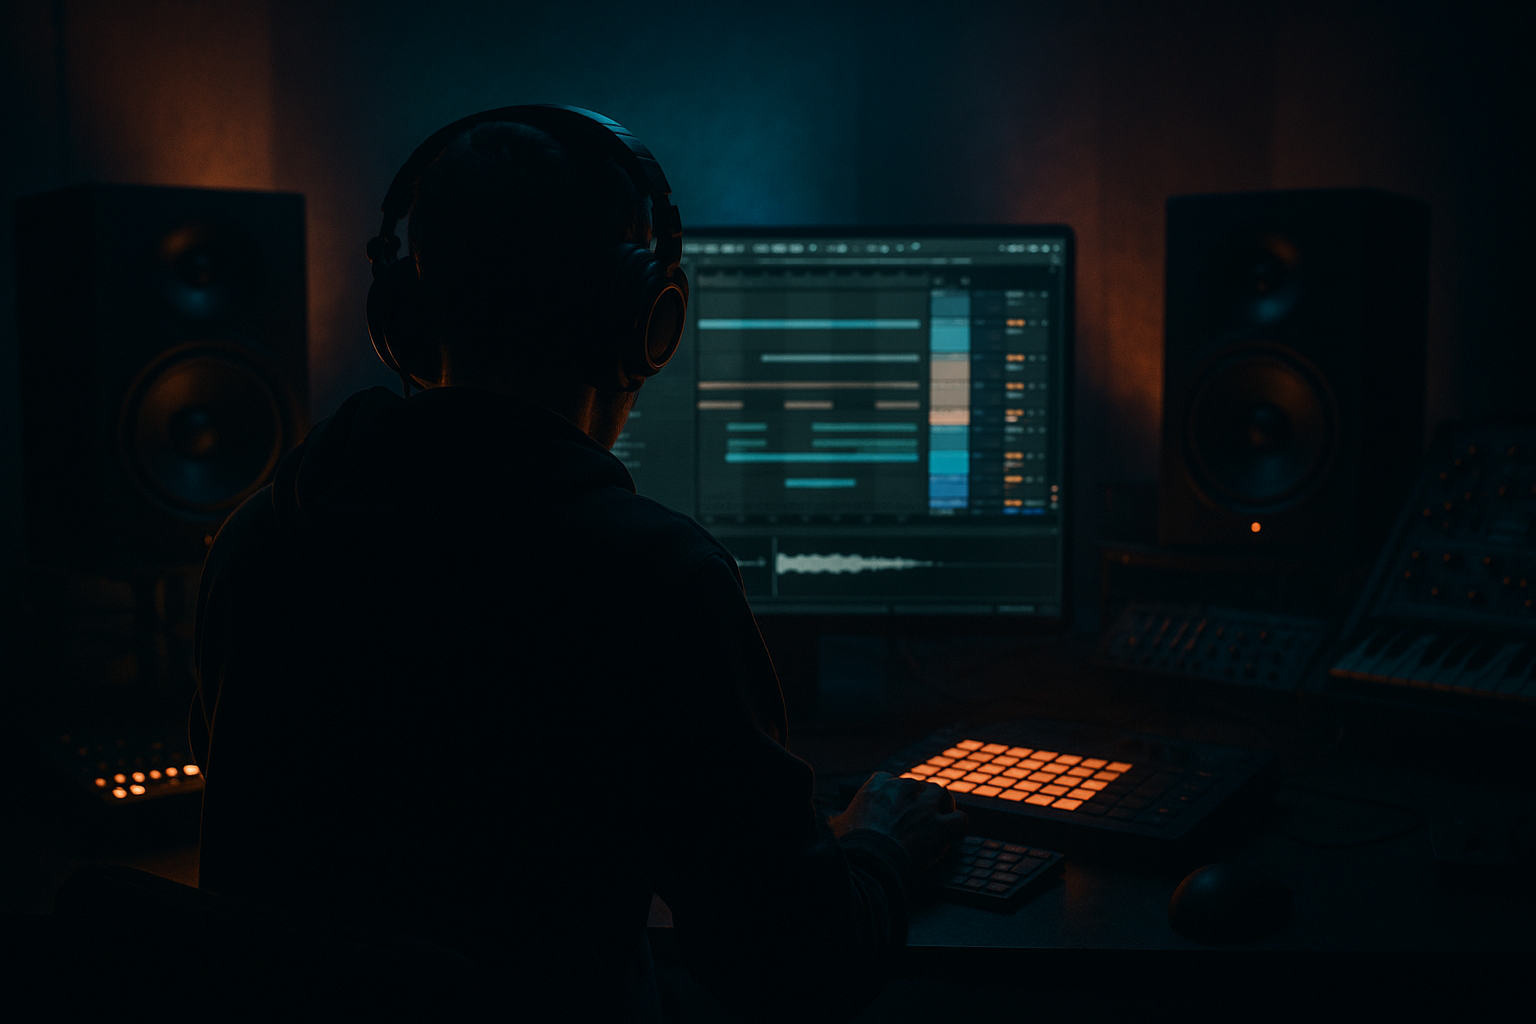
DAW: Ableton Live (stock devices only).
---
2. What you will build
An 8-bar loop (buildable into a drop) in A minor containing:
- Punchy DnB drums (kick + snare + amen/sliced break)
- A two-layer bass (sub + distorted mid-bass) on A minor
- Minor chord stabs / pad for texture
- A simple dark melodic motif constrained to a minor scale via the Scale MIDI effect
- A basic arrangement plan to expand to a full track
- Playing too many notes in the low octave — sub frequencies should be mainly single-note root movement. Keep sub part sparse.
- Not checking phase/mono compatibility of sub — always mono the sub layer (Utility width 0%).
- Clashing frequencies: overlapping mid-bass and kick can create mud — use sidechain and EQ cuts (cut mid-bass below ~100 Hz).
- Overcomplicating melody: DnB thrives on space; too many passing notes muddy the mix.
- Relying only on natural minor: if you want resolution to the V (dominant), try harmonic minor (raised 7th) for stronger cadences — but use it intentionally.
- Ignoring groove: DnB feels live with small timing variations—use Groove Pool lightly or manually nudge ghost notes.
- Harmonic Minor for tension: Switch the Scale device to a harmonic minor mapping for sections where you want a raised 7th (A harmonic minor: A B C D E F G#). This makes E major V (E G# B) possible and gives a sinister pull to the chord progression.
- Layering technique: Sub = pure sine mono. Mid-bass = gritty saw/complex texture. Route both to buses and process separately (distort mids, gentle saturation on sub).
- Parallel distortion: Duplicate mid-bass chain, heavily distort one copy, low-pass it at 1–2 kHz, and blend for grit without muddying low end.
- Stereo imaging: Keep sub mono. Widen mids with Chorus or slight stereo delay, and avoid widening below 150–300 Hz.
- LFO-driven filter on mid-bass: add movement at 1/8 or 1/16 synced LFO to the filter cutoff for rolling resonance. In Wavetable, modulate filter cutoff from an LFO with 10–30% amount.
- Use Drum Buss + Saturator on drum bus for punch, and add transient shaping (Transient Shaper or Saturator with low Drive and high Style) for punchy snare snaps.
- Aggressive sidechaining: On heavy drops, sidechain the bass more aggressively so kick punches through (Compressor sidechain: Ratio 6:1, Attack 1–5 ms, Release 100–200 ms).
- Harmonics EQ: Add a narrow boost at 1–3 kHz on mid-bass to let the distorted texture poke through the mix.
- Use harmonic layering (add a subharmonic synth an octave below for width and perceived power).
- Minor scales give DnB its dark, cinematic vibe. Natural minor (Aeolian) is your safe base; harmonic minor introduces a raised 7th for tension and stronger dominant harmony.
- Use Ableton’s Scale MIDI effect to keep every melodic element in key — great for beginners.
- Build bass with a mono sub sine + distorted mid-bass. Sidechain to the kick and EQ to prevent masking.
- Keep the sub simple (root + octave), use mids for motion and chromaticism (sparingly).
- Use chords like i–VI–VII–v in A minor (Am–F–G–Em) and switch to harmonic minor for a darker V (E major).
- Arrange in loops and automate filters and effects to turn an 8-bar idea into a full track.
You’ll finish knowing how to keep all musical parts in a minor key and how to use harmonic minor for a darker V chord tension.
---
3. Step-by-step walkthrough
A. Set up the project
1. Create a new Live Set. Set BPM to 174.
2. Create these tracks (Ctrl/Cmd+T for audio, Shift+Cmd+T for MIDI):
- 1 MIDI: Drums (Drum Rack)
- 1 MIDI: Bass (Wavetable)
- 1 MIDI: Bass Mid (Operator or Wavetable)
- 1 MIDI: Chords/Pad (Wavetable / Analog)
- 1 MIDI: Lead/Motif (Simpler / Wavetable)
- 1 return track: Reverb, 1 return: Delay
B. Choose the minor key and lock it (use Scale MIDI effect)
3. Decide your key: A minor is a great starting point (A natural minor = A B C D E F G).
4. On each melodic/bass/lead MIDI track, drag in the MIDI effect: Scale (MIDI Effects → Scale).
- Set Base to A (Root: A).
- Set the Scale preset to “Minor” (or manually map if you prefer).
- This forces any MIDI notes to conform to A minor, preventing accidental out-of-scale notes.
- Pro tip: Keep Scale only on the lead while you experiment, or use it as a safety net on every melodic track.
C. Build drums (fast, punchy DnB)
5. Drum Rack: populate with a tight DnB kick and snare (your samples or Live’s library).
- Slice an amen/rolling break: Drag a break loop into a new audio track → Right-click → Slice to New MIDI Track (choose “Preserve Transients” or grid 1/16, slice preset “Built-in”).
- Warp the break to 174 BPM. Use Warp Mode “Complex Pro” (for full breaks) or “Beats” (for sliced hits).
6. Processing:
- Drum Rack chain → Glue Compressor (squash a touch: Threshold -6 dB, Ratio 3:1, Attack 10 ms, Release 0.3 s).
- Drum Buss (stock): Warmth ~6–10, Drive ~2–3, Crunch little for bite.
- EQ Eight: High-pass the break around 40 Hz, slight boost around 2–5 kHz for snap.
D. Sub + mid-bass device chain (stock devices)
7. Create the sub bass (MIDI → Wavetable):
- Wavetable init: Oscillator 1 -> Sine (or Triangle); Osc 2 off.
- Global mode: Mono (single voice), Voices = 1. Set Glide on (Mono mode) with Time = 30–60 ms for gentle portamento.
- Filter: Low-pass 1st order, Cutoff ~120 Hz, Res 0.1 ±.
- Amp Env: Fast attack, sustain full, release 50–80 ms.
- MIDI clip: write root notes on A1 or A0 for sub (A0 for fat low sub, A1 if you want more clarity).
- Chain after Wavetable: Utility (Width 0% or 10% to make solid mono sub) → EQ Eight (Low shelf boost at 40–60 Hz +6 dB) → Saturator (soft clip, Drive 2–3 dB; set to “Analog Clip” or “Soft Sine”).
8. Create mid-bass (MIDI → Wavetable or Operator):
- Wavetable: init, Osc1 Saw, Osc2 Square detuned slightly for grit.
- Set Filter: Low-pass 24 dB, cutoff ~400–900 Hz depending on tone. Add slight drive.
- In Wavetable’s Global: Mono mode, Glide off (or small if you want slides).
- Device chain: Wavetable → Saturator (Drive 4–8) → Overdrive (Type Tube or Soft) → EQ Eight: cut below 100 Hz (-6 dB to avoid clashing with sub) → Multiband Dynamics (compress mids a bit).
9. Group sub + mid-bass into a Bass Group:
- Apply Glue Compressor lightly on group: Attack 10 ms, Release 0.2–0.4 s, Ratio 3:1, Threshold -6 to -12 dB.
- Add sidechain compression: On the bass group chain add Compressor after the Glue; enable Sidechain, set input to “Kick” (or Kick+snare bus), Ratio 4:1, Attack 10 ms, Release 100 ms, Threshold to duck the bass ~3–6 dB on kick hits.
E. Compose a DnB bassline in A minor
10. Bassline principles:
- Sub layer plays root and octave-ish patterns (A — A — ...), often with short notes (1/16 to 1/8) to create motion.
- Mid-bass plays rhythmic stabs and slides: use off-beat syncopation, ghost notes, and octave jumps.
- Example 8-bar pattern at 174 BPM:
- Bar 1: Sub A1 (1/2 note), mid-bass: A2 (1/8), rest, A2 (1/8), G2 (1/16) — adds movement.
- Bar 2: mid-bass: E2 -> (jump to C3) -> A2 (use octave jump on the “&” of the beat).
- Vary pattern every 2 bars. Keep low end simple (mostly A notes), let mid-bass carry melodic motion.
11. Use MIDI FX for flavor:
- Arpeggiator: subtle for mid-bass (Rate 1/16, Sync to 1/16, Steps 4) for rolling textures.
- Note Length plugin: shorten notes to 70% for a tighter cbass stab.
F. Chords / pads (minor mood)
12. Pad/chord setup:
- Instrument: Wavetable or Analog. Use 2-3 unison voices, detune slightly for width.
- Patch: Dense saws or wavetable spectral pad, low-pass at 2 kHz, slow attack (40–80 ms), long release (400–800 ms).
- Chord voicings: i – VI – VII – v (A minor progression: Am – F – G – Em). For darker tension, use harmonic minor and play E major (E G# B) as V (raised 7th).
- Use MIDI device “Chord” (MIDI Effects) for quick triad voicings: set +3 semitones and +7 semitones for a minor triad if you want single-button chords.
13. Texture:
- Put a Reverb on a return (Plate-ish, decay 2–4 s), send pad to reverb at 20–30%.
- Automate a low-pass filter cutoff over bars to create movement.
G. Melody / motif
14. Lead motif:
- Keep lead notes sparse; DnB often relies on rhythm and space.
- Use Scale device to keep melody in A minor. Try the harmonic minor (for raised 7th) only on certain bars to emphasize the V chord (E major).
- Example motif: A4 – C5 – E5 – D5 (use syncopated 16th-note rhythm).
- Put a Delay (Ping Pong) on a return, 1/8 sync, feedback ~20–30%, dry/wet low.
H. Arrangement idea (8-bar -> expand)
15. 8-bar loop structure:
- Bars 1–8: Build (drums + low sub + pad atmos)
- Bars 9–16: Drop (full drums, mid-bass aggression, lead motif)
- Bars 17–24: Breakdown (remove drums, long pad chords, harmonic minor tension with E major)
- Bars 25–32: Re-drop with variation (switch bass pattern or add filter automation)
16. Automations:
- Automate low-pass cutoff on the mid-bass for a “filter sweep” into drop.
- Automate reverb send and delay sends for tension in breakdown bars.
---
4. Common mistakes
---
5. Pro tips for darker/heavier DnB
---
6. Mini practice exercise (30–60 minutes)
Follow these exact steps and you’ll have a working 8-bar DnB loop in A minor:
1. Set project tempo to 174 BPM.
2. Create Drum Rack and load a tight kick and snare. Slice an amen break to a Drum Rack or MIDI slices; warp to 174 BPM.
3. Create Wavetable track labelled “SUB”:
- Osc1 = Sine, Mono mode, Glide 40 ms, amp envelope: A 0 ms / Decay n/a / Sustain 100% / Release 60 ms.
- Utility: Width = 0%.
- EQ Eight: Low shelf +6 dB at 50 Hz.
- Write a 8-bar MIDI clip: play A1 on beats 1 and 3 (half notes).
4. Create Wavetable track labelled “MID-BASS”:
- Osc1 Saw, Osc2 Square detuned -6 cents. Filter LP24 cutoff 600 Hz.
- Saturator Drive 5, Overdrive after it (Drive 6).
- EQ: Cut -8 dB below 100 Hz.
- Use a MIDI clip with syncopated 16th notes emphasizing A2 and occasional C3 / G2 passing notes (use Scale device set to A minor).
5. Add a chord pad (Wavetable):
- Play Am (A C E) on beats 1 and 3; F (F A C) on bar 3, G (G B D) on bar 5, Em on bar 7.
- Reverb Return: Send 30% to a Hall, Predelay 20 ms, Decay 2.5 s.
6. Add a short lead motif using single notes A4-C5-E5 with syncopation. Put Scale device on it set to A minor.
7. Buss basses and drums and apply Glue Compressor lightly.
8. Listen and adjust: make sure sub is mono, mid-bass is EQ’ed, and drums are punched. Render a 8-bar loop and A/B with reference DnB track.
Optional: At bar 5, change Scale device to A harmonic minor on the pad or lead track and insert a G# to create a V pull (E major chord) — hear how tension increases.
---
7. Recap
Have fun experimenting — make heavy rolls, dark pads, and tense harmonic shifts. If you want, share your Ableton project or a clip and I’ll give targeted feedback and micro-adjustments (EQ points, compressor settings, or MIDI phrasing suggestions). 🎛️🔥

