Main tutorial
1. Lesson overview
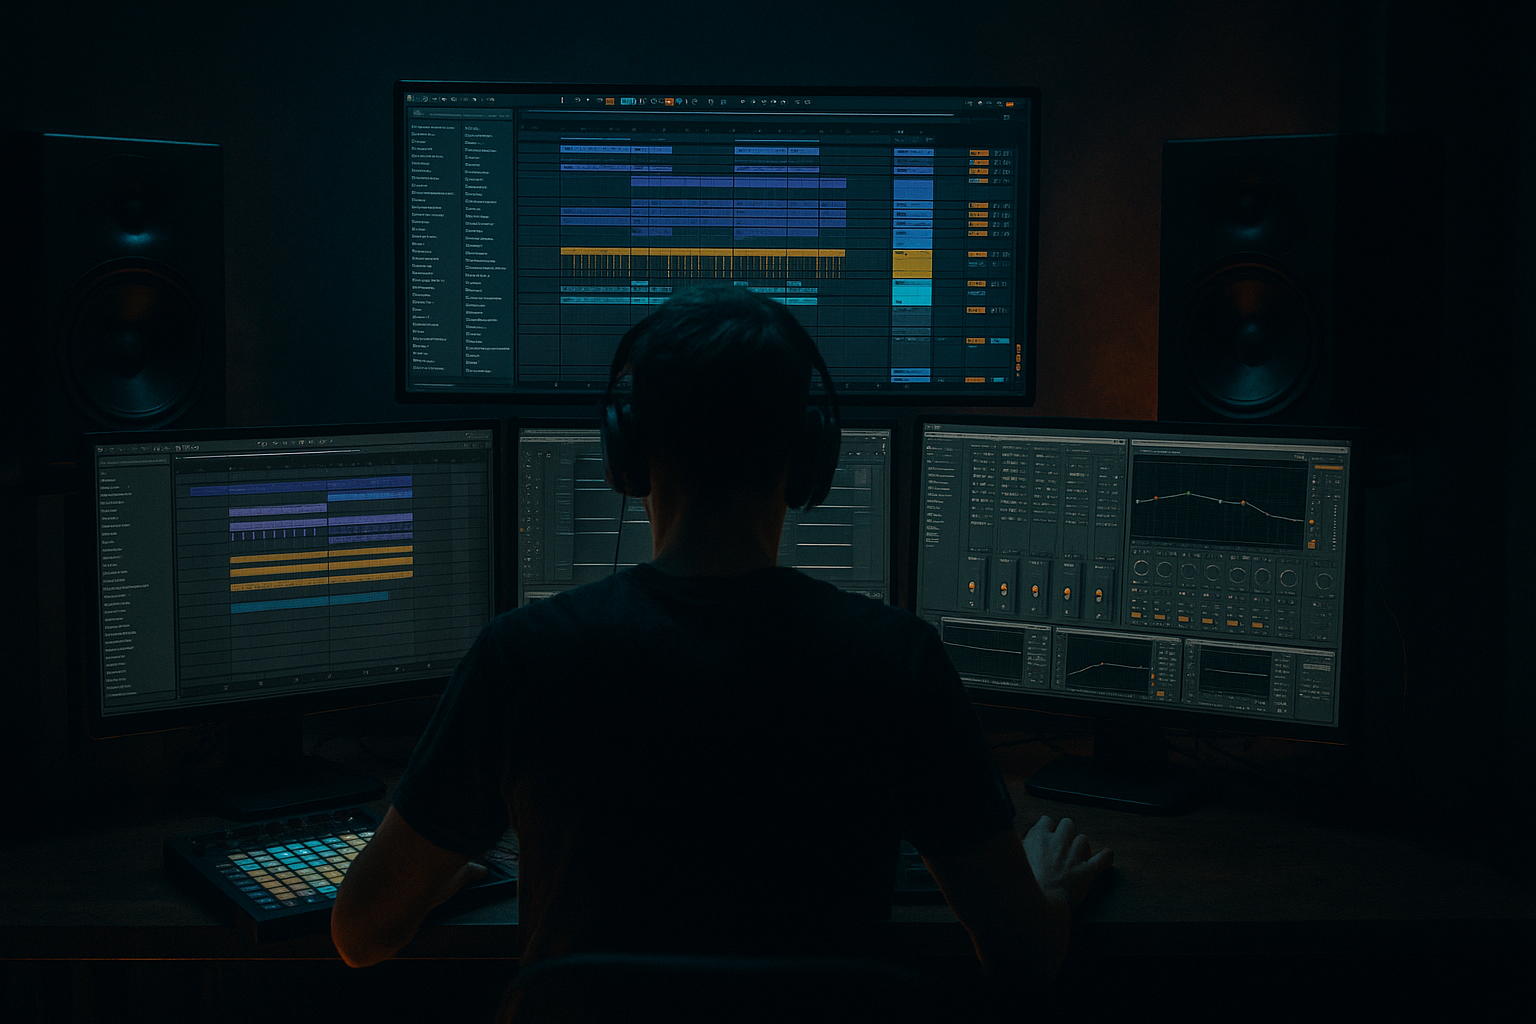
You’re making dense neuro / rolling drum & bass that’s full of growled mids, heavy subs, layered drums and cavernous FX. That’s great — but if all those elements fight in the same frequency and stereo space, the mix gets mushy, fatiguing, and loses impact. This lesson gives advanced, practical, Ableton-specific techniques to keep massive neuro sessions clean, focused and aggressive while preserving the character of each element. Expect actionable device chains (using stock Live devices), concrete parameter suggestions, routing/automation workflows and arrangement ideas you can apply immediately. ⚡️
Target Ableton version: Live 10/11 (Live 11 devices referenced where relevant, but all techniques translate to Live 10).
2. What you will build
A workflow and device-chain blueprint for a dense neuro DnB session that:
- Keeps sub mono and tight
- Gives mid-bass growl its own space
- Lets drums cut through without killing the bass
- Controls harsh upper mids and sibilance dynamically
- Keeps stereo energy up top but focused
- Automates mix “breathing” in the arrangement so climaxes don’t drown every part
- Organized groups (Drums, Bass, Synths, FX, Vocals if any)
- Bass Rack splitting sub/growl with mono sub, parallel saturation on growl, Glue compression
- Drum Bus chain tuned for transient punch and parallel weight
- Dynamic mid and high control using Multiband Dynamics & sidechain
- Return chains for reverb/delay that don’t mask the mix
- Concrete automation habits and arrangement tricks for dense sections 🎚️
- Color and Group:
- Set clip gains so no channel peaks above -6 dB on the channel meters. Use Utility to cut gain if needed.
- Put a Utility on Master with Gain set to 0 dB for reference and a Spectrum on the Master for a quick glance at energy distribution.
- Mute effects returns, get a static balance for core elements: kick, snare, sub, growl, main percussion.
- Important: set the sub bass fader so it never goes red. Aim for peaks -10 to -6 dB on the Master during dense sections.
- EQ Eight: Low-pass filter at ~120 Hz (Filter type: 24 dB LP). Cut everything above 120 Hz.
- Utility: Width 0% (mono), Gain adjust so sub sits ~ -6 to -10 dB below full mix.
- Glue Compressor (optional light): Attack 10 ms, Release 0.2 s, Ratio 2:1, Threshold -15 dB (very gentle), to glue sub for sustain control.
- EQ Eight: High-pass at 100–150 Hz (24 dB HP) — frees subs.
- Saturator: Drive 2–4, Soft Sine or Analog Clip for harmonic content.
- Multiband Dynamics: crossover points at 120 Hz and ~2–3 kHz. Use the mid band to tame harshness. (See below for sidechain use.)
- EQ Eight (M/S mode): boost 800–2k gently for bite on Mid; reduce conflicting midrange of synths.
- Utility: Width 80–120% (wider than sub but not fully extreme).
- Macro 1: Sub Level (control sub chain volume)
- Macro 2: Growl Drive (control Saturator Drive)
- Macro 3: Glue Mix (send whole bass group into sidechain compressor or Glue)
- On the Bass Group insert: Glue Compressor set with Attack 10 ms, Release 0.2–0.4 s, Ratio 2–3:1, Threshold to taste. Not heavy — just to glue.
- Drum Buss (stock): Drive 4–8, Punch 10–15, Transient knob +12 to +18 to accentuate attack (or use Compressor with long attack to let the transient breathe).
- EQ Eight: notch-cut 200–400 Hz if drum body muds the bass (sweep and find).
- Glue Compressor: Attack 10–30 ms (let transients through), Release 0.1–0.3 s, Ratio 2–4:1. Threshold to taste.
- Saturator (after Glue): Drive 1–3, Type ‘Analog Clip’ for grit.
- Create a return called “DrumWeight”.
- Chain: Saturator (Drive 6–10), EQ Eight high-pass at 60 Hz to avoid doubling sub, Compressor heavy (Glue or Compressor with fast attack) — then blend in with the dry kit. Use send ~15–30% and mix by ear for density.
- For snares, layer an extra return with short reverb + transient emphasis. Send only selective drums to it.
- On Bass Group add Compressor (or Glue) with Sidechain input: choose Drum Bus or Kick+Snare group. Settings:
- Add Multiband Dynamics on Bass Group.
- Insert Multiband Dynamics on the Synths Group or Master bus to catch sudden tonal spikes:
- EQ Eight in M/S mode on Synths or Master:
- Use short pre-delay on reverb for snares (20–40 ms) to keep transient clarity.
- Put a high-pass (100–200 Hz) on reverb returns to stop reverb muddying subs.
- Put an EQ on delay returns and cut 200–500 Hz.
- Use Gate or Envelope Follower (Max for Live optional) on longer reverbs to duck reverb tails in fast sections.
- Use Send automation to reduce reverb/delay sends during busy parts: lower send by 2–6 dB when several synths are active.
- Put Utility on Bass Group: Width 0% below 160–220 Hz (use an Audio Effect Rack with an EQ Eight in M/S if you want frequency dependent width).
- Use Utility to mono sub and check mix in mono frequently. Keep Master Utility width near 100% while testing mono.
- Bus chain (stock devices):
- Automate bus sends and macro controls to create breathing:
- Create “mix relief” automation:
- Use frequency ducking automation: automate Multiband Dynamics threshold to be more aggressive in drop sections.
- Leaving subs stereo — causes phase cancellation on systems and slimey low end. Always mono below ~120–160 Hz.
- Over-saturating everything — leads to masking and harshness. Use parallel saturation and blend rather than overdriving a single channel.
- Heavy compression on Drum Bus that squashes transients — set slower attack times to let transients punch, or use parallel compression.
- Using global EQ boosts to “fix” balance — prefer subtractive EQ on conflicting elements.
- Not grouping/organizing tracks — without group chains and returns you’ll lose control of dense mixes.
- Not checking in mono — neuro mixes can fall apart in club PA if you don’t check mono / phase.
- Layered growl approach:
- Aggressive parallel distortion:
- Narrow-band boosting for "bite":
- Use frequency-resonant automation:
- Punch snare without losing mids:
- Grind and low-end density:
- Use subtle modulation on stereo elements so the top end breathes (auto-pan or width modulation at low depth).
- Create a new Live project.
- Import or create this minimal set: Kick, Snare, Hats, Perc, Sub bass (mono sine), Growl bass (synth patch), Lead pad, Short FX sample, Reverb return.
- Organize and gain stage first. Groups and clear signal levels = half the battle.
- Split bass into mono sub + stereo growl. Use parallel saturation and gentle glue.
- Use Multiband Dynamics and sidechain to duck only the conflicting frequency regions (not broadband where possible).
- Keep transients by choosing appropriate attack times and using parallel compression for weight.
- Tame reverb/delay in the low mids via HP filters and send automation.
- Automate mix “breathing” across arrangement sections so dense moments are deliberate and impactful.
- Trust mono checks and a spectrum analyzer frequently. Small, surgical cuts win over big boosts.
By the end you’ll have:
3. Step-by-step walkthrough
The walkthrough is a practical sequence. Do these steps in order for maximum clarity.
A. Session prep & gain staging (10–20 minutes)
- Color-code and group: Drums → Bass → Synths → FX → Master.
B. Static mix: get balance before processors
C. Bass group: explicit split for sub vs growl (use an Instrument Rack or Group Rack)
Create a Bass Group with two parallel chains inside an Instrument or Audio Effect Rack: "Sub" and "Growl".
Sub chain
Growl chain
Rack macros to expose:
Glue at group output
D. Drums: transient clarity + parallel weight
Main concept: keep transients clear (so they cut through) and add parallel heavy layers for weight.
Drum Rack -> Drum Bus (group)
On Drum Bus:
Parallel heavy chain (Return)
E. Bass <-> Drums interaction: sidechain and Multiband ducking
Important for neuro: you want the kick/snare transients to read cleanly while the bass remains full.
Simple broadband sidechain
- Attack: 2–6 ms
- Release: 80–140 ms (tune to tempo and groove)
- Ratio: 3–6:1
- Threshold: adjust so bass ducks ~2–6 dB on hits.
Multiband sidechain (preferred)
- Crossovers: 120 Hz and 2.5 kHz (adjust per track).
- Enable sidechain on the mid/high band(s) only; route sidechain to Drum Bus.
- Set mid band to compress with Ratio 3–6:1, Release 80–150 ms, Threshold so the mid/growl ducks only on the drum transients.
- Keep low band (sub) untouched or only lightly compressed so sub remains solid and monophonic.
F. Mids and Highs: tame harshness dynamically
Harsh upper-mids and glassy distortion are typical with dense processing. Use Multiband Dynamics and EQ Eight in M/S.
- Focus on the high band (>2.5 kHz). Light compression only when sudden peaks occur. Attack 1–10 ms, Release 50–200 ms.
- In Side (S) channel, gently reduce 5–12 kHz to keep width from getting harsh.
- In Mid (M) channel, carve 900–2,200 Hz slightly if elements clash with growl.
G. Reverbs and Delays: the busy FX plumbing
H. Stereo management and mono compatibility
- Quick trick: duplicate the bass track, high-pass the duplicate to isolate upper harmonics, widen that duplicate while keeping original mono.
I. Master bus: gentle glue and limiting
- EQ Eight: small cuts where needed (not major boosts).
- Multiband Dynamics: subtle glue to control bands (low ratio, gentle thresholds).
- Glue Compressor: 1–2 dB of gain reduction on loud sections, Attack 10–30 ms, Release around 0.1–0.3 s.
- Limiter: set ceiling -0.1 dB. Aim for final LUFS target externally later, but here ensure no clipping.
J. Arrangement-level mix automation (the secret sauce)
- During very dense bars, reduce Synths send ~2–5 dB, reduce some backline elements, or reduce growl’s drive via macro.
- On the Bass or Growl Rack macro, automate a slight high-mid cut (notch) on chorus / break sections so hats and snares can breathe.
4. Common mistakes
5. Pro tips for darker/heavier DnB
- Keep a mono sub sine underneath a stereo, heavily processed growl. That preserves power while keeping character.
- Send to a heavy distortion return (Saturator Drive 8–14, maybe follow with EQ cut <100 Hz). Blend 10–25% for grit.
- Use EQ Eight peak (Q ~1.5–3) to add +2–4 dB at 1–1.6 kHz on the mid growl chain; automate it to kick up for hits only.
- Automate a narrow boost/resonance with a Clip Envelope or Rack Macro and automate the resonance sweep across a build for tension.
- Create a transient click layer high-passed at 4–8 kHz and put it slightly panned. Keep body mid-centered and slightly damped.
- Use sidechain compression where bass ducks on snare, not only kick. This maintains low-end while letting snare speak.
6. Mini practice exercise (30–45 minutes)
Setup:
Task:
1. Group tracks: Drums (Kick, Snare, Hats, Perc), Bass (Sub + Growl), Synths (Pad + Lead), FX.
2. Build the Bass Rack:
- Create two chains: Sub (LP @120 Hz, Utility width 0%), Growl (HP @120 Hz, Saturator Drive 3).
- Add Glue Compressor on group with Attack 10 ms, Release 200 ms.
3. Drum Bus:
- Add Drum Buss with Drive 6, Transient +15.
- Create a DrumWeight return: Saturator Drive 8 → Glue Compressor heavy, return ~20%.
4. Sidechain:
- Place Compressor on Bass Group with sidechain input set to Drum Bus.
- Set Attack 3 ms, Release 100 ms, Ratio 4:1; tune threshold for ~3–5 dB ducking on hits.
5. Reverb/delay returns:
- Put high-pass 150 Hz on reverb, low-pass 10 kHz on delay. Automate send to Reverb so it reduces on the densest 8 bars.
6. Final touches:
- Put Multiband Dynamics on Synths and set high band to reduce peaks with sidechain to Drum Bus.
- Bounce a 8-bar loop and listen mono: fix any phase or masking issues.
Goal: in 8 bars, the kick/snare remain crisp; the sub is solid and mono; growl is audible but not masking drums; reverb doesn’t swamp transients.
7. Recap
Mixing dense neuro DnB is about disciplined separation, dynamic control and automation — not turning up everything. Use Ableton’s Glue, Drum Buss, Saturator, EQ Eight, Multiband Dynamics and Utility strategically and you’ll keep clarity while staying brutal. Go test these ideas on a bad-sounding busy mix and you’ll hear the difference fast. 🔊🔥
If you want, send me a short stem pack (or describe your biggest trouble spot) and I’ll give targeted chain settings or a corrective EQ/sidechain diagram.

