Main tutorial
Lesson Overview
A bassline turn is the moment a DnB bass phrase shifts direction, answers the drums, or changes energy at the end of a bar or phrase. In Drum & Bass, those turns are often what make a loop feel alive instead of repetitive. This lesson shows you how to modulate a bassline turn using resampling in Ableton Live 12 so you can create movement, tension, and variation without needing a huge synth patch or advanced sound design.
This technique is especially useful in:
- the last 1–2 beats before a snare in a roller
- the pickup into a drop change-up
- a call-and-response bass phrase
- a darker neuro-style phrase turn where the bass needs to “speak” with the drums
- starts with a steady bass groove
- bends or filters into a turn at the end of the phrase
- gets resampled into audio
- is then chopped and re-shaped into a new fill or reply phrase
- works with a breakbeat/drum loop in a DnB context
- a subby bass stab turning into a modulated growl
- a reese phrase with a movement burst before the next bar
- or a dark roller bass answer that locks to the snare and break accents
- Making the turn too long
- Resampling too much low end into one layer
- Letting the bass fight the snare
- Using too much distortion on the whole bass
- Ignoring timing after resampling
- Over-automating everything
- Layer a clean sub with a dirty resampled top
- Use tiny filter moves, not huge ones
- Add movement only to the end of the phrase
- Try a reverse chop before the turn
- Use Drum Buss carefully on the processed layer
- Make the bass answer the drums
- Keep the low end mono, the texture stereo only if needed
- less filter opening
- more saturation
- shorter notes
- a tighter, more aggressive drum interaction
- Build a simple DnB bass phrase first, then create the turn at the end.
- Resample the bass into audio so you can chop, warp, and reprocess it.
- Keep the sub clean and the turn layer more expressive.
- Use Ableton stock tools like Wavetable, Operator, Auto Filter, Saturator, Drum Buss, Utility, and EQ Eight.
- Make the turn work with the drums, not against them.
- Use the resampled variation as arrangement material for drops, switch-ups, and phrase endings.
Why it matters: DnB is fast, so small changes have a big impact. A slightly different bass turn every 2 or 4 bars can stop the loop from feeling static, while still keeping the low-end focused and DJ-friendly. Resampling lets you record a bass phrase, chop it, reprocess it, and turn it into a new event that sits tightly with the break. That’s a very real studio workflow in jungle, rollers, and darker bass music. 🔥
What You Will Build
You will build a short 2-bar bassline turn variation that:
The result should feel like:
You’ll end up with a loop that can live in a 174 BPM track, and you’ll be able to reuse the same method for build-ups, drop switch-ups, and turnaround fills.
Step-by-Step Walkthrough
1. Set up a simple DnB loop first
Start at 174 BPM. Load a drum loop or program a basic DnB foundation:
- Kick on beat 1, with a second kick or ghost hit later in the bar if needed
- Snare on beat 2 and beat 4
- Add hats or a shuffled break for motion
Keep the drums clean and not too busy for now. If you’re using a break, let it be the main groove and layer a simple snare underneath if needed. This is important because your bass turn needs space to read clearly against the drums.
In Drum Rack or audio clips, keep the drum bus controlled:
- EQ Eight: high-pass very low rumble only if needed on non-sub drums
- Glue Compressor on drum bus: gentle 1–2 dB gain reduction
- Leave headroom on the master
Why this works in DnB: the bass turn will feel bigger when the drums are already steady and defined. In fast tempos, clarity is the impact.
2. Create a basic bassline with a clear phrase shape
Use a stock Ableton instrument like:
- Wavetable
- Operator
- Analog
For beginners, keep it simple: one patch, one idea. Build a bass that has a solid low end and a bit of midrange movement.
A good starter sound:
- Oscillator: saw or square in Wavetable
- Filter: low-pass with moderate resonance
- Add Saturator after the instrument for harmonics
- Optional Auto Filter for motion
Try a 2-bar MIDI phrase with short notes, leaving space for the drums. Example idea:
- Bar 1: two or three bass notes that answer the kick
- Bar 2: repeat the groove but leave a gap at the end for the turn
Keep the sub controlled:
- Make sure the bass is mostly mono
- Keep notes short enough to avoid muddy overlap with the kick/snare
3. Design the “turn” at the end of the phrase
The bass turn is the moment where energy changes. In DnB, it often happens in the last half beat, last beat, or final two beats before the phrase repeats.
You can create the turn with one or more of these methods:
- pitch move
- filter sweep
- envelope change
- note rhythm change
- small glide/slide if the sound supports it
Beginner-friendly approach:
- In Auto Filter, automate the cutoff from around 200–500 Hz up to 1–3 kHz for the turn
- Add a small resonance bump, around 10–25%, if it helps the note speak
- If using Wavetable, modulate the wavetable position a little for a more animated edge
For a darker roller feel, keep the first part of the phrase restrained, then let the turn open up just enough to create contrast. Don’t overdo it yet—think “controlled lift,” not full lead synth.
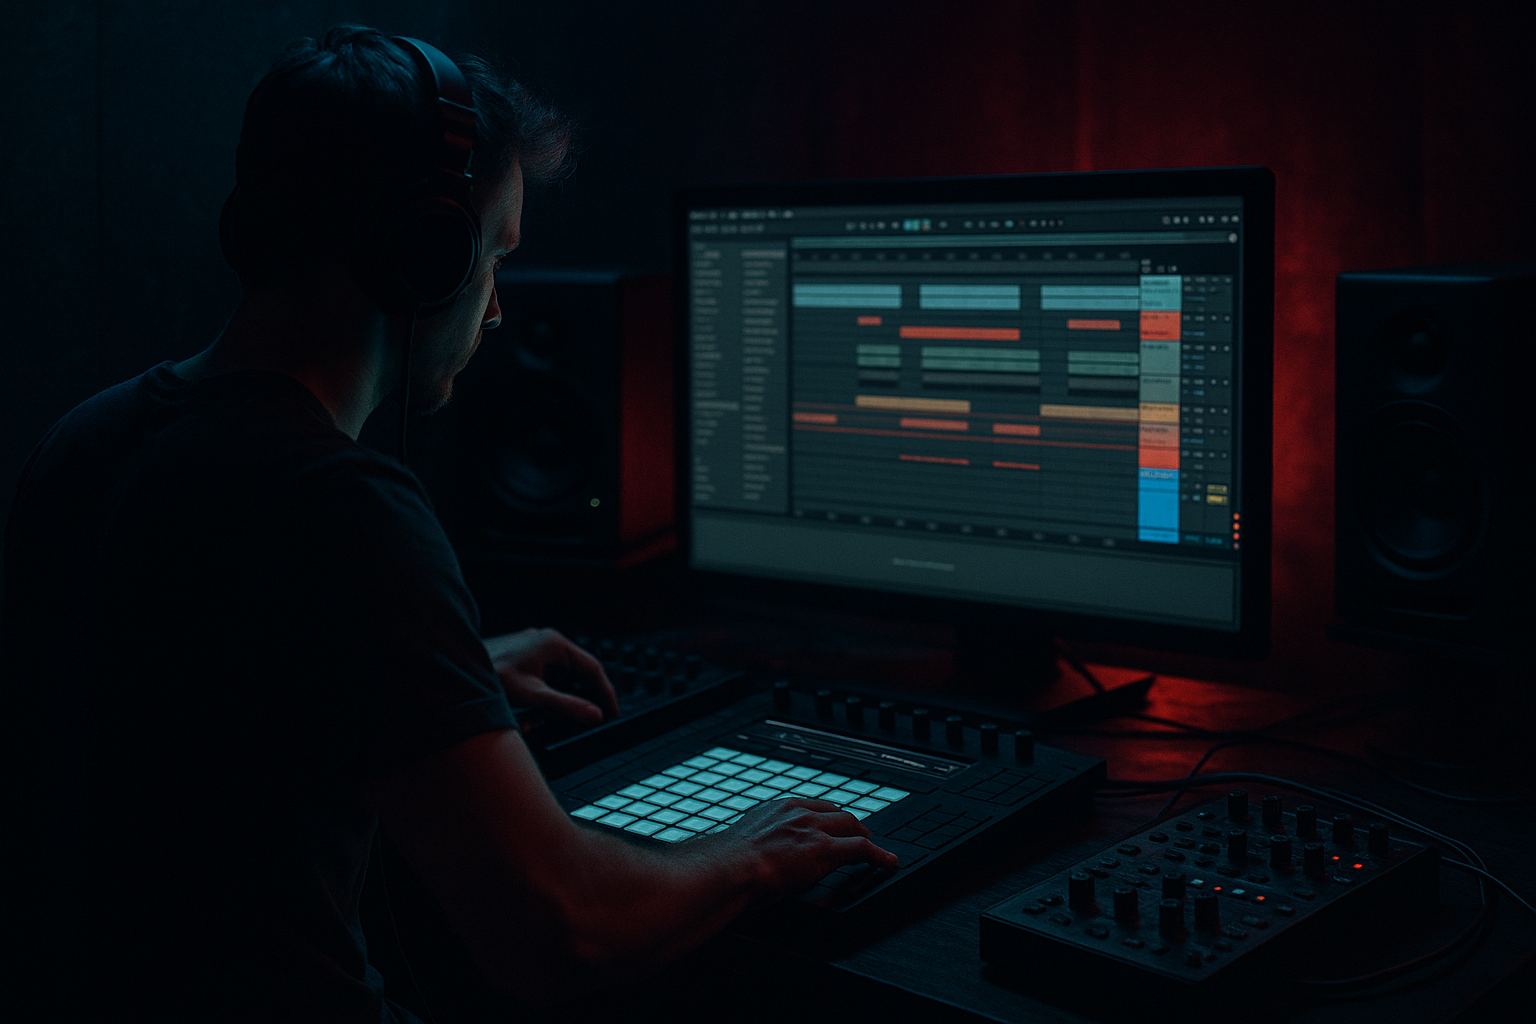
4. Record the bass turn as audio by resampling
Now we get into the resampling workflow. Create a new audio track and set its input to:
- Resampling in Ableton Live
Arm the track and play your loop so the bass turn is recorded as audio. Capture at least:
- one clean pass of the full phrase
- one pass where the turn feels strong or slightly different
If you want tighter control, solo the bass track first so only the bass is captured. If the drums are part of the performance feel, you can also record the full loop later, but for learning, isolate the bass first.
Why resample? Because once the bass is audio, you can treat the turn like a drum hit:
- chop it
- reverse it
- warp it
- pitch it
- distort it differently
- turn it into a new rhythmic event
This is a very common DnB workflow for turning a simple loop into a proper phrase with identity.
5. Warp and clean the resampled audio
Open the recorded audio clip and make sure it lines up with the grid. For a bass turn, use:
- Beats warp mode for sharper transient material
- Complex or Complex Pro only if the sound is more tonal and less transient-heavy
Practical settings:
- Turn on warp
- Place the first downbeat correctly
- If the phrase feels late or early, nudge the warp markers
- Keep the clip tight so the turn lands exactly before the next snare or bar line
If the resampled clip has too much low-end blur, use EQ Eight on the audio track:
- high-pass gently only on the mid/high reprocess layer, not on the sub layer
- remove mud around 200–400 Hz if it clouds the kick/snare area
At this stage, the goal is not polish—it’s timing and clarity.
6. Slice the turn into a new playable phrase
Once the bass audio is clean, right-click the clip and choose Slice to New MIDI Track if you want to turn it into a playable chopped instrument.
Good slice settings for beginners:
- Slice by transients
- Choose a simple drum rack or simpler-style pad layout
- Keep the chopped pieces short and intentional
Now you can:
- rearrange the slices
- trigger only the turn hits
- create a reply phrase that follows the drums
- duplicate one slice and move it earlier or later for syncopation
This is where the bass starts behaving more like a drum element. In DnB, that’s powerful because bass and drums often interlock rhythmically rather than sit as separate layers.
7. Process the resampled turn with stock Ableton FX
Add a small FX chain to make the turn speak in a DnB mix:
- Saturator: drive around 2–6 dB for harmonic weight
- Drum Buss: use Drive lightly, and raise Crunch only if needed
- Auto Filter: automate the cutoff for the turn
- Echo: use very short feedback for a tiny tail if the gap needs filling
- Redux very subtly if you want a rougher, more digital edge
For heavier DnB, be careful: too much distortion on the whole audio clip can blur the sub. A better beginner move is to duplicate the track:
- Track A: keep the low end cleaner
- Track B: process the midrange turn harder
- high-pass Track B so it doesn’t fight the sub
This gives you a layered turn that feels aggressive but still mixes properly.
8. Automate the turn to connect with the drums
Now add automation so the bass turn actually interacts with the break or drum pattern.
Try automating:
- filter cutoff opening before the turn
- device on/off for a distortion hit
- volume dip just before the turn, then a quick return
- Auto Pan very subtly for movement in the upper layer only
A strong beginner automation idea:
- in the last quarter note before the new bar, automate the bass track volume down by about 2–4 dB
- then let the resampled turn hit right on the bar or just before it
This creates a “breath” that makes the turn feel intentional. In DnB, tiny pockets of space make the next hit feel harder.
Arrangement example: if your drop is 16 bars, let bars 1–4 stay more stable, bars 5–8 add one new turn, bars 9–12 use a resampled variation, and bars 13–16 introduce a more aggressive chopped answer before a switch-up.
9. Check the low-end and drum-bass balance
Before you move on, do a quick mix sanity check:
- Make sure the sub stays centered and mono
- Listen for clashes between bass turn and kick
- Reduce bass notes that overlap the snare too much
- Keep the bass turn short enough that it doesn’t smear the groove
Useful stock tools:
- Utility: set bass layer to mono if needed
- EQ Eight: remove unnecessary top-end on the sub layer
- Spectrum: check that the low end is not overgrown
In darker DnB, the bass turn often works best when it is concise. The ear should catch the move instantly, then the groove should keep rolling.
10. Turn the resampled phrase into arrangement material
Don’t leave the turn only as a loop trick. Place it in the arrangement where it changes the energy:
- end of a 16-bar drop
- last 2 bars before a breakdown
- first bar after an 8-bar drum-only intro
- call-and-response with a fill or snare triplet
A good DnB arrangement move:
- use the original bass phrase for the first 8 bars
- switch to the resampled turn version for bars 9–12
- strip the bass down for 1 bar
- bring it back with a new variation on the next phrase
This keeps the track moving without requiring a totally new sound every time. It’s efficient, musical, and very usable in real DnB writing.
Common Mistakes
- Fix: keep the turn tight, often just 1–4 notes or a short audio chop. DnB moves fast; long bass gestures can muddy the drums.
- Fix: split the clean sub from the processed turn layer. Let the sub stay simple and controlled.
- Fix: make room around beats 2 and 4. Shorten the bass right before snare hits if needed.
- Fix: process a midrange layer harder and keep the sub cleaner.
- Fix: warp and nudge the audio until the turn lands exactly where the groove needs it.
- Fix: one strong move is better than five weak ones. A single cutoff sweep or volume dip can be enough.
Pro Tips for Darker / Heavier DnB
- Keep the sub simple in one track, and use the resampled turn for the aggressive texture above it.
- A cutoff swing from roughly 300 Hz to 1.5 kHz can be enough to make a phrase feel alive without sounding like a massive riser.
- Dark DnB often hits harder when most of the bar is restrained and the final turn is the only animated part.
- Reverse a short resampled slice and place it just before the main hit for tension. Keep it subtle and tight.
- A little Drive can help the turn cut through breaks and reese layers, but don’t crush the transient.
- If the break has a fill or ghost note, echo that rhythm in the bass turn. That call-and-response relationship is classic jungle/roller energy.
- Wider midrange movement can sound huge, but the sub should stay centered for club translation.
Mini Practice Exercise
Spend 10–20 minutes making one bass turn variation:
1. Start a new Live set at 174 BPM.
2. Program a basic 2-bar drum loop with kick, snare, and hats or a break.
3. Make one simple bass patch in Wavetable or Operator.
4. Write a 2-bar bass phrase with a clear end-of-phrase turn.
5. Record the bass as audio using Resampling.
6. Warp the audio so the turn lands tightly on the grid.
7. Slice the turn into a new MIDI track or duplicate the audio clip and chop it manually.
8. Add one FX move: filter sweep, saturation, or volume dip.
9. Place the new turn at the end of the 4th or 8th bar.
10. Compare the original phrase and the resampled variation. Ask: which one feels more like a DnB tune, and why?
If you have time, make a second version that is darker:

