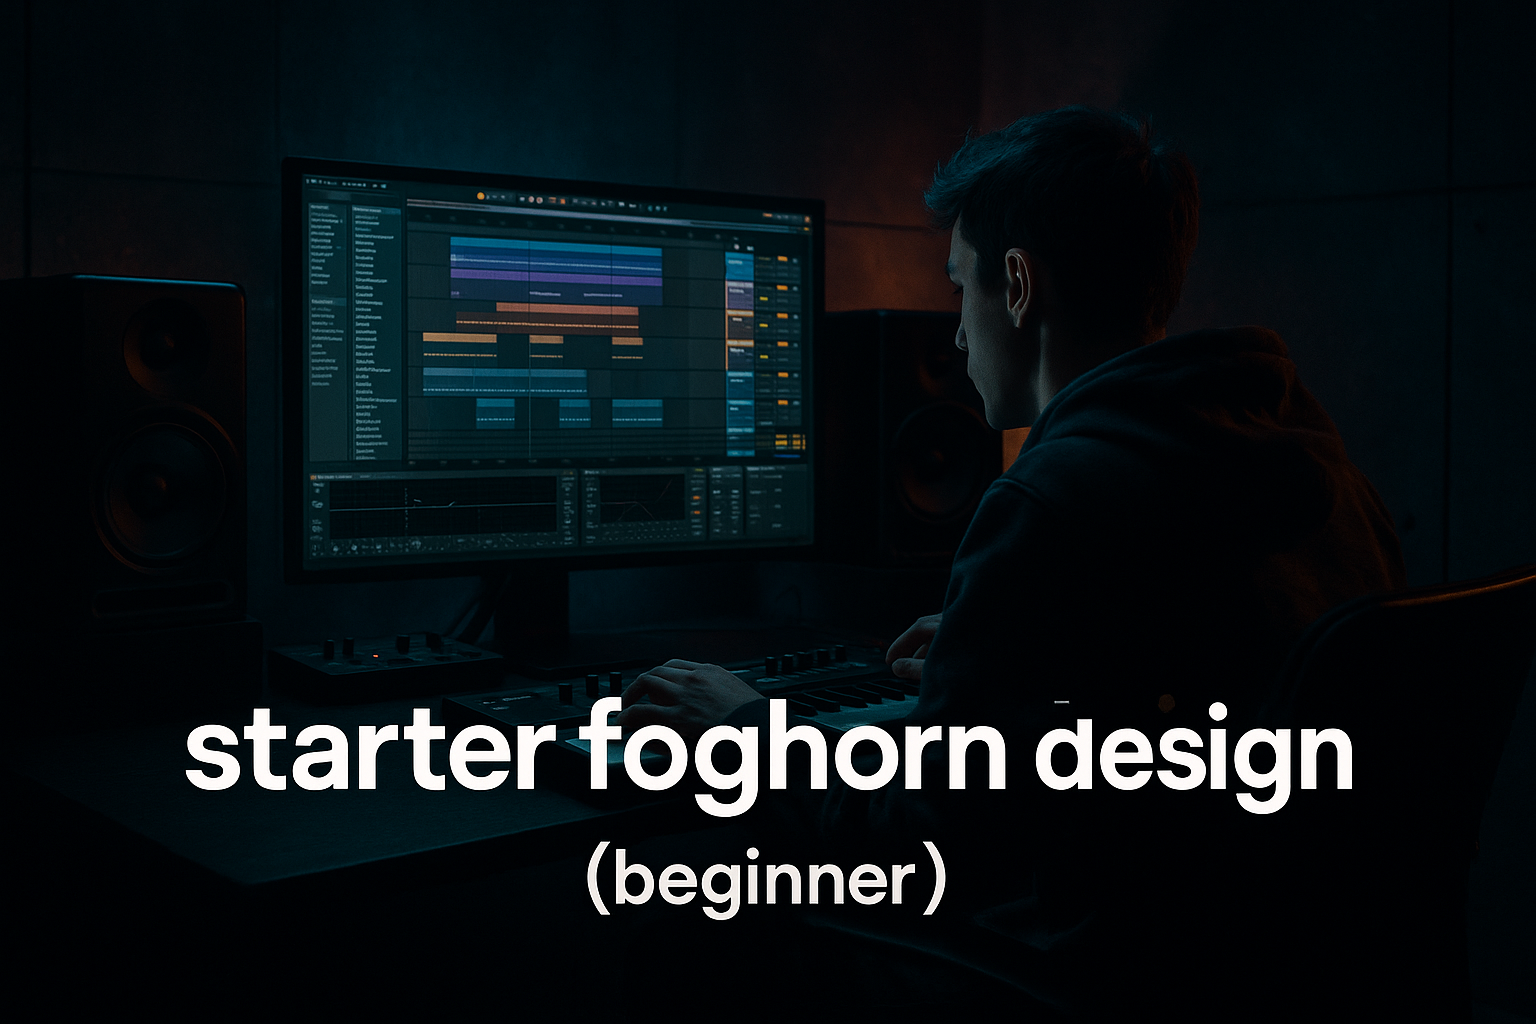
Main tutorial
Modulate an Amen-style switch-up with breakbeat surgery in Ableton Live 12 🥁⚡
1. Lesson overview
In this lesson, you’ll learn how to take a classic Amen-style break and turn it into a modulated switch-up that feels alive, musical, and properly drum and bass.
We’ll focus on breakbeat surgery inside Ableton Live 12 using stock tools only, so you can:
- chop the break into playable pieces
- rearrange it into a new DnB groove
- add modulation for movement and variation
- create a switch-up that works in an intro, drop, or transition
- keep it tight, heavy, and mix-ready
- a sliced Amen-style break in Simpler
- a switch-up pattern that changes the groove without losing momentum
- modulation using Auto Filter, Beat Repeat, Envelope Follower, or LFO-style movement via Ableton stock devices
- a short arrangement idea for a drop transition or 8-bar variation
- a darker DnB-ready drum loop that can sit under a sub or Reese bassline
- kick, snare, ghost hits, and cymbal texture
- enough dynamics to sound “alive”
- a clean start point if possible
- a strong snare
- some light ghost notes
- some open hat or ride texture
- a consistent transient attack
- Warp: On
- Warp Mode: Try Beats first
- Preserve: 1/16 or 1/8 for short breaks
- Transient loop mode: Off for now unless you need to stretch
- re-trigger individual hits
- rearrange the break
- duplicate snare ghosts
- create fill patterns and switch-ups
- kick on the downbeats
- snare on the 2 and 4
- add a few ghost hits around the snare
- use hats or ride slices to keep motion going
- snare accents on 2 and 4
- syncopated kick placement
- ghost notes just before or after snares
- tiny variations between bar 1 and bar 2
- Bar 1: more conservative, groove-setting
- Bar 2: extra ghost hit, snare flam, or small fill at the end
- move a kick earlier
- remove one ghost note
- add a snare lead-in before the next bar
- duplicate the snare slice before the main snare
- lower the velocity slightly for the ghosted version
- this creates momentum into the drop or next phrase
- repeat one slice 2–3 times at the end of the bar
- use very short note lengths
- this works especially well on hats or ride textures
- remove the main kick for a moment
- leave the snare and ghost hits
- add an unexpected slice repeat
- lower velocity on ghost notes
- keep main snare hits strong
- make some hats quieter than others
- slightly vary repeated hits
- Main snare: 110–127
- Kicks: 90–120
- Ghost notes: 20–70
- Hat ticks: 30–80
- Filter Type: Low-pass or band-pass
- Cutoff: automate between about 200 Hz and 12 kHz
- Resonance: low to moderate
- Drive: small amount if you want extra bite
- intro build-up
- mid-drop evolution
- transition into a heavier section
- Interval: 1/2 or 1 bar
- Grid: 1/16 or 1/8
- Chance: 20–40%
- Gate: 40–70%
- Pitch: off or subtle
- Filter: use lightly, if at all
- right before a drop
- during a fill
- for one-bar variation in the last part of a phrase
- breakbeat texture underneath
- punchy one-shots on top
- a clean snare on top of the break snare
- a punchy kick under the break kick
- a short hat layer if the break is too dusty
- Bars 1–2: original rolling break, lightly filtered
- Bars 3–4: add modulation, slightly open filter
- Bars 5–6: switch-up pattern with extra ghost notes and fill
- Bar 7: glitch or stutter moment
- Bar 8: full-energy fill leading into the next section
- sub bass
- Reese bass
- pad or atmosphere
- any transition FX
- Does the snare still punch through?
- Is the kick fighting the sub?
- Are the ghost notes too loud?
- Does the switch-up create energy or just clutter?
- Saturator
- Drum Buss
- Pedal for grittier tone if appropriate
- drop changes
- bass re-entries
- fill bars
- EQ Eight to tame fizz
- a gentle de-ess style cut around harsh highs if needed
- filter automation instead of adding more bright layers
- extra hat hits
- tighter stutters
- more distortion
- filter opening
- one more jungle / raw
- one more modern / heavy
- slice the break into playable parts
- preserve groove with velocity and swing
- create switch-ups by rearranging a small part of the phrase
- use stock Ableton devices like Simpler, Drum Rack, Auto Filter, Beat Repeat, Drum Buss, Saturator, EQ Eight, and Glue Compressor
- keep the break musical, not just fragmented
- test everything with bass in context
This is a beginner-friendly workflow, but it’s very much rooted in real jungle / DnB production practice. The goal is not just to “slice a loop” — it’s to make the break feel re-programmed while still keeping the energy and ghost-note character that makes the Amen so powerful.
---
2. What you will build
By the end, you’ll have:
Think of this as building a rolling break section with a more aggressive second half — the kind of thing that makes a drop feel like it’s evolving instead of just looping.
---
3. Step-by-step walkthrough
Step 1: Find a clean Amen-style break
You need a break that has:
If you’re using your own sample pack, look for a classic Amen break, Think break, or similar old-school funk break. For this tutorial, the exact break doesn’t matter — the technique does.
What to listen for
Choose a break with:
If the break is too noisy or too flat, it’s harder to make a clean switch-up.
---
Step 2: Warp the break correctly
Drag the break into an audio track in Ableton Live.
Recommended settings
If the break is already in time, keep warping minimal. You want the groove to stay natural.
Important
For drum and bass, don’t over-stretch the break at this stage. If it starts sounding phasey or smeared, back off and use slicing instead of heavy warp manipulation.
---
Step 3: Slice the break into Simpler
This is where the surgery begins.
Method
1. Right-click the break clip.
2. Choose Slice to New MIDI Track.
3. In the slice options, use:
- Transient for natural drum hit slicing
- or 1/16 if the break is very clean and you want strict rhythmic slicing
Ableton will create a Drum Rack with each slice assigned to pads.
Why this matters
Now you can:
This is a classic DnB workflow because it gives you surgical control while keeping the organic feel of the original break.
---
Step 4: Build a basic rolling pattern
Open the MIDI clip created by the slicing process.
Start with a simple 2-bar loop
Place:
A typical DnB break feel often includes:
Example rhythm idea
Use the original break slices to build something like:
This gives you a loop that already feels like it’s breathing.
---
Step 5: Create the switch-up section
Now make the break change in a noticeable but musical way.
Easy switch-up methods
Duplicate your 2-bar MIDI clip, then change the second version by doing one or more of these:
#### Option A: Rearrange the last half-bar
#### Option B: Create a snare push
#### Option C: Add a stutter fill
#### Option D: Break the groove for one bar
For a switch-up, make bar 4 or bar 8 feel different:
This kind of contrast is what makes a DnB break transition feel exciting.
---
Step 6: Use velocity to make it feel human
This is crucial.
In the MIDI editor:
Good starting velocity range
If every hit is the same velocity, the break will sound robotic. The Amen style depends on micro-dynamics.
---
Step 7: Add Groove Pool swing
Ableton’s Groove Pool is one of the fastest ways to give your break a more authentic swing.
How to use it
1. Drag a groove from Ableton’s Groove Pool, such as a MPC-style or MPC 16 Swing groove.
2. Apply it lightly to your MIDI clip.
3. Start with:
- Timing: 10–30%
- Velocity: 5–20%
- Random: very low or off
Good approach
Don’t over-swing the whole break. In DnB, too much swing can make the groove stumble. Use groove to nudge the feel, not to destroy the drive.
---
Step 8: Add modulation with stock Ableton devices
Now we make the break evolve.
Option 1: Auto Filter for movement
Add Auto Filter to the break chain.
Suggested settings
How to use it
Automate the cutoff over 4 or 8 bars so the break opens up into the drop or closes down into a tension section.
This is perfect for:
---
Option 2: Beat Repeat for glitchy switch-ups
Add Beat Repeat after the break.
Suggested starting settings
Best use
Automate Beat Repeat only for a few bars:
This creates a chopped, modern-edged switch-up without needing third-party plugins.
---
Option 3: Envelope Follower for reactive movement
If you want the break to influence a filter or effect:
1. Add a device like Auto Filter or Redux.
2. Add Envelope Follower if available in your Live pack setup, or use a modulation approach with stock racks/macros depending on your version and setup.
3. Map the incoming audio dynamics to the device parameter.
This is useful if you want the snare peaks to move a filter slightly, giving the break a more animated, organic pulse.
---
Step 9: Process the break like a DnB drum bus
Once the pattern works, group the break and process it.
Suggested stock chain
Try this on the break group:
1. Drum Buss
- Drive: subtle to medium
- Crunch: low to moderate
- Boom: careful — only if the break needs extra low-end body
2. EQ Eight
- High-pass around 80–120 Hz if the sub bass owns the low end
- cut harshness around 3–6 kHz if needed
3. Saturator
- Soft Clip: on
- Drive: small amount
4. Glue Compressor
- Light compression, not smashing
- aim for cohesion, not flattening
Why this helps
DnB breaks need to hit hard but stay controlled. You want the transient snap, snare weight, and cymbal sparkle without turning the whole thing into mush.
---
Step 10: Layer with one-shot drums if needed
A lot of modern DnB uses a hybrid approach:
Try layering:
Rule
Don’t erase the break character. Just reinforce it.
If you over-layer, it stops sounding like a break and starts sounding like a drum machine. That can be great, but it’s a different vibe.
---
Step 11: Arrange the switch-up musically
Here’s a simple DnB arrangement idea:
8-bar phrase example
Arrangement tip
Make the switch-up happen at the end of a phrase, not randomly. DnB is all about momentum, and the listener should feel the change coming.
---
Step 12: Bounce and audition in context
Always test the break with:
The break may sound amazing solo but weak in context. In DnB, the drums must lock with the bassline.
What to check
---
4. Common mistakes
1. Over-chopping the break
If every hit is isolated and rearranged randomly, the groove loses identity.
Fix: keep some phrase logic and preserve key snare placements.
---
2. Too much quantization
Perfect timing can kill the swing and character of an Amen-style break.
Fix: use light quantization or manual adjustment, and preserve some natural feel.
---
3. Too many effects at once
Auto Filter, Beat Repeat, Redux, Saturator, Delay — all at once can muddy the break.
Fix: start with one modulation device, then build carefully.
---
4. Weak velocities
If all hits are the same volume, the break becomes flat.
Fix: emphasize main hits and soften ghost notes.
---
5. Bad low-end conflict
If the break has too much low end, it can fight the sub.
Fix: high-pass the break group if needed and let the sub own the lowest frequencies.
---
5. Pro tips for darker/heavier DnB
Use darker filtering
A low-pass filtered break with a slow automation opening into the drop can sound massive. This is especially effective in neuro-influenced or deep dark rollers.
---
Add subtle distortion
Use:
A little harmonic distortion can help the snare cut through dense bass layers.
---
Duplicate the snare ghost pattern
Dark DnB often benefits from a snare pattern that feels like it’s constantly pulling forward.
Try duplicating quiet snare ghosts before the main backbeat for a tense, rolling feel.
---
Use reverse slices for tension
Take a cymbal or snare tail slice and reverse it before a switch-up.
This works great into:
---
Keep the top-end controlled
Dark/heavy DnB can get harsh quickly.
Use:
---
Make the second half nastier
A great trick is to keep bar 1 relatively clean and make bar 2 more aggressive:
That contrast sells the switch-up.
---
6. Mini practice exercise
Goal
Create a 4-bar Amen-style switch-up that evolves from steady rolling break into a more chopped, modulated phrase.
Exercise steps
1. Import any Amen-style break.
2. Slice it to a Drum Rack.
3. Program a 2-bar rolling groove.
4. Duplicate it to make 4 bars.
5. Change bars 3–4 by:
- removing one kick
- adding one snare ghost
- creating a short stutter fill at the end of bar 4
6. Add Auto Filter and automate the cutoff:
- bar 1 low cutoff
- bar 4 wider open
7. Put Drum Buss lightly on the break group.
8. Bounce it and listen with a sub bass.
Challenge version
Make two versions:
Compare how much chopping, filtering, and saturation each version needs.
---
7. Recap
You’ve now learned how to build an Amen-style switch-up in Ableton Live 12 using breakbeat surgery and modulation.
Key takeaways
If you do this well, your drums will stop sounding like a loop and start sounding like a performance — exactly what strong drum and bass production needs. 🔥
If you want, I can also turn this into a screen-by-screen Ableton Live 12 workflow or give you a MIDI pattern example for a 2-bar Amen switch-up.

