Main tutorial
Lesson Overview
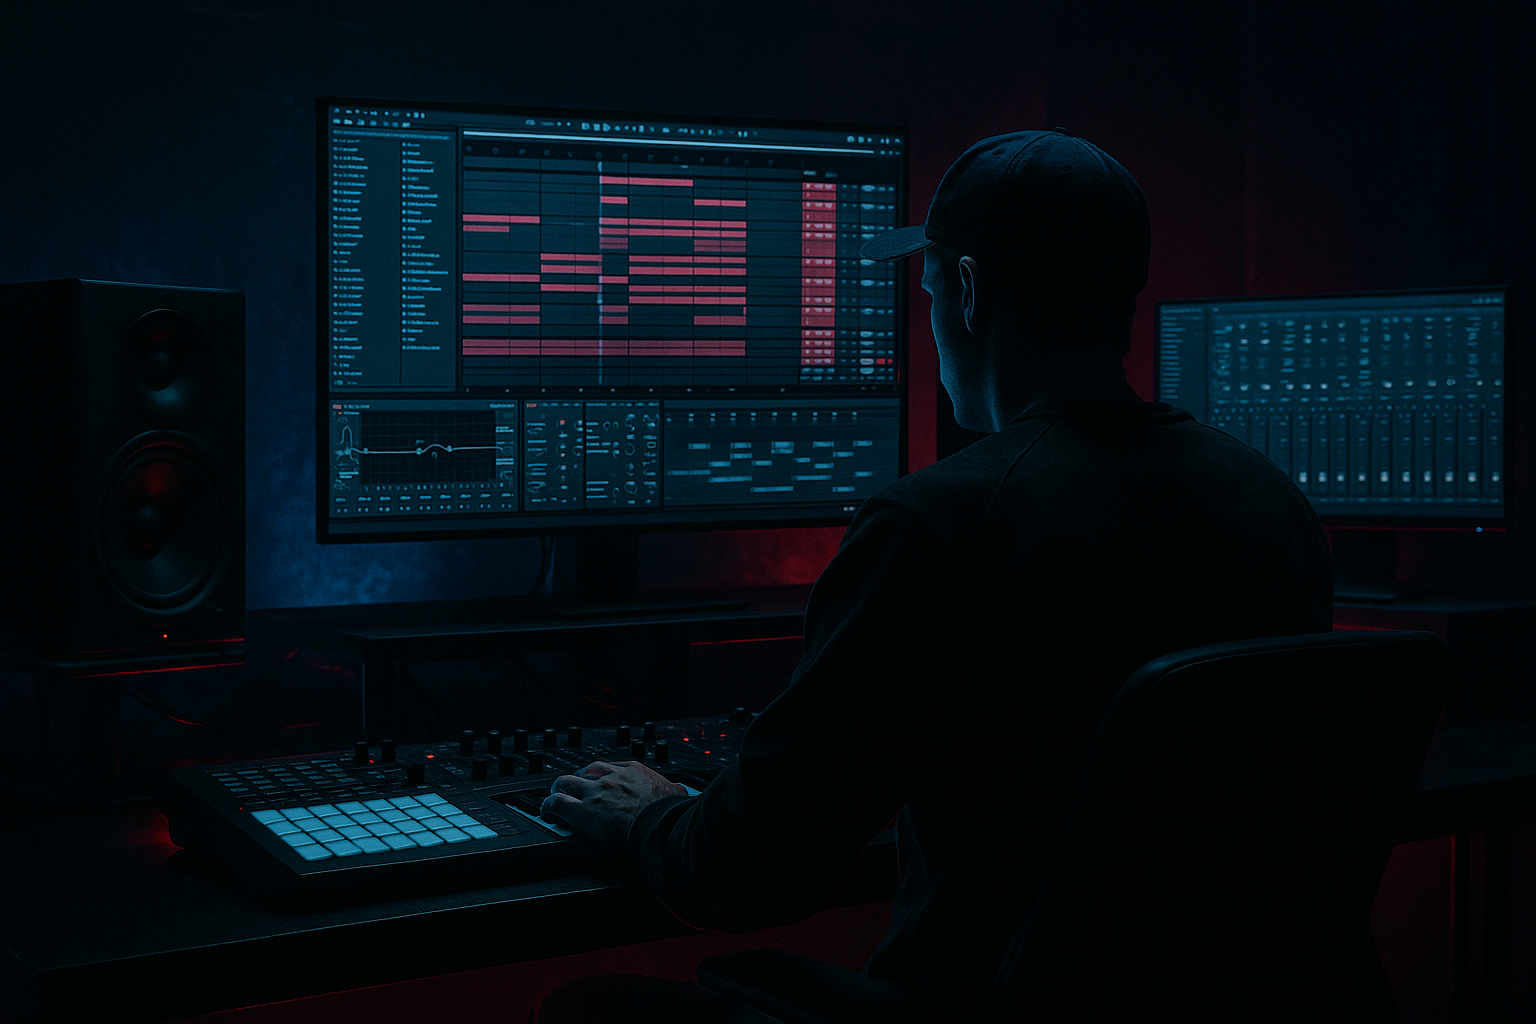
In this lesson, you’ll build a Moonlit Jungle drop stack in Ableton Live 12: a compact, dark, energetic DnB drop where the drums, sub, reese, and texture layers work as one unit. This is the kind of stack you hear in modern jungle-infused rollers, darker dancefloor DnB, and neuro-leaning arrangements where the drop feels huge without becoming messy.
The goal is not to make “more sounds for the sake of it.” The goal is to create a clear arrangement layer stack for the drop:
- a sub layer that holds the low-end
- a mid bass/reese layer that carries movement and attitude
- a drum layer built from breaks and punchy one-shots
- a texture/FX layer for moonlit atmosphere, tension, and impact
- a mono sub holding a simple, rolling bass pattern
- a mid-bass/reese layer with filtered movement and saturation
- a drum stack made from a break edit plus kick/snare support
- a small FX/atmosphere layer that helps the drop feel “moonlit” and cinematic
- basic arrangement automation for filter motion, level changes, and transition energy
- bars 1–2: intro to the drop with tension and groove
- bars 3–4: the full stack opens up with more movement and impact
- a slightly eerie, nocturnal character with jungle energy underneath 🌙
- Making the sub too loud or too busy
- Letting the reese take over the low end
- Over-layering too early
- No phrase movement in the arrangement
- Breaks sounding messy or uncontrolled
- Too much stereo width in the low end
- Automate darkness into brightness: start the reese filtered down, then open it slightly into the second half of the drop. This gives you tension without needing a huge sound.
- Layer texture above the bass, not inside it: a thin noise layer, vinyl texture, or reversed atmosphere can make the drop feel bigger without muddying the low-end.
- Use subtle distortion instead of huge volume: Saturator or Drum Buss can add perceived energy while keeping your mix controlled.
- Let the break keep some roughness: in darker DnB, a slightly raw break can make the track feel underground and alive.
- Keep the kick and sub relationship simple: the more complex the bass, the more disciplined the kick pattern should be.
- Use short silence before a snare fill: even a tiny gap can make the next hit feel much bigger.
- Resample later: once your drop stack feels good, bounce the bass or drum layers to audio and edit the performance. That’s a classic way to create more aggressive, controlled movement in jungle and neuro-adjacent DnB.
- sub = mono, simple, and solid
- mid-bass/reese = movement, tone, and tension
- drums = break energy plus controlled support
- arrangement = changes every few bars
- FX and automation = atmosphere and forward motion
Why this matters: in DnB, the drop is often judged in the first 4–8 bars. If the energy, contrast, and low-end roles are defined clearly, the drop hits hard and stays readable on club systems. If every layer fights for the same space, it turns into noise fast. This lesson shows you a beginner-friendly way to organize a drop stack in Ableton Live so your arrangement feels intentional, not random.
You’ll also learn why this works in DnB: the genre relies on fast groove, tight low-end separation, and controlled tension/release. A good drop stack gives you all three without needing advanced sound design.
What You Will Build
By the end, you’ll have a 4-bar DnB drop stack in Ableton Live 12 with:
Musically, the result should feel like:
This is a practical drop concept you can reuse in rollers, jungle, darkstep, and minimalist neuro-influenced DnB.
Step-by-Step Walkthrough
1. Set up a clean drop section in Arrangement View
Open Ableton Live 12 and switch to Arrangement View. Create a 16-bar section to work in, but focus on the main 4-bar drop area first. Label the section if you like: “Moonlit Jungle Drop.”
Put your markers in place:
- 4 bars before the drop for tension
- 4 bars for the first drop phrase
- 4 bars for a variation
- 4 bars for a reset or fill
For beginners, this matters because arrangement is easier when you think in phrases, not endless loops. DnB drops often feel strongest when they change something every 4 bars: a drum fill, bass variation, or FX lift.
If you already have a reference track, drop it on a new audio track and use it to compare energy and density. Keep the reference low in volume.
2. Build the sub bass first with a simple mono synth
Create a MIDI track and load Analog or Operator. Keep it simple:
- use a sine or very clean waveform
- turn off unnecessary unison or stereo widening
- keep the sound mono
In Operator, a solid beginner setup is:
- Oscillator A: sine
- Volume envelope: short attack, full sustain
- Optional: tiny release, around 20–60 ms
Write a basic bass pattern with 1–2 notes per bar to start. For a Moonlit Jungle feel, keep it rolling and spaced, not overplayed. Try something like:
- note on beat 1
- another short note before beat 3
- occasional pickup note into the next bar
Suggested note style:
- root note on the downbeat
- octave jump or fifth for movement
- short note lengths so the groove breathes
Why this works in DnB: the sub gives the drop its physical weight. In fast music, the sub doesn’t need a complex melody — it needs consistent low-end support so the drums and mid-bass can move around it.
3. Add a reese or mid-bass layer for attitude
Create a second MIDI track. Use Wavetable, Analog, or Operator depending on what you know best. For beginner-friendly reese movement in Ableton:
- use a saw-based sound
- detune slightly
- keep it darker with a low-pass filter
Good starting settings in Wavetable:
- Oscillator: saw or basic wavetable
- Unison: 2–4 voices
- Detune: subtle, around 5–15%
- Filter: low-pass with cutoff around 200–800 Hz to start, then automate
- Add a small amount of Drive if needed
Program the same rhythm as the sub at first, then change one or two notes so the layer feels alive. For example:
- sub holds the root
- reese adds a slight rhythmic answer on the offbeat
- a short note can lead into a snare hit
Insert Saturator after the synth:
- Drive: 2–6 dB
- Soft Clip: on if needed
If the sound gets too wide or muddy, add Utility and reduce Width to keep the low mids controlled.
This layer is the emotional center of the drop. It brings the darker jungle mood and helps the drop cut through on smaller speakers.
4. Shape the bass relationship with EQ and stereo discipline
On the sub track, add EQ Eight:
- low-pass anything above the area where the sub becomes messy
- usually keep sub energy focused below roughly 80–120 Hz
- if needed, gently cut a little mud around 150–250 Hz
On the mid-bass track:
- use EQ Eight to remove unnecessary low-end
- high-pass around 90–150 Hz depending on the patch
- if the sound feels harsh, reduce 2–5 kHz a little
Use Utility on the sub:
- Width at 0%
- keep it fully mono
This is essential in DnB because the kick and sub must feel locked together. If the bass is wide down low, the drop will lose punch and translation.
Quick rule:
- sub = mono and clean
- mid bass = movement, but controlled
- low-end separation = clarity
5. Create the drum stack with a break edit plus support hits
Add an audio track with a drum break. If you don’t have a break sample, use a basic Amen-style or broken break loop from your library, then slice it lightly.
Beginner workflow in Ableton:
- drag the break into Arrangement
- duplicate a 1-bar loop into 4 bars
- cut out or mute a few hits so it breathes
- add your own kick and snare underneath if the break is thin
Useful stock devices:
- Drum Buss on the break track or drum group
- EQ Eight to clean low-end rumble
- Compression if the break needs gluing
Drum Buss starting points:
- Drive: 5–15%
- Crunch: light, if you want grit
- Boom: use carefully, or skip if the low-end gets too big
- Damp: adjust to soften harsh tops
For a Moonlit Jungle drop, keep the drums slightly ragged but controlled. The break gives you the jungle DNA; the kick and snare help the drop feel direct and modern.
In arrangement, place a small drum variation in bar 4:
- a snare fill
- a chopped break slice
- a kick pickup
- a short reverse crash
6. Add atmosphere and a simple FX layer
Create one more audio or MIDI track for atmosphere. This could be:
- a dark vinyl crackle texture
- a filtered noise swell
- a distant ambient loop
- a reversed chord hit
- a rain-like field texture
Keep it subtle. Use Auto Filter:
- low-pass the texture around 2–8 kHz
- automate the cutoff opening slightly into the drop
- keep the volume low so it supports the vibe instead of distracting
Add Reverb or Echo lightly:
- Reverb Decay: around 1.5–4 seconds
- Echo Feedback: low to medium
- Filter the delay so it doesn’t clutter the low mids
This layer gives the drop its “moonlit” identity. In darker DnB, small atmospheres make the arrangement feel expensive and intentional, especially when they rise just before the snare.
7. Automate the drop transition inside the arrangement
Now make the drop feel like a drop, not just a loop. In Arrangement View, automate a few key changes over the first 4 bars:
- open the mid-bass filter from darker to brighter
- slightly increase reese drive or resonance
- automate a subtle volume lift on the atmosphere
- mute or thin the break briefly before the snare hit
Good beginner automation ideas:
- Auto Filter cutoff on the reese: start lower, open by the second bar
- Utility gain on the texture: rise by 1–2 dB into the first fill
- Drum Buss drive: tiny increase for the second half of the phrase
A practical arrangement example:
- bars 1–2: bass is darker, drums are tight, atmosphere is low
- bar 3: filter opens, break gets more active
- bar 4: a short fill or snare pickup leads into the next phrase
This kind of shape is common in DnB because listeners need clear forward motion every few bars. Even small automation moves create that feeling of pressure release.
8. Group your layers and balance the drop
Group your bass tracks into a Bass Group and your drums into a Drum Group. This gives you faster control over the whole stack.
On the Bass Group:
- use EQ Eight to make gentle overall corrections
- add Glue Compressor lightly if the layers feel disconnected
- keep headroom by avoiding extreme volume
On the Drum Group:
- use Drum Buss or Glue Compressor carefully
- keep the snare punch intact
- avoid crushing the break too hard
Balance guide:
- sub should feel powerful, not loud by itself
- kick and snare should sit clearly on top of the sub
- mid-bass should be audible on small speakers, but not overpower the drums
For a beginner mix, keep the master from clipping and leave roughly -6 dB headroom if possible. That keeps the drop manageable for later polishing.
9. Use call-and-response to keep the drop interesting
DnB drops feel more alive when the bass and drums “talk” to each other. If the bass hits on one part of the bar, let the drums answer, or vice versa.
Easy beginner examples:
- bass note on beat 1, snare or break accent on beat 2
- bass stab on the offbeat, then a drum fill on the next bar
- reese layer pulls back for one half-bar, then returns
In a Moonlit Jungle playbook, this creates a darker, more hypnotic roller feel. You don’t need a busy melody. Just make sure the rhythm has question-and-answer movement.
A simple rule: if the bass is busy, simplify the drums slightly. If the drums are going hard, let the bass phrase breathe. That balance keeps the drop powerful.
Common Mistakes
Fix: simplify the notes and keep it mono. The sub should support the groove, not fight the drums.
Fix: high-pass the mid-bass and use EQ Eight to clear space below the kick/sub range.
Fix: build the drop with 3–4 strong parts first. Add extra layers only if they solve a problem.
Fix: change something every 4 bars: filter, drum fill, bass note, or atmosphere.
Fix: trim the break, reduce overlapping low-end, and use Drum Buss gently instead of over-compressing.
Fix: keep sub mono with Utility and be careful with widening effects on bass layers.
Pro Tips for Darker / Heavier DnB
Mini Practice Exercise
Spend 10–20 minutes building a mini drop stack in Ableton Live:
1. Create a new 8-bar loop in Arrangement View.
2. Build a mono sub line with only 2–4 notes total.
3. Add a reese layer with the same rhythm, but high-pass it so it doesn’t fight the sub.
4. Place a chopped break loop on an audio track.
5. Add a kick and snare if the break feels too thin.
6. Insert one atmosphere layer and automate a filter opening into bar 5.
7. Create one fill at the end of bar 4 or bar 8.
8. Solo each layer and then hear the full stack together.
9. Check that the sub stays centered and the mid-bass stays controlled.
10. Export a rough bounce and listen on headphones or small speakers.
Goal: make the drop feel like a real DnB section, not just a loop. Focus on contrast, not complexity.
Recap
A strong Moonlit Jungle drop stack in Ableton Live 12 comes down to a few core ideas:
If you keep the low end clear, use phrase-based arrangement, and let each layer have a job, your DnB drops will sound stronger fast. Start small, build the stack clearly, and shape the energy with automation and contrast.

