Main tutorial
1. Lesson Overview
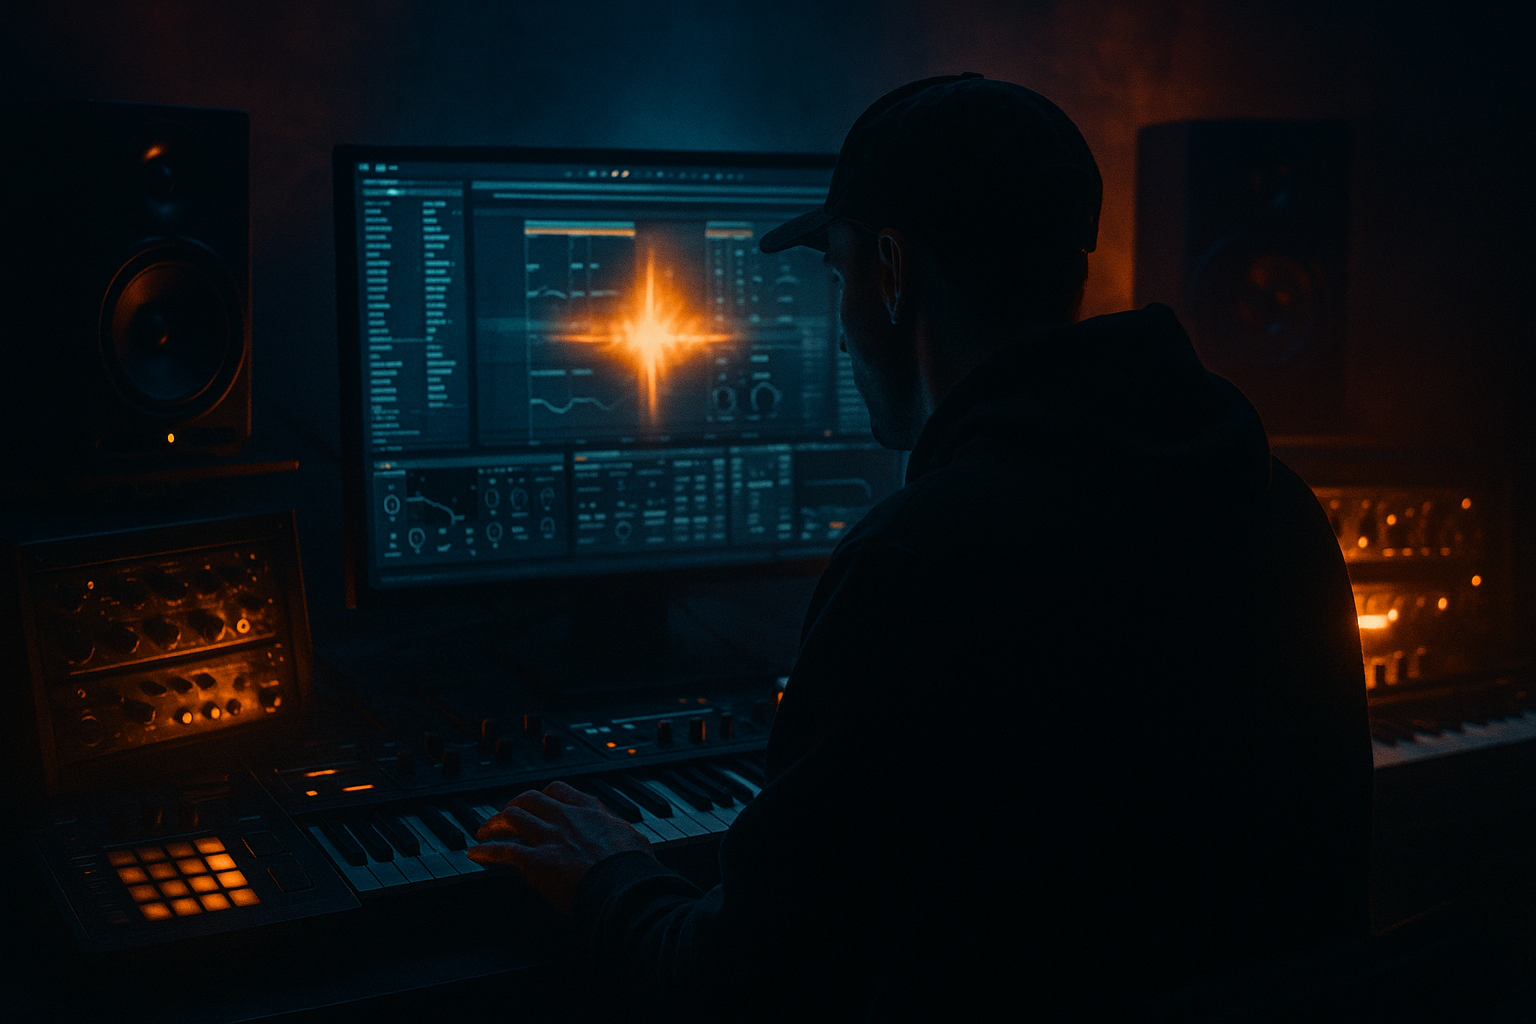
This lesson teaches an intermediate Ableton Live 12 workflow: Nia Archives darkside intro: control and arrange in Ableton Live 12 using macro controls creatively. You’ll build a macro-driven intro patch and an arrangement approach that gives you hands-on, performable control over the “darkside” evolution — opening filters, introducing texture, glitching vocal chops and dialing ambience — all by automating a few well-designed Macro knobs (including a global Macro rack for cross-track control). The goal is a compact, repeatable system you can automate in Arrangement View and tweak live.
2. What You Will Build
- A 16–32 bar darkside intro for Drum & Bass (170–175 BPM) using Ableton Live 12 stock devices.
- A set of named Macro controls (Darkness, Movement, Texture, Space, Chop) that each control several mapped parameters across multiple devices and tracks.
- A “Global Macro Rack” on the Master (or a dedicated control track) that manipulates filter cutoffs, send levels, Beat Repeat/Grid, chain selection between texture layers, and reverb/delay amounts so you can arrange the intro by automating 4–5 Macros instead of dozens of separate parameters.
- Mapping everything to a single Macro: tempting but makes it hard to sculpt. Keep mapping focused — one Macro should control related parameters (tone vs motion vs space).
- Forgetting to set mapping ranges: default ranges often make a Macro too extreme; set usable min/max.
- Not naming Macros: you’ll forget which knob does what during arrangement or performance.
- Mapping gain or send levels without compensating: Macro moves can change loudness and mask dynamics. Use Utility’s gain mapping or normalize levels.
- Using Chain Selector without overlap: abrupt chain switching can clip or cause clicks. Set overlaps for crossfades between chains.
- Over-automating: too many rapid macro changes can sound chaotic. For intros, favor slow curves and occasional precise jumps.
- Invert a Macro’s behavior by swapping the mapped parameter’s min/max values (e.g., Macro low = high cutoff, Macro high = low cutoff). Great for “Darkness” toggles that close when you raise the Macro.
- Use the Master Global Macro Rack to map to ANY mappable parameter across the Live set (track volumes, device on/off buttons, return sends). That makes one rack your “show control.”
- Use small amounts of Grain Delay and Beat Repeat mapped to Texture/Chop for subtle micro-variation. High amounts can be used briefly for dramatic leads into sections.
- Create multiple stored Macro states: duplicate the rack and set different default Macro positions for quick A/B intro variants (e.g., “sparse” vs “full”).
- When automating Macros in Arrangement, use gentle curves (right-click automation line → set curve) rather than hard steps for more natural evolution.
- Save CPU: bounce extremely heavy texture chains to audio and map Macros to clip-level parameters (clip gain, warp mode). You can still use the same global Macro controls mapped to Utility, chain selection, or Return sends to shape the audio.
- Step A (5 minutes): Build a short Pad track (Wavetable + Auto Filter + EQ + Saturator). Put an Audio Effect Rack on the Pad and map Macro 1 = Filter Cutoff, Macro 2 = Saturator Drive.
- Step B (5 minutes): Create a Vocal Chop Simpler track with short slices. Add Beat Repeat and Auto Pan. Map Macro 3 = Beat Repeat Grid/Gate and Auto Pan Rate.
- Step C (5 minutes): Create Return A Reverb. Put an Audio Effect Rack on Master and map Macro 4 = Return A Send for Pad and Vocal.
- Step D (10 minutes): Arrange 8 bars: Bars 1–4 keep Darkness high (closed cutoff), Texture low, Space low. Bars 5–8: draw automation so Macro 1 opens gradually, Macro 3 increases glitchiness on bar 7, Macro 4 blooms on bar 8. Export or listen and iterate.
3. Step-by-Step Walkthrough
Preparation
1. Set project tempo to 170–174 BPM (typical dark DnB range).
2. Create these tracks: Kick/Sub (Audio/MIDI), Perc/Break (Drum Rack), Pad/Bed (Wavetable or Sampler), Noise/Textures (Audio with reversed textural clips), Vocal Chop (Simpler), and Master (for Global Macro Rack). Also create Return A = Reverb (Hybrid Reverb), Return B = Delay (Ping Pong/Delay).
Design texture layers (build sound sources)
3. Pad/Bed: load Wavetable (stock). Use a low, dark wavetable (triangle-ish / chilled saw with heavy detune). Add Auto Filter after Wavetable set to Low Pass. Add EQ Eight to notch out conflicting mids. Add Saturator (soft clip) after EQ.
4. Noise/Textures: Import a few reversed long samples and a high-passed noise layer. Put an Audio Effect Rack on this track (we’ll map Macros later). Add Grain Delay for granulation, and Beat Repeat for glitchy stutters.
5. Vocal Chop: Load a short vocal phrase into Simpler (Slice or Classic mode). Add Auto Pan for stereo motion and Beat Repeat after Simpler to introduce rhythmic glitching. Add EQ and Light Reverb.
Create an Audio Effect Rack as the per-track control surface
6. On each track with effects (Pad, Noise, Vocal), group the devices into an Audio Effect Rack (select devices → Cmd/Ctrl+G). Open the Rack’s Macro Map (click the small “Map” button).
7. Assign local Macros:
- Macro 1: Filter Cutoff — map Auto Filter cutoff on the track. Set mapping range so min is low (dark) and max is bright (open).
- Macro 2: Texture Drive — map Saturator Drive and Grain Delay Feedback (so increasing Macro pushes more grit and repeats).
- Macro 3: Movement — map Auto Pan Rate and Depth OR Simpler Start/Slice Position to create rhythmic variation.
- Macro 4: Space — map Return A send (Reverb) and Reverb Dry/Wet; optionally map Hybrid Reverb Decay.
- Macro 5: Chop — map Beat Repeat Grid or gate length and Simpler Slice parameters for glitch density.
Build a Chain Selector rack for switching texture chains
8. Instead of toggling devices on/off, create an Audio Effect Rack with multiple chains for the Noise/Pad track:
- Chain 1: Pad only (smooth)
- Chain 2: Pad + Tape Noise (gritty)
- Chain 3: Pad + Reversed Hits (staccato)
- Use the Chain Selector (show chain list → create chains), then map Chain Selector range to a Macro named “Texture Select”. Set overlapping ranges so transitions can be smooth (instead of abrupt).
9. Map this Chain Selector to a Macro in the same Rack (Map Mode → click Chain Selector bar → Map to Macro).
Create a Global Macro Rack for cross-track control
10. Create an empty Audio Effect Rack on the Master track (or on a dedicated MIDI/control channel if you prefer).
11. Click Map and then map parameters across tracks:
- Map Master Rack Macro 1 “Darkness” to: Pad Auto Filter cutoff (min closed → max open), Vocal Simpler lowcut frequency (so it adds/removes high content), and optionally reduce Pad’s output gain when closed (via Utility).
- Map Macro 2 “Movement” to: Noise track Beat Repeat Grid, Vocal Auto Pan Rate, and Pad LFO Rate (or an LFO device if you have Max for Live). Make mapping ranges so low = static, high = active movement.
- Map Macro 3 “Texture” to: Grain Delay Dry/Wet, Saturator Drive (across tracks), and Return A send amount (so more texture = more space).
- Map Macro 4 “Space” to: Return A Dry/Wet and Return B Dry/Wet and Reverb Decay. This gives one knob to darken/brighten ambience.
- Map Macro 5 “Chop” to: Chain Selector on Noise Pad Rack (to pick aggressive chains), Beat Repeat Gate and Interval, and Simpler slice start range for the Vocal Chop.
Fine tune Macro ranges
12. While still in Map mode, click each mapped parameter and set min/max by adjusting the parameter directly; this narrows the effect of the Macro. For example, set Darkness min = 40 Hz cutoff (really dark), max = 2.5 kHz (open enough for vocal clarity).
13. Name and color each Macro clearly (double-click Macro name to rename). Use short names: Darkness, Movement, Texture, Space, Chop.
Automate Macros in Arrangement to create the darkside intro
14. Switch to Arrangement View. Show the Master Rack device (or the track where your Global Macro Rack sits).
15. Draw automation for the Macros:
- Bars 1–8: Darkness = high (closed), Texture = low, Space = low, Chop = 0 (off).
- Bars 8–16: Darkness slowly opens (curve) while Texture increases and Movement introduces panning/beat repeat (introduce stutter). Chop moves from 0 to mid as vocal slices start appearing.
- Bars 16–24: Space opens fully (more reverb/delay), Texture peaks, Chop increases for a crescendo before the drop/beat.
16. Use breakpoints, smoothing, and small random edits on the Chop macro automation to produce humanized irregularity — this mimics Nia Archives’ intro phrasing where texture and glitch modulate dynamically.
17. If you want a performable variant, map the Global Rack to a MIDI controller and capture automation via recording knob moves into Arrangement View.
Polish and mixing considerations
18. Use Utility on each track mapped to a Macro to compensate for level changes (map Macro to Utility Gain but set ranges so Macro doesn’t cause clipping).
19. Add subtle automation to Return sends from other tracks, e.g., when Space macro rises, slightly boost Return A send from the Vocal track.
20. Save the Global Macro Rack as a preset (Right-click rack bar → Save Preset) so you can reuse the macro-driven intro system in other projects.
4. Common Mistakes
5. Pro Tips
6. Mini Practice Exercise
Goal: Create an 8-bar darkside intro that evolves using only 4 Macros.
7. Recap
This lesson showed a practical intermediate Ableton Live 12 workflow for Nia Archives darkside intro: control and arrange in Ableton Live 12 using macro controls creatively. You learned to build per-track racks, a Global Macro Rack, use Chain Selector for texture switching, map multiple parameters to named Macros with careful ranges, and automate those Macros in Arrangement View to create a compelling, performable intro. Practice the mini exercise, save your Macro rack presets, and reuse the system as a template to speed up future darkside intros.

