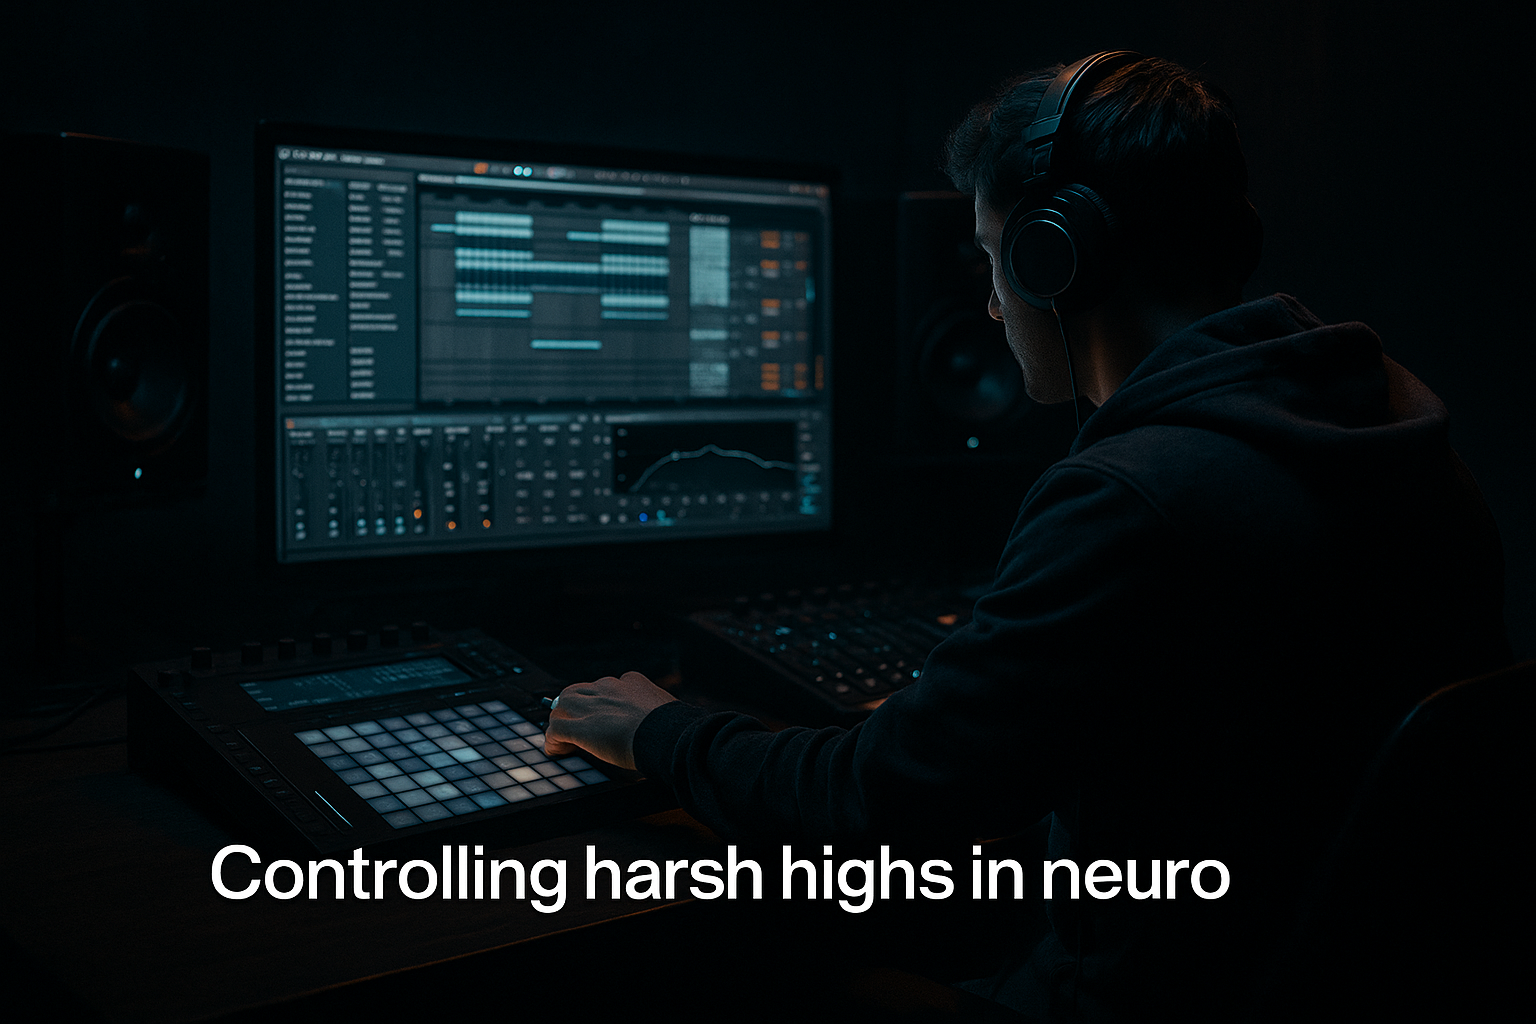
DNB COLLEGE

AI Drum & Bass Ableton Tutorials

LESSON DETAIL

Noise layers for pirate-radio vibes from scratch for pirate-radio energy (Intermediate)

An AI-generated intermediate Ableton lesson focused on Noise layers for pirate-radio vibes from scratch for pirate-radio energy in the Sound Design area of drum and bass production.

Free plan: 0 of 1 lesson views left today. Premium unlocks unlimited access.

Noise layers for pirate-radio vibes from scratch for pirate-radio energy (Intermediate) cover image

Narrated lesson audio

The voice track includes the tutorial plus extra teacher commentary.

Open audio file

Main tutorial

```markdown

Noise Layers for Pirate-Radio Vibes (DnB in Ableton Live) 📻🔥

1. Lesson overview

Pirate-radio energy in drum & bass isn’t just “noise”—it’s controlled texture: hiss, air, crackle, RF wobble, cheap compression, band-limited top end, and the feeling that the track is being broadcast through slightly battered gear.

In this lesson you’ll build purposeful noise layers from scratch in Ableton Live and learn how to automate, sidechain, distort, and band-limit them so they glue into rolling DnB/jungle without washing out the drums.

---

2. What you will build

You’ll create three noise layers and a simple “broadcast bus”:

1) Wide Air Hiss (Stereo Top Layer)

Adds speed and urgency around 8–16 kHz.

2) Mid “Radio Hash” Layer (Band-Limited & Warbly)

The “pirate transmission” vibe (1–4 kHz focus, movement + grit).

3) Vinyl/Tape Crackle Layer (Transient Texture)

Adds old-school grit and rhythmic chatter—especially nice in breakdowns.

Plus:

  • A Noise Group with sidechain ducking to the kick/snare.
  • A Broadcast Bus effect chain for that FM/AM-ish squeeze and tone.
  • ---

    3. Step-by-step walkthrough

    A) Session setup (DnB context first)

    1. Set tempo to 172–176 BPM.

    2. Load or create a basic rolling beat:

    - Kick on 1 and 3 (or your preferred two-step/roller pattern).

    - Snare on 2 and 4.

    - Hats/shuffles running 1/16–1/32 for energy.

    3. Create a Group Track called NOISE. You’ll put all noise layers inside it.

    > Why: Grouping lets you process/duck everything together like a “broadcast texture bed”.

    ---

    B) Layer 1 — Wide Air Hiss (fast, clean, controlled) 🌬️

    Goal: add “air” without harshness or masking cymbals.

    1. Create a MIDI Track named `Air Hiss`.

    2. Drop Operator (stock) on it.

    3. Operator settings:

    - Oscillator A → choose Noise White (or “Noise” and set it bright).

    - Turn Off other oscillators (B/C/D).

    - Amp Envelope (A Env):

    - Attack: 5–15 ms

    - Decay: 0

    - Sustain: -inf or 0 dB depending on mode (you want constant level when note held)

    - Release: 50–150 ms

    4. Draw a long MIDI note spanning 8–16 bars (C3 is fine; pitch doesn’t matter for noise).

    5. Add Auto Filter after Operator:

    - Mode: Highpass

    - Slope: 24 dB

    - Frequency: 7–10 kHz

    - Resonance: 0.2–0.5

    6. Add Utility:

    - Width: 130–160% (taste)

    - Gain: set so it’s subtle: start around -24 to -18 dB on the track meter.

    ✅ Result: a clean “air bed” that makes drops feel like they’re moving faster.

    Optional movement

  • Add Auto Pan (after Auto Filter):
  • - Amount: 10–25%

    - Rate: 0.10–0.30 Hz (slow drift)

    - Phase: 180° (stereo motion)

    ---

    C) Layer 2 — Mid “Radio Hash” (the pirate sauce) 📡

    Goal: gritty midrange noise that feels broadcast-y and alive.

    1. Create a new MIDI Track named `Radio Hash`.

    2. Drop Wavetable (stock) on it.

    3. In Wavetable:

    - Osc 1: choose a Noise wavetable (e.g., “Noise” category)

    - Unison: 2–4 voices, Amount low

    - Position: anywhere—then modulate it for motion:

    - LFO 1 → Position

    - Rate: 0.2–0.6 Hz

    - Amount: subtle (just enough to move)

    4. Add EQ Eight after Wavetable:

    - HP at 250–400 Hz (24 dB)

    - LP at 4–6 kHz (12 or 24 dB)

    - Optional bell boost: +2 to +4 dB at ~2 kHz (Q ~1.2) for “radio presence”

    5. Add Redux (for digital grit):

    - Bit Reduction: 8–12 bits

    - Downsample: 1.5–4

    - Dry/Wet: 15–35%

    6. Add Saturator:

    - Drive: 2–8 dB

    - Soft Clip: On

    7. Add Frequency Shifter (this is HUGE for RF weirdness):

    - Mode: Ring Mod or Frequency Shift

    - Fine: +10 to +60 Hz (tiny shifts create “radio instability”)

    - Dry/Wet: 10–30%

    8. Add Auto Filter at the end:

    - Bandpass mode

    - Freq: 1.2–2.5 kHz

    - Resonance: 0.7–1.4

    - Map filter freq to Macro/Automation for “tuning” moments.

    ✅ Result: that mid “hash” that feels like you’re tuned between stations.

    ---

    D) Layer 3 — Crackle that grooves (not constant fry) 🎛️

    Goal: texture that speaks rhythmically, especially in intros/breakdowns.

    Option 1: Use a sample (fastest, most authentic)

    1. Create an Audio Track `Crackle`.

    2. Drop a vinyl/tape crackle sample (your own or from a library).

    3. Warp mode: Texture

    - Grain Size: 80–200 ms

    4. Add Gate:

    - Threshold: set so it opens on louder crackles

    - Return: -10 to -20 dB

    - Release: 50–120 ms

    5. Add EQ Eight:

    - HP: 300–600 Hz

    - LP: 8–12 kHz

    6. Add Beat Repeat (for “pirate edits”):

    - Interval: 1/4 or 1/8

    - Grid: 1/16

    - Chance: 10–25%

    - Filter: On, set to mid/high

    - Mix: 10–20%

    Option 2: Synth crackle (if you want fully from scratch)

  • Use Operator Noise + Gate + Random LFO on volume:
  • - Add Shaper (or Saturator) to bring out transient pops

    - Use Auto Pan with Amount 5–15% for subtle stereo chatter

    ✅ Result: crackle that feels performed rather than a static loop.

    ---

    E) Glue it together — Ducking + “broadcast bus” compression

    Now make these layers sit in DnB instead of fighting your drums.

    #### 1) Group processing on NOISE bus

    On the NOISE Group Track, insert:

    1) EQ Eight

    - HP: 200–400 Hz (keep sub clean)

    - Optional dip: -2 to -4 dB at 3–5 kHz if it competes with hats/snare snap

    2) Compressor (sidechain from drums)

    - Enable Sidechain → select your Kick+Snare bus (or Drum Group)

    - Ratio: 3:1 to 6:1

    - Attack: 1–5 ms

    - Release: 60–140 ms (tempo-dependent; set so it breathes)

    - Threshold: aim for 2–6 dB of gain reduction on hits

    3) Drum Buss (very light, for glue)

    - Drive: 2–6

    - Crunch: 0–10%

    - Boom: Off (usually unnecessary for noise)

    - Dry/Wet: 10–30%

    #### 2) “Broadcast Bus” (optional but sick)

    Create a Return Track called `BROADCAST` and send NOISE (and optionally drum tops) into it.

    Return chain:

    1. Auto Filter

    - Bandpass, 12 dB

    - Freq: 800 Hz – 3 kHz (automate)

    - Resonance: 0.8–1.6

    2. Saturator

    - Drive: 4–10 dB

    - Soft Clip: On

    3. Glue Compressor

    - Attack: 3 ms

    - Release: Auto

    - Ratio: 4:1

    - Threshold: for 1–3 dB GR

    4. Limiter

    - Ceiling: -1.0 dB

    - Just catching peaks

    Send amounts:

  • NOISE → BROADCAST: start -18 to -12 dB
  • Drum tops (hats/percs) → BROADCAST: -24 to -18 dB (subtle)
  • ✅ Result: a “transmission” layer you can ride up in intros, breaks, and fills.

    ---

    F) Arrangement ideas (make it feel like a pirate set)

    Use automation like a DJ/engineer would.

    1) Intro (16–32 bars)

  • Start with Radio Hash + Crackle louder than normal.
  • Automate Bandpass on BROADCAST: sweep down from ~3 kHz to 1 kHz like you’re tuning in.
  • Add quick 1/4-bar mutes on noise before drops.
  • 2) Drop

  • Pull crackle down.
  • Keep Air Hiss low but present.
  • Sidechain does the heavy lifting—noise should “pump” behind the kick/snare.
  • 3) Mid-drop fills

  • For 1 bar before a fill: raise BROADCAST send + automate resonance slightly.
  • Use Beat Repeat on crackle for a quick “radio stutter” moment.
  • 4) Breakdown

  • Bring crackle back.
  • Automate Utility Width wider for a “spacey” broadcast bed, then narrow before the drop.
  • ---

    4. Common mistakes

  • Noise too loud: If you notice it as a separate sound in the drop, it’s probably 3–6 dB too hot.
  • No high-pass filtering: Noise with low-mid rumble will wreck your bass clarity and headroom.
  • Over-widening everything: Wide hiss is cool, but wide mid “hash” can smear snares. Keep mids more controlled.
  • No sidechain: In DnB, noise needs to breathe with drums or it’ll feel like a blanket.
  • Too much resonance: Bandpass resonance can scream. Automate carefully; tame with EQ if needed.
  • ---

    5. Pro tips for darker/heavier DnB 🖤

  • Make the noise distort only when the drums hit:
  • Put Saturator/Drum Buss after the sidechain Compressor on the NOISE group. The pumping changes the distortion character—instant aggression.

  • Add “coil whine” movement:
  • On Radio Hash, use Frequency Shifter Fine at ~25–40 Hz, then automate Dry/Wet up during fills.

  • Keep hats sharp:
  • If your noise masks hats, notch 10–12 kHz slightly on the noise or lower Air Hiss and let hats own the top.

  • Mono-check your mids:
  • Use Utility on Radio Hash: Width 80–110%. Keep the air layer wide instead.

  • Pre-drop mute trick:
  • Hard-cut NOISE for 1/8 or 1/4 right before the drop. The silence makes the drop feel louder.

    ---

    6. Mini practice exercise (15 minutes) ⏱️

    1. Build the Air Hiss layer (Operator + HP filter) and set it to sit at -20 dB.

    2. Build the Radio Hash layer and automate:

    - Bandpass frequency from 2.5 kHz → 1.2 kHz over 8 bars (intro).

    3. Sidechain the NOISE group from your Kick+Snare for ~4 dB GR.

    4. In the bar before the drop:

    - Automate NOISE group mute for 1/8 note.

    - Automate BROADCAST send up by +4 to +8 dB just for that bar.

    Bounce a quick 16-bar clip and listen on headphones + monitors. The goal is “broadcast energy” without losing drum impact.

    ---

    7. Recap

  • You built three noise layers with different jobs: air, mid radio hash, crackle.
  • You shaped them with EQ, created vibe with Redux/Frequency Shifter, and made them musical with sidechain ducking.
  • You used arrangement automation (tuning sweeps, mutes, stutters) to sell the pirate-radio narrative.

If you want, tell me what subgenre you’re aiming for (jungle rollers, neuro rollers, jump-up, techstep) and I’ll suggest a noise chain and automation plan that fits that lane exactly.

```

Ask GPT about this lesson

Chat with the lesson tutor, get follow-up help, or use quick actions.

Bigup 👽 Ask me anything about this lesson and I’ll answer in context.

Narration script

Show spoken script
Title: Noise layers for pirate-radio vibes from scratch for pirate-radio energy (Intermediate)

Alright, let’s build pirate-radio energy the right way. Not “just add noise and hope.” We’re going for controlled texture that feels like your track is being broadcast through slightly battered gear: hiss, air, crackle, a little RF wobble, band-limited mids, and that squeezed radio density. And we’re doing it from scratch in Ableton Live, in a way that actually works in drum and bass without turning your drums into a cloudy mess.

By the end, you’ll have three separate noise layers with different jobs, plus a simple broadcast-style return bus you can automate like you’re the engineer running an illegal transmission at 3 a.m.

First, quick setup so we’re designing in context, not in a vacuum. Set your tempo to 172 to 176 BPM. Load or sketch a basic rolling DnB beat: kick on 1 and 3 if you’re doing two-step vibes, snare on 2 and 4, and get some hats or shuffles ticking away at 16ths or faster. Even a simple drum rack pattern is fine, as long as it’s moving.

Now create a group track and name it NOISE. Everything we design is going inside that group. This is important because in DnB, noise isn’t background wallpaper. It’s basically a top percussion section. If it can’t lock to the groove, it’ll feel like fog sitting on your mix.

Let’s build layer one: the wide air hiss. This is your “speed layer.” It lives mostly up around 8 to 16 kHz and makes the drop feel faster and more urgent, without you having to push hats too loud.

Create a MIDI track named Air Hiss. Drop Operator on it. In Operator, use Oscillator A and set it to white noise, or whichever noise mode sounds brightest. Turn off oscillators B, C, and D so it’s just noise.

Now shape it so it behaves like a steady bed. On the amp envelope, set a small attack, like 5 to 15 milliseconds, so it doesn’t click. Decay can be zero. Sustain should effectively be steady while the note is held, and then give it a short release, maybe 50 to 150 milliseconds. The goal is simple: when the note is on, the hiss is on. When it stops, it fades naturally.

Draw a long MIDI note spanning 8 to 16 bars. Pitch doesn’t matter; it’s noise.

After Operator, add Auto Filter. Set it to high-pass, 24 dB slope. Push the cutoff up around 7 to 10 kHz. Add just a touch of resonance, maybe 0.2 to 0.5, and listen carefully: you want presence, not painful whistling.

Then add Utility. Widen it, like 130 to 160 percent, and pull the gain down so it’s subtle. A great starting point is seeing the track meter sitting around minus 24 to minus 18 dB. Quiet is correct here.

Optional, but super useful: add Auto Pan after the filter. Keep the amount low, like 10 to 25 percent, and make it slow, 0.1 to 0.3 Hz, with phase at 180 degrees so it becomes gentle stereo drift. This gives you motion without obvious wobble.

Quick teacher check: if you solo this layer and it sounds exciting, it’s probably too loud in the full mix. Air hiss should be the thing you miss when it’s gone, not the thing you notice when it’s on.

Now layer two: Radio Hash. This is the pirate sauce. It’s midrange, gritty, band-limited, and alive. Think 1 to 4 kHz energy, like you’re tuned between stations and the signal is fighting to hold.

Create a new MIDI track named Radio Hash. Drop Wavetable on it. Choose a noise wavetable in Oscillator 1 from the Noise category. Add a little unison, two to four voices, but keep the amount low. We don’t want a huge supersaw spread; we want unstable texture.

Now add movement: assign LFO 1 to the wavetable Position. Rate around 0.2 to 0.6 Hz. Keep the modulation subtle. The point is constant micro-change, like circuitry drift.

After Wavetable, add EQ Eight. High-pass around 250 to 400 Hz with a steep slope to keep low mids from clogging your bass and kick. Low-pass around 4 to 6 kHz to keep it “radio,” not “hi-fi.” If you want more presence, add a bell boost of 2 to 4 dB around 2 kHz with a medium Q, something like 1.2. That’s the “transmission presence” area.

Now for grit. Add Redux. Set bit reduction around 8 to 12 bits, downsample maybe 1.5 to 4, and keep it partially blended. Dry/wet 15 to 35 percent. If you go full wet, it can turn into brittle digital sand. We want character, not fizz.

Then add Saturator. Drive 2 to 8 dB, soft clip on. This is your “cheap broadcast compression vibe” generator. If you’re trying to keep the top end cleaner later, Saturator soft clip is usually smoother than going harder on Redux.

Now the secret weapon: Frequency Shifter. Put it in Frequency Shift or Ring Mod mode. Set Fine to something small, like plus 10 to plus 60 Hz. Keep dry/wet around 10 to 30 percent. Those tiny shifts create that unstable RF feeling without turning it into a sci-fi effect. And here’s a pro move: automate the dry/wet up during fills for “signal instability,” then bring it back down in the drop.

Finish the chain with Auto Filter in bandpass mode. Set frequency somewhere like 1.2 to 2.5 kHz, resonance 0.7 to 1.4. This is your “tuning knob.” You’re going to automate this later for sweep-ins and little station slips.

Quick reality check tip: do a mono check on this hash layer, not the air hiss. Drop a Utility on the Radio Hash track, set width temporarily to 0 percent, and listen to your snare. If the snare suddenly gets cleaner, your hash stereo information is fighting it. In that case, keep hash width tighter, like 80 to 110 percent, and let the air hiss be the wide one.

Now layer three: Crackle that grooves. This should not be a constant frying pan. It should speak rhythmically, like transient chatter that feels performed, especially in intros and breakdowns.

Fastest option: use a sample. Create an audio track named Crackle. Drop in a vinyl or tape crackle sample. Set warp mode to Texture and adjust grain size around 80 to 200 milliseconds so it stretches nicely without weird tonal artifacts.

Then add a Gate. Set the threshold so it opens only on the louder crackles. Adjust return and release so it feels like little bursts, not a sustained wash. Release around 50 to 120 milliseconds is a good zone.

Add EQ Eight: high-pass 300 to 600 Hz, low-pass 8 to 12 kHz. You’re carving it into “tiny ticks” that live above the body of the drums.

If you want pirate edits, add Beat Repeat. Use an interval of 1/4 or 1/8, grid at 1/16, chance 10 to 25 percent, filter on focusing mid or high, and keep mix low, like 10 to 20 percent. This should feel like occasional broadcast stutters, not a constant glitch plugin demo.

If you want fully from scratch instead of samples, you can do it: Operator noise into a Gate, and use a random LFO to lightly modulate the gate threshold, so the density changes every bar. Add a touch of Drum Buss or Saturator to bring the pops forward.

Now we’ve got three layers. But if we stop here, they’ll fight your drums. The key is gluing them together and making them breathe with the groove.

Go to your NOISE group. First insert EQ Eight. High-pass around 200 to 400 Hz to keep subs and low mids clean. If you notice competition with hats or snare snap, try a small dip, maybe 2 to 4 dB around 3 to 5 kHz. Subtle moves. You’re making room, not hollowing it out.

Next, add a Compressor with sidechain. Sidechain it from your drum group, ideally kick and snare together, or at least the snare if you want it to punch through the hash. Ratio 3:1 to 6:1. Attack 1 to 5 milliseconds so it grabs quickly. Release 60 to 140 milliseconds, and adjust it so it breathes in time. Aim for 2 to 6 dB of gain reduction on hits. You want the noise to tuck behind the drums, then rush back in between them. That’s what makes it feel energetic instead of blanketing the mix.

Then add Drum Buss very lightly. Drive around 2 to 6, crunch 0 to 10 percent, boom off, and dry/wet 10 to 30 percent. This is not for loudness. It’s to make the noise feel like it’s coming from one piece of gear.

And here’s a darker DnB trick: put your distortion after the sidechain compressor on the NOISE group. Because when the compressor pumps, it changes what hits the distortion, and you get aggression that reacts to the drum transients. It feels alive, like the signal is getting slammed only when the drums land.

Now let’s build the optional, but extremely effective, broadcast return. Create a return track called BROADCAST. We’ll send some noise into it, and maybe a touch of drum tops, to create that band-limited “receiver” layer you can ride up and down.

On the BROADCAST return, start with Auto Filter in bandpass, 12 dB slope. Set the frequency anywhere from 800 Hz to 3 kHz, and plan to automate it. Resonance 0.8 to 1.6, but be careful: too much resonance can scream.

Then Saturator: drive 4 to 10 dB, soft clip on. After that, Glue Compressor: attack 3 milliseconds, release on auto, ratio 4:1, and aim for 1 to 3 dB of gain reduction. Finally, a Limiter with ceiling at minus 1 dB, just to catch peaks.

Even better, if you want “cheap receiver speaker” tone: add an EQ before the Saturator with a steep high-pass around 250 to 500 Hz and a steep low-pass around 3 to 5 kHz. That locks it into its own lane so it doesn’t compete with cymbals or sub.

Now set your sends. From the NOISE group to BROADCAST, start around minus 18 to minus 12 dB. If you send drum tops, do it subtly: minus 24 to minus 18 dB. This return should feel like the transmission layer, not an obvious parallel drum bus.

Let’s talk arrangement, because pirate-radio vibe is storytelling. You’re basically doing scenes.

In the intro, 16 to 32 bars: bring Radio Hash and Crackle a bit louder than normal, and automate the BROADCAST bandpass sweeping down from around 3 kHz to 1 kHz, like you’re tuning into the station. Add quick mutes, like quarter-bar or even eighth-note cuts, right before transitions. Silence is a weapon.

In the drop: pull crackle down. Keep air hiss low but present. Let the sidechain do the work so the noise pumps behind the kick and snare without stealing impact.

For mid-drop fills: for one bar, push the BROADCAST send up a few dB and nudge resonance up slightly. Maybe increase Frequency Shifter wet on the hash for that “signal slipping” moment. Keep it under control: under 200 milliseconds for tiny glitches is often more believable than long sweeps.

In breakdowns: bring crackle back. Widen the overall noise bed a bit with Utility, then narrow it before the drop so the drop feels like it snaps into focus.

Now, leveling. This is where most people mess up. If you can clearly identify the noise as its own sound during the drop, it’s probably 3 to 6 dB too loud. A really solid leveling method is delta listening: put a Utility at the end of each noise track, map gain to a macro, and toggle between 0 dB and negative infinity while the full beat plays. If muting it makes the groove feel slower or emptier, you’re in the right zone. If enabling it makes you think “oh, there’s the noise,” it’s too loud or too broadband.

Also watch aliasing and brittle highs. Redux plus distortion can throw nasty junk above 16 kHz that becomes painful after a limiter. So after your grit chain, consider a gentle low-pass around 14 to 18 kHz. This keeps the master’s high-frequency area clean.

Now a quick 15-minute practice pass to lock it in. Build the Air Hiss layer and set it to sit around minus 20 dB. Build the Radio Hash layer and automate its bandpass frequency from 2.5 kHz down to 1.2 kHz over 8 bars in the intro. Sidechain the NOISE group from kick and snare for around 4 dB of gain reduction. Then, in the bar before the drop, hard mute the NOISE group for an eighth note, and at the same time automate the BROADCAST send up by 4 to 8 dB just for that bar. Bounce a quick 16-bar clip and listen on headphones and monitors. Your goal is broadcast energy without losing drum impact.

Before we wrap, common mistakes to avoid. Leaving low mids in the noise is a headroom killer. Over-widening the mid hash can smear the snare, especially in mono. Skipping sidechain makes everything feel like a blanket. And going too hard on resonance can turn “tuning” into “pain.”

Recap: you built three noise layers with clear jobs. Air hiss for speed up top, radio hash for midrange pirate character, and crackle for transient rhythm. You shaped them with EQ, added vibe with Redux and frequency shifting, and made them musical with ducking and automation. That’s the difference between random hiss and a believable transmission.

If you tell me what lane you’re aiming for, like jungle rollers, techstep, neuro, or jump-up, I can suggest exact macro ranges and an automation plan so your pirate-radio layer fits that subgenre perfectly.

Background music

Premium Unlimted Access £14.99

Any 1 Tutorial FREE Everyday
Tutorial Explain
Generating PDF preview…