Main tutorial
Lesson Overview
Offsetting a vocal texture is one of the fastest ways to make a DnB sketch feel like a proper smoky warehouse cut instead of a clean loop. In the context of jungle / oldskool DnB, this technique is less about “pretty vocal chops” and more about asymmetric placement, anticipation, and ghosted phrases that sit slightly off the grid to create tension.
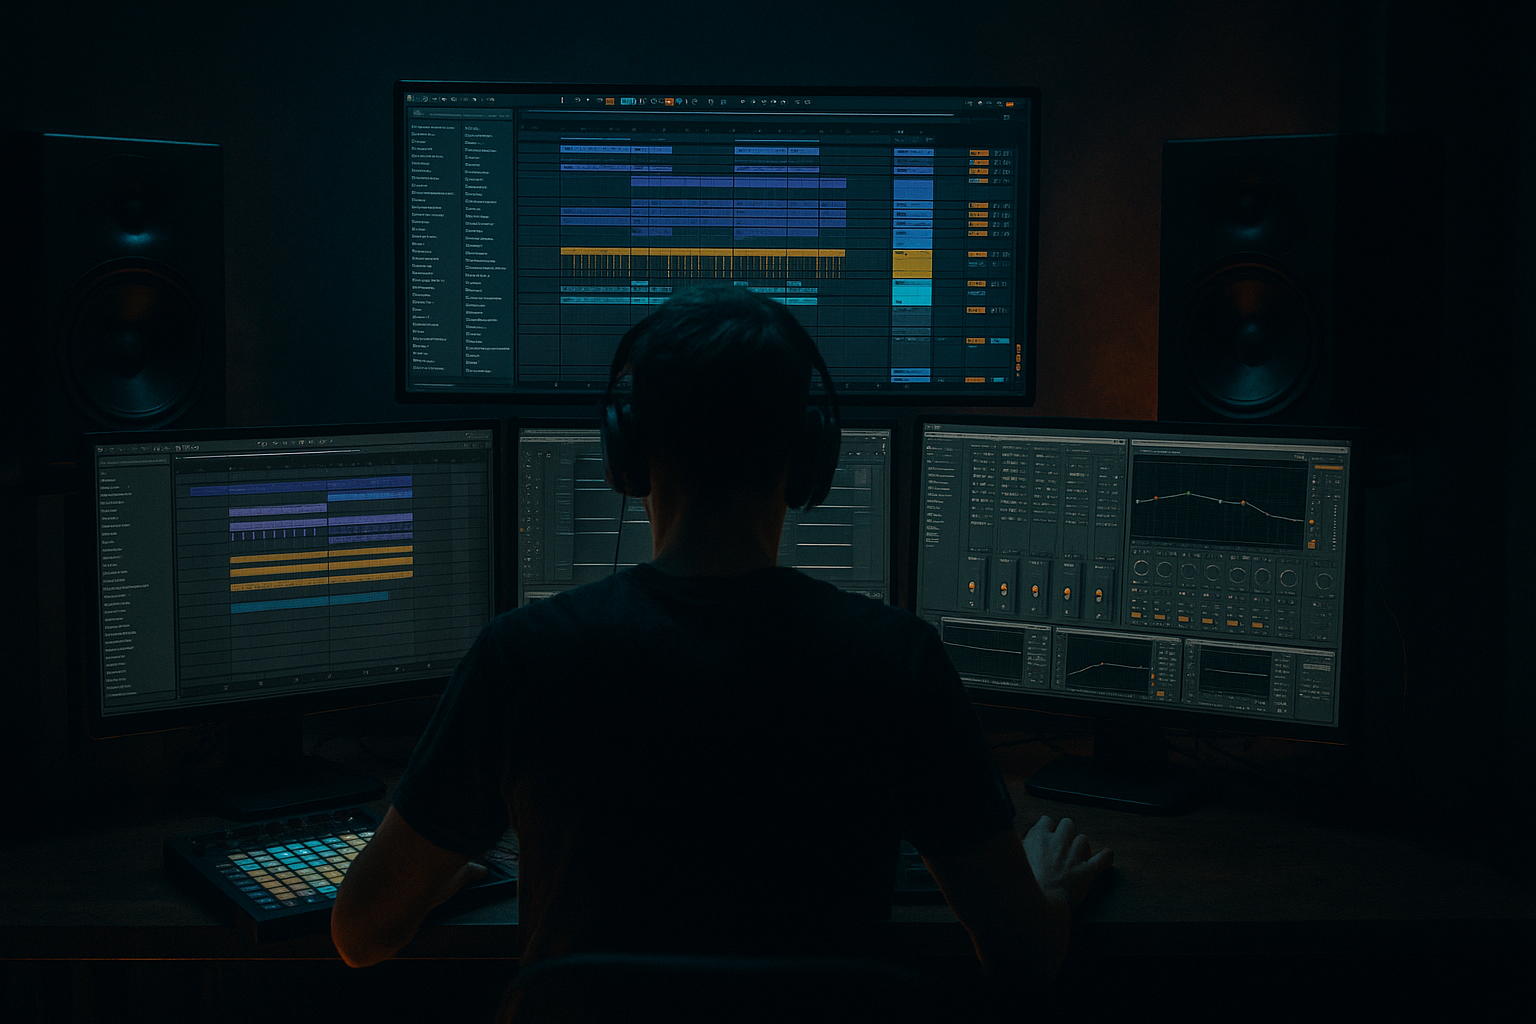
In Ableton Live 12, this lives squarely in Edits territory: quick slice moves, micro-timing shifts, audio warping decisions, and arrangement tweaks that turn a static vocal bed into something that breathes around the break, bass, and drop. For advanced producers, this is huge because it lets you create motion without adding more elements. That matters in DnB where the arrangement is already dense: breaks, sub, reese, atmos, impacts, fills, and maybe a lead stab or two. A well-offset vocal texture can glue the whole thing into a mood.
The goal here is to build a smoky, half-hidden vocal layer that feels like a sample drifting through a warehouse system: late, early, chopped, filtered, and sometimes swallowed by reverb tails. It should work in a 170–175 BPM jungle/rollers context, but the principles carry into darker neuro-leaning DnB too.
Why this matters:
- It adds human drag against machine-tight drums.
- It creates call-and-response with the break and bass.
- It gives you arrangement punctuation without overcrowding the mix.
- It makes transitions feel like they’re coming from inside the track rather than pasted on top.
- A chopped vocal phrase riding over a roller groove
- A gritty, oldskool-flavoured texture with a bit of tape haze
- Enough space for sub weight and break transients
- A mood that says dark cellar, foggy PA, late-night system test rather than clean radio hook
- Offsetting too much
- Using a clean vocal with no processing
- Letting the vocal mask the snare
- Over-widening the whole vocal
- Not editing the clip boundaries
- Ignoring arrangement context
- Print the vocal through a return and resample it
- Use filtered repeats as rhythmic ghosts
- Make the vocal answer the snare, not the kick
- Use a band-limited vocal for oldskool flavour
- Automate filter movement in phrases, not constantly
- Pair the vocal with break fills
- Use clip gain to create phrases with attitude
- Keep headroom if the vocal is heavily wet
- Offset vocals work best in DnB when they interact with the break, not just the grid.
- Use micro-timing, clip edits, and phrase-level placement to create smoky movement.
- Shape tone with stock Ableton tools like EQ Eight, Saturator, Redux, Auto Filter, Reverb, Echo, and Utility.
- Keep the core vocal narrow and controlled; let the wash layer bring width and atmosphere.
- Build the edit around 8-bar phrasing, snare response, and drop tension so it feels like a real warehouse arrangement.
---
What You Will Build
You’ll build a 3-part vocal edit for a smoky warehouse DnB arrangement:
1. A main vocal texture that sits slightly behind the beat, filtered and narrowed, acting like an eerie presence.
2. A short offset response chop that lands just before or after key snare hits and fills.
3. A washed tail layer that blooms into the space between drum phrases, then ducks out so the break stays upfront.
The end result should feel like:
Musically, this works best in an 8- or 16-bar section where the vocal enters after the first drum statement, then begins to answer the snare and fill gaps between phrases. Think of it like a haunted percussion instrument, not a lead vocal.
---
Step-by-Step Walkthrough
1. Choose or create a vocal source that already has texture
For this technique, don’t start with a pristine pop vocal unless you want a more polished result. Better sources:
- A spoken phrase
- A breathy one-shot
- A chopped soul vocal
- A field-recorded whisper
- A single word with tail and room noise
In Ableton Live 12, drag the vocal clip into an audio track and set the clip warp mode carefully:
- Use Complex Pro for fuller vocal phrases
- Use Beats only if the vocal is very percussive and short
- For degraded oldskool texture, try Complex and add grit later
Then make sure the clip is in tempo with your project, but don’t over-tighten it. You want the vocal to remain a bit unstable. In DnB, too-perfect timing can kill atmosphere.
If the source is too clean, duplicate the track and prepare one version for main clarity and another for dirty texture. This gives you better edit control later.
2. Cut the vocal into phrase fragments and think in drum-bar phrases
Open the vocal in Arrangement View and use Cmd/Ctrl+E to slice it into usable bits. For advanced DnB edits, don’t just chop on syllables; chop around the rhythm of the break.
Work in 2-bar and 4-bar logic:
- Let a phrase land around the end of bar 2
- Offset a response chop into the pickup before bar 3
- Use a tail fragment after the snare to create a little push/pull
A strong oldskool move is to place a vocal chop so it slightly leads the snare, then let the snare “catch” it. That gives you the feeling of the vocal being sucked into the groove.
Practical editing rule:
- Keep your main chop on-grid enough to stay musical
- Offset the response chop by 10–40 ms early or late depending on the groove
- For more swagger, use Clip Start nudges rather than just moving the whole clip visually
If the vocal has consonants, preserve them. Those “t”, “k”, “s” sounds can become miniature percussion in the edit.
3. Build groove by pushing the vocal against the break, not with it
This is the key DnB move: the vocal shouldn’t always sit exactly where the drums already live. Instead, offset it to create counter-rhythm.
Try these placement ideas:
- Put the vocal chop just before the snare in bar 2 to create anticipation
- Place the next phrase slightly after the snare in bar 4 to feel late and smoky
- Use a short pickup on the “and” of 4 to pull into the next phrase
If your break is busy, especially with ghost notes and shuffled hats, keep the vocal edit simpler and let timing do the work. If your drum groove is sparse, you can make the vocal more active.
Why this works in DnB: the genre thrives on tension between precision and looseness. The drums are often hyper-quantized or tightly swung, so an offset vocal adds a human offset that makes the whole section feel deeper and more alive.
Advanced tip: duplicate the vocal clip and slightly offset the duplicate by a few milliseconds, then lower it way down in the mix. This can create a subtle doubled smear that feels like the room is moving around the vocal.
4. Shape the tone with a stock effect chain that feels like underground haze
Build a tight vocal texture chain using Ableton stock devices. A practical starting point:
- EQ Eight
- High-pass around 120–180 Hz
- Gentle dip around 250–400 Hz if it muddies the break
- Small presence lift around 2.5–5 kHz only if it needs articulation
- Saturator
- Drive around 2–6 dB
- Use Soft Clip if you want the edges to round off
- Redux for degraded oldskool grit
- Downsample subtly, often just enough to roughen the top
- Auto Filter
- Low-pass automation between 1.2 kHz and 8 kHz depending on section
- Add a little resonance for a darker, haunted edge
- Reverb
- Short decay for ambience, or longer if it’s only in transitions
- Keep Dry/Wet modest on the main layer; push more on the tail layer
You want the vocal to live in the same emotional space as the break, not float in a glossy pop lane. A touch of frequency limitation is often what makes it feel like a sample from a forgotten dubplate.
For advanced shaping, use Utility to narrow the stereo image of the main vocal texture. Keep the low mids mostly centered and let the more washed layer spread wider.
5. Make the offset intentional with clip-level edits and micro-fades
Now go back to the arrangement and fine-tune the actual offset. This is where the edit becomes a proper musical device instead of a random chop.
In Ableton:
- Nudge the clip start slightly earlier or later
- Use Warp Markers sparingly if the phrase drifts
- Add tiny fades at the start/end of each chopped region to avoid clicks
- Crossfade the chopped edges if needed
A good target is to create three different behaviors:
- Lead chop: arrives a touch early, pulling the ear forward
- Anchor chop: sits more centered, giving the listener something to latch onto
- Ghost chop: late, blurred, and filtered, functioning like atmosphere
If you’re working with a vocal texture that has room tone, keep a little of that noise. That’s often the “smoke” in smoky warehouse vibes.
Advanced move: automate clip gain on individual chops so some words are barely audible and others hit harder. This makes the edit feel performed, not pasted.
6. Route the vocal to a return for wash, then duck it against the drums
Set up a send/return so you can give the vocal space without trashing the groove.
On Return A, build a wash chain:
- Reverb
- Echo with very short feedback or a filtered slap
- EQ Eight to roll off lows below 200–300 Hz and tame harsh highs above 8–10 kHz
Then send your vocal chops into this return selectively:
- More send on the tail fragments
- Less send on the rhythmic main phrase
- Very little send on any consonant-heavy chop you want to keep punchy
To keep the mix tight, place Compressor after the reverb return and sidechain it to the drum bus or kick/snare if needed. Use a light reduction so the wash dips when the drums speak.
This is especially important in jungle/rollers where the break needs authority. The wash should feel like it lives behind the speakers, not on top of the snare.
7. Create arrangement movement with 8-bar edits and drop logic
Don’t let the offset vocal run constantly. It should behave like a DJ-editable moment or a phrase in a track structure.
A strong arrangement approach:
- Bars 1–4: drums and bass establish the groove
- Bar 5: introduce a filtered vocal pickup
- Bars 6–8: bring in offset response chops and tail wash
- Bar 9 or the drop: mute one chop, then re-enter with a more aggressive offset
For oldskool DnB, think in “call then answer”:
- The vocal calls at the end of a phrase
- The snare or break answers on the downbeat
- A tail or reverse fragment bridges into the next 8 bars
If the track has a breakdown, this technique can also act as a pre-drop smoke layer. Automate the filter to close in gradually, then open sharply right before the drop for a stronger system hit.
Useful arrangement idea: use a vocal fragment as a mini switch-up right before a break variation. The momentary surprise gives the drums more impact when they return.
8. Lock the edit against your bassline and make sure it doesn’t fight the low end
In darker DnB, bass and vocal atmospheres can conflict in the low-mids very fast. Check the edit against your sub and reese.
Do this:
- Put Utility on the vocal and verify mono compatibility
- Use EQ Eight to carve space around 150–350 Hz
- If the vocal has low rumble, clean it aggressively
- Compare the vocal edit with the bassline in context, not in solo
If your bassline uses a reese with movement, leave its upper mids freer and keep the vocal more filtered. If the bass is sparse and sub-heavy, you can afford slightly more vocal texture in the 700 Hz–2 kHz zone.
Advanced workflow: resample the vocal edit to audio once it feels right. This makes it easier to commit to the arrangement, freeze the decision, and focus on drum/bass balance instead of endless tweak loops.
---
Common Mistakes
- If the vocal is too late or too early, it stops sounding like a groove and starts sounding like a mistake.
- Fix: keep the offset subtle. Start around 10–25 ms and only exaggerate if the track is minimal.
- A polished vocal can feel out of place in smoky jungle.
- Fix: add saturation, bandwidth limiting, and a little degradation with Saturator or Redux.
- This is the fastest way to lose impact.
- Fix: carve low-mids, reduce send on consonant-heavy hits, and duck the reverb return.
- Wide vocals can destroy focus and weaken mono playback.
- Fix: keep the core texture narrow; widen only the wash layer or high-frequency air.
- Clicking, pops, and sloppy cut points kill the illusion.
- Fix: use fades and crossfades, especially on short chopped fragments.
- A vocal edit that works in a breakdown may clutter the drop.
- Fix: automate it. Make it appear, retreat, and reappear with purpose.
---
Pro Tips for Darker / Heavier DnB
- Resampling a washed vocal layer can give you a haunted texture you can re-chop as a new edit element.
- Set Echo to a short, dark repeat and automate feedback only on the last word or syllable of a phrase.
- In DnB, the snare is often the emotional anchor. A vocal response after the snare feels more warehouse-authentic.
- A tighter bandpass can emulate sampled rave material and makes the edit feel more archival.
- Try narrowing the vocal into roughly 300 Hz–6 kHz for a lo-fi “memory” effect.
- Slow movement every bar can get bland.
- Better: close the filter across 4 bars, then snap it open before a drop or fill.
- A vocal ghost before a snare roll or break switch-up can make the edit feel embedded in the groove rather than layered on top.
- Some chops should be almost inaudible. That contrast is what gives smoky vibe and tension.
- Wet edits can build unexpected energy around 2–4 kHz.
- Leave space so the bass and drums can still hit hard without harshness.
---
Mini Practice Exercise
Spend 10–20 minutes building a vocal edit over a 174 BPM drum loop:
1. Find a 1–2 bar vocal phrase or spoken texture.
2. Slice it into 4–6 fragments.
3. Place one chop slightly early before a snare, one slightly late after it, and one as a tail.
4. Add EQ Eight, Saturator, and Auto Filter.
5. Create one return with Reverb and Echo for the wash layer.
6. Automate the filter to darken over 4 bars, then open on the last bar.
7. Duplicate the best chop and offset it by a few milliseconds for a ghost-doubled effect.
8. Check the result in mono and trim any mud or harshness.
Goal: make the vocal feel like it’s inside the break, not sitting on top of it. If it feels like a sample from an illicit late-night dubplate moment, you’re there.
---
Recap
If you get the offset right, the vocal stops being “a vocal” and becomes part of the system: a ghost in the mix, moving with the drums 🔥

