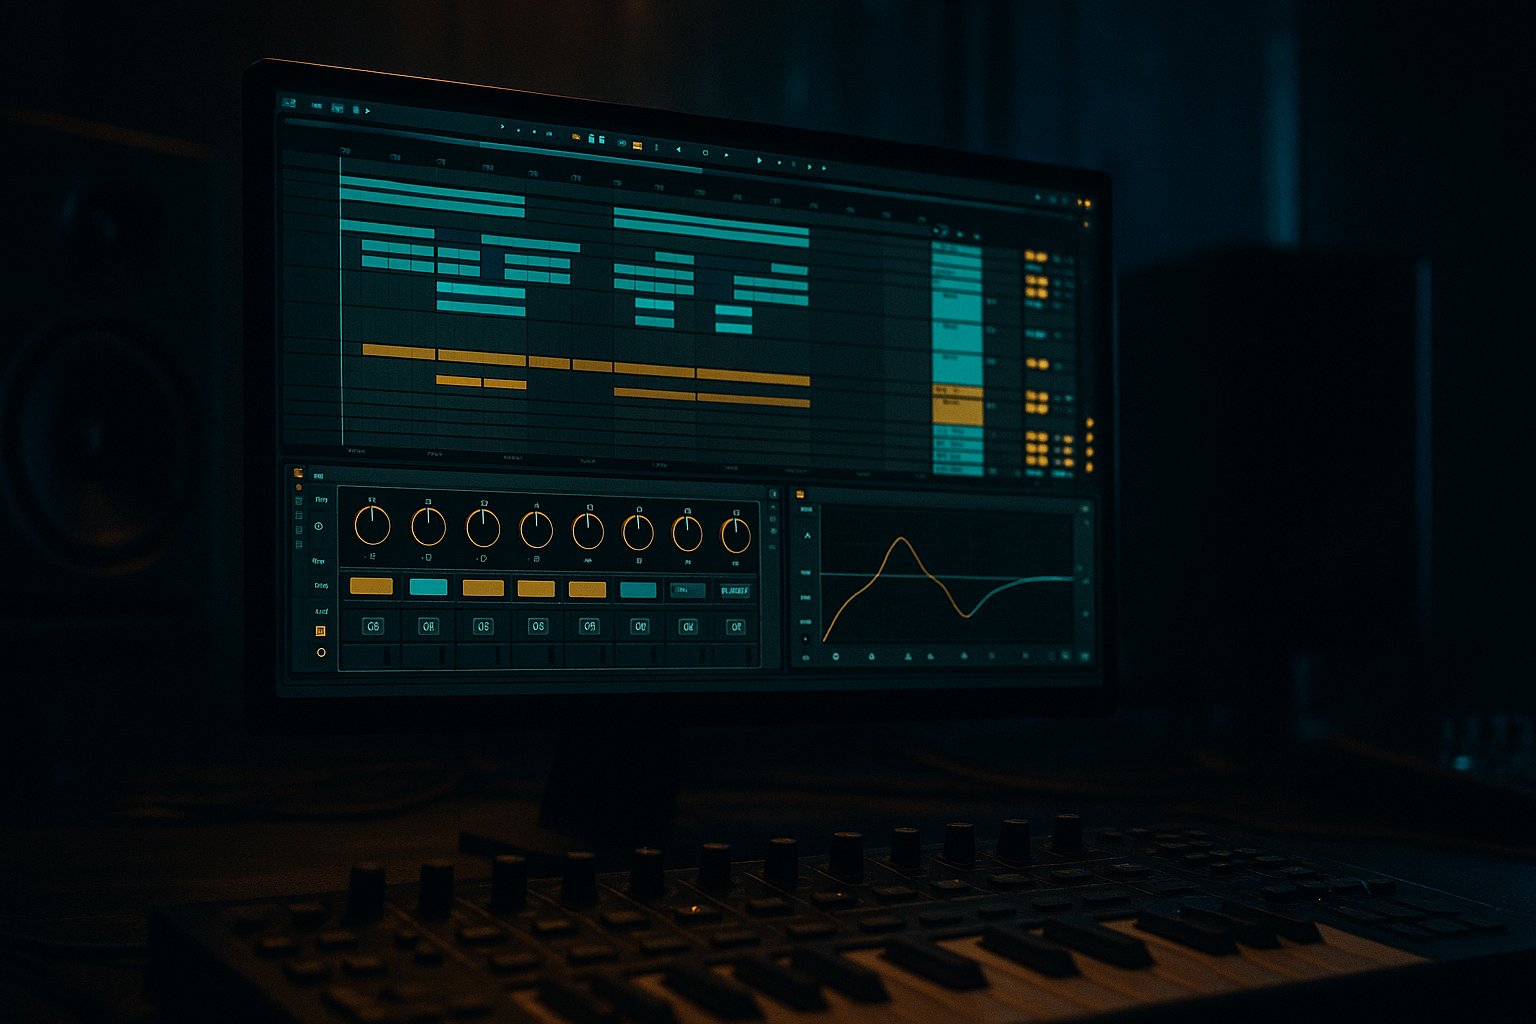
Main tutorial
Lesson Overview
In this lesson, you’ll build a classic offset jungle chop that feels like old-school DnB grit, but hits with modern punch and stays clean in an Ableton Live 12 arrangement. The idea is simple: take a breakbeat, slice it into playable pieces, then shift or “offset” certain hits slightly off the obvious grid so the groove feels alive, human, and slightly unstable — in a good way.
This sits right at the heart of Drum & Bass workflow. You’ll use the chop not just as a drum loop, but as a groove engine for the whole track: something that supports the kick, snare, and sub, while leaving room for bass movement, fills, and drop switches. That’s why this technique matters. Jungle and rollers often sound powerful because the drums don’t feel locked into a rigid loop; they breathe, push, and stumble just enough to create momentum.
You’ll also learn how to keep the soul of a vintage break while shaping it for modern DnB:
- tighter transient control
- cleaner low-end separation
- better drum/bass balance
- more deliberate arrangement choices
- stock Ableton workflows that are fast and repeatable
- a sliced breakbeat in Simpler or Slice to New MIDI Track
- offset ghost hits that create forward motion
- a stronger kick/snare backbone for modern punch
- subtle saturation and compression for glue
- a bass-friendly low-end structure with mono discipline
- an arrangement-ready loop that can open into a full DnB drop
- a dark roller at 172 BPM
- a jungle-infused halftime switch
- a neuro-DnB intro or drop layer
- a break-led section with vintage soul and modern impact
- Too many chops at once
- Kick and sub fighting each other
- Over-processing the break
- All hits landing exactly on grid
- Too much stereo on low frequencies
- Not enough variation over 8 bars
- Use Drum Buss on the drum group, but keep the Boom control subtle if your sub is already doing the heavy lifting.
- Add a little Saturator drive to ghost chops to make them cut through on smaller speakers.
- Use Auto Filter on the break chop with a slow opening filter before the drop for tension.
- Try a short Reverb send on a snare fill, then cut it hard right before the next bar for a classic drop effect.
- Layer a very clean kick under the break if the break kick feels too soft. Keep it short and focused.
- For a grimier underground feel, duplicate one chop and process it with more saturation, then tuck it low in the mix as texture.
- If the groove needs more menace, make the bass rhythm more sparse and let the offset break create the movement.
- When in doubt, make the snare bigger, not the whole drum bus louder. In DnB, the snare is often the emotional center of the drop.
- slice the break cleanly
- offset only a few important hits
- keep the low end disciplined
- use Drum Buss, Saturator, EQ Eight, and Glue Compressor lightly
- arrange in 8-bar phrases so the loop becomes a drop-ready section
By the end, you’ll have a practical template for building dark, rolling, and energetic drum programming that can sit under a sub, a reese, or a neuro-style bass without getting muddy.
What You Will Build
You’ll build a 2-bar jungle-chop drum groove with:
Musically, think of it as a groove that could sit in:
The result should feel like a breakbeat that has been recomposed, not just looped. It will have a strong snare anchor, a few displaced hits to create tension, and enough headroom for a sub line or reese bass to punch through.
Step-by-Step Walkthrough
1. Set the session up for a DnB-friendly workflow
Start with a clean Ableton Live 12 project at 170–174 BPM. For beginner workflow, keep it simple and create three tracks:
- Drums
- Bass
- FX / Atmos
Put your breakbeat on the Drum track and your sub on the Bass track. This separation matters because DnB depends heavily on low-end clarity. Keep your master channel empty for now — no limiter while building. Leave about -6 dB headroom on the master so the drop has space later.
If you want to stay organised, color-code the break, one-shot drums, and bass tracks. In DnB, speed comes from clarity. A clean session means faster decisions when you start moving chops around.
2. Choose a break that has character, not perfection
Pick a breakbeat with a strong snare and enough midrange texture to carry the vibe. Classic drum and bass often works with breaks that have:
- a solid backbeat on 2 and 4
- small ghost notes between the main hits
- a slightly dusty or live feel
Drag the break into an audio track. Use Warp only if needed. If the break is already close to tempo, you can leave it mostly untouched. For beginner workflow, avoid over-editing the warp markers at first — you want the break’s natural feel.
A good context example: imagine this break is going to support a dark 8-bar intro, then explode into a drop where the bass answers every snare hit. The break needs enough identity to hold attention, but not so much chaos that it fights the bass.
3. Slice the break into playable parts
Right-click the break and choose Slice to New MIDI Track. In Ableton Live 12, this is a fast way to turn the break into a playable drum instrument. Slice by:
- Transient for clean edits
- or 1/16 if you want a more grid-based starting point
For a beginner, transient slicing is usually easiest because it automatically separates the kick, snare, and hats in a musical way.
You’ll get a Drum Rack with each slice mapped to a pad. Now play the slices like a drum kit. Don’t worry about making it perfect yet — the goal is to identify:
- kick-heavy slices
- snare slices
- ghost notes / hat ticks
- little “in-between” noises that give the break soul
This is where the “offset” part starts to matter. Some of the best jungle grooves happen when a ghost hit lands slightly before or after the expected spot, creating a subtle drag or push.
4. Build a strong 2-bar pattern with a classic DnB backbone
Create a MIDI clip for 2 bars and start with the skeleton:
- place the snare on beats 2 and 4
- place or reinforce a kick on beat 1
- add a few hats or break ticks around the offbeats
Then bring in chopped break hits around that spine. The goal is not to replace the break feel — it’s to support it with a modern drum grid.
A simple starting structure:
- Bar 1: kick on 1, snare on 2, extra ghost chop before 3, snare on 4
- Bar 2: variation with a skip or pickup before the 2nd snare
Use the ghost slices to create forward motion. If the groove feels too stiff, move one or two notes slightly earlier or later. Even tiny offsets can change the vibe a lot. In DnB, this works because the rhythm is often as important as the sound itself — the groove creates energy before the bass even enters.
If the chop feels messy, reduce the number of hits. A cleaner pattern with fewer well-placed slices usually hits harder than a busy one.
5. Add modern punch with Drum Rack processing
Open the Drum Rack and focus on the slices that matter most: kick, snare, key ghost hits, and high hats.
On the whole Drum Rack or grouped drum bus, add these stock Ableton devices in this order:
- EQ Eight: cut unnecessary low rumble on break slices if they clash with the sub
- Drum Buss: add punch and glue
- Saturator: for controlled bite and density
- Glue Compressor: light bus cohesion
Useful starting settings:
- Drum Buss Drive: around 5–15%
- Drum Buss Boom: low or off at first if your sub is already strong
- Drum Buss Transients: +5 to +20 for extra snap
- Saturator Drive: 2–6 dB
- Glue Compressor: 2:1 ratio, slow-ish attack, medium release, only 1–2 dB gain reduction
For beginners, keep the processing subtle. The goal is modern punch, not crushed breakcore chaos. You want the snare to feel closer and firmer, while the break still breathes.
6. Create the “offset” movement with timing and velocity
This is the heart of the lesson. Select a few ghost notes or light chops and nudge them:
- a little ahead of the grid for urgency
- a little behind the grid for weight and swagger
In Ableton’s MIDI editor, use the grid as a guide, not a prison. Start with small adjustments:
- offset by 5–15 ms feel, not huge swings
- keep the main snare hits more locked than the ghost hits
- use velocity differences so softer chops stay in the background
For example, if a hat chop lands right before the snare, make it slightly quieter so it teases the snare instead of stealing focus. If a ghost kick comes after the main kick, place it a touch late to create that “tumbling” jungle feel.
Why this works in DnB: the genre thrives on controlled instability. The main pulse must stay strong, but the little offsets make the groove feel human, urgent, and alive. That contrast is a huge part of the vintage soul in jungle and the forward momentum in modern rollers.
7. Add a sub line that leaves space for the break
Now build a simple sub in a separate Bass track. Keep it clean and minimal. Use:
- Operator for a pure sine sub
- or Wavetable with a very basic sine/triangle starting point
For beginner DnB, aim for:
- notes that support the kick/snare rhythm
- long, sustained notes under the groove
- no unnecessary stereo width on the sub
Basic settings:
- low-pass or simple sine tone
- mono if possible
- short glide only if the bass line needs movement
- keep the sub around -12 to -8 dB depending on the rest of the mix
If the break chop is busy, simplify the bass rhythm. A strong DnB groove often comes from call-and-response:
- drums speak
- bass answers
- or bass holds space while the break dances
This is especially effective in darker DnB because the space between hits creates tension.
8. Shape the bass-drums relationship with EQ and mono discipline
Use EQ Eight on the bass and break bus to carve space:
- high-pass non-essential low rumble from the break around 80–120 Hz if needed
- keep the sub centered and mono
- cut muddy low-mids from the break around 200–400 Hz if the groove sounds boxy
Don’t overdo the EQ. In DnB, the drums and bass need to feel like one machine, not separate layers fighting for the same room.
Check the mix in mono occasionally. If the groove collapses badly in mono, your stereo elements are too wide or your low-end layers are competing. The sub should remain stable, and the break’s character should still read clearly.
This step matters because jungle chops often sound exciting in solo but can get blurry once the sub enters. Good low-end separation is what makes the track feel pro.
9. Use automation to turn a loop into a drop
A great DnB loop becomes a track when it changes over time. Add automation on the drum or FX track for:
- Auto Filter cutoff on the break for tension builds
- Reverb send on the snare before a switch
- Delay on a chopped hat or snare throw
- Utility width or gain for drop emphasis
- Drum Buss Drive for a heavier second 4 or final bar
A practical arrangement move:
- bars 1–8: intro with filtered break chop and atmospheric texture
- bars 9–16: full break enters, snare gets more presence
- drop: bass joins with a more direct call-and-response pattern
- end of 8 bars: strip one or two hits out for a fill or switch-up
Keep your automation obvious and musical. In DnB, even a small snare reverb swell or break filter opening can create huge energy because the listener is expecting impact.
10. Resample or bounce the groove for faster decisions
Once the pattern feels good, resample or freeze/bounce the drum bus to audio. This is a huge workflow win in DnB because it lets you make quick editorial choices instead of endlessly tweaking MIDI.
In Live, you can:
- freeze and flatten the drum track
- or create a new audio track and resample the groove
Then slice the audio again if you want to create new fills, reverses, or one-bar switch-ups. This is a classic jungle workflow: build a groove, print it, then re-edit the printed audio into more interesting shapes.
You can also duplicate the resampled clip and make one version more stripped for the intro, and one more aggressive for the drop. That’s a simple way to build arrangement contrast without starting from scratch.
Common Mistakes
- Fix: simplify. Keep the snare anchor strong and use only a few offset hits.
- Fix: lower the sub, trim break low end, and make sure the kick doesn’t overlap too much with sustained bass notes.
- Fix: use lighter Drum Buss and Saturator settings. Keep the break’s character intact.
- Fix: move ghost notes slightly early or late. The groove should feel played, not programmed flat.
- Fix: keep sub mono and check the break for wide low-end content.
- Fix: remove or add one chop in the second 4 bars, or automate a filter/reverb change.
Pro Tips for Darker / Heavier DnB
Mini Practice Exercise
Spend 15 minutes building a two-bar loop.
1. Find one breakbeat and slice it to a Drum Rack.
2. Program a simple backbone with snare on 2 and 4.
3. Add 3–5 ghost chops around the main hits.
4. Nudge two of the ghost notes slightly early and one slightly late.
5. Add a sine sub in Operator with only 2–4 notes.
6. Put Drum Buss and EQ Eight on the drum group.
7. Make one 8-bar automation change with Auto Filter or Reverb.
8. Bounce the result and listen back once in mono.
Goal: make the groove feel like it has swing, attitude, and space without becoming messy.
Recap
The key idea is to turn a breakbeat into a controlled, offset jungle groove that feels old-school in spirit but modern in impact. Keep the snare strong, use ghost chops for movement, protect the sub, and use Ableton stock devices to add punch without killing the soul.
Remember:
If it grooves, leaves room for the bass, and still feels a little unpredictable, you’re in the pocket.

