Main tutorial
Old School Low Pass Bass Movement (DnB in Ableton Live) 🎛️🌀
1. Lesson overview
Old school jungle/DnB basslines often feel like they’re breathing—not because the notes are complex, but because the low-pass filter is moving rhythmically. In this lesson you’ll learn how to create that classic warm sub + filtered mid movement using Ableton stock devices, with a workflow that fits rolling drum and bass.
You’ll focus on:
- Building a simple bass patch (no fancy sound design needed)
- Making musical low-pass motion with envelopes + automation
- Keeping the sub stable while the mids move
- Locking the movement to the groove (swing, sync, and space)
- Sub layer: Clean, steady low end (mono, consistent)
- Movement layer: Low-passed mid bass that “wahs”/opens and closes in time
- 90s-style rolling DnB / jungle
- Minimal roller basslines
- Darker techy rollers with subtle filter animation
- Algorithm: A only (single oscillator)
- Oscillator A:
- Amp Envelope:
- Auto Filter
- Filter Type: Lowpass (24 dB/oct) (stronger, old-school vibe)
- Frequency: start around 150–400 Hz
- Resonance: 10–25% (a little bite, but don’t whistle)
- Drive: 2–6 dB (adds grit/thickness)
- Envelope Amount: +20 to +45
- Envelope Attack: 0–10 ms
- Envelope Decay: 150–350 ms
- Envelope Release: 50–150 ms
- Notes: A1 (or A0 for deeper subs later)
- Rhythm: try a rolling offbeat pattern:
- Put A1 on every offbeat 1/8 (the “and” counts): 1.1.3, 1.2.3, 1.3.3, 1.4.3
- LFO Amount: 5–15%
- Rate: 1/4 or 1/2 (sync on)
- Waveform: Sine
- Phase: try 0° or 90°
- Retrig: Off (gives natural evolving motion)
- In Operator: change oscillator to Sine (clean)
- Turn Auto Filter off or set cutoff high enough not to shape it.
- Add EQ Eight:
- Add Utility:
- Keep Saw/Square + Auto Filter movement.
- Add EQ Eight:
- Add Saturator (stock):
- Compressor
- Auto Filter cutoff lower: e.g. 180 Hz
- Less envelope amount: e.g. +25
- Cutoff higher: e.g. 280–450 Hz
- Envelope amount higher: e.g. +35 to +50
- In Arrangement view, hit A (Automation Mode)
- Automate Auto Filter Frequency and/or Envelope Amount
- Moving the sub with the filter: results in inconsistent low-end weight. Keep sub steady; move mids.
- Too much resonance: can whistle/peak and feel cheap. Keep it controlled (10–25% is often plenty).
- Over-long releases: bass notes overlap and smear the groove. In DnB, tight is usually right.
- No sidechain/spacing: drums lose punch fast at 170+ BPM.
- High-passing the mid layer too high: if you cut above ~150 Hz you might lose the “chest” of the bass movement.
- Add controlled distortion to the mid layer only:
- Use a notch for harshness:
- Make the movement “meaner” with drive before the filter:
- Add subtle noise for texture (mid layer):
- Glue the bass group:
- Old school bass movement in DnB is often filter-driven, not note-driven.
- Use Auto Filter (LP24) + Envelope Amount/Decay for that classic “opening” motion.
- Split into SUB (steady sine, mono) and MID MOVEMENT (filtered, saturated) for clean mixes.
- Add sidechain and automation across 8 bars so it feels like a real rolling phrase.
---
2. What you will build
A two-layer bass:
It’ll work great for:
---
3. Step-by-step walkthrough
Step 0 — Set the context (tempo + drums) 🥁
1. Set tempo to 170–174 BPM.
2. Drop in a simple 2-step drum loop or build one quickly:
- Kick on 1
- Snare on 2 and 4 (beats 2 & 4 in 4/4)
- Add hats with a bit of swing (more later)
Having drums running helps you shape filter motion to the groove.
---
Step 1 — Create a MIDI track + instrument
1. Create MIDI Track → name it `BASS MOVEMENT`.
2. Load Operator (stock) (simple + perfect for classic tones).
Operator settings (quick patch):
- Waveform: Saw (for harmonics) or Square (hollow + classic)
- Coarse: 1
- Fine: 0
- Attack: 0 ms
- Decay: 250–500 ms
- Sustain: -inf (or very low)
- Release: 80–150 ms
This makes short-ish bass notes that work well for rolling patterns.
---
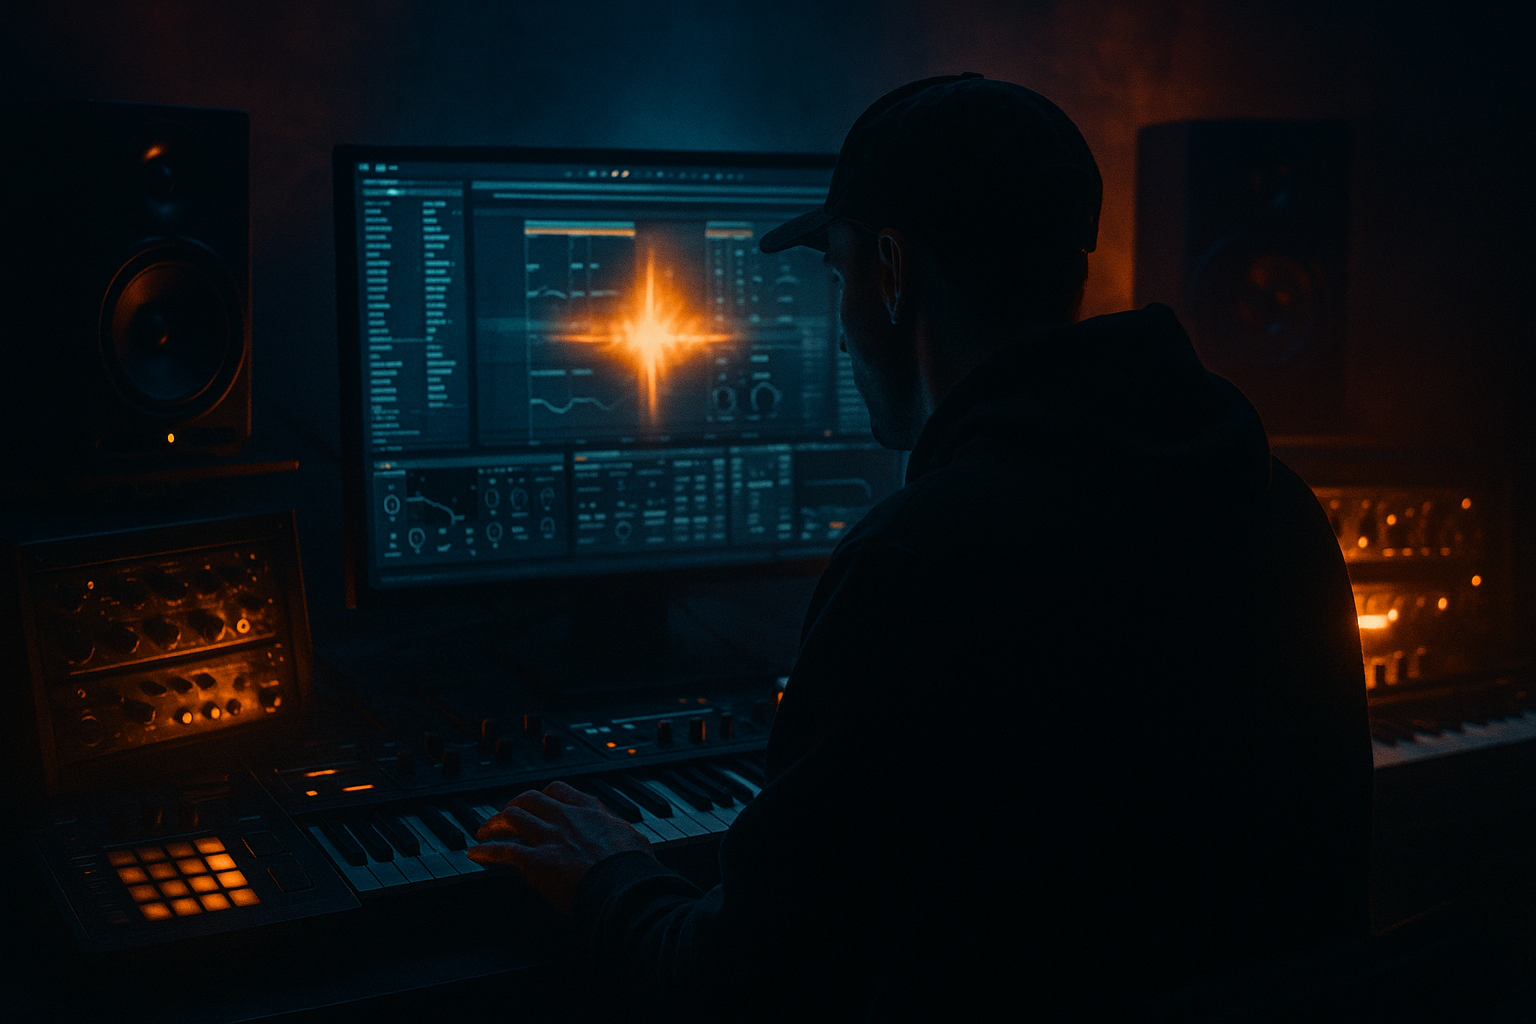
Step 2 — Add the low-pass filter (the star of the lesson) ⭐
After Operator, add:
Auto Filter settings (classic low pass movement):
You should now hear a muted bass that can “open up” when the cutoff rises.
---
Step 3 — Create movement using an envelope (Filter Envelope)
In Auto Filter, enable/adjust the envelope section:
Now the filter will “pluck” open each time a MIDI note hits—this is the classic old-school “wah” motion.
DnB tip:
Shorter decay = tighter roller. Longer decay = more obvious wah movement.
---
Step 4 — Program a simple rolling bassline (MIDI)
Create a 1-bar MIDI clip. Keep it simple and rhythmic.
Pattern idea (in A minor):
- 1.1: A1 (1/8)
- 1.2: rest
- 1.3: A1 (1/8)
- 1.4: A1 (1/16) then rest (1/16)
- Add a note just before the snare for push: 1.2.3 (depends on your grid)
If that’s confusing, here’s a simpler start:
Then listen with drums. The movement should already feel more alive.
---
Step 5 — Add “old school” motion with subtle LFO (optional but powerful) 🌀
In Auto Filter, enable the LFO to add slow drift (very classic).
or 0.20–0.60 Hz (sync off) for a more human wobble
This creates gentle, constant movement on top of the envelope pluck.
---
Step 6 — Split sub and movement (essential for clean DnB low end) ⚙️
To keep the sub solid while the filter moves, duplicate the track:
1. Duplicate `BASS MOVEMENT` twice:
- `BASS SUB`
- `BASS MID MOVEMENT`
#### On `BASS SUB`:
- Low-pass around 80–120 Hz (gentle slope)
- Optional: small dip around 200–300 Hz if muddy
- Bass Mono: On (or set Width 0%)
- Gain: adjust so it’s strong but not clipping
#### On `BASS MID MOVEMENT`:
- High-pass around 80–120 Hz (remove sub so it doesn’t fight)
- Optional: small boost around 200–600 Hz for presence
- Mode: Analog Clip
- Drive: 2–8 dB
- Output: reduce to match level
Now your sub stays consistent while the “talking” part moves. This is huge for rollers.
---
Step 7 — Make it groove: sidechain to the kick/snare (classic DnB spacing) 🧠
On both bass tracks (or on a group), add:
- Sidechain: from Kick (or kick track)
- Ratio: 3:1 to 6:1
- Attack: 3–10 ms
- Release: 60–140 ms (set to tempo feel)
- Gain reduction: aim 2–6 dB
This gives the drums space and keeps the bass from smothering the transient.
---
Step 8 — Arrangement idea (8-bar loop that feels like a tune) 🎚️
Make your bass move across time, like classic tracks do:
Bar 1–4: more closed filter (darker)
Bar 5–8: open it slightly (energy lift)
How to do it:
This gives you a “phrase,” not just a loop.
---
4. Common mistakes 🚫
---
5. Pro tips for darker/heavier DnB 🖤
Use Saturator or Roar (if you have it) after Auto Filter. Keep sub clean.
In EQ Eight, sweep around 1.5–4 kHz if the movement layer gets pokey.
Try Saturator → Auto Filter (distort first, then filter it down). That’s a classic dark trick.
Operator has noise; blend very quietly and filter it.
Group sub + mid → add Glue Compressor (1–2 dB reduction) + Soft Clip (if needed).
---
6. Mini practice exercise 🎯
Do this in 10–15 minutes:
1. Make a 1-bar rolling bassline (A minor) with only 2 notes: A1 and G1.
2. Use Auto Filter envelope to create movement.
3. Create two variations:
- Variation A: shorter envelope decay (120–180 ms) = tight roller
- Variation B: longer envelope decay (250–400 ms) = more vocal/wah
4. Arrange into an 8-bar phrase:
- Bars 1–4: Variation A (darker)
- Bars 5–8: Variation B + slightly higher cutoff (energy)
Bounce the loop and compare which one feels more “old-school.”
---
7. Recap ✅
If you want, tell me what sub note/root your track is in (and whether you’re aiming jungle, minimal roller, or darker techy), and I’ll suggest a specific 2-bar MIDI pattern + filter automation curve to match.

