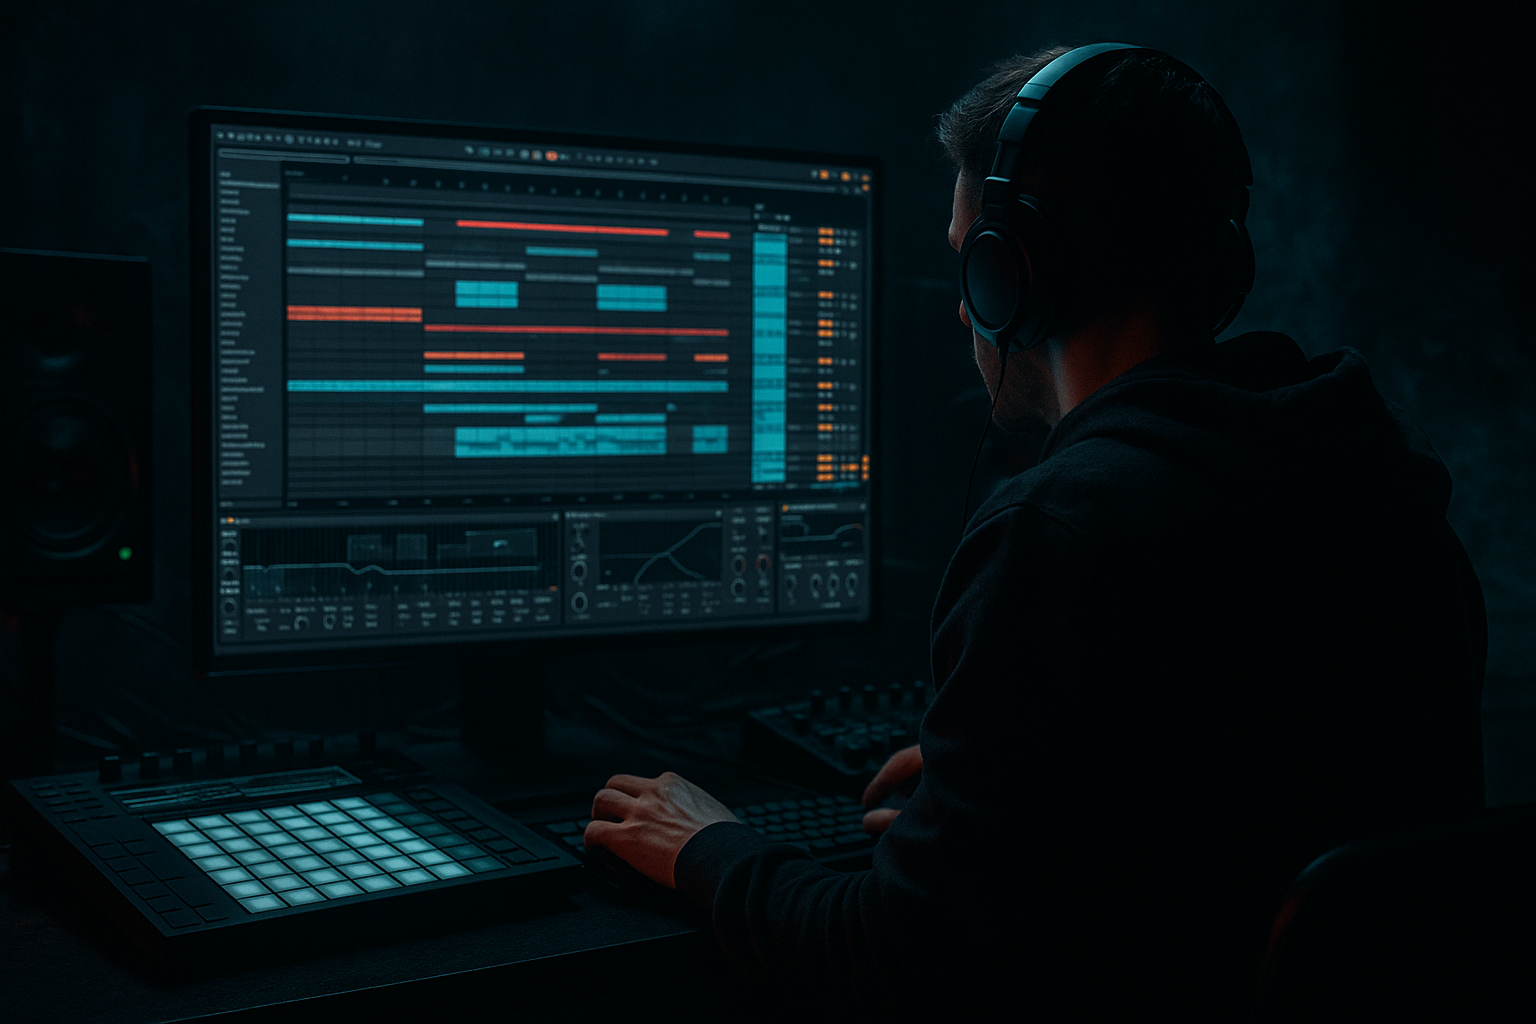
Main tutorial
```markdown
Old Tape Feel on Break Layers (DnB in Ableton Live) 🎛️📼
1. Lesson overview
In drum & bass (especially jungle/rollers), breaks often sound best when they’re slightly worn, glued, and “alive”—like they’ve been sampled off vinyl, bounced to tape, and re-chopped a hundred times.
In this lesson you’ll learn a repeatable Ableton Live workflow to give your break layers an old tape feel while keeping your mix punchy and modern.
We’ll focus on Ableton stock devices (so you can do this in any Live version with Suite/standard stock effects).
---
2. What you will build
You’ll create a 2-layer break system:
- Clean Break (Punch Layer): carries transients, clarity, and punch.
- Tape Break (Character Layer): adds vibe—saturation, wobble, hiss, dulling, and glue.
- High-pass: 24 dB/oct at ~25–40 Hz (remove rumble)
- Optional small dip: -2 to -4 dB around 250–450 Hz if boxy
- Optional slight boost: +1 to +2 dB at 3–6 kHz if you need snap
- Drive: 2–6
- Boom: OFF (usually—Boom can mess with sub in DnB)
- Crunch: 0–10 (tiny amount)
- Transient: +5 to +15 (if it needs more attack)
- Output so it’s not clipping
- High-pass: 24 dB/oct at 60–120 Hz
- Gentle high shelf: -3 to -8 dB from 8–12 kHz
- Optional: small boost +1 to +3 dB at 1–3 kHz for mid “crack” before saturation
- Mode: Soft Sine or Analog Clip
- Drive: 3–8 dB (start at 5 dB)
- Soft Clip: ON
- Output: reduce to match level (don’t let “louder” trick you)
- Turn on Color and set:
- Drive: 5–15 (depends on how cooked you want it)
- Crunch: 10–30 (adds grain)
- Transient: -5 to -20 (yes, reduce! tape rounds transients)
- Boom: OFF (or very low; careful in DnB)
- Add Chorus-Ensemble
- Mode: Chorus
- Rate: 0.15–0.40 Hz (slow drift)
- Amount: 5–20%
- Width: 0–30% (keep it subtle or it goes seasick)
- Mix: 10–25%
- Add Auto Pan
- Turn Phase = 0° (so it becomes tremolo, not panning)
- Rate: 0.10–0.30 Hz
- Amount: 5–15%
- Shape: Sine
- Offset: 0
- Put a vinyl/tape hiss loop on a separate audio track.
- Low-pass it with EQ Eight around 6–10 kHz
- Keep it very low: -30 to -20 dB (you should feel it more than hear it)
- New MIDI track → Operator
- Oscillator: choose Noise
- Add Auto Filter low-pass at 8–12 kHz
- Mix quietly
- CLEAN: 0 dB (or wherever it sits in your drum mix)
- TAPE: start at -18 dB, end up around -12 to -6 dB depending on intensity
- Drum Buss Transient reduction (less negative), or
- Saturator Drive, or
- Chorus/Auto Pan Mix/Amount
- Attack: 3 ms (lets transients through)
- Release: Auto or 0.1–0.3 s
- Ratio: 2:1
- Aim for 1–3 dB gain reduction on the loudest hits
- Makeup: OFF (set output manually)
- High-pass 25–35 Hz (keep sub clean for the bass)
- Optional gentle high shelf -1 to -3 dB if it’s too crispy
- Intro (bars 1–17): more TAPE layer (vibe, atmosphere)
- Drop (bars 17+): slightly less TAPE layer (preserve punch)
- Mid-drop switch: automate TAPE layer up for 4–8 bars to get that “proper jungle” grime
- Fills: print (resample) a bar of the TAPE break, then:
- Chorus Mix from 10% → 20% in breakdowns
- Saturator Drive +1–2 dB on fills
- EQ Eight low-pass moving down slightly on transitions (like losing top end to tape)
- Midrange aggression without harsh highs:
- Add “metal” to the snare without ruining cymbals:
- Rugged swing:
- Resample for authenticity:
- Mono the dirt, keep punch centered:
- You created a parallel break workflow: CLEAN for punch, TAPE for vibe.
- You used stock Ableton devices to mimic tape traits:
- You glued it on the bus and learned how to automate it for arrangement energy.
Then you’ll blend them for that classic rolling, gritty DnB break sound. 🥁
---
3. Step-by-step walkthrough
Step 0 — Choose the right break & prep it
1. Drag a breakbeat into an audio track (e.g., an Amen-style, Think, or classic funk break).
2. Set Warp:
- In most modern DnB workflows: Warp = ON
- Warp mode: Complex Pro (safe) or Beats (punchier)
- If using Beats: try
- Preserve: Transients
- Envelope: 10–30 (lower = tighter/punchier)
3. Consolidate a 1 or 2 bar loop: select region → Cmd/Ctrl + J
This makes your processing predictable.
DnB target tempos: 170–176 BPM.
---
Step 1 — Create your layer setup (clean + tape)
1. Duplicate the break track:
- Select track → Cmd/Ctrl + D
2. Name them:
- Break CLEAN
- Break TAPE
3. Group them:
- Select both → Cmd/Ctrl + G
- Name group: BREAK BUS
✅ Now you can process each layer differently and still control them together.
---
Step 2 — Keep the CLEAN layer punchy (minimal processing)
On Break CLEAN, add EQ Eight:
Add Drum Buss (subtle):
🎯 Goal: this layer supplies attack + definition.
---
Step 3 — Build the “Old Tape” chain on the TAPE layer 📼
On Break TAPE, build this device chain (top to bottom):
#### A) EQ Eight (pre-shape into tape)
Tape hates extreme lows and super sharp highs—so feed it the “right” tone.
This prevents the tape layer from fighting your kick/sub and makes it feel sampled.
---
#### B) Saturator (tape-ish drive)
Add Saturator:
Optional shaping:
- Base: ~1.5 kHz
- Depth: 2–6
This can emphasize mid harmonics like old samplers/tape.
🎯 Goal: harmonics + gentle flattening.
---
#### C) Drum Buss (for “tape compression” vibe)
Add Drum Buss after Saturator:
🎯 Goal: round-off + density.
---
#### D) Wow & Flutter (fake it with Chorus-Ensemble or Auto Pan)
Ableton doesn’t have a single “wow/flutter” knob stock, but you can simulate it.
Option 1 (simple): Chorus-Ensemble
Option 2 (more “wobble”): Auto Pan
🎯 Goal: micro-movement like tape instability.
---
#### E) Noise / Hiss layer (optional but very authentic) 🌫️
You can do this two ways:
Way 1: Add a noise sample
Way 2: Create noise with Operator
Sidechain this hiss lightly to the drums if needed so it doesn’t mask transients.
---
Step 4 — Blend the layers (this is the magic)
Bring the Break TAPE fader down, then slowly raise it until it adds character without killing punch.
Typical blend:
✅ If the break loses snap, reduce:
---
Step 5 — Glue the BREAK BUS (group processing)
On the BREAK BUS (group), add:
#### A) Glue Compressor (light bus glue)
🎯 Glue, not slam.
#### B) EQ Eight (final shape)
---
Step 6 — Arrangement ideas (DnB/jungle specific) 🧩
Old tape feel sounds best when it moves through the arrangement:
- reverse a snare tail
- pitch down a hit (-3 to -7 semitones)
- add Delay (Ping Pong, short) for a dubby throw
Automation suggestions:
---
4. Common mistakes
1. Over-warping the break
Too much stretching can create weird transient smears. If it sounds “phasey,” try Warp mode changes (Beats vs Complex).
2. Too much wobble
Wow/flutter should be subtle. If it sounds like a synth chorus, dial it back.
3. Crushing the transients on the only layer
Always keep a CLEAN layer (or at least parallel clean transients), especially in modern DnB.
4. Letting tape layer carry sub/low end
Tape dirt in the lows makes your mix cloudy fast. High-pass the TAPE layer aggressively.
5. Mixing louder instead of better
Saturation increases perceived loudness. Level-match after every distortion stage.
---
5. Pro tips for darker/heavier DnB 🖤
On TAPE layer, boost 1–2 kHz before saturation, then low-pass after. Classic gritty bite.
Use Multiband Dynamics on the break bus:
- Compress Mid band slightly more than highs
- Keep highs controlled (don’t let hats fizz)
Nudge some slices slightly off-grid or use Groove Pool:
- Apply an MPC-ish groove at 20–40% to the break group.
Once your tape chain is set, Resample 4–8 bars to a new audio track and re-warp it. That “generation loss” feel is real in jungle.
Put Utility on TAPE layer:
- Width: 0–50%
- Keeps your stereo image cleaner and more club-safe.
---
6. Mini practice exercise (10–15 min) 🎯
1. Pick a 2-bar break loop at 174 BPM.
2. Build the CLEAN/TAPE layer system exactly as above.
3. Make two versions:
- Version A (Subtle Tape): light saturation + tiny wobble
- Version B (Cooked Jungle): heavier drive + more transient rounding
4. Arrange 32 bars:
- Bars 1–16: Version B louder (vibe)
- Bars 17–32: Version A louder (drop clarity)
5. Bounce/export and compare: which hits harder without losing character?
---
7. Recap ✅
- EQ shaping (roll lows/highs)
- Saturation + soft clipping
- Transient rounding
- Wow/flutter movement
- Optional hiss
If you tell me what kind of break you’re using (Amen/Think/other) and whether your track is more rollers or jungle, I can suggest a dialed-in starting preset chain with exact values. 📼🥁
```

