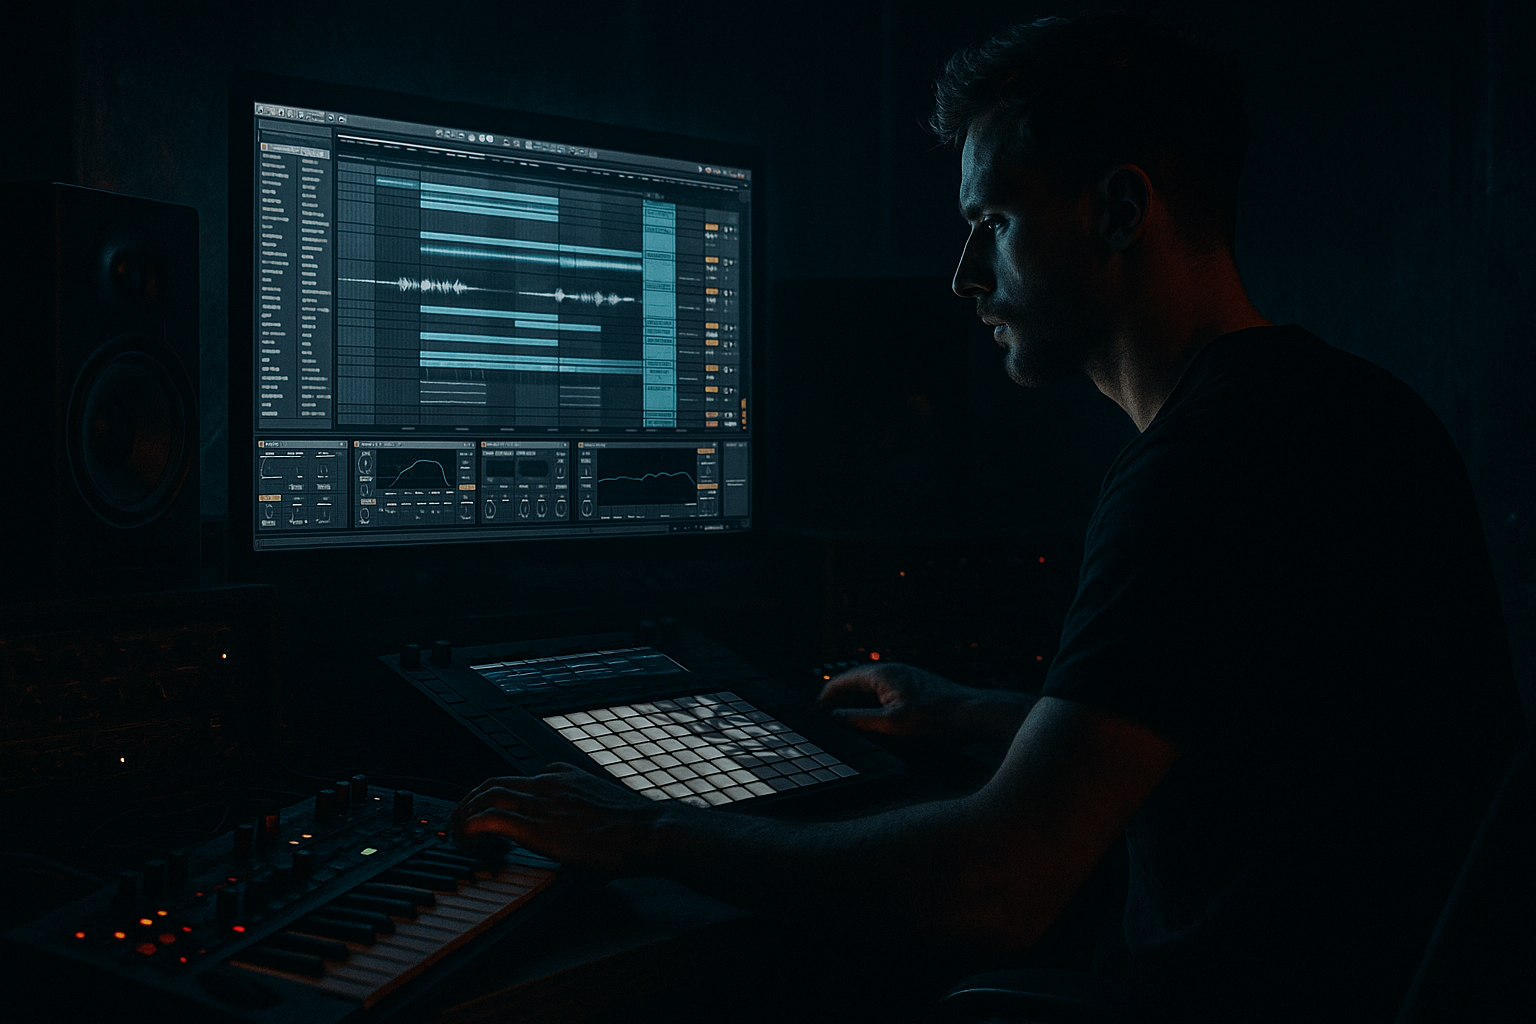
Main tutorial
Lesson Overview
This lesson is about building an oldskool ragga vocal layer that sits inside a Drum & Bass track like a weapon, not a distraction. The goal is to take a short vocal phrase, saturate it for attitude, arrange it with purpose, and make it work with the drums and bassline in Ableton Live 12 without clouding the low end or turning the drop into a messy sample collage.
This technique lives most naturally in the intro, first-drop hooks, turnarounds, and second-drop switch-ups of jungle, rollers, ragga-influenced DnB, and darker club tools. It can also work in neuro or techier tracks if the vocal is treated like a rhythmic texture rather than a full lyrical lead.
Musically, the layer gives you movement, identity, and call-and-response energy. Technically, it helps you create a midrange focal point that can be distorted, filtered, chopped, and automated without touching the sub. By the end, you should be able to hear a vocal that feels rough, urgent, and properly integrated: present enough to read in the drop, controlled enough to leave room for snare and bass, and arranged so it adds payoff instead of clutter.
What You Will Build
You will build a ragga vocal layer that sounds:
- gritty, forward, and slightly overdriven
- rhythmically locked to the DnB groove, not floating on top of it
- short and loopable, with phrase edits that can be used as a hook or a texture
- mix-ready enough to live with a heavy drum bus and a sub-heavy bassline
- Run the vocal through a parallel dirt layer rather than crushing the main take. Duplicate the track, high-pass the copy around 200 Hz, overdrive it harder with Saturator, then blend it quietly under the clean main vocal. This gives menace without destroying intelligibility.
- Use one-word repeats as rhythmic weapons. In darker rollers, a repeated word on the offbeat can function like a ghost percussion hit. Keep the repeat short and let the snare remain the strongest backbeat element.
- Filter movement should follow section energy, not just taste. Darker DnB often benefits from a vocal that starts muffled and gets nastier as the drop progresses. That creates the feeling that the track is opening up, even if the bassline stays sparse.
- If the bassline is very active, strip the vocal down to consonants and accented syllables. The midrange can get congested fast in neuro-leaning material. A sharper, smaller vocal part often sounds heavier because the bassline stays dominant.
- For oldskool jungle character, add a short resampled phrase with a tiny bit of timing looseness rather than perfect grid alignment. A few milliseconds of push/pull can make the vocal feel human and more period-accurate, as long as the snare remains locked.
- Keep one version dry and one version processed. The dry version preserves lyric impact; the processed version delivers grit. Blend the two so the vocal still reads on smaller systems while carrying enough edge for the club.
- use only Ableton stock devices
- use one vocal phrase only
- high-pass the vocal so it does not touch the sub
- create one automation move only: filter open or delay throw
- keep the phrase rhythmically aligned to the snare
- a 4-bar loop with one clean vocal layer and one dirtier duplicate or resampled version
- mute the bass: does the vocal still feel rhythmic?
- unmute the bass: does the vocal leave the snare clear?
- mono check: does the main phrase still hold together?
The finished result should feel like an oldskool sample chopped into a modern DnB arrangement: raw character on top, controlled low end underneath, and enough movement to keep the drop alive for 16 bars or more. A successful result sounds like the vocal is driving energy in the upper mids while the kick, snare, and sub remain clearly defined underneath.
Step-by-Step Walkthrough
1. Start with the right vocal source and trim it for usefulness
Pick a ragga, dancehall, or toasting-style vocal with a strong accent, clear rhythm, and short phrases. You want something that already has attitude in the delivery. In Ableton, drag the sample into a Simpler track or a standard audio track and trim out everything except a 1–4 bar phrase that has at least one strong consonant hit and one sustained vowel or tail.
The reason is simple: DnB arrangement moves fast. A vocal that speaks in short gestures can hit harder than a long lyrical line because it leaves room for the drums to do their job. If the sample has a long tail, cut it off or fade it out so it does not spill into the snare hit.
What to listen for:
- a phrase that has a clear start, middle, and end
- a natural rhythmic accent you can place against the snare
- enough grit in the voice to survive saturation without turning to mush
If the source is too busy, commit early to a smaller slice. Stop here if the phrase only works when it plays full length; that usually means it will fight the drop later.
2. Decide whether the vocal will act as a hook or a texture
This is your first important A versus B decision.
A: Hook mode
Use a recognisable phrase, keep the wording intelligible, and arrange it in obvious call-and-response with the snare or bassline. This suits jungle rollers, ragga cuts, and tracks that need a memorable vocal signature.
B: Texture mode
Chop the vocal into fragments, pitch a few pieces differently, and use it more like a rhythmic percussion layer. This suits darker rollers, techy DnB, and neuro-adjacent tracks where the vocal should add menace without stealing focus.
In Ableton, duplicate the clip and create both versions. Keep one on a separate track so you can compare them against the drums. In a real session, the best decision is often made by listening to the vocal against the kick/snare pattern, not in solo.
Why this matters in DnB: the snare usually anchors the entire phrase structure. If the vocal is too “lead-like,” it will pull attention away from the backbeat. If it is too chopped, you lose the oldskool personality. The right choice depends on whether the track needs identity or motion.
3. Clean the vocal before you destroy it
Before adding saturation, shape the signal so you are distorting something controllable. Use Ableton’s EQ Eight first:
- high-pass around 120–180 Hz to remove any low rumble
- notch any nasty resonances around 300–600 Hz if the sample is boxy
- gently reduce harshness around 2.5–5 kHz if the consonants bite too hard
Then place Saturator after EQ Eight. Start with Drive around 2 to 6 dB. Use Soft Clip if the vocal is sharp and you want a more stable top end. If you want more aggression, push the Drive a bit further but lower the output so the level does not fool you.
If the vocal feels thin after EQ, do not immediately add low end back in. In DnB, the bassline owns the low fundamentals. The vocal should survive on presence, texture, and upper-mid weight.
What to listen for:
- the vocal becoming denser and more forward without turning fizzy
- consonants staying readable after saturation
- the phrase feeling slightly “closer” to the speaker, not just louder
4. Build a stock-device chain that gives weight without wrecking clarity
A practical Ableton chain for this style is:
EQ Eight → Saturator → Compressor → Auto Filter
Use Compressor only for gentle containment, not over-squash. Try:
- Ratio around 2:1 to 4:1
- Attack around 10–30 ms to keep consonant snap
- Release around 50–150 ms so the phrase breathes
- Aim for just a few dB of gain reduction on peaks
Then use Auto Filter to place the vocal in the mix:
- for darker drops, low-pass the vocal around 4–8 kHz and automate it open on key hits
- for more presence, use a high-pass with resonance kept modest, so the vocal feels thinner but more aggressive
If you want a more ragged edge, try adding Redux before the Compressor at a very restrained amount. Keep it subtle: just enough bit reduction to roughen the grain. The moment it starts sounding brittle, back off. Oldskool charm is texture, not digital collapse.
This chain works in DnB because it makes the vocal feel like part of the drum/bass system: EQ removes conflict, saturation gives density, compression stabilises the rhythmic delivery, and filtering creates arrangement motion.
5. Chop the phrase to the groove, not the grid
Open the clip in Ableton’s Clip View and make timing edits so the phrase locks with the drums. In DnB, the vocal usually works best when it lands slightly ahead of or directly on the snare phrase boundary, not drifting randomly across bars.
A useful starting approach:
- place the first vocal hit just before the snare of bar 1
- let the phrase answer across bar 2
- cut the tail before bar 3 if the loop needs space for the next drum phrase
If the sample has a strong rhythmic syllable, try nudging it a few milliseconds earlier so it feels urgent. If it feels rushed and loses intelligibility, pull it back. Use your kick/snare as the timing reference, not the metronome alone.
One useful arrangement example:
- bars 1–4: full phrase as the hook
- bars 5–8: chop the tail and answer with a bass fill
- bars 9–12: repeat the first line but filter it darker
- bars 13–16: strip it to one repeated word or shout for tension before the next section
This keeps the vocal functioning as a phrase element, not a looped wallpaper layer.
6. Make the vocal talk to the drums and bass
Pull in the drum loop or programmed break and your bassline early. Do not shape the vocal in isolation. In this style, the vocal should sit around the snare and fill the spaces between kick and bass gestures.
Check the relationship in context:
- Does the vocal hit leave enough room for the snare crack?
- Does the bass note on the downbeat collide with the vocal’s main vowel?
- Does the vocal feel like it belongs in the same room, or like a different record pasted on top?
If the vocal masks the snare, carve a narrow dip around 2–4 kHz with EQ Eight. If the bass and vocal fight in the low mids, high-pass the vocal a bit more, or reduce the saturation drive so the lower harmonics do not swell too much.
This is one of the most important DnB realities: a vocal layer is successful when it enhances momentum without flattening the drum/bass contrast. In the drop, the vocal should read like a riff, not like a second chorus lead.
7. Use automation to create tension and release
Automation is where the ragga layer becomes arrangement, not just sound design. Automate the Auto Filter cutoff and the Send levels to Delay or Reverb very sparingly.
A strong pattern for oldskool flavour:
- keep the vocal darker in the intro
- open the filter slightly in the build or pre-drop
- let one word or shout bloom with a short delay throw at the end of a bar
- pull it back dry as the snare re-enters
If you use Echo, keep it short and rhythmically useful:
- 1/8 or dotted 1/8 for bounce
- low feedback, often under 20–30%
- filtered repeats so the delay stays behind the dry vocal
The point is not to wash the phrase out. The point is to create a moment where the vocal feels like it points into the next section. In DnB, that little push is often enough to make the drop feel bigger.
8. Commit the vocal to audio once the core movement works
Once the phrase is trimmed, saturated, timed, and automated enough to work in the track, commit it to audio. This is especially useful if you are chopping, pitching, or resampling the layer further.
Why commit? Because ragga vocal treatment often becomes an arrangement performance. If you keep tweaking the source endlessly, you can lose the actual part. Printing gives you a fixed object you can cut, reverse, mute, and repeat with confidence.
In Ableton, freeze and flatten or resample internally to create a new audio clip. Then:
- reverse selected tails for pre-drop push
- cut one-bar answers for call-and-response
- duplicate a word and pitch it down an octave for a heavier second-drop variation
Commit this to audio if the sound is already giving you the attitude you want. Further mixing can happen after the part is emotionally right.
9. Create a second-drop evolution so it does not wear out
A vocal hook that repeats unchanged for 64 bars will burn out fast in DnB. Build a second version for later in the track.
Good evolution options:
- remove the first word and leave only the last two syllables
- automate a darker filter and more saturation for the second drop
- switch from hook mode to texture mode
- drop the vocal an octave lower on a duplicate layer for one bar only
- answer the phrase with a bass fill or break edit
Try a structural move like this:
- First drop: full phrase every 4 bars
- Mid-drop: remove the vocal for 8 bars to create space
- Second drop: bring it back chopped and dirtier, with one delayed shout on the turnaround
This makes the arrangement feel like it is evolving instead of looping.
10. Final balance: make it feel aggressive, not oversized
Once the vocal arrangement is in place, level it against the drums and bass at the full drop. In many DnB tracks, the vocal should sit lower than you think in solo. If you can clearly hear every syllable at all times, it may be too loud.
Use the group or track fader to set the level, then use EQ and saturation to help the presence, not volume, do the work. Keep the sub and kick authoritative. The vocal should ride above them in the midrange, with enough edge to cut through a club system but not so much that it dominates the groove.
Mix-clarity note: check mono compatibility on the vocal layer, especially if you have widened delays, chorus, or duplicated octave layers. If the vocal loses its body in mono, collapse the wideners and keep the character in the center. In DnB, center stability matters because the drum/bass foundation must stay locked for DJs and club systems.
What a successful result should sound like: a rough, rhythmic ragga vocal that feels integrated with the bassline, punctuates the groove, and adds attitude without turning the drop into clutter.
Common Mistakes
1. Over-saturating the vocal before cleaning it
Why it hurts: low-mid mud and harsh consonants get exaggerated, which makes the layer fight the snare and bass.
Ableton fix: put EQ Eight before Saturator; high-pass first, then add only enough drive to thicken the phrase.
2. Leaving the full vocal length unedited
Why it hurts: long tails smear across the bar and reduce impact, especially when the snare needs space.
Ableton fix: tighten the clip boundaries, fade tails out, and cut phrases to bar-length or half-bar phrasing.
3. Making the vocal too loud in solo and not checking it with drums
Why it hurts: the layer sounds exciting alone but crushes the drop once the kick/snare and bass enter.
Ableton fix: always audition it with the full drum and bass loop, then lower the fader until the groove breathes.
4. Using too much reverb or wide delay
Why it hurts: the vocal loses aggression and creates phasey smear around the snare.
Ableton fix: keep reverb short and filtered; use Echo with low feedback and automate it only for transitions.
5. Pitching the vocal without checking the harmonic context
Why it hurts: a pitched-down ragga phrase can clash with the bassline or feel comically heavy instead of menacing.
Ableton fix: test the pitched layer against the bass notes; if it crowds the low mids, keep the pitch change in a single accent instead of the whole phrase.
6. Ignoring consonant transients
Why it hurts: if you dull every attack, the phrase loses its rhythm and stops locking to the drums.
Ableton fix: reduce compressor attack time compression only as needed, or use less high-frequency filtering so the front edge stays readable.
7. Letting stereo widening destabilise the layer
Why it hurts: the vocal can feel impressive in headphones but weak in mono and less solid on club systems.
Ableton fix: keep the main vocal centered; if you want width, use short filtered delays on a return and check mono regularly.
Pro Tips for Darker / Heavier DnB
Mini Practice Exercise
Goal: build a 4-bar ragga vocal hook that works over a basic DnB drum/bass loop.
Time box: 15 minutes.
Constraints:
Deliverable:
Quick self-check:
Recap
Oldskool ragga vocal layers work in DnB when they are treated like arrangement tools, not just samples. Trim the phrase tightly, shape it with EQ and Saturator, lock it to the snare-driven groove, and keep the low end clear. Use automation and selective resampling to turn one phrase into a hook, a breakdown cue, and a second-drop variation. If the result feels rough, urgent, and rhythmically fused with the drums while the sub stays clean, you’ve nailed it.

