Main tutorial
Lesson Overview
The oldskool DJ intro route is one of the most useful arrangement techniques in Drum & Bass, especially if you want your track to feel like it was built for real mixing, not just streaming. The idea is simple: instead of opening with a full drop immediately, you design a section that behaves like a DJ-friendly intro — drums, atmos, filtered bass hints, tension, and clean phrasing — then let the tune reveal itself gradually.
In Ableton Live 12, this becomes even more powerful because you can build the intro by resampling your own material: break loops, bass stabs, FX tails, and texture fragments can be bounced back into audio and reshaped into new sections. That gives the intro a proper oldskool/DnB identity: gritty, functional, and full of character.
This technique matters because it solves two common problems in modern DnB arrangement:
- tracks often feel too “instant” and leave no room for mix DJ functionality
- intros can sound empty if they’re just generic risers and filtered pads
- a clean 16- or 32-bar entry point for mixing
- controlled tension before the drop
- an easy way to introduce groove, bass attitude, and atmosphere
- a more authentic jungle / rollers / darker DnB feel
- a tight drum opening with break-based energy
- a filtered or hinted bass presence that teases the drop without giving everything away
- FX and atmospheric layers that create depth and movement
- automation-based tension across the intro and pre-drop
- a resampled intro layer made from your own drums and bass material for extra grit
- a clean transition into a drop with strong low-end impact
- bars 1–8: intro drums and space
- bars 9–16: break variation and light bass hint
- bars 17–24: rising tension, more edits, more movement
- bars 25–32: pre-drop lift and final drop cue
- rollers with rolling kick/snare energy
- jungle with break edits and sample flavour
- darker neuro-leaning DnB with controlled bass automation
- oldskool-inspired rave DnB with rugged intro structure
- Making the intro too full too early
- Using generic risers instead of musical buildup
- Ignoring phrase structure
- Letting resampled audio get muddy
- Over-widening the low end
- Too much distortion on the intro bass tease
- No contrast between intro and drop
- Resample the break through saturation twice
- Use frequency movement instead of volume movement
- Add ghost snares and hidden percussion
- Try half-step energy in the intro
- Keep one “signature” resampled sound
- Use subtle degradation
- Think like a DJ
- Build the intro like a DJ mixing section, not just a lead-in.
- Use resampling to turn your own drums and bass fragments into new intro material.
- Keep the low end controlled and save the full bass weight for the drop.
- Shape the arrangement in 8-bar and 16-bar phrases.
- Use Ableton stock devices like Auto Filter, Saturator, Redux, Echo, Glue Compressor, and Utility to create movement, grit, and space.
- The best oldskool intro routes feel functional, musical, and heavy without overexposing the drop.
A proper DJ intro route gives you:
This lesson is about building that route with a resampling-first workflow so your intro sounds like an intentional part of the tune, not a placeholder.
What You Will Build
You’ll build a 32-bar oldskool DnB intro route that feels ready for DJ mixing, leading into a full drop.
The finished result will include:
Musically, think of it as:
This can work for:
Step-by-Step Walkthrough
1. Set up the arrangement and reference the DJ context
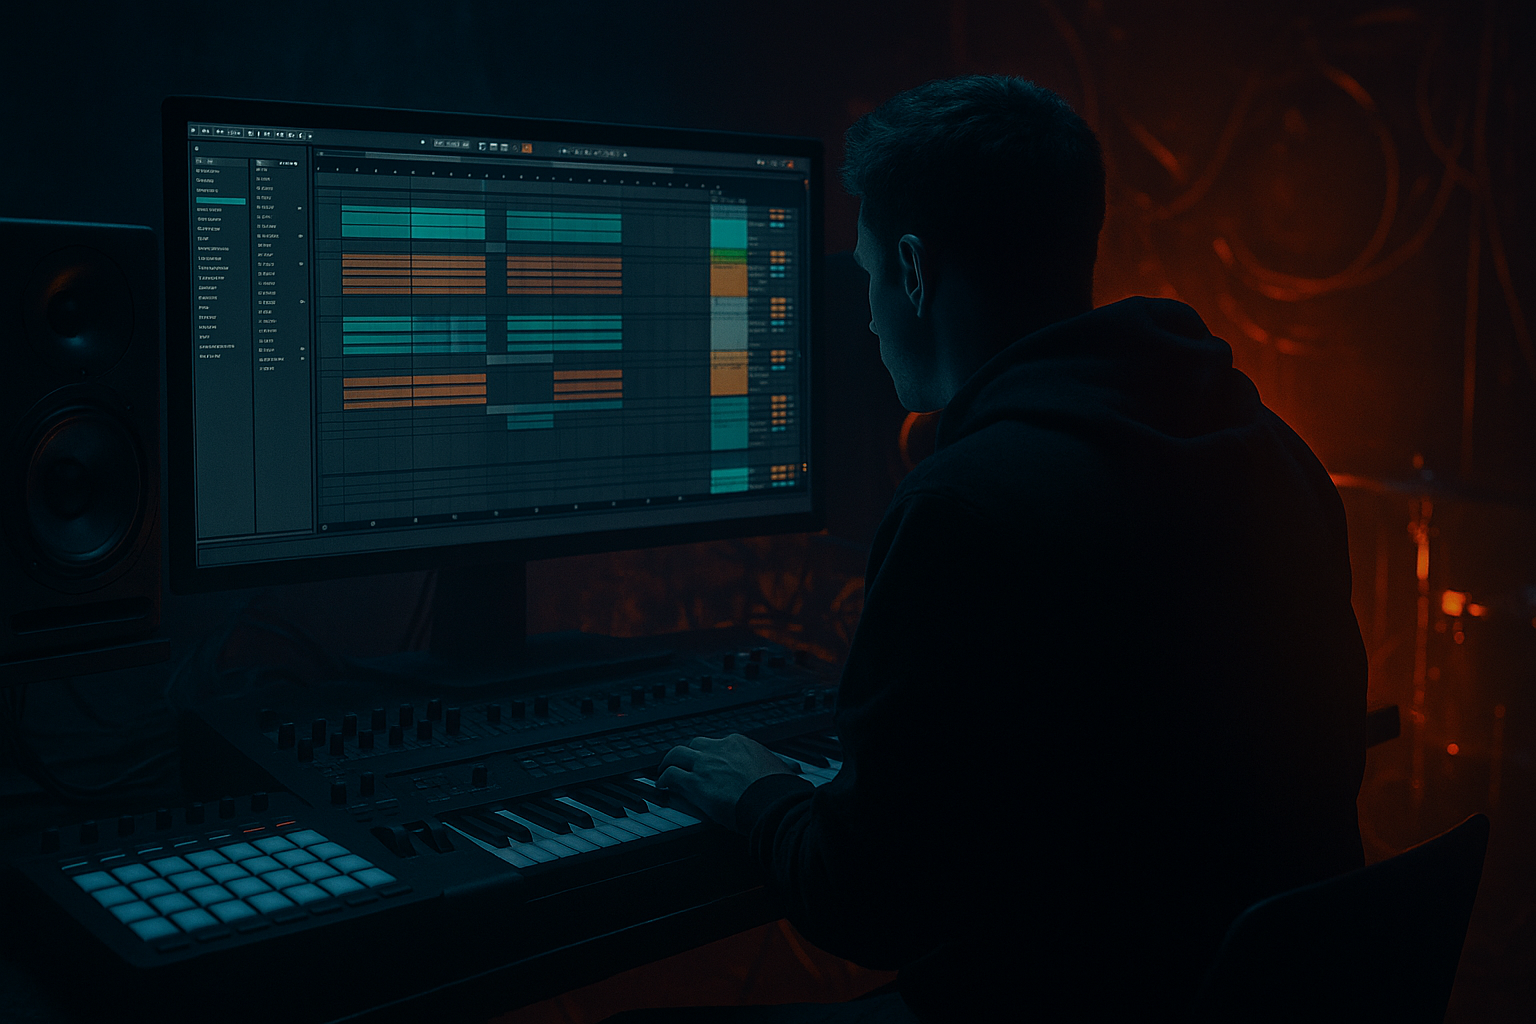
Start by setting your project around a 174 BPM grid, which is the sweet spot for most modern DnB. In Arrangement View, mark out a 32-bar intro route before your drop section.
Place locator markers for:
- Intro A: bars 1–8
- Intro B: bars 9–16
- Build: bars 17–24
- Pre-drop: bars 25–32
- Drop: bar 33 onward
This matters because oldskool DJ intros rely on phrasing. A DJ needs clear 8/16/32-bar structure to mix cleanly, and a producer needs those same landmarks to control tension.
Keep your Session or Arrangement template ready with separate tracks for:
- Kick / Snare / Break
- Hats / Percussion
- Bass
- Atmos / FX
- Resampled Audio
If you’re working from a loop, drag it into Arrangement and trim it so the first downbeat lands exactly on bar 1.
2. Build the drum skeleton with oldskool energy
Start with the drums before touching the bass. For an authentic DJ intro route, you want the drums to carry identity on their own.
Use a combination of:
- a clean kick/snare pattern
- a chopped break
- subtle percussion ghosts
Stock Ableton tools that help here:
- Drum Rack for one-shots
- Simpler for break slicing or one-shot breaks
- EQ Eight to carve low-end
- Drum Buss for punch and glue
- Utility for mono control if needed
A good starting point:
- kick on beat 1 and occasional syncopations
- snare on 2 and 4
- break loop tucked underneath at low level
- offbeat hats or ride patterns for forward motion
For the break:
- high-pass it around 150–250 Hz
- lightly compress with Glue Compressor if it feels too spiky
- use Transient shaping via Drum Buss or envelope control in Simpler to keep hits crisp
Why this works in DnB: the intro needs to feel like it can be mixed by a DJ while still moving. Break layers and ghosted percussion create momentum without stealing the sub space that belongs to the drop.
3. Create a bass tease instead of a full bassline
The intro route should suggest the bassline, not reveal the whole thing. This is where intermediate judgment matters: too little and the track feels empty; too much and the drop loses impact.
Build a bass layer using one of these methods:
- duplicate your drop bass MIDI and simplify the phrasing
- create a new bass stab from a resampled reese
- use a filtered synth layer from Wavetable, Analog, or Operator
For a darker DnB intro, try:
- low-pass filter around 120–300 Hz on the bass tease
- Auto Filter with slow automation opening slightly over 16 bars
- saturation with Saturator at a subtle drive level, often around 1–4 dB
- Utility to keep the bass tease mostly mono
If your drop bass is aggressive, render 1–2 bars of it to audio and then resample the rendered audio again. This is a classic resampling move:
- bounce a bass stab
- pitch or time-shift it
- chop the transient
- reprocess with Redux, Saturator, or Corpus for metallic tension
Keep the intro bass sparse. Use a call-and-response pattern:
- bass hit on bar 4
- another answer on bar 8
- more frequent phrases in bars 17–32
4. Resample your own drums to create a gritty intro layer
This is the key step that makes the oldskool route feel premium. Instead of relying only on MIDI and loops, create a dedicated resampled intro texture.
Route your drum group to a new audio track:
- set the audio track input to receive from the Drum Group or the Master
- arm the track and record a 4- or 8-bar section
- capture a version with drums, break, and any light FX active
Now take that resampled audio and edit it:
- slice it at transients
- reverse certain hits
- stretch or warp small fragments
- apply Beat Repeat for glitchy fragmentation
- use Simpler in Slice mode for quick re-triggering
Good stock devices for the resampled layer:
- Auto Filter for movement
- Redux for dirt and lo-fi edge
- Echo for space and rhythmic tail
- Frequency Shifter for unsettling metallic drift
- Gate if you want chopped rhythmic pulses
Concrete settings to try:
- Auto Filter cutoff automation from 250 Hz to 1.8 kHz over 16 bars
- Redux at 8–12 bit for gritty texture, blended carefully
- Echo feedback around 15–25% with filtering enabled
- Beat Repeat interval set to 1/8 or 1/16, with low chance/randomness so it stays musical
This works in DnB because resampling adds internal history: the intro sounds like it evolved out of the tune rather than being pasted on top of it.
5. Shape the intro into 8-bar and 16-bar phrases
Oldskool DJ intros live and die by phrase clarity. Make sure your arrangement changes happen in sensible blocks.
A strong structure might look like this:
- Bars 1–8: drums + atmosphere only
- Bars 9–16: introduce bass tease and break variation
- Bars 17–24: increase density with fills or reversed resample chops
- Bars 25–32: pre-drop tension, final impact cue, bass filtered up
Add variation every 4 or 8 bars:
- snare fill into bar 9
- break chop change at bar 13
- reverse cymbal into bar 17
- bass pickup into bar 25
Use Automation Lanes to gradually move:
- filter cutoff
- reverb send amount
- delay feedback
- distortion drive
- drum bus compression amount if you want the intro to tighten over time
If you’re building a rollers track, keep the intro cleaner and more disciplined. If it’s jungle or darker half-step-leaning DnB, you can be more aggressive with edits and atmos.
6. Use FX as tension tools, not decoration
A DJ intro route needs FX that help the track transition, not FX that clutter it. In Ableton, use stock devices with intent.
Good FX choices:
- Reverb for space
- Echo for rhythmic tail
- Auto Filter for sweeps and opening movement
- Reverb to Delay style movement with sends
- Vinyl/noise-style ambience if sourced from your own resampling
Keep FX controlled:
- high-pass reverb returns around 200–400 Hz
- keep delay returns tucked behind the dry signal
- use automation to increase FX only at the end of a phrase
- avoid long tails that blur kick/snare clarity
A practical move:
- send just the last snare of every 8 bars into a heavier reverb
- resample that tail
- reverse it and place it before the next phrase
That gives you a classic oldskool pre-hit feel without sounding generic.
7. Mix the intro so the drop still lands hard
Your intro route should not exhaust the mix. Leave room for the drop to feel like a statement.
Key mix targets:
- keep low end mostly under control until the drop
- avoid over-brightening hats or breaks
- make sure the bass tease does not compete with the kick fundamental
- maintain headroom, ideally leaving a few dB before master clipping
Use EQ Eight on the intro elements:
- high-pass atmos and FX to keep the low end clean
- notch harsh frequencies in breaks around 3–6 kHz if needed
- tame cymbal edge if the intro feels abrasive
Use Utility to check mono compatibility on the intro bass tease and resampled textures. If the intro feels wide but unstable, reduce width on bass-related layers and keep only atmos/FX wide.
If you’re using a drum bus, consider light Glue Compressor settings:
- ratio around 2:1
- slow attack
- medium release
- just a couple dB of gain reduction
That glues the intro without flattening the transient punch.
8. Automate the drop reveal with restraint
The final bars before the drop should feel like the track is loading up, not exploding early. This is where automation does the real work.
Try automating:
- bass filter opening slightly in the last 4–8 bars
- break volume down just before the drop to create space
- snare reverb send rising then cutting sharply
- an FX riser layered with resampled noise or reversed break fragments
- a short final silence or strip-down moment before the drop, if the track supports it
A strong oldskool move:
- in bar 31, pull out most percussion
- keep only a kick/snare reference and a filtered bass pulse
- hit the drop on bar 33 with full sub and main drum weight
This gives the drop more impact than just adding more layers continuously.
Common Mistakes
Fix: remove sub and keep bass as a tease until the drop.
Fix: resample your own drums, break tails, and bass fragments for a more authentic DnB transition.
Fix: build in 8-bar changes and 16/32-bar landmarks so the tune feels mixable.
Fix: high-pass atmos and resampled textures, and trim low frequencies from break layers.
Fix: keep bass and kick mono or nearly mono; reserve width for FX and upper textures.
Fix: use saturation subtly. The intro should hint at aggression, not become the drop.
Fix: simplify the last 2–4 bars before the drop so the drop feels huge by comparison.
Pro Tips for Darker / Heavier DnB
A light pass through Saturator, then bounce and re-process, can create a more worn, underground texture without needing loudness.
An Auto Filter sweep on the bass tease often feels deeper than just turning it up.
Low-level extra hits around the main snare can create rolling tension, especially in rollers and neuro-leaning intros.
Even in a 174 BPM tune, a sparse half-time-feeling phrase can add menace before the faster drum energy kicks in.
A chopped reverse break hit, a metallic bass stab, or a filtered drum slam can become the intro’s identity.
Redux at low mix or low bit depth can make the intro feel more ravaged and street-level, which suits darker jungle and technoid DnB.
If you can imagine mixing this into another tune, you’re probably on the right track. If the intro has no clear entry point, simplify it.
Mini Practice Exercise
Spend 15 minutes building a DJ intro route for an unfinished DnB loop.
1. Pick an 8-bar drum loop at 174 BPM.
2. Duplicate it across 32 bars in Arrangement View.
3. Create one resampled audio track and record 4 bars of the drums.
4. Slice the resample into 4–8 fragments and rearrange them in bars 9–24.
5. Add a filtered bass tease using Auto Filter and Saturator.
6. Automate the bass cutoff from low to slightly more open over the last 16 bars.
7. Add one reversed drum tail or FX swell into the final bar before the drop.
8. Mute the bass tease for the last 2 bars, then bring in the full drop.
Goal: finish with a clean intro route that feels mixable, intentional, and tense.

