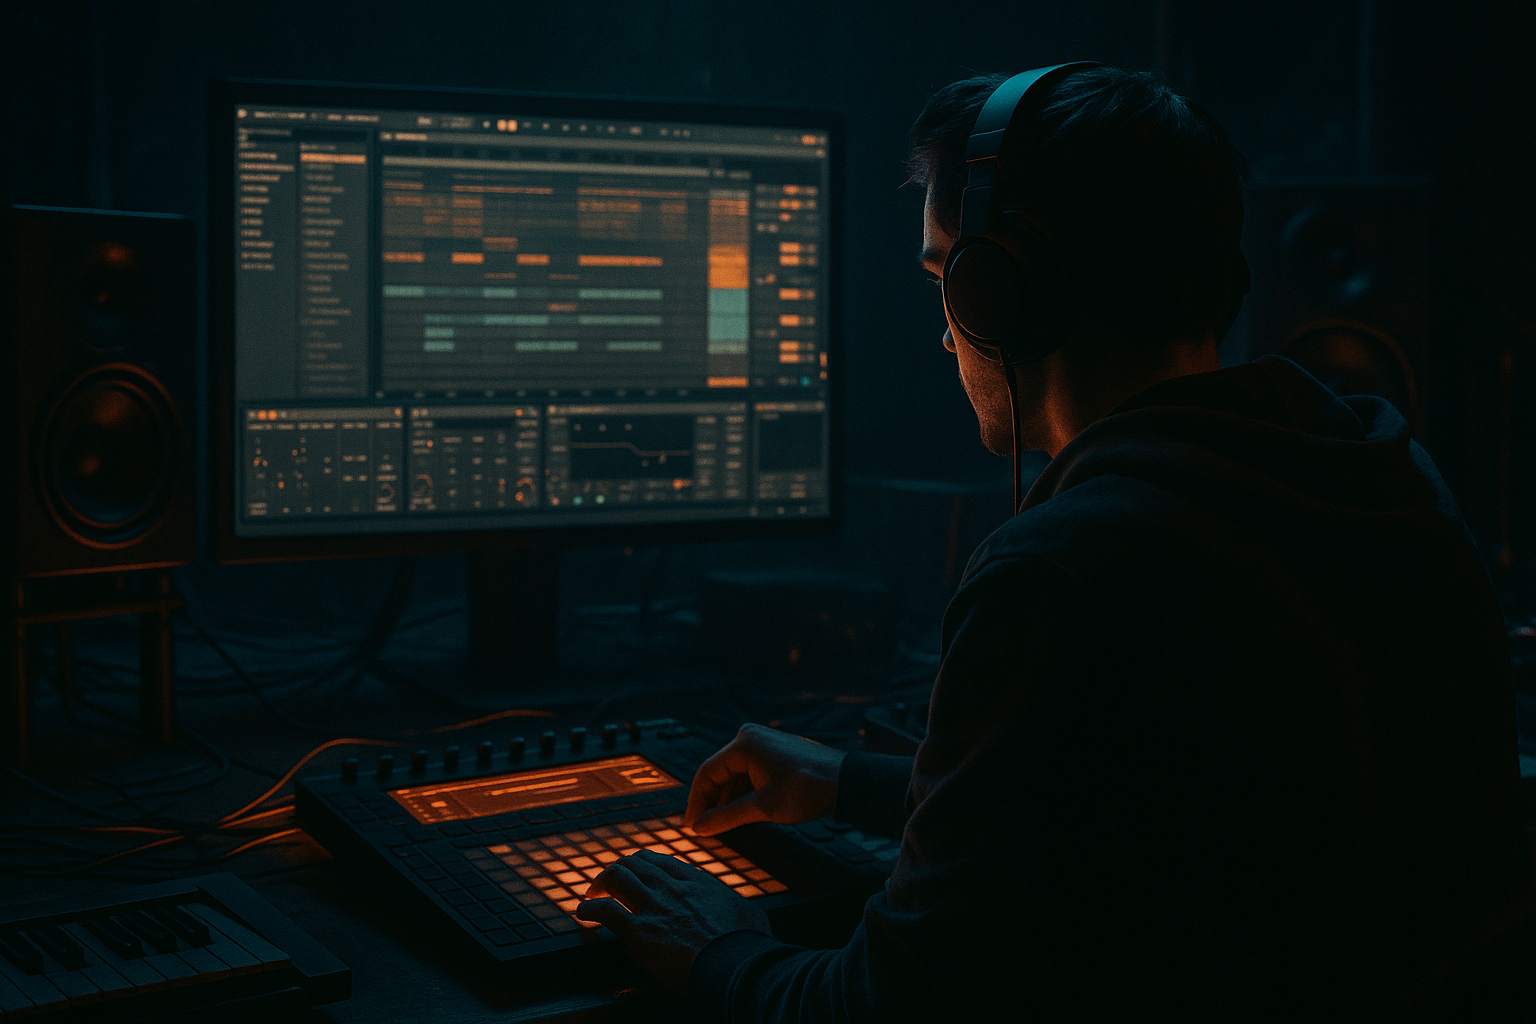
Main tutorial
Oldskool Rave Piano Hooks (90s Flavor) — DnB Composition in Ableton Live 🎹⚡
1. Lesson overview
Oldskool rave piano is a signature of early hardcore/jungle and it still hits hard in modern rolling DnB when used right: bright, slightly cheesy, rhythmically punchy, and processed to sit above heavy drums and bass.
In this lesson you’ll learn how to:
- Write authentic 90s-style rave piano chord stabs and hooks
- Voice chords so they sound “rave” (not jazz or pop)
- Process piano to cut through a DnB mix without fighting the bass
- Arrange it into a 16–32 bar DnB drop and breakdown structure in Ableton Live using stock tools
- 8-bar piano hook (stabs + call/response)
- 16-bar drop arrangement with variations
- A piano processing chain (EQ → saturation → compression → width → reverb/delay)
- Optional “sampled” vibe (resampling + bit reduction)
- Instrument: `Instrument Rack` → `Piano & Keys` (or any Ableton piano you own)
- Aim for something “Pop Piano / Bright Piano” if available.
- Use Simpler with a piano stab sample (or resample your own in a later step).
- Set Mode: Classic, Voices: 8, Glide: Off.
- Try an Electric/Hybrid piano, then process it into a rave stab.
- Fm → Db → Eb → Fm
- Am → F → G → Am
- Dm → Bb → C → Dm
- Keep chords mostly triads (add 7ths sparingly).
- Use inversions to make it “roll”:
- Spread the chord slightly:
- Consider adding a single high octave note (top note doubled an octave up) for that “piano scream”.
- Add `MIDI Effects → Chord`
- Try adding +3, +7 (minor triad) or +4, +7 (major triad)
- Stabs on: 1.1, 1.2.3, 1.3.3, 1.4.2
- Then vary bar 2 with a call/response (less dense)
- Nudge a few stabs slightly late (5–15 ms) for swagger.
- Velocity matters: accent stabs that answer the snare.
- Add a subtle swing like MPC 16 Swing 54–57%
- Apply at 30–60% to keep it rolling, not funky-house.
- Duplicate your chord clip.
- In the second half (bars 5–8), keep the chords but add a top-note riff:
- HP filter: 24 dB/Oct at 150–250 Hz (higher if your bass is huge)
- Dip mud: -2 to -5 dB at 300–500 Hz (Q ~1.2)
- Presence: +1 to +3 dB at 2–4 kHz if it’s dull
- Optional air: +1–2 dB at 8–10 kHz (gentle)
- Mode: Analog Clip or Soft Sine
- Drive: 2–6 dB
- Turn on Soft Clip
- If it gets harsh, reduce output and/or EQ after.
- Attack: 10 ms
- Release: Auto (or 0.3s)
- Ratio: 2:1
- Aim for 1–3 dB of gain reduction on peaks.
- Mode: Classic
- Amount: 10–25%
- Rate: 0.2–0.6 Hz
- Width: 120–200% (be careful if your mix is already wide)
- Use Reverb (or Hybrid Reverb if you like)
- Decay: 1.2–2.2s
- Pre-delay: 10–25 ms
- Low Cut: 250–400 Hz
- High Cut: 7–10 kHz
- Dry/Wet: 8–18% (or put it on a Send for better control)
- `Delay` (or `Echo`)
- Timing: 1/8 or 1/4, keep it subtle
- Filter the delay return: cut lows below 300 Hz, highs above 8–10 kHz
- Ducking (Echo has it): 20–40% so it doesn’t smear the drums
- Drive: 2–5
- Crunch: 5–15%
- Boom: 0 (usually not needed for piano)
- Filtered piano (Auto Filter lowpass ~2–3 kHz)
- Light delay/reverb
- Minimal drums (hats, shuffled tops)
- Open filter gradually
- Add full drums
- Add a single stab at the end of bar 16 as a “pre-drop marker”
- Full piano hook on bars 17–24
- Variation bars 25–32:
- Reverb send: lower during dense drum moments, higher in gaps
- Filter cutoff: tiny movement (don’t static-loop it)
- Velocity variation per phrase
- Too much low-end in the piano: it will fight your sub and make the mix cloudy. High-pass it.
- Overly complex chords (7ths/9ths everywhere): rave piano is bold and simple.
- Stabs too long: if the sustain is huge, it smears drums. Shorten MIDI note lengths or use an Amp/Envelope to tighten.
- Reverb too wet: it pushes the piano behind the mix and kills punch. Use sends and filter your reverb.
- No rhythmic relationship to the snare: if it doesn’t answer the 2 & 4, it won’t feel like jungle/DnB.
- Minor key + flattened 2 or 6 notes in the top motif for tension (tastefully).
- Layer a thin organ/square layer quietly under the piano:
- Use sidechain compression from your kick/snare (or a ghost trigger):
- Make the piano more aggressive with multiband dynamics:
- Darker vibe trick: band-limit the piano (like old samplers):
- Rave piano is about simple triads, strong inversions, and syncopated stabs 🎹
- Make it DnB-ready by high-passing, controlling sustain, and keeping drums dominant 🥁
- Use Ableton stock tools to get the sound: EQ Eight, Saturator, Glue, Chorus, Reverb/Echo, Redux
- Arrange with tease → build → drop + variation, and automate space for energy ⚡
---
2. What you will build
You’ll build a classic rave piano hook that works in jungle/rolling DnB:
Target vibe references (not copying): early jungle rave stabs + modern minimal rolling DnB energy.
---
3. Step-by-step walkthrough
Step 1 — Set the session for DnB workflow
1. Set tempo to 172–176 BPM (try 174).
2. Create groups:
- DRUMS
- BASS
- MUSIC (Piano)
- FX / Vox
3. Drop in a basic DnB drum loop or your own drums so you write the piano against the groove.
Tip: Rave piano feels best when it reacts to the snare on 2 & 4 and the off-beat energy around it.
---
Step 2 — Choose a piano source (stock Ableton options)
You want bright, slightly hard transients—more “sampled piano” than concert grand.
Option A (fastest):
Option B (very authentic 90s):
Option C (if you have Suite packs):
---
Step 3 — Write authentic rave chord shapes (the secret sauce)
Oldskool rave piano isn’t usually complex—it's about big triads, strong inversions, and rhythmic stabs.
#### Use these chord moves (pick one):
Progression 1 (classic euphoric minor):
In MIDI: F–Ab–C, Db–F–Ab, Eb–G–Bb
Progression 2 (classic “hands in the air”):
Progression 3 (dark rave minor):
#### Voicing rules for rave:
- Example in F minor: try Db/F (F–Ab–Db) instead of root position.
- Put the lowest note around C3–F3
- Put top note around C4–F4
Ableton tip: MIDI Effect Chord can help sketch quickly:
Then you can “play” single notes to trigger full stabs—great for fast workflow.
---
Step 4 — Program the rhythm: stabs that bounce with DnB 🥁
Create a 2-bar loop and aim for syncopation around the snare.
A reliable DnB-friendly pattern:
Groove feel tips:
- Strong stabs: 95–115
- Ghost stabs: 50–75
Ableton tool: `Groove Pool`
---
Step 5 — Turn it into a hook (melodic top-line technique)
Rave piano hooks often do one of these:
1. Chord stab hook (rhythm is the melody)
2. Top note motif over chords (simple 3–5 note riff)
Try this approach:
- Use the chord’s top note and move it stepwise (minor scale).
- Keep it short, repetitive, and catchy.
DnB arrangement trick:
Make the piano hook slightly less busy than you think—leave space for bass movement and drum fills.
---
Step 6 — Processing chain: make it cut like a record 🎛️
Put this chain on your Piano track (stock devices):
#### 1) EQ Eight (clean + focus)
#### 2) Saturator (edge + density)
#### 3) Glue Compressor (glue the stab)
#### 4) Chorus-Ensemble (90s width vibe)
#### 5) Reverb (rave space, controlled)
#### 6) Delay (optional, tasteful)
Pro workflow: Put Reverb + Delay on Sends (A/B) so you can automate space in breakdowns without changing the core stab punch.
---
Step 7 — Make it “sampled/oldskool”: resample & degrade 📼
This is where it starts sounding like it came from a dusty rave record.
1. Freeze + Flatten the piano track (or resample to a new audio track).
2. Add Redux:
- Bit Reduction: 10–12 bits
- Sample Rate: 12–22 kHz
- Keep it subtle—too much gets videogame-y.
3. Add Auto Filter for movement:
- Filter: Lowpass
- Frequency: automate 1.5–6 kHz (breakdown → drop opening)
- Resonance: 0.7–1.2 (careful: whistle risk)
Optional: Drum Buss on the piano audio
---
Step 8 — Arrange it for a rolling DnB track (practical 32-bar plan)
Here’s a strong, usable structure:
Bars 1–8 (Intro/Tease):
Bars 9–16 (Build):
Bars 17–32 (Drop A):
- Remove every other stab (space for bass)
- Add a higher inversion for lift
- Add a short 1/8-note riff in the last 2 bars to push into the next phrase
Automation to make it feel alive:
---
4. Common mistakes
---
5. Pro tips for darker/heavier DnB 🖤
- Use `Operator` with a sine/square mix, low volume, same MIDI.
- High-pass it so it adds mid presence, not low mud.
- `Compressor` → Sidechain On → input your drum bus
- Ratio 2:1, fast release, aim 1–3 dB ducking so drums stay dominant.
- `Multiband Dynamics` → tame harshness in highs, push mids slightly.
- EQ Eight: HP at 250 Hz, LP at 7–9 kHz
- Then add saturation to bring it forward again.
---
6. Mini practice exercise (15–20 minutes)
1. Pick a key: F minor.
2. Write an 8-bar progression: Fm → Db → Eb → Fm.
3. Program a 2-bar stab rhythm and loop it across 8 bars.
4. Make bars 5–8 a variation:
- Change inversion
- Add top-note motif (3–5 notes repeating)
5. Add the processing chain:
- EQ Eight → Saturator → Glue Compressor → Chorus → (Send to Reverb/Delay)
6. Resample and add Redux lightly.
7. Arrange a quick 16-bar drop using your hook and one variation.
Deliverable: export a 16-bar loop that feels like it could sit over a rolling DnB drum + bass groove.
---
7. Recap
If you tell me your track key and whether you’re going for euphoric jungle or dark roller, I can suggest 2–3 exact chord voicings and a MIDI rhythm that fits your drum groove.

