Main tutorial
```markdown
Oldskool Rave Structure Templates (DnB) — From Scratch Using Resampling Only (Ableton Live)
1) Lesson overview
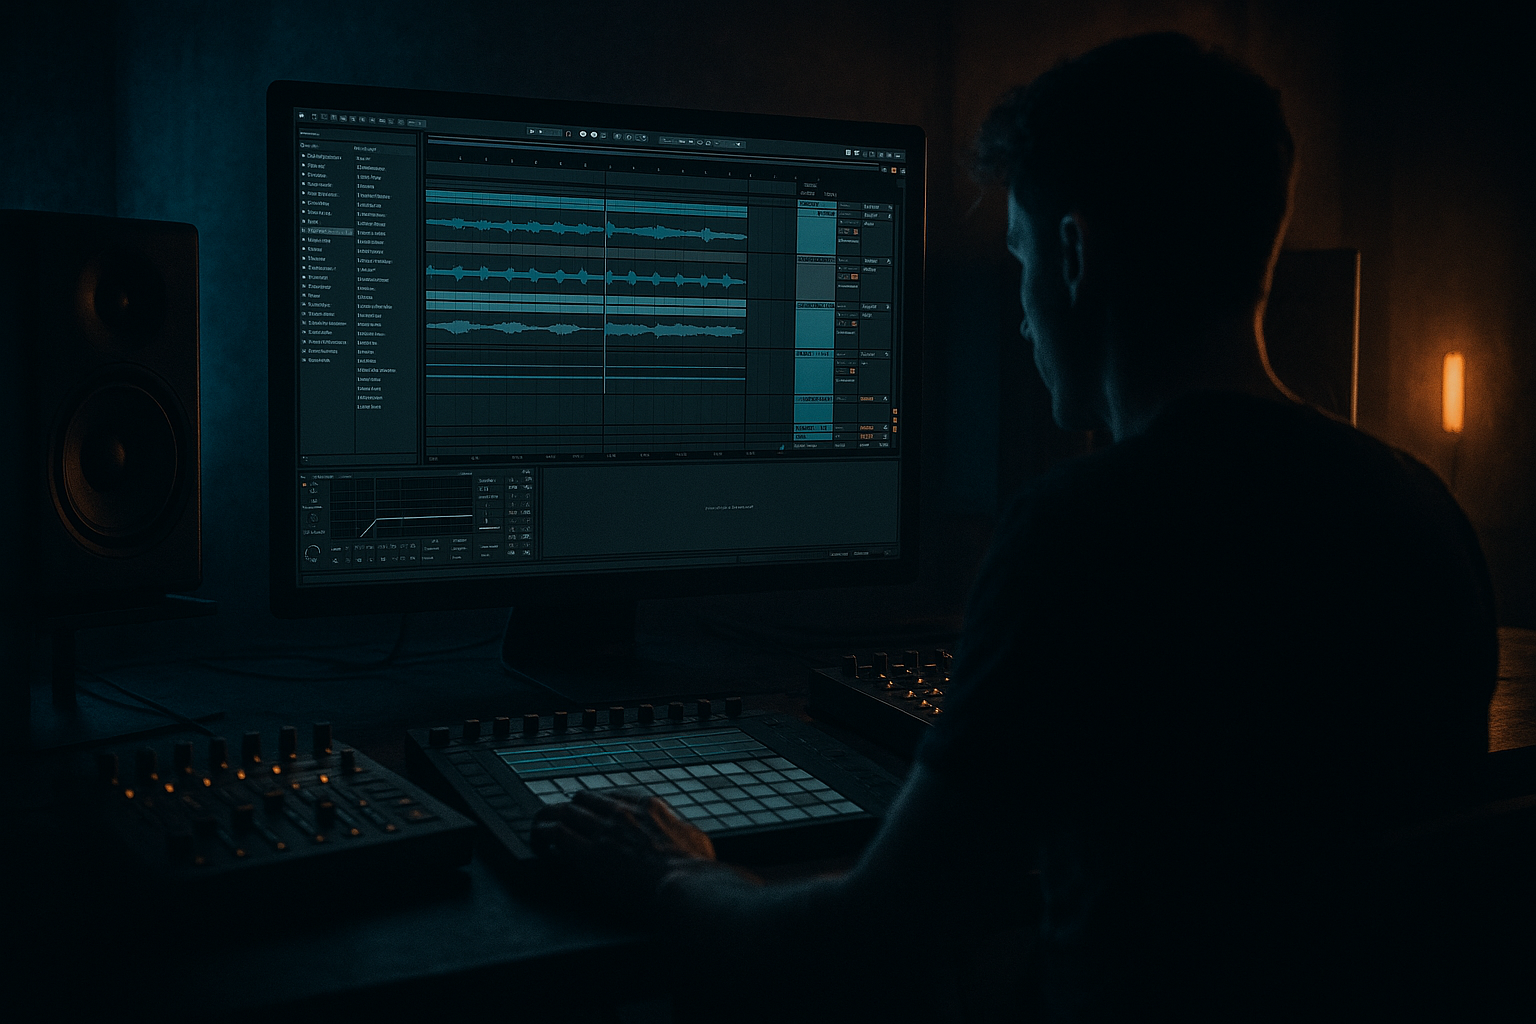
This lesson is about building classic oldskool rave/jungle/DnB arrangement templates in Ableton Live using a strict rule: you only “commit” audio by resampling. 🎛️➡️🎚️
That means: you’ll create loops, process them, print them to audio, then arrange using those audio prints (like the old days).
You’ll end up faster, more decisive, and your tracks will instantly feel more “rave”: chopped breaks, stabs, risers, drop edits, and switch-ups—all glued together by resampled audio.
Skill level: Intermediate
Focus: Arrangement + resampling workflow (no endless MIDI tweaks)
---
2) What you will build
You’ll build two ready-to-use arrangement templates (with bar counts) plus a repeatable resampling workflow:
Template A — “Classic Jungle Roller (5:00–5:30)”
- DJ-friendly 16/32-bar phrasing
- Break-driven groove + sub bass + stab hooks
- One main drop + one “switch” / variation drop
- Big rave intro
- Hard snare-led drop
- More dramatic breakdown + re-entry (hands-in-the-air vibe)
- Resampled drum loop prints
- Resampled bass prints
- Resampled stab / rave hook prints
- Resampled FX and transitions
- On `RESAMPLE PRINT`:
- Keep your master chain minimal while printing. If you do have a master limiter, be consistent.
- A break slice (or chopped hits)
- A clean kick
- A snare
- Closed hat
- Ride or shaker
- Use a break-style groove (syncopation) but reinforce:
- Add ghost notes on snare and hats (very jungle).
- Operator:
- Simpler with a stab sample OR
- Wavetable for a synthetic stab
- White noise in Operator or a noise sample in Simpler
- Auto Filter for sweeps
- Reverb + resample tails
- Add a small fill in bars 15–16 → resample → `DRUMS_PRINT_FILL_16`
- Remove kick for 1 bar (for a drop edit) → resample → `DRUMS_PRINT_NO_KICK_16`
- Add extra rides (rave energy) → resample → `DRUMS_PRINT_RIDE_16`
- Solo `BASS (MIDI)` and resample 8 or 16 bars.
- Print at least:
- `STAB_LOOP_WET_16` (with echo/reverb)
- `STAB_LOOP_DRY_16` (effects bypassed → print)
- `STAB_HITS_1BAR` (record 1 bar of hits)
- `STAB_TAILS` (record reverb tail for 2–4 bars)
- 1-bar noise up
- 2-bar noise up
- 8-bar riser
- 1-bar impact
- Reverb throws (print long tails)
- 1–16: Intro (DJ mix-in) — drums only, filtered, sparse music
- 17–32: Intro progression — bring bass hints + stabs teased
- 33–96: Drop 1 (64 bars) — full roller
- 97–112: Breakdown / atmos (16 bars) — tension
- 113–176: Drop 2 / Switch (64 bars) — variation + heavier edits
- 177–192: Outro (16 bars) — strip down for DJ mix-out
- Use Auto Filter on the audio track:
- Add a vinyl/noise bed (resampled) very low.
- Bring in `BASS_SUB_FILTERED_16` quietly (or only in bars 25–32)
- Tease stabs with `STAB_HITS_1BAR` placed every 2 bars
- Add a small tape-stop style edit?
- Use `DRUMS_PRINT_MAIN_16` for 33–48
- Then swap to `DRUMS_PRINT_RIDE_16` for 49–64 (energy lift)
- Use `DRUMS_PRINT_FILL_16` for 81–96 (signals change coming)
- `BASS_SUB_SAT_16` for most of drop
- Swap to `BASS_SUB_CLEAN_16` for 8 bars to create contrast
- Keep stabs call-and-response: not constant.
- A good rule: stabs appear heavier in bars 41–48, 57–64, 73–80.
- Hard cut drums for 2 beats → then bring filtered break back
- Let `STAB_TAILS` and a lowpassed bass note carry vibe
- Add noise riser in bars 105–112
- Rhythm switch: Use `DRUMS_PRINT_NO_KICK_16` for 8 bars, then slam back.
- Break switch: Print a more chopped/edited drum version and swap in.
- Bass switch: Use the filtered bass print first 16 bars, then the saturated one.
- Bars 113–128: slightly restrained
- Bars 129–160: full power
- Bars 161–176: add extra fill prints and FX throws
- Strip to drums + minimal bass hits
- Highpass the whole drum print gradually (Auto Filter)
- Remove stabs; leave a few FX tails
- 1–8: Cold open FX + stab tease
- 9–24: Drum intro (build)
- 25–40: Pre-drop tension (snare rolls, risers)
- 41–104: Drop 1 (64 bars)
- 105–136: Breakdown (32 bars) — rave hook moment
- 137–200: Drop 2 (64 bars) — heavier / darker
- 201–216: Outro (16 bars)
- Make a 4-bar snare roll with increasing density
- Add rising noise + pitch-up edits
- Resample as `BUILD_4` and repeat/stack it
- Take a drum print, duplicate it
- Slice a 1/16–1/8 section, rearrange (audio edits)
- Add Beat Repeat:
- Resample the best bit and use it as a fill every 16 bars
- Saturator (soft clip)
- Redux (very light)
- EQ Eight: slight high shelf down if harsh
- Not printing variations. If you only print one perfect 16-bar loop, your arrangement will feel copy-pasted.
- Drops with no contrast. Oldskool relies on mute moments (1 beat, 1 bar) and quick edits.
- Over-layering stabs. Rave stabs are powerful because they’re placed with intent—too many = mush.
- Bass fighting the break. If your break has big low-end, carve the break or simplify bass; then print the corrected version.
- Ignoring phrasing. If your switch-ups aren’t on 16/32 boundaries, it won’t DJ-mix as cleanly.
- Print a “darkroom” drum version: lowpass hats slightly, push Drum Buss drive, and add a tight room reverb (very subtle) → resample.
- Use sub-only breakdowns: in breakdowns, keep bass to pure sine + tiny saturation; reintroduce harmonics at the drop with the saturated print.
- Create “anti-drop” bars: 1 bar before drop, remove kick + sub completely, let only a filtered break + reverb tail exist → makes drop hit harder.
- Heavier impact without clipping:
- Creepy atmosphere bed: resample a noise texture + reverb tail, then Auto Pan slow and wide. Keep it low, but constant.
- You built oldskool DnB/jungle arrangement templates using a resample-first workflow. 🎚️
- You created multiple printed variations (the key to non-boring loops).
- You arranged in 16/32-bar DJ-friendly phrases with classic rave tension/release.
- You used stock Ableton tools (Drum Buss, Glue, EQ Eight, Auto Filter, Echo, Reverb, Beat Repeat) but committed everything to audio for speed and vibe.
Template B — “Oldskool Rave Stomper (4:30–5:00)”
Both templates will be made from:
---
3) Step-by-step walkthrough
Step 0 — Session setup (so resampling is painless)
Tempo: 168–174 BPM (try 172 BPM)
Time signature: 4/4
Global groove: optional, but if you use one, commit it into resamples later.
Create these tracks (color-code them):
1. `DRUMS (MIDI)`
2. `BASS (MIDI)`
3. `STABS/HOOK (MIDI)`
4. `FX (MIDI/AUDIO)`
5. `RESAMPLE PRINT` (Audio track)
6. `ARRANGE: DRUMS PRINTS` (Audio)
7. `ARRANGE: MUSIC PRINTS` (Audio)
8. `ARRANGE: FX PRINTS` (Audio)
Set up Resampling:
- Audio From: `Resampling`
- Monitor: `Off` (important to avoid feedback)
- Arm it when you want to print
Routing tip (clean prints):
---
Step 1 — Build a 16-bar “Source Loop” (the raw material you’ll print)
You only need a simple set of parts. We’re going for a “rave-era” palette: breaks, sub, stabs, noise sweeps.
#### 1A) Drums: break + reinforcement (classic jungle approach)
On `DRUMS (MIDI)` create a Drum Rack with:
Stock device chain suggestion (DRUMS):
1. Drum Rack
2. EQ Eight
- HP filter around 25–35 Hz
- Small dip 250–400 Hz if boxy
3. Drum Buss
- Drive: 5–15%
- Crunch: 0–10%
- Boom: 0–20% (careful in DnB)
4. Glue Compressor
- Attack: 3 ms
- Release: Auto
- Ratio: 2:1
- Aim: 1–2 dB GR max
Pattern guidance (oldskool feel):
- Kick on 1
- Snare on 2 and 4 (or 2+4 with ghost snares)
> Keep it “loopable” but with 2–4 small variations across 16 bars (tiny fills, hat drops, a snare flam).
#### 1B) Bass: sub + movement (rolling but simple)
On `BASS (MIDI)`, use Operator (stock) for a clean sub.
- Osc A: Sine
- Add slight Saturator later for audibility
Bass chain:
1. Operator
2. Saturator
- Drive: 2–6 dB
- Soft Clip: On
3. EQ Eight
- Lowpass around 120–180 Hz if it’s purely sub
4. (Optional) Auto Filter
- Envelope for tiny movement
Write a 2-bar or 4-bar bassline that loops cleanly. Oldskool tends to be repetitive but hypnotic.
#### 1C) Stab/hook: rave chord stabs (the signature)
On `STABS/HOOK (MIDI)` use:
Classic move: minor chord stabs with short decay.
Stab chain idea:
1. Instrument (Simpler/Wavetable)
2. Redux (subtle)
- Downsample a bit (use taste)
3. Echo
- Time: 1/8 or dotted 1/8
- Feedback: 20–35%
4. Reverb
- Decay: 1.5–3.5s
- High Cut: 5–8 kHz
5. Auto Filter
- Automate cutoff in arrangement later, but we’ll print versions too.
Write a simple stab rhythm that hits around snare spaces—don’t clutter the kick.
#### 1D) FX: noise risers, impacts, short edits
On `FX`, use:
---
Step 2 — Resample your “core prints” (commit the sound)
Now we print multiple versions of each element so arrangement becomes drag-and-drop.
#### 2A) Print drums as audio loops
1. Arm `RESAMPLE PRINT`
2. Solo `DRUMS (MIDI)`
3. Record 16 bars into Arrangement
4. Consolidate (`Cmd/Ctrl + J`) into `DRUMS_PRINT_MAIN_16`
Now create variation prints (still resampling only):
Move these consolidated clips to `ARRANGE: DRUMS PRINTS`.
#### 2B) Print bass loops (separate and together)
Do the same:
- `BASS_SUB_CLEAN_16`
- `BASS_SUB_SAT_16` (push saturator more, print again)
- `BASS_SUB_FILTERED_16` (lowpass slightly, print again)
Move to `ARRANGE: MUSIC PRINTS`.
#### 2C) Print stab loops + one-shots
Resample:
This gives you oldskool “sample-lab” flexibility.
#### 2D) Print FX transitions
Resample:
Put these on `ARRANGE: FX PRINTS`.
> ✅ You now have a “crate” of your own audio, like you sampled your own track.
---
Step 3 — Build Template A (Classic Jungle Roller)
We’ll structure this with DJ-friendly 16-bar blocks. Total: ~5:12 at 172 BPM.
#### Template A: Arrangement map (bars)
#### 3A) Intro (bars 1–16)
Drag in `DRUMS_PRINT_MAIN_16`.
Make it “mixable”:
- HP filter starting around 150–250 Hz for first 8 bars
- Slowly open by bar 16
Oldskool trick: add a tiny break snippet every 4 bars (like a chopped amen hit), printed audio only.
#### 3B) Intro progression (bars 17–32)
- You can fake it with Warp mode + transposition automation then resample that edit.
#### 3C) Drop 1 (bars 33–96)
Start strong:
Bass:
Stabs:
Add one resampled “rave vocal” hit (even just a chopped shout) once every 16 bars for identity.
#### 3D) Breakdown (bars 97–112)
Classic jungle move:
Keep it short—oldskool breakdowns are often tension builders, not long ambient sections.
#### 3E) Drop 2 / Switch (bars 113–176)
Switch options (choose 1):
Energy ramp:
#### 3F) Outro (bars 177–192)
---
Step 4 — Build Template B (Oldskool Rave Stomper)
This one is more dramatic and “anthemic” but still DnB.
#### Template B: Arrangement map (bars)
Key idea: Print a dedicated pre-drop drum build using resampling:
---
Step 5 — “Resample-only” editing tricks (oldskool vibe)
These are the moves that make it feel real:
#### A) Reverb throws (printed)
1. Duplicate a stab hit
2. Put huge Reverb (Decay 6–10s), high cut ~6 kHz
3. Resample 2–4 bars of tail
4. Place tail right before a drop or after a pause
#### B) Micro-chop fills (printed)
- Interval: 1 bar
- Grid: 1/16
- Chance: 20–40%
#### C) “Rave tape” tone (printed)
On any print, add:
Resample again as a “crusty” version.
---
4) Common mistakes
---
5) Pro tips for darker/heavier DnB 🖤
- Glue Compressor on drum print (1–2 dB GR)
- Then Limiter (Ceiling -0.3 dB) on the drum bus only
- Resample that controlled loud version.
---
6) Mini practice exercise (30–45 min)
1. Make a 16-bar loop (drums + bass + one stab idea).
2. Resample and create exactly 8 prints:
- 3 drum prints (main / ride / fill)
- 3 bass prints (clean / sat / filtered)
- 2 stab prints (dry / wet)
3. Arrange Template A (192 bars total) using only those prints.
4. Add at least 6 transition moments:
- 2 reverb throws
- 2 drum micro-chop fills
- 2 noise risers
Deliverable: a full arrangement with no MIDI playing in the final—only resampled audio clips.
---
7) Recap
If you want, tell me your target vibe (e.g., Metalheadz roller, ’92 hardcore rave, techstep darkness, amen murder jungle) and I’ll give you a specific 192-bar roadmap with exact “swap points” and print list for that style.
```

