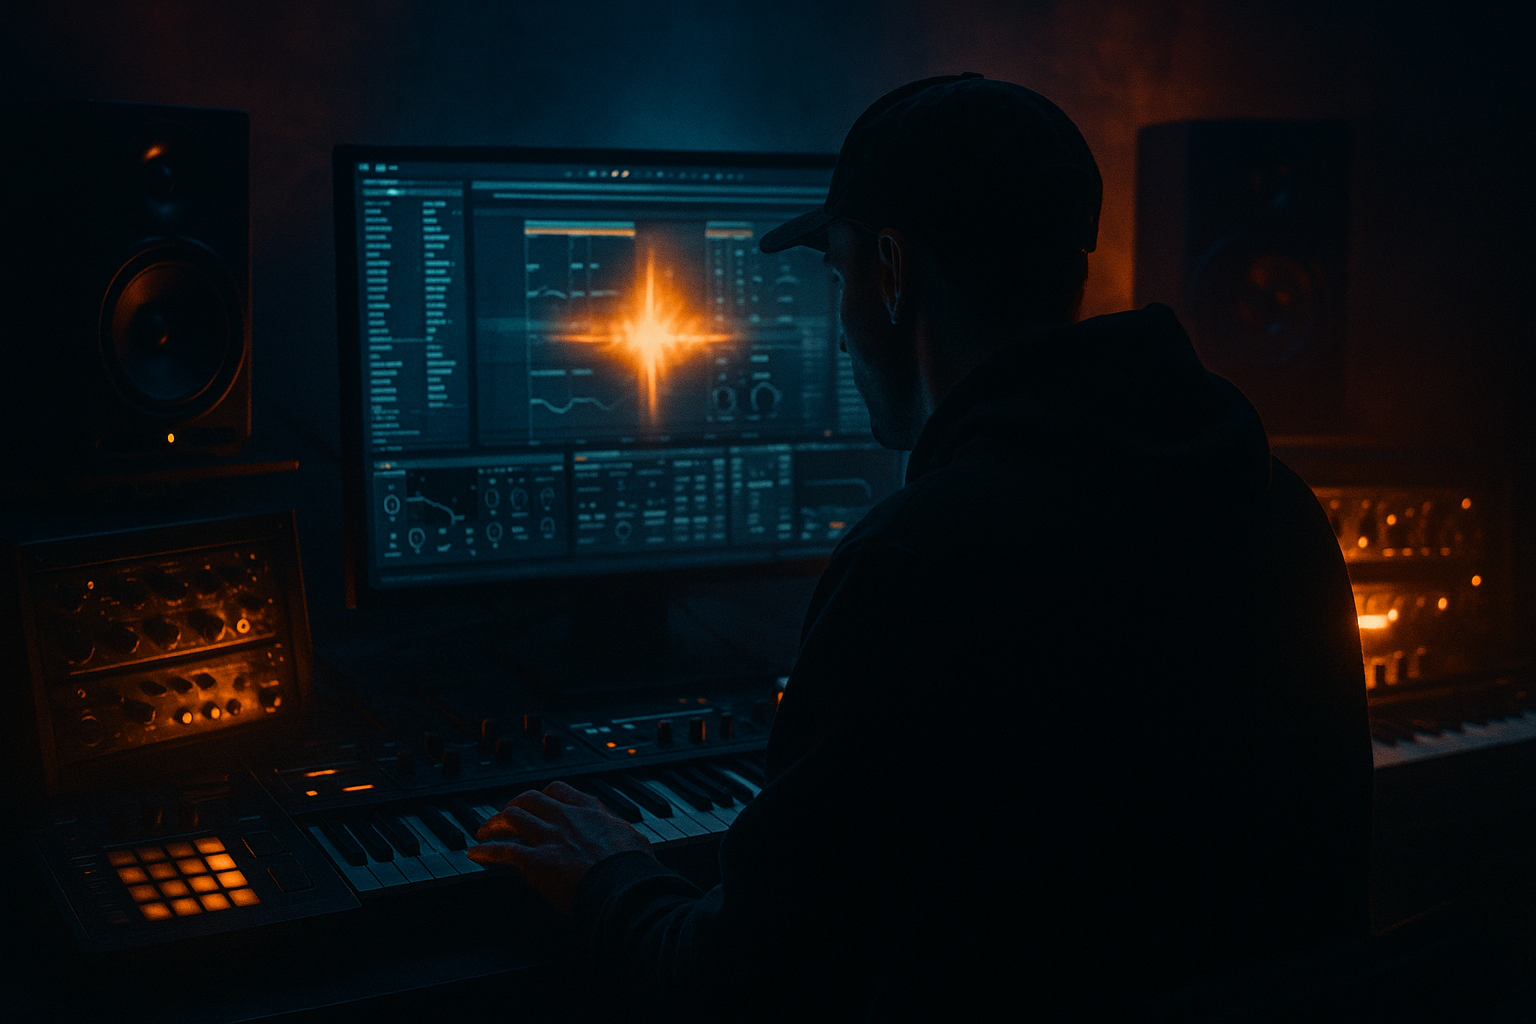
Main tutorial
Lesson Overview
Oldskool pad widening in DNB is not about making a giant stereo wash and calling it done. In a proper Drum & Bass track, the pad is usually a support layer: it lifts the breakbeat, frames the bassline, and adds atmosphere without stealing punch or low-end focus. For an advanced Ableton Live 12 workflow, the goal is to make a pad feel wide, alive, and nostalgic in the top and sides, while keeping the middle clear for drums, sub, and the main hook.
This matters especially in breakbeats-based DnB because the break is already busy and moving. If your pad sits too narrow, the arrangement can feel boxed in and old-fashioned in the wrong way. If it gets too wide or too thick, it can smear the groove and blur the kick/snare relationship. The sweet spot is an oldskool, jungle-flavoured width that feels sample-based, a little unstable, and emotionally open — but still mix-safe.
In this lesson, you’ll build a pad widening chain and arrangement approach in Ableton Live 12 that works for jungle, rollers, darker liquid, and moody halftime-adjacent sections. We’ll use stock devices and DnB-focused decision making: side-only energy, mono-compatible core tone, movement from modulation, and automation that supports the drums instead of fighting them.
What You Will Build
You’ll create a wide oldskool pad layer that behaves like a “mist behind the break” rather than a huge synth blanket. The result will have:
- a stable mono-compatible center so the track keeps power on club systems
- wide upper harmonics and subtle stereo motion for depth
- controlled low-mid buildup so the breakbeat stays sharp
- movement that opens up in transitions, breakdowns, and pre-drop tension
- a darker, sampled-jungle feel that suits 160–174 BPM DnB
- a 2-step roller drop where the pad only appears on bar 9 to lift a variation
- a jungle intro with chopped break edits and a haunting chord bed
- a neuro-leaning atmospheric section where the pad acts as tension before the bass re-enters
- an oldskool rinse-out breakdown where the pad widens as the drums thin
- Widening full-range pads without a high-pass
- Using too much chorus or unison detune
- Making the pad louder instead of wider
- Letting the pad fight the bassline in the low mids
- Ignoring mono compatibility
- Using the same width all track long
- Put a short reverb on the wide chain only, then high-pass the reverb return around 300–500 Hz. This gives a cold halo without fogging the drums.
- Use very subtle random motion with LFO-style automation on filter cutoff or chorus amount. A 1–3% change over several bars can make the pad feel alive.
- For neuro-adjacent tension, layer a filtered noise bed under the pad and widen only the noise above 2 kHz. It adds air without turning the pad into a lead.
- Bounce two versions of the pad: one stable for the drop, one more motion-heavy for the breakdown. Switching them is often more effective than trying to make one patch do everything.
- If the track is very dark, try reducing the pad’s stereo width in the sub-200 Hz region and emphasizing the 1–6 kHz side shimmer. That keeps the emotional atmosphere while protecting punch.
- For oldskool jungle character, resample the pad through a slightly overdriven chain, then slice the audio into short phrases. Tiny timing imperfections can make the whole section feel more authentic.
- Use Send A or a return track for longer reverb, but automate the send only on phrase endings. Continuous wetness often blurs break edits.
- In DnB, pad widening should support the break and bass, not dominate them.
- Build width with layered center/side thinking, not just one oversized stereo effect.
- High-pass early, widen the top and sides, and keep the low end disciplined.
- Use subtle modulation, compression, and automation to make the pad breathe with the rhythm.
- Resampling and phrase-based arrangement give the sound a more authentic oldskool jungle feel.
- Always mono-check: a great DnB pad stays musical, spacious, and controlled on club systems.
Musically, this works great over:
Step-by-Step Walkthrough
1. Start with a pad that has a clear midrange identity, not a huge stereo preset
In Ableton Live 12, load a synth pad or sampled chord into Simpler, Wavetable, or Drift. For oldskool DnB, the source should feel like it could have come from a sampler, a rompler, or a soft subtractive patch — not a super glossy trance pad.
Good starting choices:
- Drift: 2 oscillators, saw + triangle, gentle detune
- Wavetable: basic saw wavetable with mild unison
- Simpler: a short chord sample loop or one-shot minor chord stab
Keep it dark and playable:
- attack: 20–60 ms
- release: 600 ms to 2.5 s depending on arrangement role
- filter cutoff: start around 1.5 kHz to 5 kHz if it’s too bright
- resonance: low, around 5–15%, unless you want a nasal 90s edge
If you’re using a sampled chord, tune it to the key and simplify it. Oldskool DnB pads work best when the harmony is slightly ambiguous, moody, and not overloaded with extended jazz color unless the track calls for liquid emotion.
2. Clean the pad before widening it
Before any stereo tricks, use EQ Eight on the pad track. This is critical in DnB because the pad can mask snare body, break ghost notes, and bass upper harmonics if you widen a muddy source.
Suggested EQ Eight starting points:
- high-pass: 120–250 Hz depending on how much low-mid you can spare
- small cut around 250–500 Hz if the pad clouds the snare or break tail
- gentle dip around 2–4 kHz if it competes with snare crack or bass presence
- optional shelf cut above 8–10 kHz if the pad is too modern/bright
Why this works in DnB: the sub and kick need a clean lane, the snare needs center punch, and the breakbeat’s transient detail lives in the upper mids. Oldskool pad width should enhance the space around that core, not occupy it.
If the pad is sampled, use Ableton’s Filter device or EQ Eight before widening to remove unnecessary low-mid weight. That keeps the widening process from amplifying muddy side information.
3. Build width with a parallel stereo chain, not just one giant wide device
For advanced control, duplicate the pad into two layers or use an Audio Effect Rack with parallel chains:
- Center chain: mostly mono, low-passed slightly, stable and quiet
- Wide chain: processed for stereo character, filtered to exclude low end
A practical Live 12 setup:
- Chain 1: dry/center, keep pan centered, width around normal
- Chain 2: wide/sides, use Chorus-Ensemble or a tiny Auto Pan motion, then utility widening
On the wide chain, try:
- Chorus-Ensemble: low Mix, around 10–25%, Rate slow, Amount modest
- Auto Pan: very slow rate, around 0.02–0.12 Hz, Amount 20–50%, Phase 180° for width
- Utility: Width 120–160% on the top layer only, not the whole pad if it gets fragile
Keep the center chain lower in level than you think. The wide chain should create the aura; the center chain should preserve pitch and body. This split approach is very oldskool-friendly because it resembles how layered sample pads felt in classic jungle: stable core, lively edge.
4. Use Mid/Side EQ to widen only the top and sides
On the wide chain, insert EQ Eight and switch to M/S mode. This is where the pad starts behaving like a proper DnB atmosphere layer.
Practical settings:
- Mid channel: high-pass around 180–300 Hz to protect mono center
- Side channel: gentle boost around 3–8 kHz if the pad needs air and presence
- Side channel: cut 250–600 Hz if the sides are boxy or papery
For darker pads, don’t overboost the sides. You want width that feels like a room or tape haze, not a shiny supersaw cloud. A small side lift of 1–2 dB is often enough.
Advanced move: automate the side EQ gain in the build-up. For example, leave the sides subtly tucked in during the drop, then increase side presence by 1.5 dB in a breakdown or eight-bar tension section. That creates perceived expansion without changing the musical part.
5. Add motion with chorus, phasing, or resonant filtering — but keep it slow
Oldskool pad widen comes alive when the stereo image moves slightly over time. In Live 12, stock modulation can do this elegantly.
Try one of these chains:
- Chorus-Ensemble after EQ Eight, with low Mix and slow Rate
- Phaser-Flanger very subtly, with low feedback and slow sweep
- Auto Filter with a gentle LFO feel by automating cutoff across phrases
Suggested movement ranges:
- Chorus-Ensemble Mix: 10–20%
- Chorus-Ensemble Detune/Amount: just enough to feel unstable
- Auto Pan Amount: 15–35% if used for width only
- Auto Filter cutoff drift: 200 Hz to 2 kHz over 8 bars for breakdown movement
For jungle and rollers, movement should feel like a smoky room, not a dance-pop widening effect. Slight drift and phase smear are enough. If the pad starts sounding seasick, back off the modulation depth before it ruins the groove.
6. Glue the pad to the breakbeat with groove-aware ducking
In DnB, the break is often the main rhythmic identity. Your pad should breathe around it. Use Compressor sidechain from the drum buss or key snare/kick elements.
Good starting settings on the pad compressor:
- Ratio: 2:1 to 4:1
- Attack: 10–30 ms for more pad bloom, or faster if the pad is too forward
- Release: 80–180 ms, timed to the groove
- Gain reduction: around 1–3 dB on average, more only in drops
Advanced option: sidechain from the break bus rather than just the kick. This makes the pad duck around the full rhythm of the break, preserving ghost notes and snares. It’s especially useful in oldskool jungle where the break pattern is the hook.
Why this works in DnB: the pad gains space without flattening the break. The movement of the compressor can subtly reinforce groove instead of sounding like a modern EDM pump.
7. Add controlled saturation for age and harmonic spread
If the pad feels too sterile, add harmonic weight before widening. Ableton’s Saturator, Drum Buss, or Soft Clip in Utility can add the slightly worn texture that suits oldskool and darker DnB.
Practical ideas:
- Saturator: Drive 1–4 dB, Soft Clip on, Output compensated
- Drum Buss: very low Drive, low Boom or Boom off, just for bite and density
- Utility: use Gain staging to hit saturation gently
For extra authenticity, place saturation before chorus on one chain and after on another. Pre-saturation creates denser harmonics for the stereo effect to spread; post-saturation can add a hazier edge.
Keep distortion out of the low end. If your pad has any bass energy, high-pass before saturation or split it so the wide chain never processes the lows.
8. Resample or freeze the pad for a more “oldskool” stereo texture
One of the best advanced moves is to resample the widened pad into audio. This lets you commit to the character and edit it like a classic jungle texture.
Workflow:
- Solo the pad layer
- Resample to a new audio track or freeze/flatten
- Trim the best musical phrases
- Warp lightly if needed, but avoid over-correcting the feel
Once audio, you can:
- reverse small sections for tension
- cut short stabs for call-and-response with the break
- use fades to create ghostly pad swells
- layer filtered duplicates, one mono and one wide
This is particularly effective in breakbeat arrangements because the pad can now behave like a sampled atmospheric fragment rather than a static synth bed.
9. Automate width and filtering across the arrangement, not just within the sound
A premium DnB arrangement makes the pad widen and contract in service of the section. Use automation lanes on Utility Width, EQ Eight filter points, and Send amounts.
Strong arrangement ideas:
- Intro: pad starts narrower, then widens as hats and break edits enter
- Pre-drop: filter opens, width increases, low-mid is carved back
- Drop: pad narrows slightly to leave space for bass and drums
- Breakdown: pad becomes widest and most emotional, possibly with reverb send boosted
- Switch-up: automate a quick width collapse for tension, then reopen on the next phrase
Musical example: over a 16-bar intro, let the pad sit nearly mono for the first 4 bars while the break establishes the groove. From bars 5–8, widen the top chain and open the filter by 10–20%. At bar 9, bring in the bassline while narrowing the center chain a touch so the drop hits harder. This contrast makes the pad feel intentional, not constant.
10. Check mono compatibility and mix balance on club systems
Always collapse the mix to mono for a reality check. In Ableton, use Utility on the master or pad group and temporarily set Width to 0% to hear what survives.
Things to listen for:
- does the pad disappear completely?
- does the break feel more exposed or more balanced?
- does the snare regain punch?
- do any phasey artifacts turn the pad hollow?
If the pad vanishes too much in mono, increase the mono-compatible center chain or reduce phase-heavy widening. The ideal oldskool pad in DnB should lose some magic in mono, but not collapse into nothing. A strong core plus tasteful side energy is the target.
Common Mistakes
Fix: cut the low end first. Keep width above roughly 150–250 Hz depending on the source.
Fix: reduce modulation depth and check the pad against the break. If the snare loses edge, the pad is too wide.
Fix: use side content, filtering, and automation. Loud is not the same as spacious.
Fix: carve 250–500 Hz and reduce pad sustain during dense bass phrases.
Fix: mono-check every width decision. If the sound collapses, rebuild the center layer.
Fix: automate width and filtering per section. In DnB, arrangement contrast is part of the energy.
Pro Tips for Darker / Heavier DnB
Mini Practice Exercise
Set a 15-minute timer and build a pad widen section for an 8-bar jungle or roller loop.
1. Make a 4-chord minor pad in Ableton using Drift, Wavetable, or Simpler.
2. High-pass it and remove any harsh low mids.
3. Split it into a center chain and a wide chain with an Audio Effect Rack.
4. On the wide chain, add Chorus-Ensemble and EQ Eight in M/S mode.
5. Sidechain the pad slightly to the break or drum buss.
6. Automate width so bars 1–4 are narrower and bars 5–8 open up.
7. Resample the result and slice one or two pad swells into the gap before the drop.
8. Mono-check the whole loop and make one fix if the pad collapses too much.
Goal: end with a pad that feels atmospheric, oldskool, and mix-ready over a breakbeat-led DnB loop.

