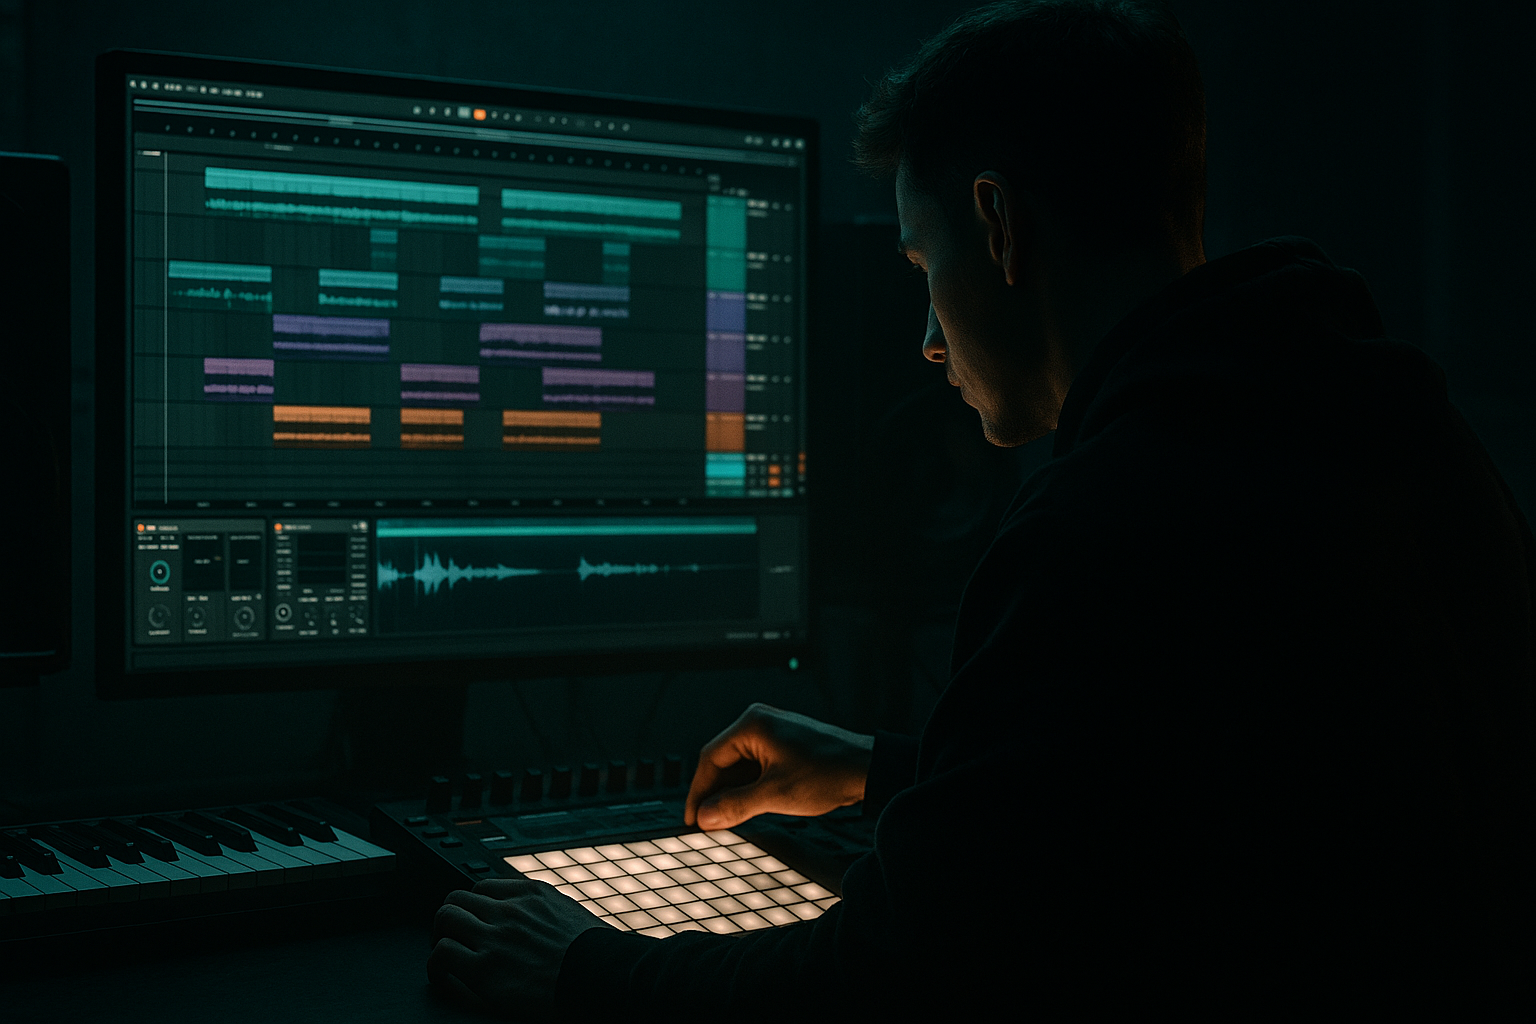
Main tutorial
```markdown
One‑bar motif writing in Ableton Live 12 (DnB edition) 🥁⚡️
Skill level: Beginner • Category: Composition
---
1. Lesson overview
A one‑bar motif is a short musical idea (usually 1 bar) that becomes the “hook” of your track—then you repeat, vary, and arrange it to build a full drum & bass drop.
In DnB/jungle, motifs are often:
- A rolling bass figure (Reese, sub-bass rhythm, or wobble)
- A lead stab / synth riff
- A chopped vocal snippet
- A breakbeat slice pattern
- Bass motif (MIDI → synth) 🎛️
- Minimal call/response stab (optional but very DnB)
- A supportive drum loop so you can judge groove immediately
- Then you’ll make 3 variations to stop it feeling repetitive (classic rolling energy)
- Kick: 1.1.1 and 1.3.1
- Snare: 1.2.1 and 1.4.1
- Hats: 1/8 or 1/16 depending on intensity
- In the MIDI clip, set grid to 1/16.
- Add one ghost kick very quiet just before the snare (optional): e.g. around 1.1.3 or 1.3.3 to push momentum.
- On DRUMS track:
- Utility after EQ: turn Width down (even 0–50%) on low end
- Or split sub/mids later (advanced). For now: keep it centered.
- Use 1–3 notes total (seriously). DnB hooks often come from rhythm + tone, not chord complexity.
- Use rests. Silence makes it hit.
- Put F1 as your main note (sub register).
- Add a G#1 or C2 as an occasional “answer” note.
- Notes on: 1, 4, 7, 9, 11, 14, 16
- Keep some notes shorter (1/16), some longer (1/8) for bounce.
- Draw notes (B key).
- Vary note lengths—don’t leave everything at the same length.
- Adjust velocities:
- Auto Filter (LP) with slight movement
- Reverb very small (Short, low Decay) or Echo subtle
- EQ Eight: cut lows under 150–250 Hz (keep bass clean)
- Select clip → Cmd/Ctrl + D to duplicate.
- Edit only 10–20% per bar (keep identity).
- Drop loop: 16 bars
- Minor keys + semitone movement: Try a one-note motif and occasionally drop down 1 semitone for menace.
- Distortion in parallel:
- Automate filter cutoff on Wavetable across 4 or 8 bars for evolving tension.
- Add a “reverb tail chop” on stabs:
- Use break-style ghost notes:
- You built a DnB-ready drum bed and wrote a 1‑bar motif with bass and optional stabs.
- You used Ableton stock devices (Wavetable, Operator, EQ Eight, Saturator, Drum Buss, Compressor).
- You made it groove using Groove Pool and made it mix-ready with sidechain.
- You turned one bar into a drop foundation by creating micro-variations across 4 bars.
This lesson shows you a clean, repeatable workflow inside Ableton Live 12 to write a strong one‑bar motif and turn it into a drop-ready loop.
---
2. What you will build
You’ll create a 1‑bar DnB motif made of:
Target vibe: rolling / jungle‑influenced dark DnB, 170–174 BPM.
---
3. Step‑by‑step walkthrough
Step 0 — Set up your project (1 minute)
1. Tempo: set to 172 BPM (top left).
2. Time signature: 4/4.
3. In the Groove Pool, keep it empty for now—we’ll add swing later.
DnB mindset: you’re building a loop that can survive 32–64 bars with variation.
---
Step 1 — Build a quick DnB drum bed (so your motif writes itself) 🥁
You don’t want to write motifs in silence—DnB is groove-dependent.
1. Create a MIDI track named `DRUMS`.
2. Drop Drum Rack on it.
3. Load a basic kit:
- Kick (tight, punchy)
- Snare (DnB snare with body around 180–220 Hz + crack 3–6 kHz)
- Closed hats / rides
Pattern (classic 2-step):
Ableton tips:
Quick processing chain (stock devices):
1. EQ Eight: gentle low cut on hats if needed; keep kick/snare intact
2. Drum Buss: Drive ~5–15%, Crunch low, Boom subtle (or off)
3. Limiter (safety, not loudness): ceiling -1 dB
Now loop 1 bar in Session View or Arrangement (activate Loop).
---
Step 2 — Create a bass sound fast (stock devices only) 🔥
We want a sound that works for rolling motifs without spending 30 minutes sound-designing.
1. Create a MIDI track named `BASS`.
2. Add Wavetable (stock).
3. Basic Reese-ish starting point:
- Osc 1: Saw
- Osc 2: Saw (detune slightly)
- Unison: 2–4 voices, Amount low/moderate
- Filter: LP24, cutoff low-ish, add a bit of drive
4. Add this device chain after Wavetable:
1. Saturator: Soft Clip ON, Drive 2–6 dB
2. EQ Eight:
- High-pass around 25–30 Hz
- Optional dip around 200–350 Hz if muddy
3. Compressor (sidechain ready later)
Important DnB rule: keep sub controlled. If your Reese is too wide, consider:
---
Step 3 — Write the one‑bar motif (the fun part) ✍️🎶
You’re writing a rhythmic bass phrase that “rolls” with the drums.
1. Create a 1‑bar MIDI clip on `BASS`.
2. Set clip grid to 1/16.
3. Pick a key: F minor is a classic dark DnB starting point.
#### A beginner-friendly motif recipe
Example motif (F minor):
Rhythm idea (1 bar, 16 steps):
In Ableton:
- Strong hits: ~90–110
- Ghost hits: ~40–70
Why this works: the “rolling” comes from syncopation around the snare (beats 2 and 4). You want your motif to push into the snare and answer after it.
---
Step 4 — Add groove (without wrecking the timing) 🌀
DnB needs precision and pocket.
1. Open Groove Pool.
2. Drag a groove like:
- Swing 16‑ (try Swing 16‑65 as a starting point)
3. Apply to the BASS clip first (not everything).
4. Set:
- Timing: 10–25%
- Random: 0–5% (tiny)
- Velocity: 0–10% (optional)
Listen: If the bass starts feeling late or lazy, reduce Timing.
---
Step 5 — Make it hookier with a stab/lead call‑and‑response (optional but very DnB) 🎹
1. Create a MIDI track: `STAB`.
2. Add Operator (easy and punchy).
- Use a simple waveform (Saw or Square).
- Short amp envelope (fast decay).
3. Write 2–3 hits in the bar:
- One right after snare (e.g. just after 1.2.1)
- One near the end of the bar
Add quick processing:
The stab should feel like punctuation, not a second bassline.
---
Step 6 — Sidechain the bass to the kick (clean DnB mix move) 🎚️
1. On `BASS`, open Compressor.
2. Enable Sidechain.
3. Input: `DRUMS` (or your kick chain if separated).
4. Settings (starter):
- Ratio: 4:1
- Attack: 5–15 ms
- Release: 50–120 ms (tune by ear)
- Threshold: pull down until kick punches through
This gives the motif space and makes it feel more “finished” instantly.
---
Step 7 — Create 3 variations (this is how a 1‑bar idea becomes a drop) 🧱➡️🏗️
Duplicate your 1‑bar bass clip into 4 bars and then edit each bar slightly.
Variation ideas that work in rolling DnB:
1. Bar 1: Original motif (establish)
2. Bar 2: Change the last 2 notes (tiny twist)
3. Bar 3: Add a pickup note right before the snare (energy)
4. Bar 4: Add a fill (busier end-of-phrase) or a stop (half-beat silence)
In Ableton:
Arrangement idea:
- Bars 1–4: motif variations
- Bars 5–8: same but add more hats/ride
- Bars 9–12: add a second bass layer (or distortion automation)
- Bars 13–16: tension (mute bass for 1/2 bar before the next section)
---
4. Common mistakes
1. Too many notes: If everything is filled, nothing feels heavy. Leave gaps.
2. Writing without drums: You’ll miss the pocket—DnB motifs need the snare/kick context.
3. Motif clashes with the snare: If bass hits right on top of snare with long notes, it can feel messy.
4. No variations: A 1‑bar loop repeated for 32 bars = fatigue. Make micro-changes.
5. Sub too wide / messy: Keep low end mono-ish. Use Utility width control if needed.
---
5. Pro tips for darker/heavier DnB 🖤
- Create an Audio Effect Rack on BASS:
- Chain A: Clean
- Chain B: Saturator / Roar (if you want aggressive tone) + EQ
- Blend with chain volumes.
- Put Reverb on STAB, then Gate after it so tails snap shut (classic dark snap).
- Add tiny low-velocity bass taps before the snare to mimic breakbeat momentum.
---
6. Mini practice exercise (10–15 minutes) ⏱️
1. Make three different 1‑bar bass motifs:
- Motif A: only one note, rhythm-focused
- Motif B: two notes, call/response
- Motif C: three notes, slightly busier
2. For each motif, create 4-bar variations (bars 1–4).
3. Export a quick loop:
- File → Export Audio/Video
- 4 or 8 bars
- Listen on headphones + speakers and pick the strongest.
Goal: learn that rhythm + space + repetition with variation is the DnB superpower.
---
7. Recap
If you want, tell me your target subgenre (liquid, jump-up, neuro, jungle/140-cross) and I’ll give you three motif blueprints tailored to that vibe.
```

