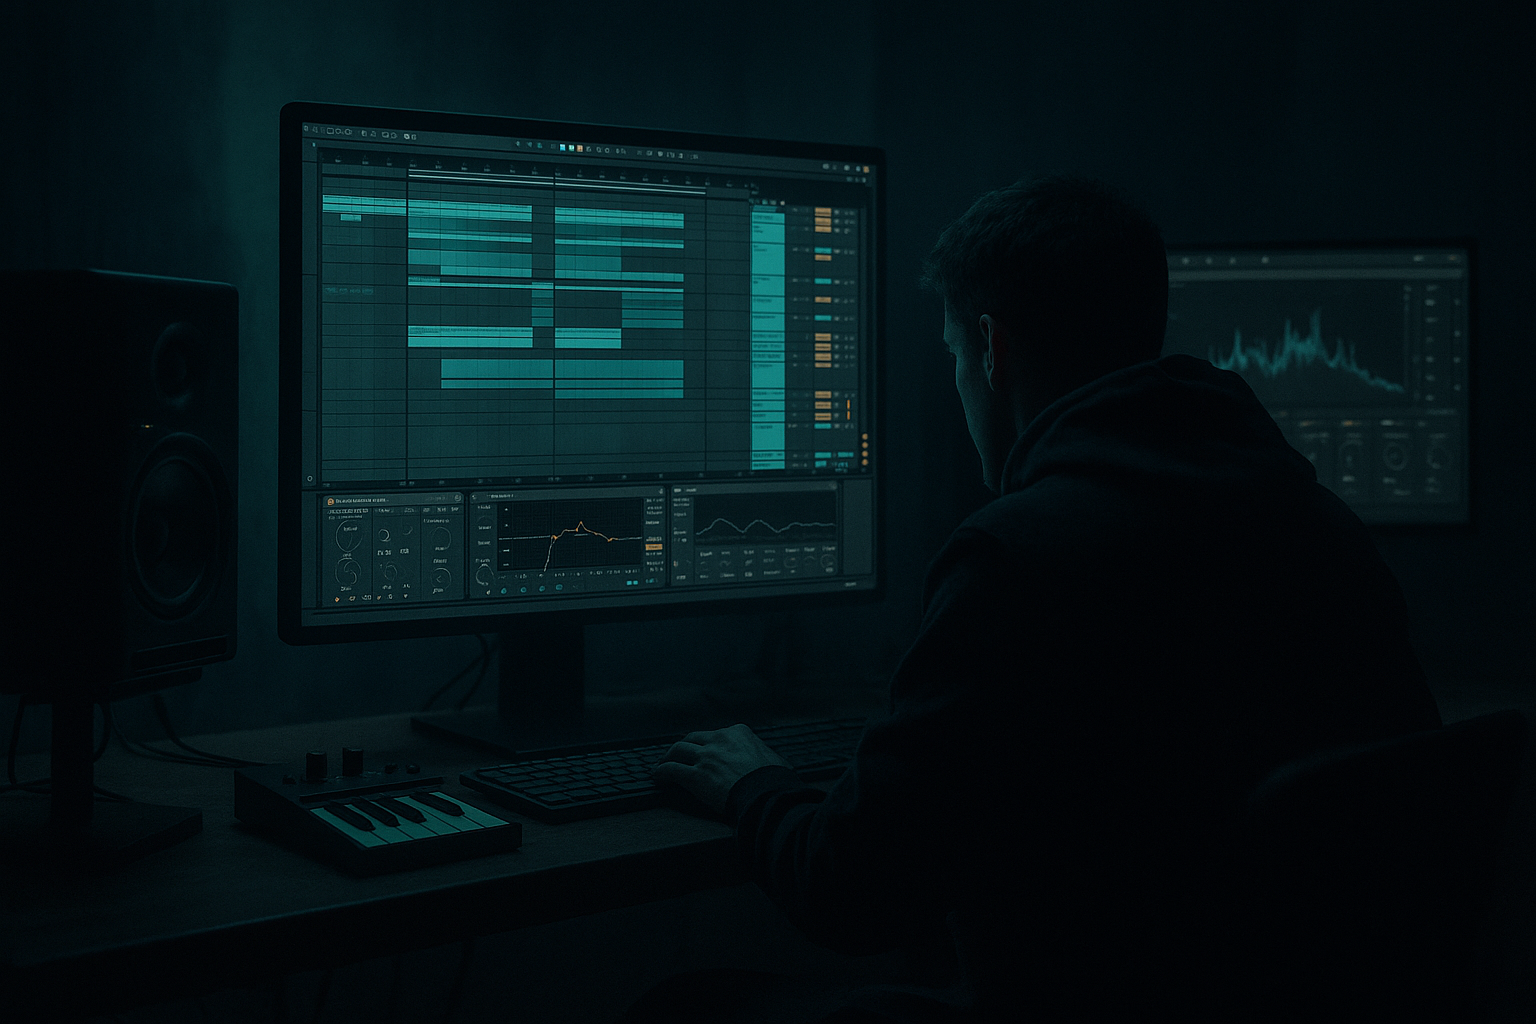
DNB COLLEGE

Drum & Bass Ableton Live 12 Tutorials

LESSON DETAIL

Parallel drum crunch for 90s rave flavor (Intermediate)

An AI-generated intermediate Ableton lesson focused on Parallel drum crunch for 90s rave flavor in the Drums area of drum and bass production.

Back to lessons
Parallel drum crunch for 90s rave flavor (Intermediate) cover image

Narrated lesson audio

The voice track includes the tutorial plus extra teacher commentary.

Open audio file

Main tutorial

```markdown

Parallel Drum Crunch for 90s Rave Flavor (DnB in Ableton Live) 🔥🥁

1. Lesson overview

Parallel drum crunch is one of the fastest ways to inject 90s rave / jungle attitude into clean modern drum & bass drums—without destroying your transients. The idea: keep your main drums punchy and controlled, then blend in a heavily processed “crunch” layer underneath for grit, thickness, and that “sampled-through-a-mixer” energy.

In this lesson you’ll build a reusable Ableton Live parallel crunch return specifically tuned for DnB breaks, tops, and drums bussing, with practical settings and a workflow that fits rolling/amen-driven music. ⚡

---

2. What you will build

You’ll set up a Return Track (send FX) called CRUNCH that:

  • Adds saturation + compression + band-limited bite (the classic “rave radio” midrange)
  • Preserves your clean drum transients in the dry signal
  • Lets you push breaks and tops forward in the mix without harshness
  • Result: your drum bus feels thicker, noisier, and more “90s”, but still hits like modern DnB.

    ---

    3. Step-by-step walkthrough

    A) Prep your drums (the DnB-friendly routing)

    1. Put your drums into a group:

    - DRUMS (Group)

    - Kick

    - Snare

    - Break (Amen/Think/Tramen etc.)

    - Tops (hats/shakers)

    2. Create a Drum Bus track inside the group if you like, or just process the group.

    Important: Parallel crunch works best when your “dry” drums are already balanced and punchy.

    ---

    B) Create the CRUNCH return (parallel chain)

    1. Create a Return Track: `Create → Insert Return Track`

    2. Rename it: CRUNCH

    3. Set the return’s Audio To = `Master` (default)

    4. Keep the return 100% wet (because you’ll blend with sends)

    Now build this device chain in order:

    ---

    C) Device chain for 90s rave crunch (stock devices)

    #### 1) EQ Eight (pre-shaping so the distortion behaves)

  • Enable HP filter at ~120 Hz (24 dB/oct)
  • Gentle dip if needed:
  • - -2 to -4 dB at 300–450 Hz (Q ~1.0) if it gets boxy

  • Optional presence push:
  • - +2 dB at 2.5–4 kHz (wide Q) for break bite

    Why: we don’t want low-end mud in the crunch layer—let your clean kick/sub stay clean. ✅

    ---

    #### 2) Saturator (main grit engine)

  • Mode: Analog Clip (great “mixer-ish” vibe)
  • Drive: +6 to +12 dB
  • Soft Clip: ON
  • Output: pull down to match (aim for similar loudness in/out)
  • Tip: Click the little triangle and try Color:

  • Base around 1.5–3 kHz
  • Depth subtle (2–4) if your hats need extra sizzle
  • ---

    #### 3) Drum Buss (the “rave glue + thwack” stage)

  • Drive: 10–25%
  • Crunch: 20–40%
  • Boom: OFF (usually)
  • Boom can fight your clean kick/sub in parallel.

  • Transients: -5 to +5 (taste; often slightly negative for a “chewed” break vibe)
  • This combo (Saturator → Drum Buss) is a very “Ableton” way to get that chewed-up break layer quickly.

    ---

    #### 4) Glue Compressor (classic parallel smash)

  • Attack: 0.3 ms (fast, grabs the peaks)
  • Release: Auto (or 0.1–0.3 s for rhythmic pumping)
  • Ratio: 4:1 (or 10:1 for more “rave wall”)
  • Threshold: lower until you see ~10–20 dB gain reduction
  • Make-up: OFF, set output manually
  • Soft Clip: ON
  • You’re aiming for that “flat” crushed texture under the clean drums.

    ---

    #### 5) EQ Eight (post-shaping: band-limit for 90s flavor)

    This is the secret sauce: the crunch layer often sounds more authentic when it’s band-limited.

  • HP filter: ~180–250 Hz
  • LP filter: ~7–10 kHz
  • Optional narrow notch if harsh:
  • - -2 to -6 dB at 5–6.5 kHz (Q 4–8)

    This makes it feel like it came through older sampling/console paths, leaving your dry layer to carry clarity and sub.

    ---

    D) Set your sends (how to blend it in DnB)

    On your drum tracks, send to CRUNCH:

  • Break: start at -12 dB send and push up until it “talks”
  • Snare: -18 to -10 dB (great for rave crackle)
  • Tops/Hats: -20 to -14 dB (careful—harshness builds fast)
  • Kick: usually very little or none (unless you want gabber-ish aggression)
  • DnB goal: when you mute the return, the drums feel like they lose attitude—but not like they lose punch.

    ---

    E) Add movement: automate the crunch like a producer

    90s-inspired DnB isn’t static. Automate the crunch for energy changes:

    1. Drop automation:

    - In the drop, increase break send by +2 to +5 dB vs the intro.

    2. Fill moments:

    - Push CRUNCH send on a 1-bar fill (last bar of 16) for extra hype.

    3. Arrangement idea:

    - Intro: cleaner breaks, less crunch

    - Build: gradually increase crunch send

    - Drop: steady crunch

    - Mid-drop switch: reduce crunch for 8 bars, then slam it back in

    This creates “contrast” without changing your samples.

    ---

    F) Optional: Make it feel more “sampled / resampled”

    If you want extra 90s grit, add Redux very subtly on the return (after compression, before final EQ):

    Redux

  • Bit Reduction: 10–12 bits (don’t go full 8-bit unless you want extreme)
  • Sample Rate: 18–28 kHz
  • Dry/Wet: 10–25% (keep it tasteful)
  • This can give a believable “old sampler” edge when blended quietly.

    ---

    4. Common mistakes

    1. Crunching the sub

    If your return has lots of energy below ~150 Hz, your mix will turn to mush. High-pass it. ✅

    2. Over-sending hats

    Parallel saturation + compression turns hats into white noise fast. Use send sparingly and tame 6–10 kHz.

    3. Too much gain into the chain

    If everything is clipping internally, you’ll get harsh fizz instead of thick crunch. Watch levels and match outputs.

    4. Smashing before EQ

    If you compress/distort full-range first, low end triggers the compressor and the crunch turns dull. Pre-EQ matters.

    5. No band-limiting

    Modern “full spectrum” crunch often sounds like EDM distortion, not jungle. Band-limit for authenticity.

    ---

    5. Pro tips for darker/heavier DnB 😈

  • Split sends: Make two returns:
  • - CRUNCH MID (band-limited 200 Hz–8 kHz)

    - CRUNCH TOP (HP at 2–3 kHz, focused on hat fizz and break air)

    Blend them separately for surgical control.

  • Transient discipline: Keep your dry snare snappy. If the crunch layer is heavy, your main snare transient becomes even more important.
  • Make the crunch “pump” with tempo: Try Glue Compressor release at 0.1s or 0.3s and pick what grooves best at 170–174 BPM.
  • Darker tone shaping: On the return, add a gentle tilt EQ vibe:
  • - Small dip 3–5 kHz, small push 700–1.2 kHz

    Makes the crunch more “metallic/industrial” without painful highs.

  • Resample for control: Print the CRUNCH return:
  • 1. Create an audio track “CRUNCH PRINT”

    2. Set input to Resampling

    3. Solo return + drums briefly and record

    Then you can chop, fade, reverse, and drop it like a classic sampled layer.

    ---

    6. Mini practice exercise 🎯

    Goal: Make a rolling break feel more “rave” in 15 minutes.

    1. Load a classic-style break (Amen/Think) and get a basic DnB loop going at 172 BPM.

    2. Build the CRUNCH return exactly as above.

    3. Send ONLY the break to CRUNCH and find the sweet spot:

    - Start at -12 dB send

    - Adjust until the break feels louder without actually raising the break fader much.

    4. Add snare send lightly (-16 dB) and check the snare still punches.

    5. Automate the break send:

    - +3 dB for the last 2 beats before the drop

    - Back to normal on the first downbeat

    6. Bounce a 16-bar clip and compare:

    - With CRUNCH muted vs active

    Listen for attitude + density without losing kick/snare clarity.

    ---

    7. Recap

  • Parallel crunch = dirty layer underneath clean drums for authentic 90s rave weight. 🧱
  • Use a Return Track so the dry drums stay punchy.
  • Core chain: EQ (HP) → Saturator → Drum Buss → Glue Compressor → EQ (band-limit).
  • Blend mostly break + snare, be careful with hats, and usually keep kick low in the send.
  • Automate sends to create contrast and hype in your arrangement.

If you want, tell me what kind of groove you’re writing (Amen-heavy jungle, clean rollers, neuro-ish darkstep) and I’ll suggest a specific CRUNCH chain variation and send levels for that style.

```

Ask GPT about this lesson

Chat with the lesson tutor, get follow-up help, or use quick actions.

Bigup 👽 Ask me anything about this lesson and I’ll answer in context.

Narration script

Show spoken script
Welcome back. Today we’re doing one of the fastest, most satisfying tricks for getting that 90s rave and jungle attitude into clean modern drum and bass drums, without destroying your transients.

The move is parallel drum crunch. Translation: your main drum mix stays punchy, controlled, and modern… and underneath it, we blend in a second, heavily abused version of the drums. Saturated, compressed, band-limited, a little bit angry. Think “sampled through a mixer and dubbed a few times,” but still hitting at 172.

By the end of this lesson, you’ll have a reusable return track in Ableton Live called CRUNCH that you can send your break, snare, and tops into. And the goal is very specific: when you mute the CRUNCH return, your drums should lose attitude and density… but they should not lose punch.

Alright, let’s set the stage.

First, do a quick prep pass on your routing. Put your drums into a group. Name it DRUMS. Inside that, you’ll have your kick, snare, break, and tops. You can process the group itself as your drum bus, or you can make a dedicated drum bus track inside the group. Either way is fine.

One important mindset thing here: parallel crunch works best when your dry drums are already balanced. If the break is way too loud, or the snare is weak, you’re going to compensate with the crunch layer, and that’s how you end up with a messy, fizzy mix. So take thirty seconds and make sure kick, snare, break, and hats feel like a decent loop already.

Now, create the return track. In Ableton, Create, Insert Return Track. Rename it CRUNCH. Leave Audio To as Master. And keep this return 100% wet, because we’re blending using sends, not a dry/wet knob.

Now we build the chain. And yes, the order matters. A lot.

First device: EQ Eight, before any distortion. This is pre-shaping, so the saturation reacts in a controlled way.

On EQ Eight, enable a high-pass filter around 120 hertz, and make it fairly steep, like 24 dB per octave. The point is: we do not want the low end driving the distortion and compressor. Your clean kick and sub live in the dry signal. The crunch layer is mostly a midrange character layer.

If it feels boxy, do a gentle dip around 300 to 450 hertz. Something like minus two to minus four dB, medium Q. And if you want more break bite, you can do a very broad lift around 2.5 to 4 kHz, like plus two dB, wide Q. Don’t overthink it. We’re just setting the distortion up to sound like attitude, not mud.

Next: Saturator. This is your grit engine.

Set the mode to Analog Clip. Turn Soft Clip on. Then bring Drive up somewhere in the plus six to plus twelve dB range. Start at plus eight and listen. After that, pull the output down so you’re not tricking yourself with loudness. A great habit here is to toggle the device on and off and make sure it’s roughly the same perceived level. If it only sounds better because it’s louder, you’re not actually choosing the right texture yet.

Optional extra inside Saturator: open the little extended panel and try Color. Put the base somewhere around 1.5 to 3 kHz, and keep the depth subtle, maybe 2 to 4. This is a really nice way to make hats and break edges speak without needing a harsh EQ boost later.

After Saturator, drop in Drum Buss. This is your “rave glue plus thwack” stage.

Set Drive around 10 to 25 percent. Crunch around 20 to 40 percent. Keep Boom off most of the time, because boom in a parallel chain is a classic way to fight your clean kick and sub. For Transients, taste call: anywhere from minus five to plus five. Often slightly negative is great for that chewed-up break vibe, like the break has been lived in.

Now we go into the classic smash: Glue Compressor.

Set attack fast: 0.3 milliseconds. Release on Auto to start, or if you want more rhythmic pumping, try 0.1 to 0.3 seconds and pick what grooves at your tempo. Ratio 4 to 1 is a strong starting point. If you want more of a “rave wall,” go up to 10 to 1.

Now bring the threshold down until you’re seeing around 10 to 20 dB of gain reduction. That sounds like a lot, because it is. This return is supposed to be flattened. Make-up off, set your output manually, and turn Soft Clip on.

A quick coaching note: when you’re dialing this in, solo the return so you can hear what the crunch layer actually is. In your head, aim for a mid-focused “angry photocopy” of your drums, not a replacement drum mix. If the soloed return sounds incredible and finished and full-range, it’s usually too much once you bring the dry drums back. A good parallel layer can be a little disappointing on its own. That’s normal. It’s there to complete the dry drums, not to star in the show.

Now, after the Glue, we do the secret sauce: another EQ Eight, for post-shaping. This is where the 90s authenticity comes from.

Band-limit the crunch.

Put a high-pass around 180 to 250 hertz. Then add a low-pass around 7 to 10 kHz. This instantly pulls you away from modern “full spectrum EDM distortion” and into “break sampled and pushed through older paths” territory. If you get harshness, do a narrow notch around 5 to 6.5 kHz, maybe minus two to minus six dB, Q around 4 to 8. Just tame the sting.

At this point, you’ve built the core chain:
EQ to remove low junk, saturation for grit, Drum Buss for chew, Glue for smash, then EQ to band-limit and shape the vibe.

Now we blend it. This is where people either nail it… or ruin their hats.

Go to your drum tracks and start sending to CRUNCH.

Start with the break. Set the send around minus 12 dB and slowly push up until it “talks.” You’re listening for the break to feel louder and more forward without you needing to raise the break fader much. It’s that density trick: more RMS, more attitude, same transient punch.

Then snare: try minus 18 to minus 10 dB send. This is where rave crackle lives. The snare loves parallel abuse.

Tops and hats: be careful. Start around minus 20 to minus 14 dB. Parallel saturation and compression can turn hats into white noise fast. If the mix suddenly feels like it has a constant spray of fizz, you over-sent the tops, or you need to low-pass the return a bit more aggressively, or notch the harsh band.

Kick: usually very little or none. Unless you’re intentionally going for gabber-ish aggression, keep the kick mostly out of the crunch send so your low end stays clean and your punch stays defined.

Now do the main test. Mute the return. Unmute it. What you want is: with the return on, the drums feel thicker, noisier, more alive, more 90s. With the return off, the drums feel too polite. But in both cases, kick and snare should still hit clearly.

Two really important teacher moves here.

First: level-match your A/B. Parallel crunch increases perceived loudness quickly, so you can fool yourself. Turn the CRUNCH return down a bit, then compare again. If it only sounds better when it’s louder, bring it back and rebalance.

Second: check mono early. Distortion plus compression can do weird things to cymbal noise and width. Put a Utility on your master and hit mono, just as a quick check. You’re making sure your hats don’t disappear or get phasey when collapsed. If they do, reduce the top end in the crunch return and keep the crunch more mid-focused.

Speaking of that: for authentic 90s bite, think “less top, more mid.” If your crunch reads as fizzy and modern, reduce what’s feeding the distortion in the high end, and let 1 to 3 kHz do the talking. That’s where the break attitude lives.

Now let’s add movement, because 90s-inspired DnB is not static. The crunch should be part of your arrangement energy.

In the intro: keep it cleaner. Lower break send, maybe keep snare send subtle.

As you build: gradually raise the break send a couple dB so the drums start to feel like they’re leaning forward.

In the drop: steady crunch.

And then for a mid-drop switch, do a reset. Pull the crunch down for 4 to 8 bars, let the drums breathe, then slam it back in. It’s DJ-friendly, dancer-friendly, and it prevents texture fatigue.

Try one specific trick: a crunch throw into transitions. Right before a drop or switch, spike the send to CRUNCH for a hit or two… then immediately mute the return for a quarter or half a bar… then bring everything back on the downbeat. That contrast makes the drop feel bigger without adding any new samples.

Now, optional 90s resample flavor: Redux. Use it subtly.

Place Redux after compression and before your final EQ, or just before the band-limiting EQ if you want the EQ to tame the added hash. Try bit reduction at 10 to 12 bits, sample rate around 18 to 28 kHz, and keep dry/wet around 10 to 25 percent. The key word is subtle. You’re going for “old sampler edge,” not “8-bit video game.”

If you want a more advanced version that keeps your punch super clean, here’s a great variation: duck the crunch under the dry transients.

On the CRUNCH return, add a Compressor after the Glue. Enable sidechain. Set the sidechain input to your dry drum bus, or even just the snare if that’s the main transient you want to preserve. Ratio around 3 to 1 up to 6 to 1. Attack 1 to 5 ms. Release 50 to 120 ms. Then set the threshold so every kick and snare hit pushes the crunch down briefly. Result: the transient stays clean in the dry drums, and the crunch blooms right after. It’s like clean punch plus dirty tail. Extremely effective at 172.

Alright, quick list of common mistakes to avoid as you work.

Mistake one: crunching the sub. If the return has energy below 150-ish hertz, you’ll get mush and you’ll lose headroom. High-pass it. Always.

Mistake two: over-sending hats. If your hats start sounding like air conditioner noise, back off the send and tame the highs on the return.

Mistake three: too much gain into the chain. If everything is clipping internally, you get harsh fizz instead of thick crunch. Keep your levels sane and match outputs.

Mistake four: smashing before EQ. If you distort and compress full-range first, the low end dominates the detector and the whole crunch turns dull. Pre-EQ is why this chain works.

Mistake five: not band-limiting. If your crunch is full-spectrum, it’ll lean modern and EDM-ish. The band-limit is what sells the 90s.

Now let’s do a mini practice so you can actually lock this in.

Set your project tempo to 172 BPM. Load a classic break like Amen or Think, and get a basic DnB loop going. Build the CRUNCH return exactly like we did.

Then, send only the break to CRUNCH first. Start at minus 12 dB send. Bring it up until the break feels more forward without raising the break fader much.

Add a little snare send, around minus 16 dB, and make sure the snare still punches in the dry layer. If the snare loses crack, reduce the snare send or use the sidechain-ducking variation.

Now automate the break send: for the last two beats before the drop, push it up about plus three dB, then snap it back to normal on the first downbeat. That tiny move creates real hype.

Bounce a 16-bar clip and do a comparison: returns muted versus returns active. Listen at low volume, because low volume reveals whether you truly added density and attitude, or you just added harshness.

Let’s wrap it up.

Parallel crunch is a dirty layer under clean drums. You build it on a return so your dry transients stay punchy. The core chain is EQ pre-shape, Saturator, Drum Buss, Glue Compressor, then EQ band-limit. You blend mostly break and snare, you treat hats carefully, and you usually keep kick out. And you automate sends so the crunch becomes part of the arrangement story, not just a static effect.

If you tell me what kind of groove you’re making, like Amen-heavy jungle, clean roller, or darker darkstep, and what break you’re using, I can suggest exact band-limits, drive amounts, and send starting points for that specific vibe.

mickeybeam

Go to drumbasscd.com for +100 drum and bass YouTube channels all in one place - tune in!

Generating PDF preview…