Main tutorial
```markdown
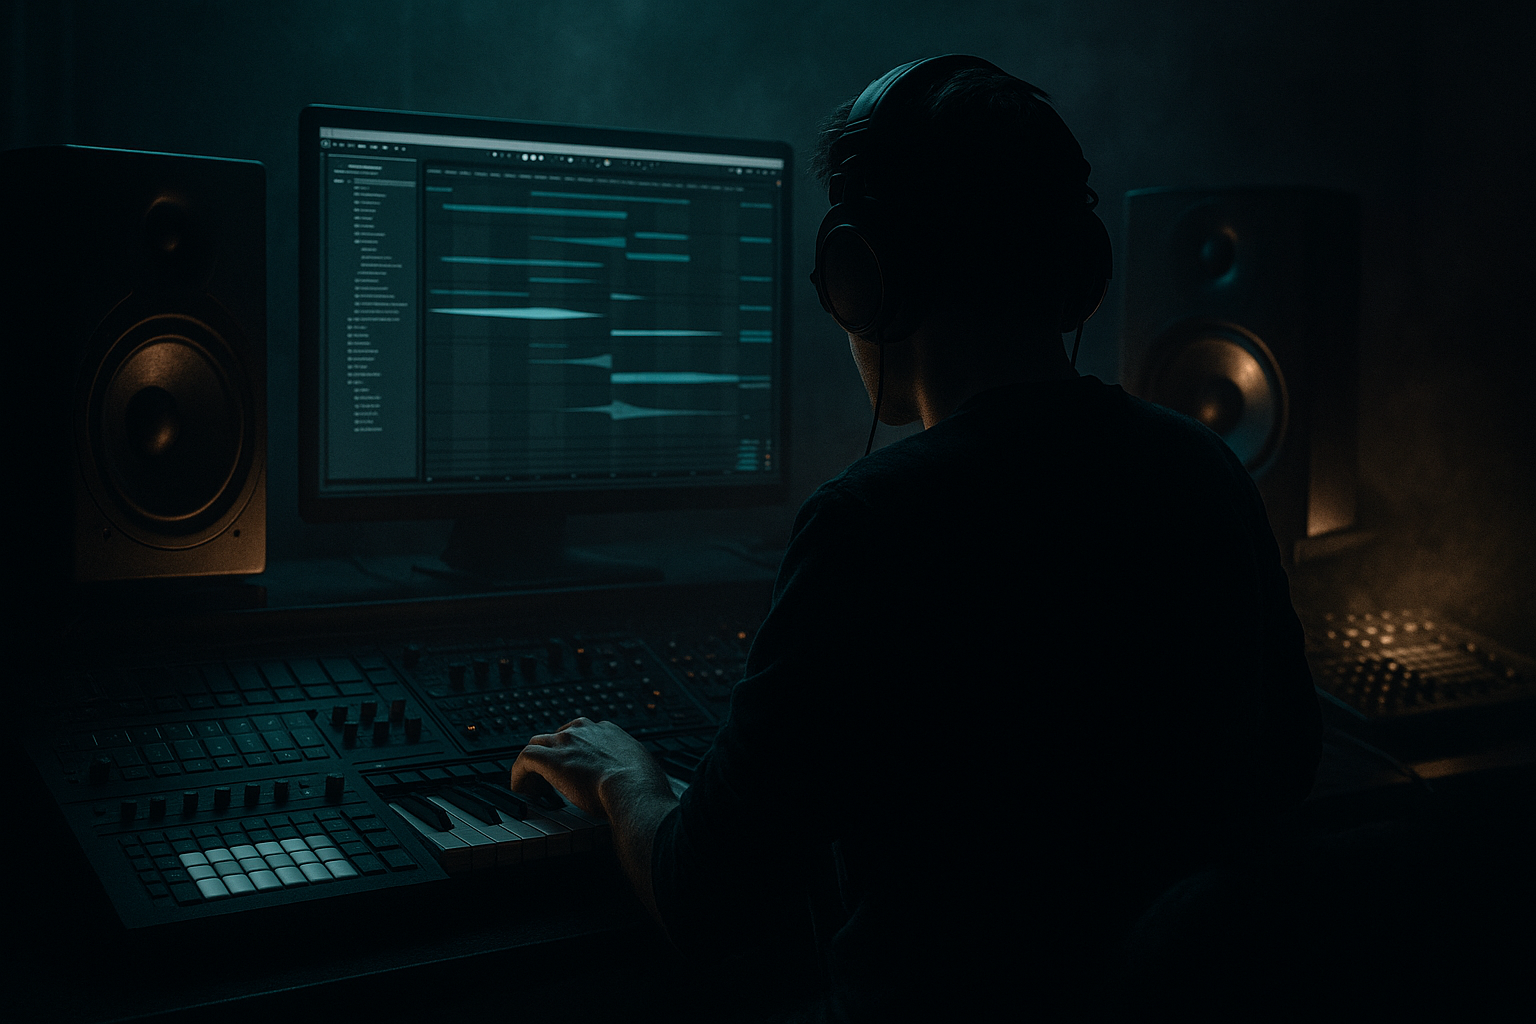
Parallel Drum Crunch for Modern Control with Vintage Tone (DnB in Ableton Live) 🥁🔥
1. Lesson overview
Parallel drum crunch is one of the most “modern mix” tricks that still gives you that old-school jungle / hardware sampler bite. Instead of crushing your main drums (and losing transients + clarity), you create a separate crunch channel and blend it in like seasoning.
In drum & bass—especially rolling, steppy, or jungle—this keeps your kick/snare punch clean, while adding grit, density, and perceived loudness underneath. ✅
You’ll do this using Ableton Live stock devices: Audio Effect Rack, Saturator, Drum Buss, Dynamic Tube, EQ Eight, Compressor/Glue Compressor, and (optional) Redux.
---
2. What you will build
A two-lane drum bus:
- Clean Lane: your normal drums, kept punchy and controlled
- Crunch Lane (Parallel): aggressive saturation + compression + tone shaping
- A Macro control to blend crunch in quickly for drops, fills, and switch-ups 🎛️
- More “weight” and urgency in the drums
- Vintage-ish harmonics (sampler/overdrive vibe)
- Better control than simply slamming your main drum bus
- No devices.
- Add Glue Compressor
- Add EQ Eight first.
- Settings (starting point):
- Mode: Analog Clip (classic “push”)
- Drive: +6 to +12 dB (start at +8)
- Output: pull down to match level (don’t fool yourself with loudness)
- Soft Clip: On
- Color: On
- Drive: 10–25% (start 15%)
- Crunch: 10–30% (start 20%)
- Damp: adjust to taste (around 10–20 kHz for brightness control)
- Boom: Off at first (we’ll keep low-end clean)
- Transients: 0 to +10 if you lost attack, or -5 if too spiky
- Attack: 3 ms (grabs fast)
- Release: 0.1 s (or Auto if pumping weirdly)
- Ratio: 4:1
- Threshold: aim 5–10 dB gain reduction (yes, heavy!)
- Makeup: Off (manually gain stage)
- HP at 70–120 Hz (important!)
- If harsh: dip 6–9 kHz by -2 to -5 dB
- If you want more snap: gentle shelf 3–5 kHz +1–2 dB
- Turn the CRUNCH chain volume down to -inf
- Slowly raise it until you feel it:
- Less in verses/rollouts
- More in drops, fills, and final 16 bars 🔥
- Drop impact: Increase Crunch Blend by ~3–5 dB on the first 8 bars of the drop.
- Fill energy: Push Crunch Blend up on snare fills (every 16/32 bars).
- Call & response: Automate crunch higher when hats/percs get busy, then back off to let bass dominate.
- Redux:
- Keep sub clean, make mids mean
- Add “metallic bite” without harshness
- Make snares sound larger
- Control cymbal wash
- Parallel crunch on drums-only, not the whole mix
- Parallel crunch = clean punch + dirty character in one controlled workflow.
- In Ableton, the best beginner-friendly setup is an Audio Effect Rack with CLEAN + CRUNCH chains.
- Key devices:
- Blend and automate the crunch so your DnB drums feel alive, loud, and vintage-leaning without losing control.
You’ll end with:
---
3. Step-by-step walkthrough
Step 0 — Starting point (DnB-friendly drum routing)
1. Make sure your drums are grouped or routed to a single bus:
- If you’re using Drum Rack, route the whole Drum Rack to a Drum Group (Cmd/Ctrl+G).
- If you have separate tracks (Kick, Snare, Hats), select them → Group them.
2. Name the group DRUM BUS.
> Goal: we’ll apply parallel crunch on the DRUM BUS, not per-sound (for now).
---
Step 1 — Create the parallel “Crunch” inside an Audio Effect Rack
1. On the DRUM BUS, drop an Audio Effect Rack.
2. Click the Chain List (show/hide chains button).
3. Create two chains:
- Rename chain 1: CLEAN
- Rename chain 2: CRUNCH
✅ This is the cleanest workflow because both lanes stay phase-aligned in Live and you can macro the blend.
---
Step 2 — Keep CLEAN truly clean (light control only)
On the CLEAN chain, either leave it empty or add very gentle glue:
Option A (super clean):
Option B (controlled clean):
- Attack: 10 ms
- Release: Auto
- Ratio: 2:1
- Threshold: aim for 1–2 dB gain reduction on peaks
- Keep it subtle—this is not the crunch lane.
---
Step 3 — Build the CRUNCH chain (vintage bite + density)
On the CRUNCH chain, add devices in this order:
#### 3A) EQ Eight (pre-EQ to avoid muddy distortion)
- HP filter at 30–40 Hz (24 dB slope)
- Small cut around 200–350 Hz if it gets boxy (try -2 to -4 dB, Q ~1.2)
- Optional: tiny boost 2–4 kHz (+1 to +2 dB) for snare crack before crunch
This shapes what gets distorted—huge for “vintage tone without mud.”
---
#### 3B) Saturator (main grit)
Add Saturator:
- Base: ~1.0 kHz
- Depth: 2–4
> In DnB, Saturator adds midrange density so your drums read on small speakers without turning harsh.
---
#### 3C) Drum Buss (thump + smack)
Add Drum Buss after Saturator:
> Drum Buss is great for “glued, sampled” punch. Easy to overdo—keep it controlled.
---
#### 3D) Glue Compressor (heavy compression for parallel thickness)
Add Glue Compressor:
This is where parallel shines: you can compress hard without flattening your main drums.
---
#### 3E) EQ Eight (post-EQ to fit the mix)
Add another EQ Eight after compression:
- This keeps sub/low-kick clean on the CLEAN lane.
---
Step 4 — Blend the parallel crunch (the money move) 🎚️
Now blend the CRUNCH chain level into the CLEAN chain.
Method A (simple): Chain Volume
- Typical blend: -18 dB to -8 dB depending on how aggressive your chain is.
Method B (pro workflow): Macro “Crunch Blend”
1. Map the CRUNCH chain volume to Macro 1.
2. Name Macro 1: CRUNCH BLEND
3. Set macro range:
- Min: -inf
- Max: around -8 dB
Now you can automate crunch in the arrangement:
---
Step 5 — DnB arrangement moves (where to use it)
Practical ideas:
> Jungle/rollers often feel “alive” because drum tone shifts subtly across sections.
---
Step 6 — Optional: Add “vintage sampler” edge (carefully)
If you want a more old-school crunch (Amen-style grit), add Redux before compression on the CRUNCH chain:
- Downsample: 12–20 kHz (start 16 kHz)
- Bit Reduction: 10–14 bits (start 12 bits)
- Dry/Wet: 10–30%
Keep it subtle—Redux can get fizzy fast.
---
4. Common mistakes
1. Too much low end in the crunch chain
- If you don’t high-pass the crunch lane, you’ll get flabby lows and mess up headroom.
2. Judging with louder = better
- Always level-match chain output. Saturation and compression get “exciting” when louder.
3. Over-harsh top end
- Drum Buss + Saturator can create brittle 8–12 kHz. Use post-EQ to tame it.
4. Crushing before shaping
- If you distort mud, you get muddy distortion. Pre-EQ is your friend.
5. No automation
- Static crunch can feel fatiguing. DnB benefits from movement.
---
5. Pro tips for darker/heavier DnB 🌑⚙️
- High-pass the CRUNCH chain at 90–120 Hz so the bass + sub stay solid.
- In Saturator, try:
- Drive +8 dB
- Soft Clip on
- Then post-EQ dip 7.5 kHz slightly
- You’ll get edge that survives mastering.
- On the CRUNCH chain, add a small boost around 180–220 Hz before saturation (like +1 to +2 dB).
- This thickens snare body in a very “rave” way.
- If hats get too crunchy, add Multiband Dynamics on the CRUNCH chain:
- Compress the High band slightly (1–3 dB GR)
- Or reduce high band gain by -1 to -3 dB.
- Don’t slap this on the master. Keep it on the drum bus so bass remains deep and stable.
---
6. Mini practice exercise 🎯
1. Load or program a simple 2-step DnB pattern:
- Kick: on 1
- Snare: on 2 and 4 (or classic DnB backbeat)
- Hats: 1/8 or 1/16 pattern with slight velocity variation
2. Build the CLEAN/CRUNCH rack as above.
3. Do three 8-bar tests:
- A: Crunch Blend at -inf (clean only)
- B: Crunch Blend at around -12 dB
- C: Crunch Blend at around -8 dB, but automate down by 2–3 dB during busy hats
4. Export all three and listen on:
- Laptop speakers (does snare still pop?)
- Headphones (is it harsh?)
- Quiet volume (does the groove still feel energetic?)
---
7. Recap ✅
- Saturator for harmonics
- Drum Buss for smack
- Glue Compressor for heavy parallel density
- EQ Eight to keep lows clean and tame harshness
If you want, tell me what kind of DnB you’re making (liquid / rollers / neuro / jungle) and what your main drum source is (Drum Rack, breaks, sample pack), and I’ll suggest a tuned crunch chain for that vibe.
```

