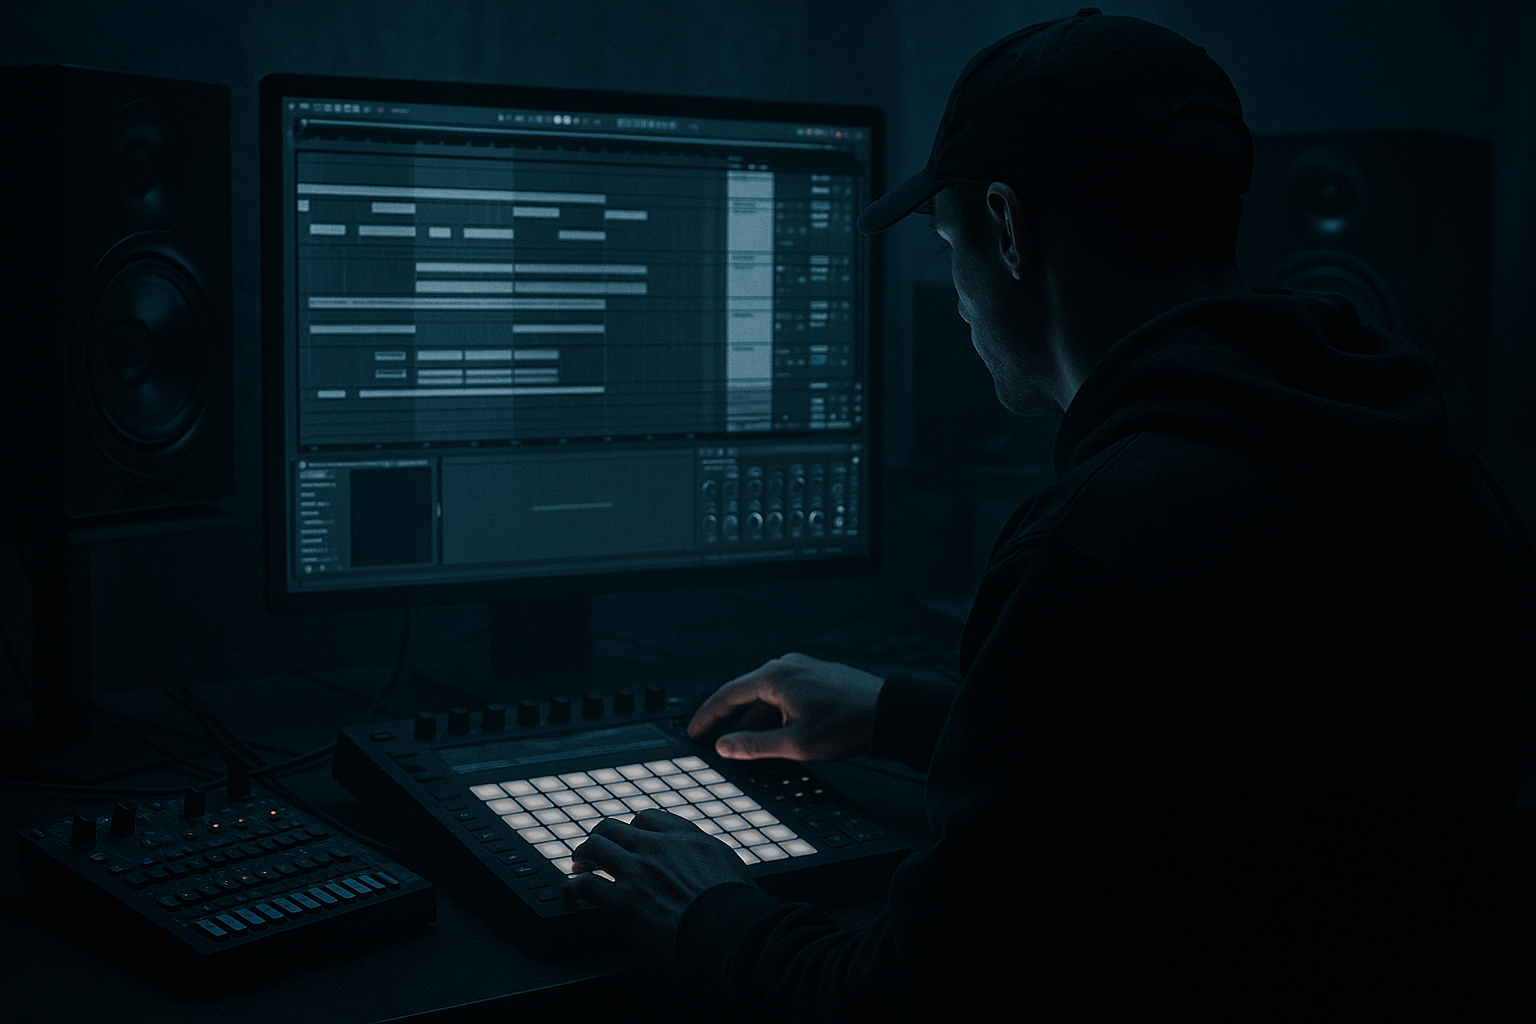
Main tutorial
```markdown
Parallel Drum Crunch Masterclass (170 BPM) — Ableton Live (Beginner) 🥁⚡
1) Lesson overview
In drum & bass, drums need to hit hard without losing punch. The secret weapon is parallel processing: you keep your clean drum signal, then blend in a crushed version underneath for weight, aggression, and density—especially at 170 BPM where transient clarity is everything.
In this lesson you’ll learn a practical, repeatable workflow in Ableton Live using mostly stock devices:
- Set up parallel “crunch” returns (Distortion + Compression + EQ)
- Get loud, crunchy drums without wrecking your transients
- Shape the crunch to sit in a rolling DnB / jungle mix
- A clean Drum Bus (kick, snare, hats, breaks)
- Two parallel return channels:
- A quick 8–16 bar arrangement that feels like real DnB:
- Kick on 1.1 and 1.3 (bar positions)
- Snare on 2 and 4 (in 4/4 at 170, classic DnB backbeat)
- Closed hat on 1/8 notes (or 1/16 if you want more drive)
- Add tiny velocity variation (e.g. 70–105) for movement.
- Add a break loop on its own track.
- Warp mode: Beats.
- Preserve: Transients
- Envelope: try 40–60 to keep it snappy.
- On each drum track, aim peaks around -12 to -6 dB.
- On the DRUMS group, aim peaks around -6 dB.
- Enable HP filter at 120 Hz, 24 dB/oct
- Optional: small dip -2 to -4 dB at ~300–450 Hz if it gets boxy.
- Mode: Analog Clip
- Drive: +4 to +8 dB
- Output: adjust so the return isn’t wildly louder than before
- Soft Clip: On
- Optional: turn on Color (very subtle) if it feels too clean.
- Attack: 3 ms
- Release: Auto
- Ratio: 4:1
- Threshold: lower until you see 2–5 dB gain reduction on peaks
- Makeup: Off (set output manually)
- Soft Clip: On (subtle)
- Gentle high shelf +1 to +3 dB at 7–10 kHz if you want crisp air
- If harsh: dip -2 to -5 dB at 3–6 kHz (narrow-ish Q)
- Drive: 10–25%
- Crunch: 20–40%
- Boom: 0–20% (careful: can cloud low-end fast)
- Damp: 10–30% (tames excessive fizz)
- Transients: -5 to +5 (start at 0)
- Freq: 1.5–3 kHz (focuses bite)
- Drive: 30–60%
- Tone: 30–50%
- Dynamics: 0–20% (lower = more flattened)
- Ratio: 8:1
- Attack: 10 ms (lets initial click through)
- Release: 50–120 ms
- Threshold: aim 6–12 dB gain reduction (yes, a lot)
- Sidechain: Off (for now)
- HP filter at 150–200 Hz
- If it’s fizzy/white-noise-like: low-pass around 12–16 kHz
- If it’s stabbing: notch 4–5 kHz a bit
- Snare “body” and consistency increases
- Break becomes more forward
- Hats feel more connected (but not harsh)
- Your clean transient punch remains intact
- Keep kick sends near zero.
- Let snare/break do the heavy lifting.
- On Return B Compressor → Sidechain On → Input: Kick
- Ratio: 2:1
- Attack: 1–3 ms
- Release: 60–120 ms
- Only 1–3 dB reduction—just to make space.
- Intro (8 bars): low crunch (cleaner, tension building)
- Drop (16 bars): more Crunch + a touch of Smash
- Variation (8 bars): reduce Smash, add hat fills
- Fill (last 1 bar): crank Smash briefly, then cut to clean on the downbeat
- Return B up by +3 to +6 dB, then snap back on the drop.
- Glue Compressor
- Limiter (optional, gentle)
- Midrange focus wins: Dark DnB often has dense bass; make crunch emphasize 800 Hz–4 kHz (snare crack, break bite) and keep subs clean.
- Use Saturator “waveshaping” creatively:
- Short room vibe without reverb mud:
- Jungle edge:
- Clip safely (not randomly):
- Parallel crunch = clean drums + crushed layer blended underneath
- Use returns in Ableton for flexible, mix-friendly parallel processing
- Filter lows out of crunch returns (HP 120–200 Hz) to protect kick/sub
- Build two flavors:
- Blend subtly, automate for drops/fills, and keep transients intact
---
2) What you will build
You’ll build a simple DnB drum mix with:
- A: Crunch (mid-focused drive + glue)
- B: Smash (heavier distortion + squashed room/character)
- Intro → Drop → Variation → Fill
---
3) Step-by-step walkthrough
Step 0 — Project setup (the boring part that saves you later) ✅
1. Set tempo to 170 BPM.
2. Create tracks:
- Kick
- Snare
- Hats / Perc
- Break (optional but very DnB)
3. Group them: select tracks → Cmd/Ctrl+G → name group DRUMS.
4. Set your DRUMS group output to Master.
Why group? You’ll send the whole drum picture to parallel crunch easily, and keep the mix organized.
---
Step 1 — Build a basic 170 BPM drum pattern (quick + realistic) 🏃♂️
Kick pattern (2-step foundation):
Snare:
- In Ableton grid: 1.2 and 1.4 in each bar (depending on grid display)
Hats:
Optional break layer (recommended for jungle flavor):
---
Step 2 — Gain staging for parallel work (don’t skip) 🎚️
Before distortion/compression, keep levels sane:
This gives your parallel chain headroom to crunch without turning to fuzz soup.
---
Step 3 — Create your parallel return channels (the core technique) 🔁
1. Show Returns: Cmd/Ctrl+Alt+R (or use the Mixer view).
2. Create two returns:
- Return A: “CRUNCH”
- Return B: “SMASH”
3. Set both Return faders to -inf for now (we’ll blend later).
4. On the DRUMS group (or individual tracks), start by sending:
- Kick: low send (0 to -20 dB equivalent)
- Snare: medium send
- Hats: low to medium
- Break: medium to high (breaks love crunch)
Beginner-friendly move: Start by sending only snare + break to Crunch/Smash, then add kick/hats carefully.
---
Return A: “CRUNCH” (mid bite + glue) 🔥
This return is about adding density and attitude while keeping punch.
Device chain (in this order)
1) EQ Eight (pre-clean)
Removes sub/low-end from the distortion so your kick/bass don’t turn into mud.
2) Saturator
3) Glue Compressor
4) EQ Eight (post-shape)
Goal sound: Snare feels thicker, break gets “hair,” hats get slightly more presence—without sounding destroyed.
---
Return B: “SMASH” (hard squish + aggression) 😈
This one is for serious crunch—use it like spice.
Device chain
1) Drum Buss
2) Overdrive
3) Compressor (standard Ableton Compressor)
4) EQ Eight
Goal sound: a thick, squashed “roomy” drum character that sits behind the clean drums, making them feel louder and meaner.
---
Step 4 — Blend parallel sends like a pro (simple method) 🎛️
1. Start playback (a 4–8 bar loop of your drop).
2. Bring up Return A (CRUNCH) slowly until you notice it, then back off slightly.
- Typical blend: -18 to -10 dB return fader (varies wildly by material).
3. Bring up Return B (SMASH) even more carefully.
- Typical blend: -24 to -14 dB return fader.
4. Toggle Return channels Mute to A/B the difference.
Listen for:
---
Step 5 — Keep the kick and sub clean (critical in DnB) 🚫🔊
Parallel distortion often adds low-mid mud. Two easy solutions:
Option A (recommended): HP filter the returns
We already did this with EQ Eight at 120–200 Hz. Great.
Option B: Send less kick to returns
Bonus: If your bass is massive, you can also sidechain the returns to the kick (subtle):
---
Step 6 — Add “DnB movement” with automation (arrangement trick) 🧠
Parallel processing shines when it changes across sections.
Automate the Return send (or return fader):
Easy fill idea: In the last half-bar before a drop, automate:
That “suck into the hit” feels very modern DnB. 🎯
---
Step 7 — Quick master-safe drum bus finishing (optional) 🧩
On the DRUMS group (not Master), add:
- Attack 10 ms, Release Auto, Ratio 2:1
- GR 1–2 dB max
- Only catching peaks, not slamming
This helps the clean + parallel layers behave like one instrument.
---
4) Common mistakes ❌
1. Too much low end in the crunch returns
Result: muddy kick/bass relationship.
Fix: HP filter returns (120–200 Hz) and reduce kick sends.
2. Overdoing Smash so transients disappear
Result: drums sound loud but “flat.”
Fix: lower Return B, increase Return A slightly, or use slower attack (10 ms).
3. Harshness from 3–6 kHz
Result: fatiguing hats/snare.
Fix: EQ dip on the returns; consider low-pass around 14–16 kHz.
4. Not gain-matching
Result: “sounds better” because it’s louder.
Fix: match return levels; A/B with mutes.
5. Crunch on everything equally
Result: no separation.
Fix: send snare/break more than kick; keep hats controlled.
---
5) Pro tips for darker/heavier DnB 🖤
Try Saturator Wave Shaper (gentle curve) on Return A for modern neuro-ish edge (keep it subtle).
Put Reverb (very small room, 0.3–0.6s) before compression on Return B, then crush it. HP it hard. This can add “warehouse drums” energy without washing out.
Layer a break, then send mostly the break to Smash. That classic “rinsed” texture appears fast.
Use Soft Clip (Saturator/Glue) instead of hard limiting everywhere. It’s punchier.
---
6) Mini practice exercise (15 minutes) ⏱️
1. Build a 4-bar loop: kick + snare + hats + break.
2. Set up Return A + Return B exactly as above.
3. Do three mixes:
- Mix 1: Only Return A (CRUNCH) blended in
- Mix 2: Only Return B (SMASH) blended in
- Mix 3: Both, but Smash very low
4. Render/export each loop (or freeze/flatten) and compare:
- Which one stays punchiest?
- Which one feels “bigger”?
- Which one gets harsh fastest?
Extra challenge: automate Smash up for the last 1/2 bar as a fill, then drop it back on bar 1.
---
7) Recap ✅
- CRUNCH: Saturator + Glue = density and glue
- SMASH: Drum Buss + Overdrive + heavy comp = aggression
If you want, tell me what kind of DnB you’re aiming for (liquid, jungle, dancefloor, neuro, minimal rollers) and I’ll tailor the exact return settings and a matching 16-bar drum arrangement. 🥁
```

