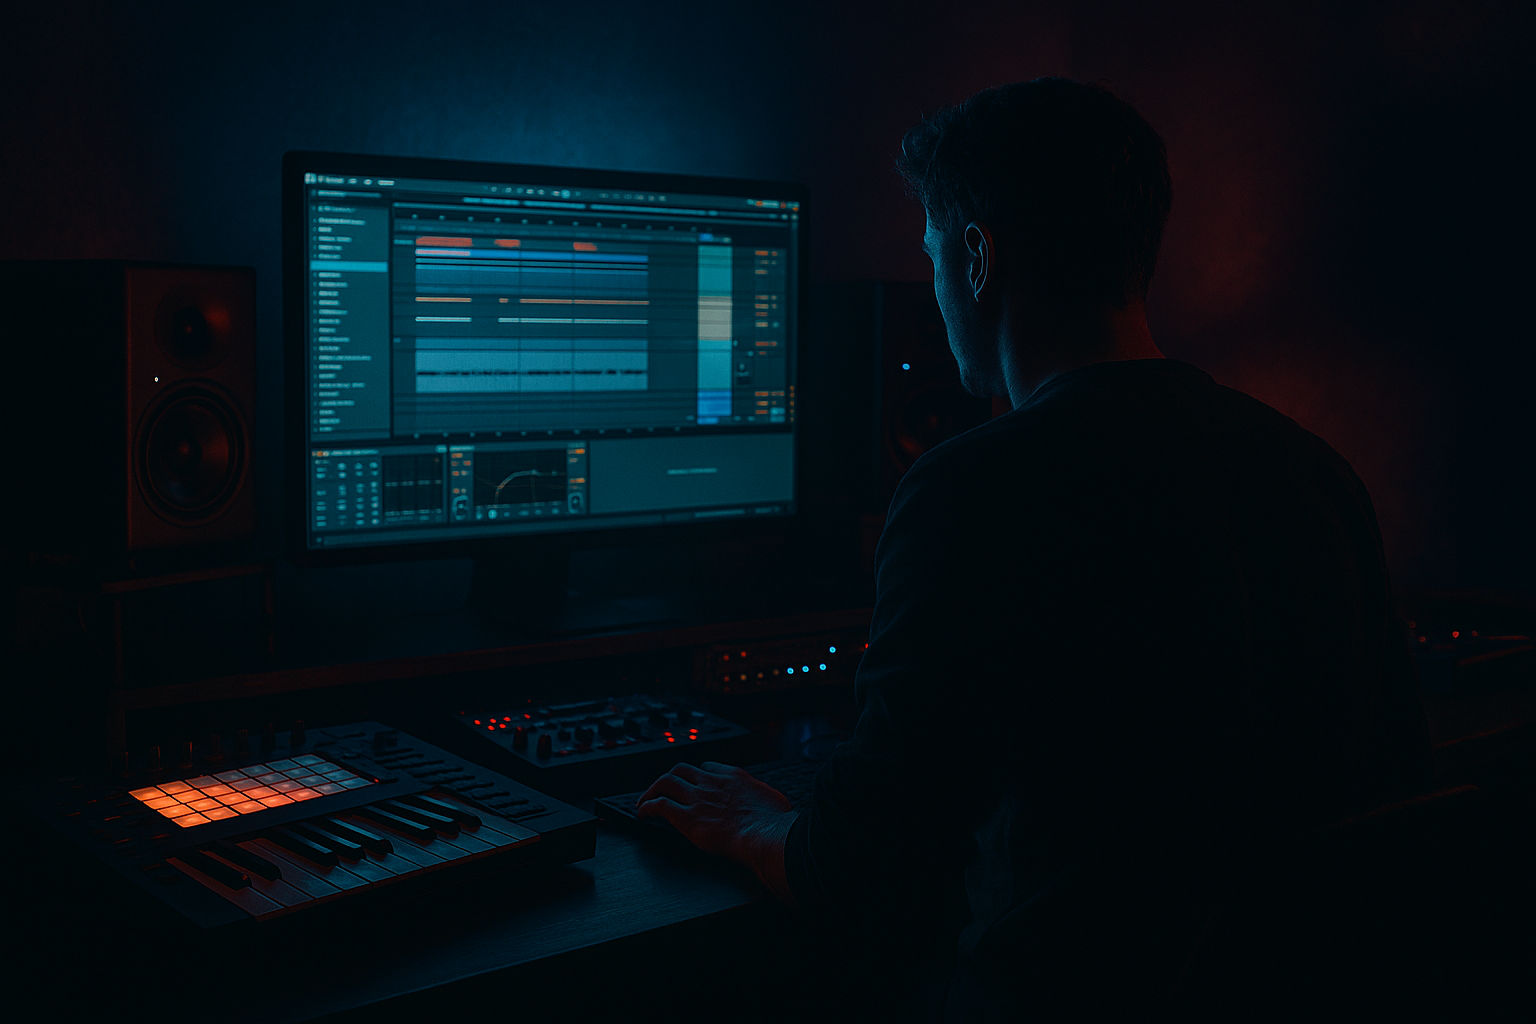
Main tutorial
Percussion Call & Response From Scratch (Resampling Only) — DnB in Ableton Live 🥁🔁
1) Lesson overview
In rolling drum & bass, percussion isn’t “extra”—it’s the motion. The fastest way to get cohesive, characterful percussion is to generate it from your own drums and resample it until it becomes its own language.
This lesson is advanced and purposely strict: no browsing for percussion loops, no downloading foley. We’ll build a call-and-response percussion system using only resampling from a basic kit you already have in the project.
You’ll learn:
- How to design a call phrase and derive a response phrase from it via resampling
- Practical Ableton routing and resampling workflows
- Device chains that create believable “new percussion” from old drums
- Arrangement techniques to make it roll like DnB/jungle
- A Call percussion phrase (e.g., tight rim/hat/ghost combo) that drives the groove
- A Response phrase built only by resampling the Call, then mangling it into a new texture (metallic ticks, woody clicks, shuffly tops, or gritty fills)
- A Question/Answer arrangement across 8–16 bars that feels like a proper rolling DnB drum section
- A single resampled “Perc Print” audio track that you can edit like a break
- Add a Drum Rack with:
- Saturator on individual cells (Drive 1–3 dB, Soft Clip on)
- EQ Eight:
- Hats: steady 1/16 or 1/8 with small gaps
- Rim/clave: syncopated accents
- Ghosts: tiny snare ghosts before the main snare
- Closed hat: every 1/16 except remove hits on `1.3.3` and `1.4.3` (creates breath)
- Rim: hits at `1.1.3`, `1.2.4`, `1.3.2`, `1.4.4`
- Snare ghost: `1.2.3` and `1.4.3` at low velocity (20–35)
- Main snare is still on 2 & 4 in your main drum bus, but here we’re focusing on percussion energy around it
- Hat velocities: 55–85 with 2–4 random variation
- Nudge a couple of rims late by 3–8 ms for pocket (don’t overdo)
- Input: Resampling
- Monitor: Off
- Arm track
- Warp mode: Beats
- Create another audio track: `RESPONSE_PRINT`
- Input: Resampling
- Solo `CALL ➜ RESPONSE DESIGN`
- Record 1–2 bars
- Consolidate
- Slice it (manual editing or Slice to New MIDI Track if you want, but keep it resample-based)
- Create a 1-bar response that:
- Call bar: busy early, breath late
- Response bar: breath early, busy late
- Trim fades on each hit (very short) to remove clicks
- Create tiny flams: duplicate a hit, nudge by `10–25 ms`, lower gain by `6–12 dB`
- For rolls: copy a tick and place 1/32 bursts before transitions
- `CALL (MIDI)`
- `CALL PRINT` (optional muted)
- `RESPONSE (audio)`
- Return track `A: PERC CRUSH`
- Send only rims/ticks to it, not everything.
- Call phrase plays every bar
- Response only does 1–2 accents at end of bar 4
- Bar 5: Call
- Bar 6: Response (busier)
- Bar 7: Call (variation)
- Bar 8: Response + tiny fill (1/32 burst into bar 9)
- Automate Auto Filter cutoff on response up slightly
- Add a second resampled layer quietly (another print with different processing)
- Mute call for half a bar occasionally so the response “speaks” alone
- Response is just “more notes.” Response should contrast (density, tone, register, stereo position).
- Over-resampling without naming/structure. You’ll get lost fast—label prints clearly (`CALL_PRINT_01`, `RESP_TICK_02`).
- Too much low-mid. Resampled percussion often accumulates 200–600 Hz mud. High-pass and carve.
- Stepping on the snare. If your response hits on 2/4 with similar tone, it weakens the backbeat crack.
- No dynamics. If every hit is the same level, it won’t roll—use clip gain and velocity-style variation.
- Mid/side control on the response:
- Make “rust” with gated reverb then resample:
- Pitch down tiny bits for menace:
- Use Frequency Shifter for industrial edges:
- Commit to audio and edit like a break:
- You created a call phrase from a minimal drum source.
- You used resampling to generate entirely new percussion character without external loops.
- You sculpted the response with stock devices (EQ Eight, Saturator, Redux, Corpus, Gate, Glue).
- You arranged it like real DnB: phrases that breathe, tension/release, and edits at boundaries.
- You printed and committed, which is how you get that tight, “finished” roll fast. ✅
---
2) What you will build
You’ll end up with:
---
3) Step-by-step walkthrough
A) Session setup (tempo, grid, swing)
1. Set tempo: `172–176 BPM` (classic rolling zone).
2. Warp mode defaults: Keep one-shots unwarped; for resampled audio, use Beats mode often.
3. Optional groove: In Groove Pool, try:
- `Swing 16-65` (subtle) or
- a break-derived groove if you already have one in your template
Apply lightly: Timing 10–20%, Random 2–6%.
---
B) Build a minimal source kit (your “ink”)
You only need a few drum sources, because we’re going to reprint them.
Create 1 MIDI track: `DRUM SOURCE (Rack)`
- Kick (tight, not boomy)
- Snare (DnB crack)
- Closed hat
- Rim/clave (or a short click)
- One “noise” hit (can be a hat pitched down + filtered)
Recommended stock shaping on the Drum Rack (light touch):
- Roll sub from hats/rims: HP around `200–400 Hz`
- Gentle presence boost on hats: `7–10 kHz` if needed
---
C) Write the Call phrase (1-bar identity)
We want something that asks a question rhythmically and leaves space for the response.
Create MIDI clip (1 bar) on the Drum Rack
Use this as a starting idea (grid: 1/16):
Example (1-bar call idea at 174 BPM):
Velocity + timing (important):
> Goal: The call should sound “intentional” but slightly incomplete—like it wants a reply.
---
D) Resampling setup (clean, fast, repeatable)
We’ll print the call to audio and create new percussion from it.
Create 1 audio track: `RESAMPLE PRINT`
Workflow tip:
Solo your `DRUM SOURCE (Rack)` or the percussion group you’re printing. This ensures your resample contains exactly what you intend.
1. Loop the 1-bar call
2. Hit record and capture 2–4 bars (gives you variation opportunities)
3. Consolidate to a clean file: select region → Cmd/Ctrl + J
Rename it: `CALL_PRINT_174BPM_01`.
---
E) Turn the Call into a new instrument (response generator)
Now we create a response by abusing the print.
Create an audio track: `CALL ➜ RESPONSE DESIGN`
Drop `CALL_PRINT…` into it.
#### Option 1: “Tick/Metal” response (classic DnB top grit) ⚙️
Device chain (stock):
1. EQ Eight
- HP: `500–1200 Hz` (steep-ish, 24 dB/Oct)
- Optional narrow boost: `3–6 kHz` (find “tick”)
2. Saturator
- Drive: `4–8 dB`
- Soft Clip: On
3. Redux (sparingly)
- Downsample: `2–6` (taste)
- Bit depth: `10–14`
4. Auto Filter
- Band-pass or HP with resonance
- Map cutoff to a macro later for movement
5. Utility
- Width: `60–90%` (keep it controlled)
Then:
- Preserve: 1/16 or 1/32
- Transients: 0–30 (depending on clickiness)
Now resample this chain:
You now have a new percussive texture derived only from the call.
#### Option 2: “Woody shuffle” response (jungle-like chatter) 🌿
On `CALL ➜ RESPONSE DESIGN`:
1. Corpus
- Mode: Tube or Membrane
- Tune to a musical-ish range (try 180–400 Hz)
- Decay low (0.2–0.6s)
- Dry/Wet: 10–35%
2. Transient Shaper (Ableton 12 Suite) or Drum Buss
- Drum Buss: Drive 5–15, Boom off or very low
3. EQ Eight
- Remove harshness: small dip around 3–5 kHz if needed
4. Gate
- Tighten tail; set threshold so it “ticks”
Resample that as `RESPONSE_PRINT_WOOD_01`.
---
F) Build the Response phrase (contrast + logic)
Now we write the response rhythm so it answers the call.
Take your `RESPONSE_PRINT` audio and:
- Hits where the call rests
- Avoids stepping on the snare (space at 2 & 4)
- Adds a different rhythmic subdivision (call = 16ths, response = 8ths/32nds bursts)
Practical pattern approach:
This creates a natural “question → answer” across 2 bars.
Micro-editing that makes it DnB:
---
G) Glue the system (bus processing + cohesion)
Group your percussion tracks:
into a group: PERC BUS
On PERC BUS, use:
1. EQ Eight
- HP around `150–250 Hz` (keep low-end clean)
2. Glue Compressor
- Attack: `3–10 ms`
- Release: `Auto` or `0.1–0.3s`
- Ratio: `2:1`
- Gain reduction: `1–3 dB`
3. Saturator (optional)
- Drive: `1–4 dB` for density
4. Utility
- Mono below: (if Live version supports) or keep low content minimal via EQ
Optional parallel dirt (DnB staple):
- Drum Buss (Drive 10–25)
- Saturator (Drive 6–10)
- EQ Eight (HP 400–800)
---
H) Arrangement: make it talk over 8–16 bars 🎛️
Here’s a reliable DnB arrangement template:
Bars 1–4: Call leads (response minimal)
Bars 5–8: Full call-and-response
Bars 9–16: Escalation + edits
DnB trick:
On the last bar before a drop/section change, print the entire PERC BUS and do a quick “break edit” style slice/retrigger—still resampling-only and super authentic.
---
4) Common mistakes
---
5) Pro tips for darker/heavier DnB 🌑
Use EQ Eight in M/S mode: cut some harsh highs on the Sides while keeping Mid crisp.
On response design chain, add Reverb (short, dark) → Gate. Resample the gated tail as its own tick layer.
Duplicate response print, Transpose -12 (or -7), then HP it at 300–600 Hz. Blend quietly for weight without sub.
Very small shifts (`+20 to +80 Hz`) + feedback low. Resample. It gives that dark techy smear.
Once it works, resample the entire PERC BUS and do micro-cuts, reverses, and 1/32 retrigs going into phrase boundaries.
---
6) Mini practice exercise (15–25 minutes) ⏱️
1. Write a 1-bar call phrase using only hat + rim + one ghost.
2. Print it to audio via Resampling.
3. Create two response candidates from the same print:
- `RESP_A`: Tick/metal chain (Redux + Saturator)
- `RESP_B`: Woody chain (Corpus + Gate)
4. Arrange 8 bars:
- Bars 1–4: Call dominates
- Bars 5–8: Alternate call/response each bar
5. Final step: Print PERC BUS and do one break-style edit in bar 8 (tiny stutter or reverse into bar 9).
Deliverable: one 8-bar loop that feels like it could sit under a rolling sub-bass.
---
7) Recap
If you want, tell me your subgenre (roller, jungle, neuro, minimal, dancefloor) and I’ll suggest a specific call rhythm + response processing chain tailored to it.

