Main tutorial
Lesson Overview
In oldskool jungle and darker Drum & Bass, percussion layering is not just about making drums bigger — it’s about making the groove swing, breathe, and hit with intention. This lesson focuses on balancing layered percussion in Ableton Live 12 by using Session View as your fast sketchpad, then moving the best parts into Arrangement View for proper tune structure.
The goal is to build a tight percussion stack around your breakbeat and main drum kit: think dusty top-loop energy, clean transient reinforcement, shuffles, ghost hits, shaker movement, and little atmospheric details that keep the rhythm alive without stepping on your kick, snare, or sub. This is especially important in jungle and oldskool DnB, where the drums often carry as much identity as the bassline.
Why this matters: in DnB, a percussion layer that’s even slightly too loud or too wide can blur the break, fight the bass, and destroy the forward motion. But if it’s balanced properly, it gives your drop urgency, drive, and that “records-smash-meets-club-system” feel. You’ll learn a workflow for testing loop combinations quickly in Session View, then arranging them into a drop that evolves with musical logic.
We’ll keep the focus on stock Ableton devices and practical studio decisions: EQ Eight for carving, Drum Buss for weight, Saturator for grit, Glue Compressor for cohesion, Utility for stereo discipline, and automation to make sections move like a real DnB tune. 🚀
What You Will Build
By the end of this lesson, you’ll have a percussion layer system that sounds like a proper jungle/DnB arrangement:
- A core breakbeat or drum loop in Session View
- Two to four supporting percussion layers, such as:
- A balanced percussion bus that glues the layers without flattening them
- A drop section in Arrangement View where percussion is introduced in stages:
- Tight low-end separation so the percussion enhances the drums without muddying the kick/sub area
- A clear “oldskool jungle” rhythmic vibe, with imperfect movement, swing, and contrast rather than hyper-quantized sterility
- Making every percussion layer the same brightness
- Leaving loops too loud before arrangement
- Over-high-passing the main break
- Using too much stereo width on all layers
- Crushing the percussion bus with compression
- Adding fills every 2 bars
- Ignoring the bassline relationship
- Put a subtle Saturator on a shaker layer and drive it just enough to bring out grit. Try 1–3 dB Drive with Soft Clip on for a dirty but controlled sheen.
- Use Drum Buss on a top percussion layer, not just drums. A small amount of Drive can make ghost percussion feel more aggressive without adding huge peaks.
- If the track needs more menace, automate a low-pass filter closing on the percussion in the last bar before a drop, then open it hard on the downbeat.
- For heavier rollers, keep the percussion more repetitive and let tiny changes do the work: mute one hat for a bar, add a rim hit, or shift a shaker slightly late. Small changes feel massive at 174 BPM.
- Try a low-volume reverse cymbal or reversed percussion slice under the last snare before a switch-up. Keep it subtle so it supports the rhythm instead of sounding cinematic.
- Use a mono check on the Percussion Bus. If the groove collapses in mono, reduce stereo effects and focus on rhythmic clarity first.
- For darker textures, layer a very quiet metallic top loop with EQ Eight high-passed above 500 Hz and a touch of Saturator. It can add menace without cluttering the low-mids.
- Build percussion layers in Session View first so you can hear the groove in real time.
- Make each layer serve a different rhythmic role.
- Use Groove, timing, and tiny offsets to get jungle movement.
- Carve space with EQ Eight and keep stereo under control with Utility.
- Glue the stack lightly with stock Ableton devices, not heavy compression.
- Move into Arrangement View with phrase logic: introduce, build, drop, switch-up.
- Use automation and resampling to create evolution, tension, and oldskool character.
- shaker or hat loop
- rim/wood/clave ghost pattern
- top break or ride texture
- short fills and turnaround hits
- intro: sparse and DJ-friendly
- build: filtered percussion movement
- drop: full layered groove
- switch-up: reduced layers or call-and-response edits
Musically, this could sit under a classic 174 BPM tune with a Reese bass answering the snare, where a dusty break loop leads the energy and a shaker layer opens the stereo field in the 8-bar phrase before the drop. Think early rave-jungle tension with modern mix clarity.
Step-by-Step Walkthrough
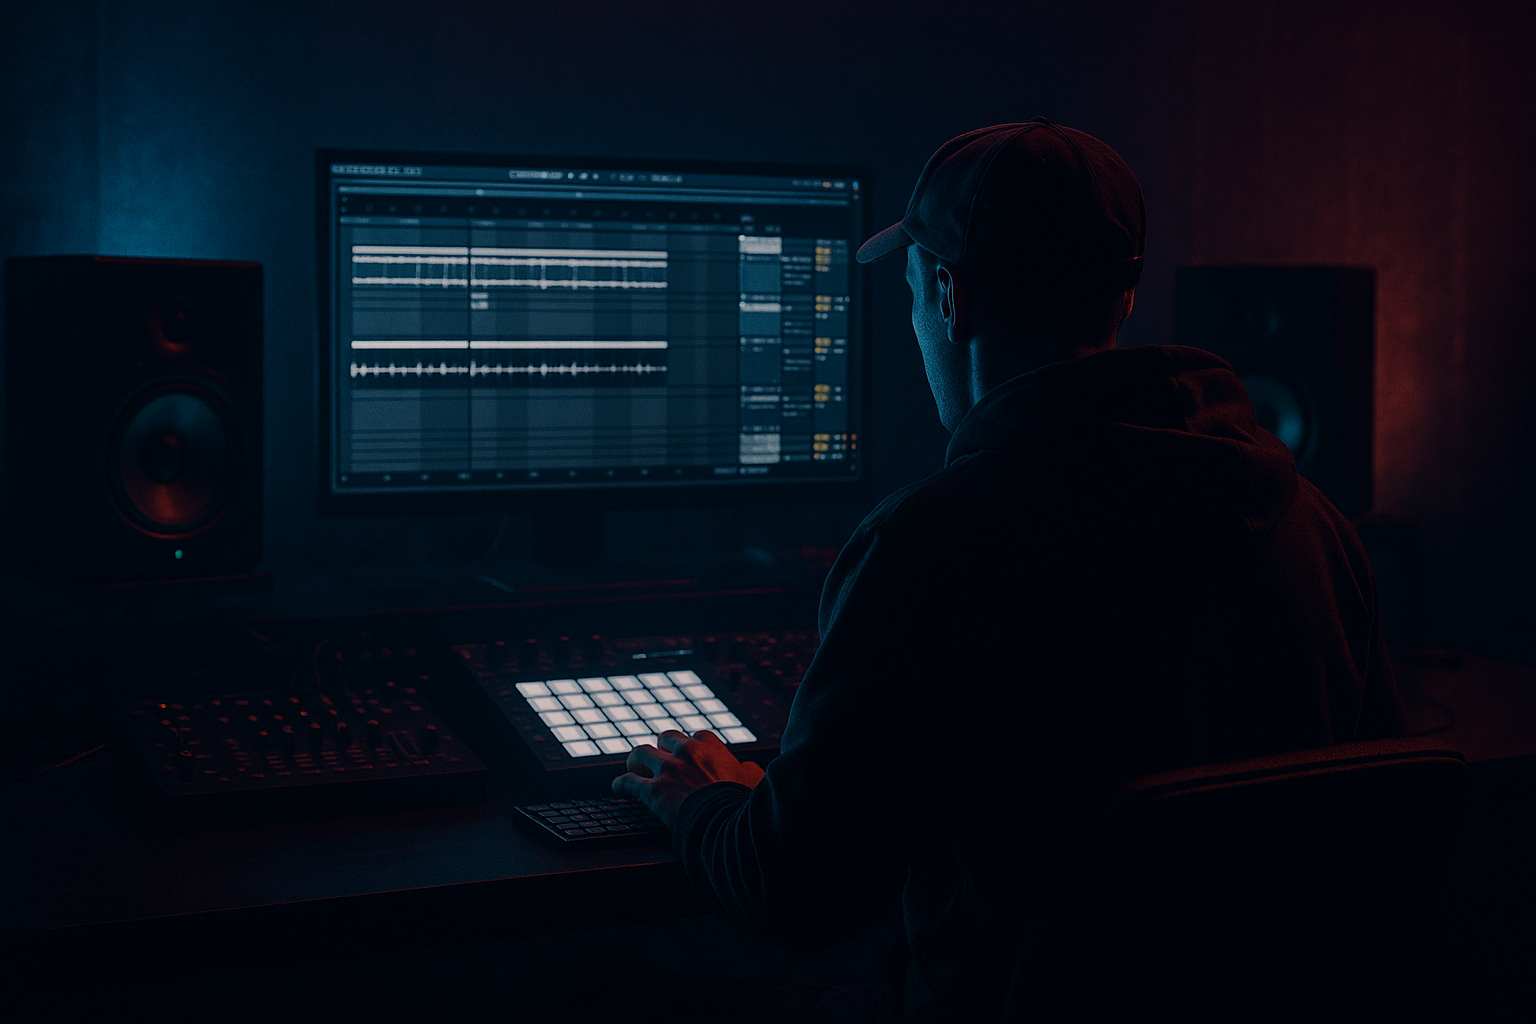
1. Set up a clean percussion routing structure in Session View
Start by creating a dedicated percussion group in Ableton Live. Put your breakbeat, top loops, shakers, ghost percussion, and fill hits into separate audio or MIDI tracks, then route them all to a single Percussion Bus group. Keep your kick and bass on separate buses so you can hear the drum-bass relationship clearly.
In Session View, build a small clip palette:
- Track 1: main break loop
- Track 2: shaker or hat loop
- Track 3: rim/perc ghost loop
- Track 4: top texture loop or ride
- Track 5: fill/one-shot FX hits
This makes it easy to audition combinations in real time. Session View is perfect here because jungle percussion is often about pattern interplay, not just static loops. Launch different clips together and listen for the groove, not just the tone.
Useful stock devices to insert on each track:
- EQ Eight to remove unnecessary lows
- Utility to control width
- Saturator for mild edge
- Drum Buss on loop layers if they need extra punch
Starting cleanup suggestions:
- High-pass non-kick percussion around 120–180 Hz with EQ Eight
- Use Utility Width at 70–100% on supporting perc layers, leaving the main break more centered if needed
2. Choose layers that complement the break, not duplicate it
In oldskool DnB, your percussion layers should add rhythmic information that the break doesn’t already provide. If your break already has strong offbeat hats, don’t add another hat loop doing the same thing. Instead, add a shaker with a slightly different subdivision, a rim that accents the “and” of a beat, or a top loop with more air and less body.
A good layering strategy:
- Main break: carries the core groove, snare identity, and transient feel
- Secondary top loop: adds constant motion and fill energy
- Ghost percussion: creates syncopation and shuffle
- Short one-shots: punctuate phrase endings and transitions
When auditioning in Session View, solo combinations in pairs:
- break + shaker
- break + ghost perc
- break + top loop
- all layers together
Ask: does the new layer increase urgency, or just make it louder? If it only makes it louder, it’s not really adding groove. For jungle vibes, the best layers often sit in the mid/high range and create rhythmic tension through placement rather than density.
3. Groove the layers with swing, timing, and clip-level feel
This is where intermediate users can make a big jump. Don’t leave all clips perfectly straight if you want that oldskool feel. Use Ableton’s Groove Pool to apply a subtle swing template to your percussion clips, or manually shift some hits off-grid for human movement.
Practical Groove Pool approach:
- Start with a swing amount around 54–58% for shakers or top loops
- Apply smaller timing deviations to ghost percussion than to the main break
- Keep snare placements stable, but let supporting percussion breathe around them
If you’re using MIDI percussion, the Groove Pool can give you a lighter, more organic push-pull. If you’re using audio loops, try clip start adjustments and tiny warp edits to align key hits with the pocket rather than the grid.
Why this works in DnB: the bass and drums in jungle are already very fast, so even tiny timing changes are felt strongly. A subtle late shaker or slightly shuffled ghost hit can create momentum without needing more notes. That’s the secret to “movement” in a drum-heavy genre.
4. Balance each layer in Session View before you arrange
Don’t wait until Arrangement View to discover your percussion is too loud. Use Session View to set relative balance first. Launch your main groove and set levels with the looped section repeating for at least 8 bars.
A practical balancing approach:
- Main break: establish first, then keep it as the reference
- Shaker/top loop: usually 6–12 dB lower than the break, depending on brightness
- Ghost perc: often 10–15 dB below the break if it’s just filling space
- Fill hits: should be noticeable but short-lived; keep them from dominating the loop
Use these stock tools while balancing:
- Utility for gain staging
- EQ Eight to carve space
- Compressor if a layer needs sidechain-style movement from the kick or snare
- Drum Buss if a loop needs more bite without needing more volume
If the percussion feels busy, reduce the top-loop level before cutting frequencies. In jungle, volume is not always the problem — often the issue is that the layers are all speaking in the same rhythmic band.
5. Carve space with EQ and mono discipline
Use EQ Eight on each layer with intent. The goal is to create a clean stack where the low end belongs to the kick, sub, and low drum body, while percussion lives higher up.
Solid starting points:
- Shakers/top loops: high-pass between 180–300 Hz
- Ghost percussion: high-pass around 150–250 Hz
- Ride/textural layers: high-pass around 250–400 Hz if they’re bright enough
- Break loop: carve only what conflicts with bass or kick, often a gentle cut around 200–400 Hz if muddy
For stereo control:
- Put Utility on supporting layers and test Width at 80–100%
- Check the main break in mono to make sure the groove still works
- Keep any important transient hits closer to center if they help drive the track
This is especially important in darker DnB, where reese basses and heavy drums can saturate the stereo image quickly. If your percussion is too wide in the wrong frequencies, the mix will feel washed out and less brutal.
6. Add bus glue and transient shape with stock Ableton devices
Once the layers feel good individually, process the Percussion Bus as a group. This gives the stack a shared character so it sounds like one performance instead of separate clips pasted together.
Try this bus chain:
- EQ Eight: small corrective cuts
- Glue Compressor: light cohesion, slow enough to preserve transient snap
- Drum Buss: for weight and grit
- Saturator: for subtle harmonic lift
Suggested starting settings:
- Glue Compressor: 1.5:1 or 2:1 ratio, attack around 10–30 ms, release Auto or 0.1–0.3 s, gain reduction only 1–2 dB
- Drum Buss: Drive around 5–15%, Crunch low to moderate, Boom used carefully or avoided if the bus already has enough low-mid body
- Saturator: Soft Clip on, drive around 1–4 dB if you want a harder edge
Be careful not to crush the transients out of your break. In jungle, the snap of the snare and the splice-like character of the break are part of the identity. You want cohesion, not flattening.
7. Move from Session View into Arrangement View with phrase logic
Now take the combinations that worked and build an actual arrangement. In Arrangement View, introduce your percussion in layers so the track evolves over time. This is where the session experimentation becomes a real tune structure.
A strong 32-bar DnB arrangement idea:
- Bars 1–8: break only, maybe filtered shaker whisper
- Bars 9–16: add a top loop or ghost perc to raise tension
- Bars 17–24: bring in full percussion stack, but leave one layer out every 4 bars for breath
- Bars 25–32: switch-up with reduced percussion and a fill into the drop
For jungle vibes, use phrase contrast:
- 4-bar loop with one “answer” bar
- 8-bar sequence with one missing layer in bar 8
- fills at the end of 8s or 16s to signal movement
A musical context example: if your bassline is a rolling Reese that answers the snare on the offbeats, let the percussion open up in the second half of the 16-bar drop so the bass feels more aggressive when it returns. That contrast makes the tune feel bigger without adding more notes.
8. Automate movement so the percussion evolves during the drop
Static percussion gets old fast in DnB. Use automation to make the layer stack shift over time. This is one of the easiest ways to keep a 174 BPM track exciting without overcomplicating the drums.
Automation ideas:
- Filter Frequency on Auto Filter to open a shaker or top loop over 8 bars
- EQ Eight high-cut changes to darken percussion before a drop, then brighten it on impact
- Utility Width automation to widen top layers in the build, then tighten them in the drop if needed
- Reverb send automation for end-of-phrase tails only
- Drum Buss Drive increase in the last 2 bars before a drop for extra tension
Keep automation purposeful. For example:
- Build section: automate a shaker high-pass from 400 Hz down to 180 Hz as the drop approaches
- Drop: remove the automation and let the full-band percussion hit
- Switch-up: momentarily mute the top loop or filter it hard so the listener feels a reset
This kind of movement is huge in darker bass music because tension doesn’t need melody — it can live in the drum texture itself.
9. Use resampling and quick edits for oldskool character
If your layered percussion feels too clean, resample it. Record 8 bars of your percussion bus into a new audio track, then slice the best bits and reuse them as fills, stabs, or turnaround edits. This is a classic jungle workflow: capture, chop, and recombine.
In Ableton Live:
- Resample the percussion stack to audio
- Slice to a new MIDI track using transient markers
- Rearrange hits to create new ghost patterns
- Reverse a short tail or one-shot for a transition effect
This technique works well because oldskool jungle often sounds exciting partly due to imperfect edits and lifted fragments. You’re not trying to make everything pristine — you’re trying to make the rhythm feel alive and slightly unpredictable.
Good use cases:
- 1-beat fill before a snare drop
- chopped top-loop stutter before the bass re-enters
- reversed percussion swell into a new 8-bar phrase
Common Mistakes
- Fix: give each layer a clear role. One can be dusty and midrange-focused, another bright and airy, another short and dry.
- Fix: balance in Session View first, then bring into Arrangement View. Don’t “solve” bad balance with master volume.
- Fix: preserve the break’s character. Carve only what conflicts with bass or kick; don’t make it thin.
- Fix: keep important rhythmic energy closer to center and widen only support textures.
- Fix: use light glue, not heavy pumping, unless you specifically want that effect. Preserve transient attack.
- Fix: let the groove breathe. In DnB, contrast is stronger when the listener can feel the loop before it changes.
- Fix: check percussion against the bass in full context. A busy top loop can hide bass movement and weaken the drop.
Pro Tips for Darker / Heavier DnB
Mini Practice Exercise
Spend 15 minutes building a percussion stack for a jungle drop at 174 BPM:
1. Load a breakbeat into one track and loop 8 bars.
2. Add two supporting percussion layers: one shaker or hat loop, one ghost perc or rim loop.
3. Balance all three in Session View so the break stays dominant.
4. Apply EQ Eight to high-pass the supporting layers and clean the low end.
5. Add Utility to tighten stereo width on the busiest layer.
6. Put a light Glue Compressor on the Percussion Bus and aim for only 1–2 dB gain reduction.
7. Launch combinations in Session View and decide which version feels most like an oldskool DnB groove.
8. Record the best 16 bars into Arrangement View.
9. Automate one filter or width move across the build into the drop.
10. Create one 1-bar fill or switch-up using a resampled chop.
Goal: by the end, you should have one loop that feels like it could sit under a proper jungle roller, not just a generic drum loop.
Recap
If the percussion supports the break, leaves room for the bass, and changes with the arrangement, you’re in the right zone: tight, dark, and properly DnB.

