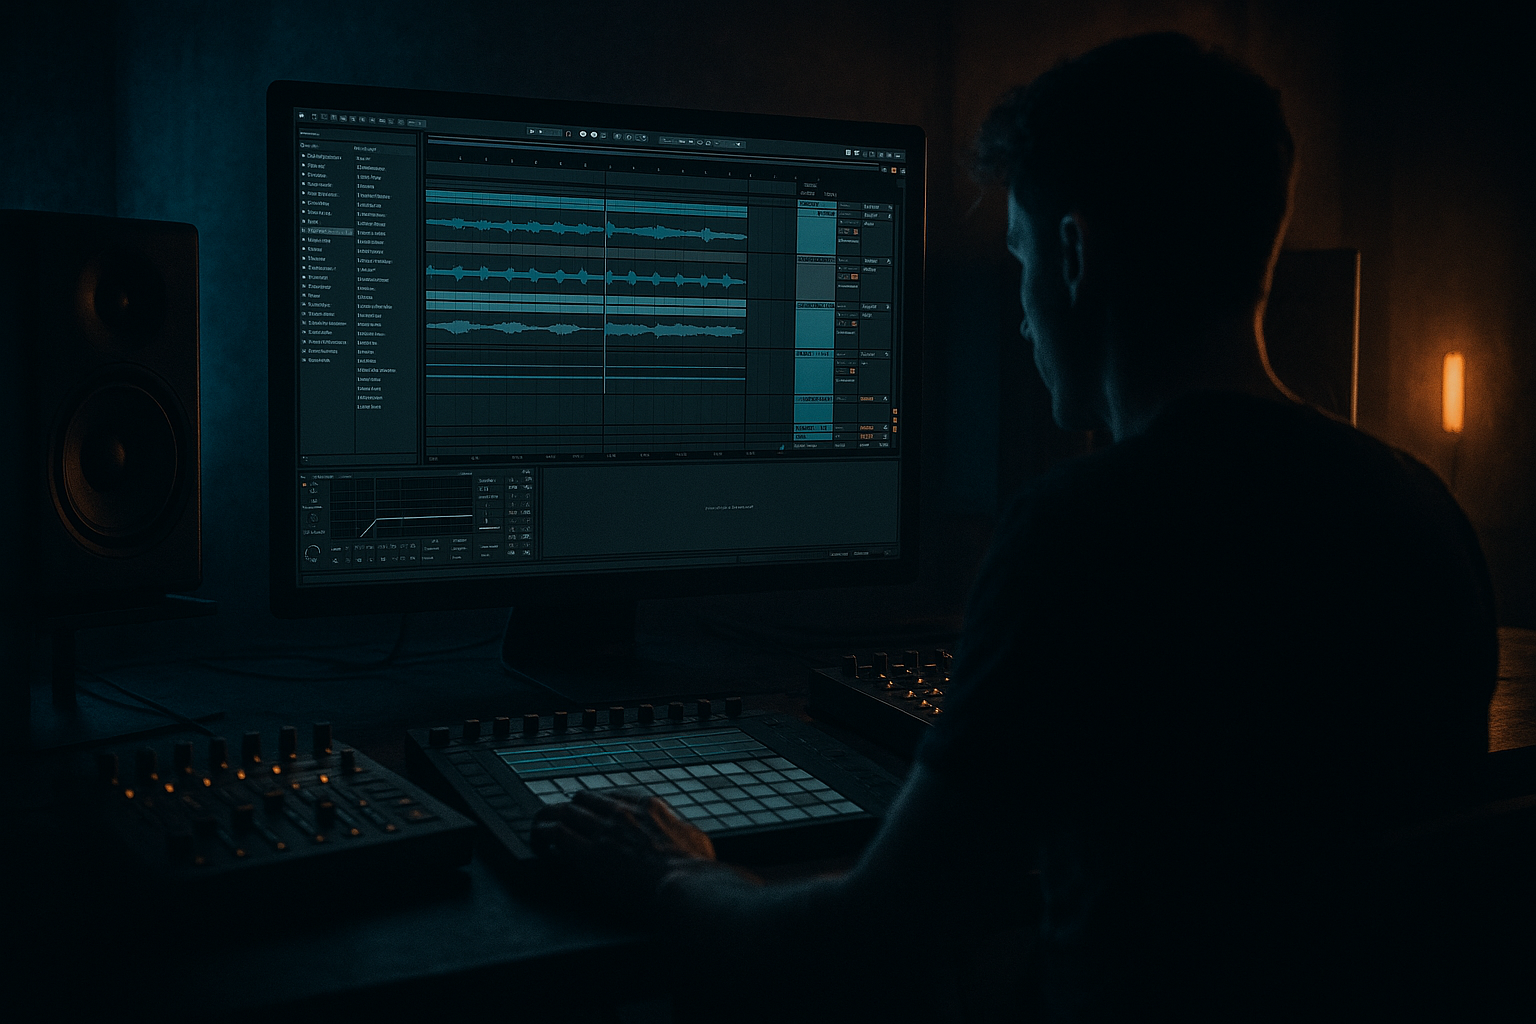
Main tutorial
```markdown
Phaser Movement on Atmospheric Pads (DnB in Ableton Live) 🎛️🌫️
1. Lesson overview
Phasers are underrated in drum & bass: they can turn a static pad into a living, breathing atmosphere that pushes forward in the drop and pulls back in the breakdown—without needing extra layers.
In this lesson you’ll build controlled, tempo-locked phaser movement that sits behind rolling drums and subs, avoids mono issues, and stays dark/weighty instead of “cheesy swoosh.”
We’ll do this using stock Ableton devices (Phaser-Flanger, Auto Filter, EQ Eight, Utility, Saturator, Reverb, Delay) with macro control and arrangement automation.
---
2. What you will build
A pad FX chain and workflow that gives you:
- Tempo-synced phaser motion that “breathes” in 16ths/8ths (classic rolling DnB feel) 🥁
- Dark, controlled stereo width (wide highs, stable low-mids)
- A macro-driven movement system:
- Arrangement-ready automation for breakdown → drop transitions
- Any sustained pad works: Wavetable, Analog, Operator, or a resampled atmospheric loop.
- For DnB, aim for slow chords (1 bar or 2 bars), minor/Phrygian vibes, lots of space.
- HP filter: 24 dB/oct at 120–200 Hz (adjust to your key/sub)
- Optional dip: 250–450 Hz by -2 to -4 dB, Q ~1.2 (reduces boxiness)
- Optional tame harshness: 2–4 kHz slight dip if needed
- Mode: Phaser (not Flanger)
- Rate: Sync ON, start at 1/8 or 1/16
- Amount/Depth: 35–55% (start 45%)
- Feedback: 10–25% (start 15%)
- Wet/Dry: 15–35% (start 25%)
- Stereo/Phase: keep moderate; too wide can vanish in mono
- Set Rate to 1/16 for “shimmering motion” behind rolling hats.
- Use 1/8 for slower, liquid movement (great in breakdowns).
- If your drums are very busy, avoid 1/4 unless it’s intentionally dramatic.
- Automate Phaser Wet slowly over 8–16 bars.
- Add tiny clip envelope variations so each section feels alive.
- Filter type: LP24
- Cutoff: 6–12 kHz (start 9 kHz)
- Resonance: low, 0.5–1.2
- Optional subtle movement:
- LP12 at 10–14 kHz
- Bass Mono: ON, 120–180 Hz
- Width: 90–120% depending on the pad
- Pre-delay: 15–30 ms (keeps articulation)
- Decay: 2.5–6 s (breakdowns longer, drops shorter)
- Low Cut: 250–400 Hz
- High Cut: 6–10 kHz
- Dry/Wet: 10–25% on the insert
- Send your pad to `A - ATM_VERB`
- Put Reverb on the return with more extreme settings (Decay 8–14s), but HP at 400 Hz.
- Automate the send: more in breakdown, less in drop.
- Phaser Wet (15–45%)
- Phaser Amount/Depth (30–70%)
- Phaser Feedback (10–35%)
- If Rate can’t macro smoothly due to sync steps, map to:
- Post Auto Filter cutoff (6 kHz ↔ 14 kHz)
- Reverb High Cut (5 kHz ↔ 10 kHz)
- Utility Width (80% ↔ 130%)
- Bass Mono frequency (100 Hz ↔ 180 Hz)
- Movement Amount: high
- Speed: 1/8
- Darkness: darker (keep it moody)
- Reverb send: high
- Add subtle automation: open cutoff slightly every 8 bars.
- Gradually increase Speed: 1/8 → 1/16
- Reduce Reverb send slightly (tighten)
- Tiny bump in Feedback (adds intensity without volume)
- Movement Amount: moderate
- Speed: 1/16 (rolling energy)
- Darkness: slightly brighter than breakdown, but controlled
- Width Safe: keep low-mids stable, avoid huge stereo swings
- Automate Speed briefly to 1/32 for 1–2 bars
- Then snap back to 1/16
- Result: “jet plane” phaser dominates and sounds dated.
- Fix: keep Wet < 35% and Feedback < 30% unless it’s a feature moment.
- Phaser on low-mids can cause phase cancellation and loss of power.
- Fix: high-pass pre-EQ + Bass Mono.
- A pad phasing at 1/4 can feel disconnected from 2-step drums.
- Fix: start at 1/8 or 1/16 and adjust by feel.
- Wide phasing can vanish when collapsed.
- Fix: reduce Utility Width, lower Feedback, and keep movement mostly in highs.
- Reverb after phaser can smear modulation into a wash.
- Fix: use shorter decay in drops and filter the reverb return hard.
- Saturate before the phaser (very lightly)
- Mid/Side control with EQ Eight
- Make movement duck to drums
- Resample for “printed” movement
- Layer two phasers subtly
- Use phaser movement to add life to atmos pads without stealing energy from drums/sub.
- Start with clean tone shaping (EQ/filters), then add Phaser-Flanger with tempo sync (1/8–1/16 is the DnB sweet spot).
- Add slow drift (LFO or automation) so it doesn’t loop mechanically.
- Keep it mono-safe: high-pass, Bass Mono, controlled width.
- Arrange it like DnB: bigger in breakdown, tighter in drop, with macro-driven transitions.
- Movement Amount (phaser depth + feedback + wet)
- Speed (synced rate + subtle drift)
- Darkness (tone filtering pre/post)
- Width Safe (mono control + low-end protection)
---
3. Step-by-step walkthrough
A) Prep the pad so the phaser has something to “grab”
Goal: phasers react best to harmonically rich, sustained audio—but DnB pads must not fight the sub/bass.
1) Choose / create a pad
2) Group your pad track
Select the pad track devices → Cmd/Ctrl+G to create an Audio Effect Rack.
Name it: `PAD_MOVEMENT_RACK`.
3) Pre-EQ to remove mud
Add EQ Eight first:
Why: The phaser will modulate phase and resonances—if you feed it mud, it will pump mud.
---
B) Build the phaser core (stock Phaser-Flanger)
Add Phaser-Flanger after EQ Eight.
#### Suggested starting settings (clean, DnB-friendly)
> If your pad is already very wide (chorused), start with lower Wet and lower Feedback.
#### Make it roll (classic DnB pulse)
---
C) Add “drift” so it’s not robotic (LFO movement)
Now we’ll modulate Rate or Amount slightly so it doesn’t loop identically every bar.
Option 1 (Ableton Live Suite): LFO device
1) Add LFO (Max for Live) after Phaser-Flanger.
2) Map LFO to Phaser Amount (or Rate if you prefer).
3) LFO settings:
- Shape: Sine
- Rate: 0.07–0.15 Hz (free-running, not synced)
- Amount: small, like 5–12% movement
- Offset: adjust so it never gets too intense
Option 2 (No M4L): Automation + randomization
DnB mindset: Your phaser should feel like air pressure shifting in a warehouse, not a trance riser.
---
D) Control tone: “dark first, shimmer later”
Add Auto Filter after the phaser (post-tone), and optionally one before (pre-tone).
#### Post-filter (recommended)
- Enable Filter LFO (very small):
- Rate Sync: 1/8 or 1/4
- Amount: 3–7%
- Keep it subtle; let the phaser do the main movement.
#### Pre-filter (optional, for heavier control)
Place an Auto Filter before Phaser:
This stops the phaser from making the top end too “spitty.”
---
E) Keep the low-mid stable + mono-safe (critical in DnB) ⚠️
Add Utility after filters:
- If your phaser creates too much stereo phase weirdness, reduce width to 80–95%.
DnB rule: Atmos can be wide, but your drop must still fold to mono without losing the pad completely.
---
F) Add space without washing the mix (reverb + parallel)
Instead of drowning the pad, we’ll do controlled reverb.
1) Add Reverb (or Hybrid Reverb if you like)
2) For bigger ambience: use a Return track (parallel)
---
G) Turn it into a performance tool (Macros)
Inside your `PAD_MOVEMENT_RACK`, map these to macros:
Macro 1: Movement Amount
Map to:
Macro 2: Speed
Map to Phaser Rate (choose 1/16 ↔ 1/8 range if possible).
- Phaser “Rate” + use automation lanes stepping between values.
Macro 3: Darkness
Map to:
Macro 4: Width Safe
Map to:
Now you’ve got a pad that can be “played” like an instrument during arrangement.
---
H) Arrangement ideas (DnB/jungle rooted) 🧠
Here’s how to use it musically:
Breakdown (16–32 bars)
Pre-drop tension (last 4–8 bars)
Drop (main 16–32 bars)
Mid-drop switch
This creates a perceived lift without adding new elements.
---
4. Common mistakes
1) Too much Wet + Feedback
2) No low-end protection
3) Sync rate fights the groove
4) Pad disappears in mono
5) Reverb + phaser overload
---
5. Pro tips for darker/heavier DnB 🔥
Add Saturator before Phaser:
- Drive 1–3 dB
- Soft Clip ON (optional)
This gives the phaser richer harmonics to move through.
- In EQ Eight, switch to M/S mode:
- On Side, high-pass around 250–500 Hz
- On Mid, keep it steadier (less movement perception, more body)
This keeps the pad wide but not messy.
Add Compressor after the phaser, sidechained to your drum bus:
- Ratio 2:1
- Attack 10–30 ms
- Release 80–160 ms
- Gain reduction 1–3 dB
Result: pad breathes around the groove, not over it.
Once it feels good: resample 8–16 bars of the pad with the phaser moving.
Then chop/warp it as audio. This is very jungle: texture becomes its own instrument.
If you want richness without obvious sweeps:
- Phaser 1: slow, low depth (1/8)
- Phaser 2: faster, tiny wet (1/16, 10–15% wet)
Keep both gentle; the combo feels complex.
---
6. Mini practice exercise 🎯
Goal: Create two pad scenes (Breakdown + Drop) with automated phaser movement.
1) Make an 8-bar pad chord loop (minor key).
2) Build the rack from this lesson.
3) Scene A (Breakdown):
- Movement Amount: 70%
- Speed: 1/8
- Reverb send: high
- Darkness: darker (cutoff ~7–9k)
4) Scene B (Drop):
- Movement Amount: 40%
- Speed: 1/16
- Reverb send: low
- Darkness: slightly brighter (cutoff ~10–12k)
5) Automate the transition over 4 bars:
- Speed ramps 1/8 → 1/16
- Reverb send goes down
- Feedback nudges up slightly right before the drop, then down at drop impact
Checkpoint: Bounce a mono version and ensure the pad still sits behind the drums without vanishing.
---
7. Recap ✅
If you want, tell me your BPM and whether your pad is synth-based or sampled, and I’ll suggest a specific phaser rate + automation curve that matches your drum groove.
```

