Main tutorial
Lesson Overview
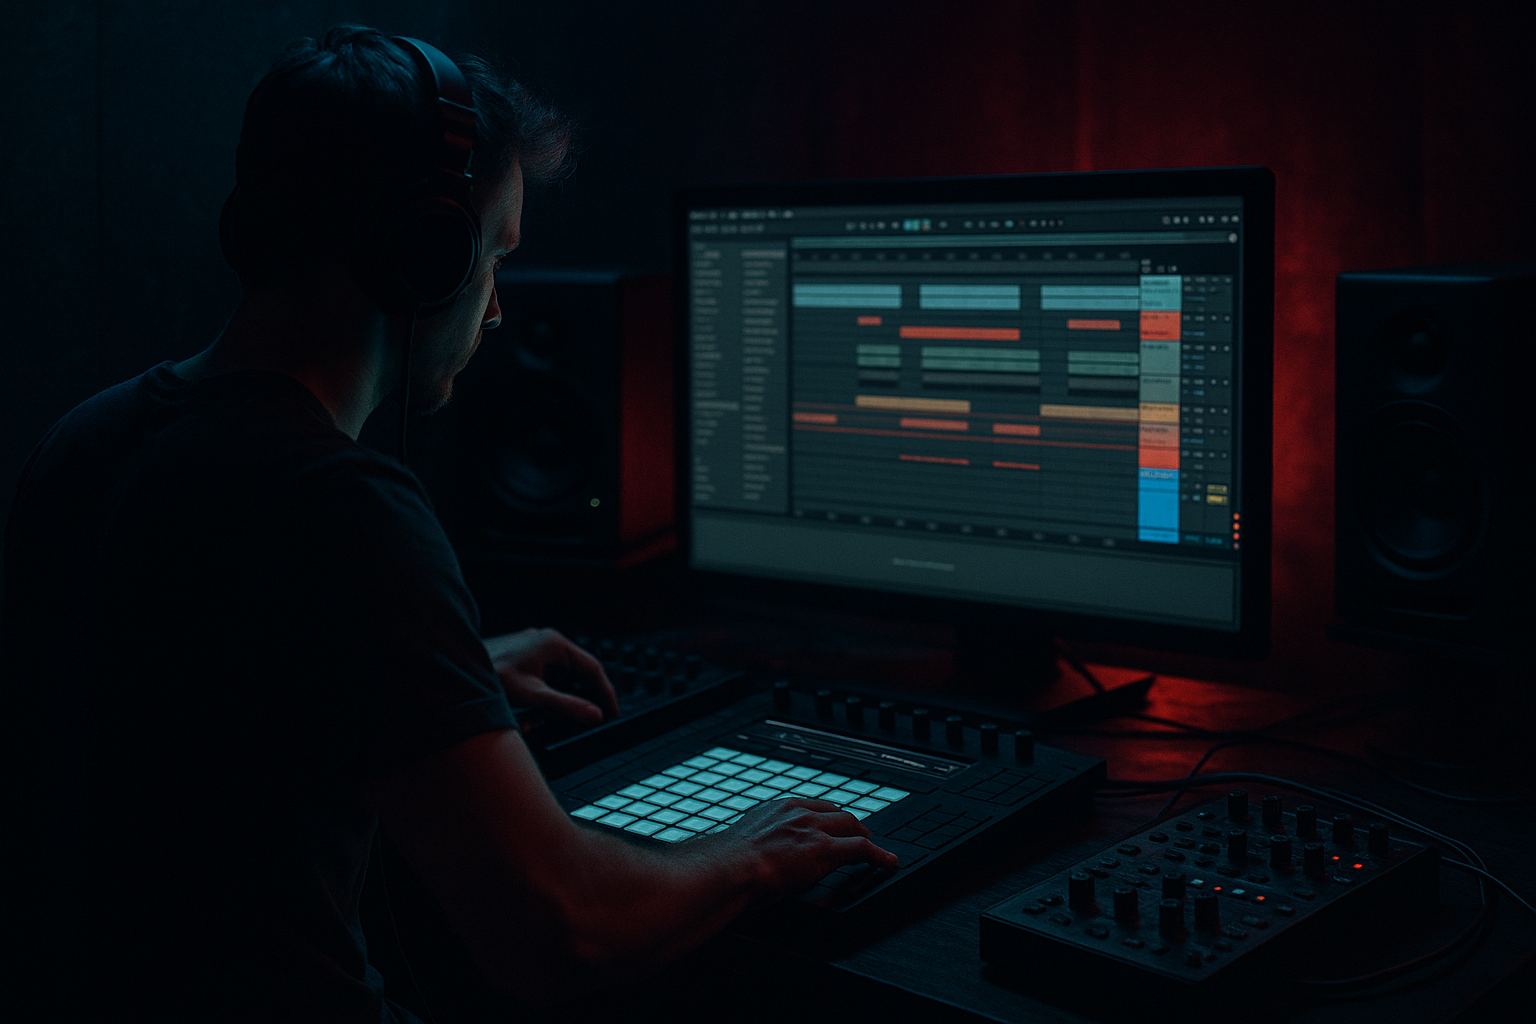
This lesson is about building a Pirate Radio-style ragga cut for Drum & Bass in Ableton Live 12, then mixing it so it hits like a real underground opener or mid-track switch-up. Think: chopped vocal energy, breakbeat surgery, rude low-end movement, and a gritty, dubplate-inspired feel that still sits cleanly in a modern DnB arrangement.
In DnB, this technique matters because it gives you identity. A ragga cut can turn a plain drum loop into a characterful intro, a breakdown hook, or a post-drop switch that makes the track feel alive. The “breakbeat surgery” side is just as important: we’re not only chopping breaks for rhythm, we’re shaping their tone, groove, and space so they work with a sub, a reese, or a heavier bassline without turning the mix to mud.
You’ll be working like a real DnB producer: using Ableton stock devices, keeping the low end controlled, and making decisions that support the track’s energy rather than just stacking sounds. This is beginner-friendly, but the result should still feel like a proper pirate-radio cut with tension, grit, and movement.
What You Will Build
By the end, you’ll have:
- A ragga vocal cut chopped into short phrases, with call-and-response placement across 4 or 8 bars
- A sliced breakbeat edited into a tight DnB pattern with ghost notes, fills, and a controlled shuffle
- A sub and bass foundation that leaves room for the vocal and drums
- A mix-bus setup that keeps the drums punchy, the bass mono-compatible, and the top end gritty but not painful
- A short arrangement section that feels like a DJ-friendly intro into a drop or switch-up, similar to pirate radio tape edits, jungle rollers, or darker halftime-to-double-time transitions
- Too much low end in the break
- Vocal chop is too loud
- Sub and reese are fighting
- Breakbeat sounds like a loop, not an edit
- Too much stereo width in the bass
- No headroom
- Use Saturator on the break and reese in small amounts to add bite without destroying punch.
- Duplicate the vocal chop and process one copy darker with Auto Filter low-pass around 6–10 kHz for a shadow layer.
- Try a call-and-response structure between vocal and bass:
- Use Beat Repeat very sparingly on the vocal or break for a tape-like pirate-radio glitch moment.
- Put Drum Buss on the drum group, not on the master, so you can shape aggression without flattening the whole mix.
- For a heavier underground tone, keep the reese midrange focused around the vocal gaps instead of playing over every chop.
- If the section feels too clean, reduce perfect quantization a little. A tiny bit of human movement can help jungle and ragga cuts feel alive.
- Keep the low end mono and separated
- Use break edits and vocal chops as part of the groove
- Automate small changes to keep the arrangement moving
Musically, imagine a 16-bar section where the first 8 bars are a tense intro with the ragga vocal teasing the rhythm, then the next 8 bars bring in the break fully, the sub locks in, and the whole thing feels ready to slam into a drop.
Step-by-Step Walkthrough
1. Set up a simple DnB project and reference the energy
Start in Ableton Live 12 at 174 BPM. That’s a great default for DnB and jungle-inspired material. If your track feels more roller or halftime-leaning, you can still work at 174 and leave space in the rhythm.
Create these tracks:
- Audio track for the ragga vocal
- Drum rack or audio track for the breakbeat
- MIDI track for sub bass
- MIDI track for mid bass / reese
- Return track for delay
- Return track for reverb
Load a reference track into an audio track and lower its volume so it sits under your mix, not above it. This is useful for checking:
- vocal placement
- break density
- how much bass is present in the intro vs drop
- whether the top end feels aggressive or clean
Keep your master peaking safely below 0 dB. For a beginner, aim for around -6 dB headroom on the master while building.
2. Choose or record a ragga vocal phrase, then warp it properly
Pick a short vocal line with attitude: a shout, chant, or one-liner that feels like pirate radio energy. It does not need to be long. In fact, shorter is often better for DnB arrangement.
Drag the vocal into an audio track and set Warp on. For rhythmic ragga cuts, try:
- Complex Pro for longer phrases
- Beats if the vocal is more percussive and chopped
Beginner-friendly warping move:
- Find the first clear transient
- Right-click and Set 1.1.1 Here
- Stretch the vocal so the phrase lands musically on the grid
If the vocal sounds too smeared, use Warp Markers to tighten only the key syllables. Don’t over-edit every word. The raw, slightly unstable feel is part of the pirate radio charm.
For a classic ragga cut, duplicate the vocal phrase and create a call-and-response pattern:
- Bar 1: full phrase
- Bar 2: chopped response
- Bar 3: silence or tail
- Bar 4: another repeated hit
This works in DnB because the vocal becomes part of the rhythm, not just decoration. You’re using it like a percussive hook.
3. Slice the vocal into a playable ragga cut
Right-click the vocal clip and choose Slice to New MIDI Track. Use transient-based slicing if the words are clearly separated. If the vocal is smoother, choose a simpler slice grid such as 1/8 or 1/16.
On the new Simpler slices or Drum Rack pads:
- Put the most important phrase on the downbeat
- Place short response chops on offbeats or pickup notes
- Use a couple of repeated slices to make a chant-like loop
Keep it beginner-simple:
- One long vocal hit at the start of the bar
- Two or three short response chops
- One tail or ad-lib at the end of the phrase
Add Utility after the vocal slices and reduce the width to keep the cut focused. A good starting point is Width 0% to 40%, especially if the vocal is the main hook. That keeps the center strong and makes room for the bass.
Optional polish:
- EQ Eight: high-pass around 120–180 Hz
- tiny dip around 2.5–4.5 kHz if the vocal gets harsh
- light Saturator Drive around 1–4 dB for grit
4. Build the breakbeat surgery part with tight chopping
Drag in a breakbeat loop that already has character. Jungle breaks, old-school Amen-type breaks, or darker chopped funk breaks all work. The key is to edit it so it feels intentional, not just looped.
Use one of these Ableton approaches:
- Slice to New MIDI Track for full control
- Warp and cut if you want to keep the original loop texture
- Simpler in Slice mode if you want the fastest beginner workflow
Once sliced, create a basic pattern:
- Kick/snare backbone on the obvious hits
- Extra ghost notes before the snare
- Small fill at the end of the 4th or 8th bar
- One or two chopped repeats for tension
Keep the groove tight but not robotic. If your break feels stiff, add a little swing or manually nudge some hits late by a tiny amount. In DnB, a break works best when it has forward motion but still breathes.
Add Drum Buss on the break track:
- Drive: around 5–15%
- Boom: low or off for now, unless the kick needs extra weight
- Crunch: subtle, just enough to bring out grit
Then use EQ Eight:
- Cut rumble below 25–35 Hz
- Reduce muddy buildup around 200–400 Hz if the break crowds the bass
- If needed, add a gentle high shelf for presence, but don’t overdo it
5. Program a clean sub so the whole groove has weight
Create a MIDI track with Operator or Wavetable. For beginners, Operator is excellent because it makes a clean sine-like sub quickly.
Start simple:
- Oscillator: sine or near-sine
- Mono on
- Legato off for tight note separation, unless you want glide
Write a bassline that supports the ragga cut and drums:
- Use short notes in the gaps between vocal phrases
- Let the sub answer the vocal instead of constantly playing
- Use fewer notes than you think
Good starting settings:
- Short decay or envelope so notes don’t blur together
- Level just loud enough to anchor the groove, not dominate it
- If you add glide, keep it subtle so the low end remains clear
Why this works in DnB: the sub is the foundation. If the vocal and break are busy, the sub must be simple and stable or the whole mix becomes unreadable.
Add Utility to the sub and set it to mono if needed. This keeps the bottom end centered and helps the kick/sub relationship stay solid on club systems.
6. Add a mid bass or reese layer for attitude, but keep it controlled
Create a second bass track with Wavetable or Analog for a midrange layer. This is where you add the nasty movement that gives the section its darker DnB character.
A beginner-safe reese-style starting point:
- Two detuned oscillators
- Slight unison or detune
- Low-pass filter with moderate resonance
- LFO to slightly modulate the filter cutoff or wavetable position
Suggested starting ranges:
- Filter cutoff: open enough to hear movement, but not too bright
- Resonance: low to moderate
- LFO amount: subtle, just enough to create motion
Process the reese with:
- Saturator for harmonics
- EQ Eight to cut lows below about 100–150 Hz so it doesn’t fight the sub
- Utility to keep width controlled; let the top of the reese spread a bit, but keep the bass core centered
Automate the reese cutoff during the ragga cut:
- closed filter in the intro
- opening slightly before the drop
- brighter for the first bar of impact
- then pull it back for groove
This gives you the classic DnB tension/release feel without needing complicated sound design.
7. Shape the mix: drum/bass balance, headroom, and mono discipline
This is where the lesson becomes mixing-focused. The most common beginner mistake in DnB is letting the bass, break, and vocal all fight in the same frequency zones.
Check the core balance:
- Sub should feel strong but not louder than the kick and snare combined
- Break should provide motion and snap, not swallow the low end
- Ragga vocal should sit above the drums, with enough body to be recognisable
Use EQ Eight strategically:
- On vocal: remove low rumble
- On break: reduce muddy low mids
- On reese: cut low end so the sub has space
Use Utility to check mono compatibility:
- Put your low-end elements mono
- Listen to the mix in mono briefly
- If the bass vanishes, the stereo width is too wide or the phase is messy
A simple DnB mixing habit:
- Keep sub and kick clear
- Let the break live mostly in the mids and highs
- Keep vocal and FX centered enough to stay intelligible
If the drum bus feels too spiky, add Glue Compressor lightly on the drum group:
- Ratio around 2:1
- Only a small amount of gain reduction
- Aim for cohesion, not pumping
8. Add automation for pirate-radio movement and arrangement tension
Pirate radio energy is about constant movement. Even a simple 16-bar loop can feel like a story if the automation changes tastefully.
Useful automation ideas:
- Reverb send on vocal cut at the end of a phrase
- Delay throw on one or two vocal words
- Filter cutoff on the reese opening before the drop
- Drum Buss drive rising slightly into a fill
- Utility width on the vocal widening for a transition, then returning to mono-ish focus
Arrangement example:
- Bars 1–4: vocal tease, minimal break, filtered bass
- Bars 5–8: more break slices, a few vocal chops, sub hints
- Bars 9–12: full break, bass enters, vocal answers
- Bars 13–16: fill, delay throw, tension into drop
This is useful in DnB because DJs and listeners need clear phrases. A strong 8-bar or 16-bar structure makes the track feel mixable and keeps the energy readable.
Common Mistakes
- Fix: high-pass the break gently and use EQ to remove mud around 200–400 Hz.
- Fix: lower the vocal and use saturation or delay for presence instead of just volume.
- Fix: keep the sub mono and cut the reese lows below 100–150 Hz.
- Fix: add ghost notes, drop a few hits, and create a fill every 4 or 8 bars.
- Fix: narrow the low end with Utility and let width live mostly in the higher harmonics.
- Fix: pull down clip gain or track volume early. Don’t wait until mastering to fix a crushed mix.
Pro Tips for Darker / Heavier DnB
- vocal phrase
- bass answer
- vocal hit
- drum fill
Mini Practice Exercise
Spend 10–20 minutes making a 16-bar pirate-radio DnB loop:
1. Find one ragga vocal phrase and warp it to 174 BPM.
2. Slice it into 4–8 playable pieces.
3. Load one breakbeat and make a 4-bar chopped pattern.
4. Add a simple sub that only plays during the vocal gaps.
5. Add a basic reese or mid bass for bars 5–8 and 13–16.
6. Automate one delay throw and one filter sweep.
7. Check the mix in mono for 30 seconds.
8. Export the loop and listen back for:
- whether the vocal is memorable
- whether the break has groove
- whether the bass stays clear under the drums
Goal: by the end, you should have a loop that feels like the intro into a dark DnB drop or a pirate-radio switch-up.
Recap
The core idea is simple: treat the ragga vocal like rhythm, treat the break like a living drum performance, and protect the sub so the mix stays powerful. In Ableton Live 12, stock tools like Warp, Slice to New MIDI Track, Operator, Wavetable, EQ Eight, Utility, Drum Buss, Saturator, Glue Compressor, and Auto Filter are enough to build a convincing pirate-radio DnB cut.
If you remember only three things, make them these:
That’s the foundation of a believable ragga cut masterclass with breakbeat surgery.

