Main tutorial
Lesson Overview
This lesson is about building a Pirate Radio-style percussion balance for oldskool jungle / early DnB / darker rollers, with a special focus on how riser elements support energy without smothering the drums. In a proper pirate radio blueprint, the percussion is not just “extra top-end.” It is the engine that keeps the tune moving between breakdowns, drop resets, and DJ-friendly transitions.
In Ableton Live 12, the goal is to create a layered percussion system where:
- the breakbeat stays dominant and punchy,
- extra percussion adds swing, grime, and forward motion,
- risers and tension FX sit in their own lane,
- and the whole top end feels raw, hyped, and slightly unstable in a good way.
- a main break layer with controlled transient punch and authentic shuffle,
- a support percussion bus with hats, rims, shakers, and metallic ticks,
- a riser rack that builds tension using noise, pitched tonal movement, and filtered percussion,
- a drum and FX balance map that preserves the kick/snare relationship,
- and an arrangement pattern suitable for a 16- or 32-bar DJ intro, a main drop, and a switch-up.
- Bar 1–8: filtered break + atmospheric riser + sparse top percussion
- Bar 9–16: full break with ghost percussion and subtle automation
- Drop: drums hit hard, riser disappears, percussion locks into call-and-response with the snare
- Switch-up: short riser or reverse texture to signal a new phrase without losing the jungle momentum
- Layering too many bright percussion parts
- Using risers that sound too modern or too polished
- Over-widening hats and FX
- Letting the riser mask the snare fill
- Compressing the entire drum stack too hard
- Ignoring phrase structure
- Add grit with Saturator set to Soft Clip and push it only until the riser or percussion starts to thicken, not fizz.
- For a darker riser, automate a band-pass filter sweeping upward through the midrange instead of a huge full-spectrum noise rise.
- Layer a very low metallic hit under the riser at the final bar to make the build feel more mechanical and underground.
- Use short reverbs on percussion fills, not long washes. Dark DnB benefits from controlled space more than lush ambience.
- Try velocity variation on ghost hats and rims so the groove feels alive without becoming too busy.
- If the break sounds weak, duplicate it and process the duplicate with heavier compression and saturation, then blend it quietly for density.
- For neuro-adjacent tension, automate tiny movement on the percussion bus with Auto Filter frequency or Utility width, but keep it subtle enough that the listener feels the shift rather than noticing the automation.
- keep the break as the anchor,
- layer percussion by function, not by habit,
- use risers that feel resampled and genre-authentic,
- automate in phrase-sized chunks,
- and protect mono compatibility and snare impact.
This matters because in jungle and oldskool DnB, the vibe lives in the interaction between drum layers. Too clean, and it loses pirate-radio grit. Too busy, and the groove collapses. The sweet spot is a mix where each percussion layer has a job: one layer for attack, one for shuffle, one for ghost energy, one for transitions, and one for tension buildup. 🎛️
You’ll also learn how to keep riser elements from stepping on the break, snare ghosts, or hi-hat pocket. In darker DnB, risers often fail because they’re treated like EDM swooshes. Here, we’ll build them as rhythmic pressure tools that feel like they belong on a rough dubplate or cassette rip.
What You Will Build
By the end, you’ll have a pirate radio percussion stack in Ableton Live 12 that sounds like a rugged jungle/DnB intro evolving into a drop-ready groove.
Specifically, you’ll create:
Musically, think:
The final result should feel like a tune you could hear on a pirate station broadcast: urgent, gritty, and built for rewinds.
Step-by-Step Walkthrough
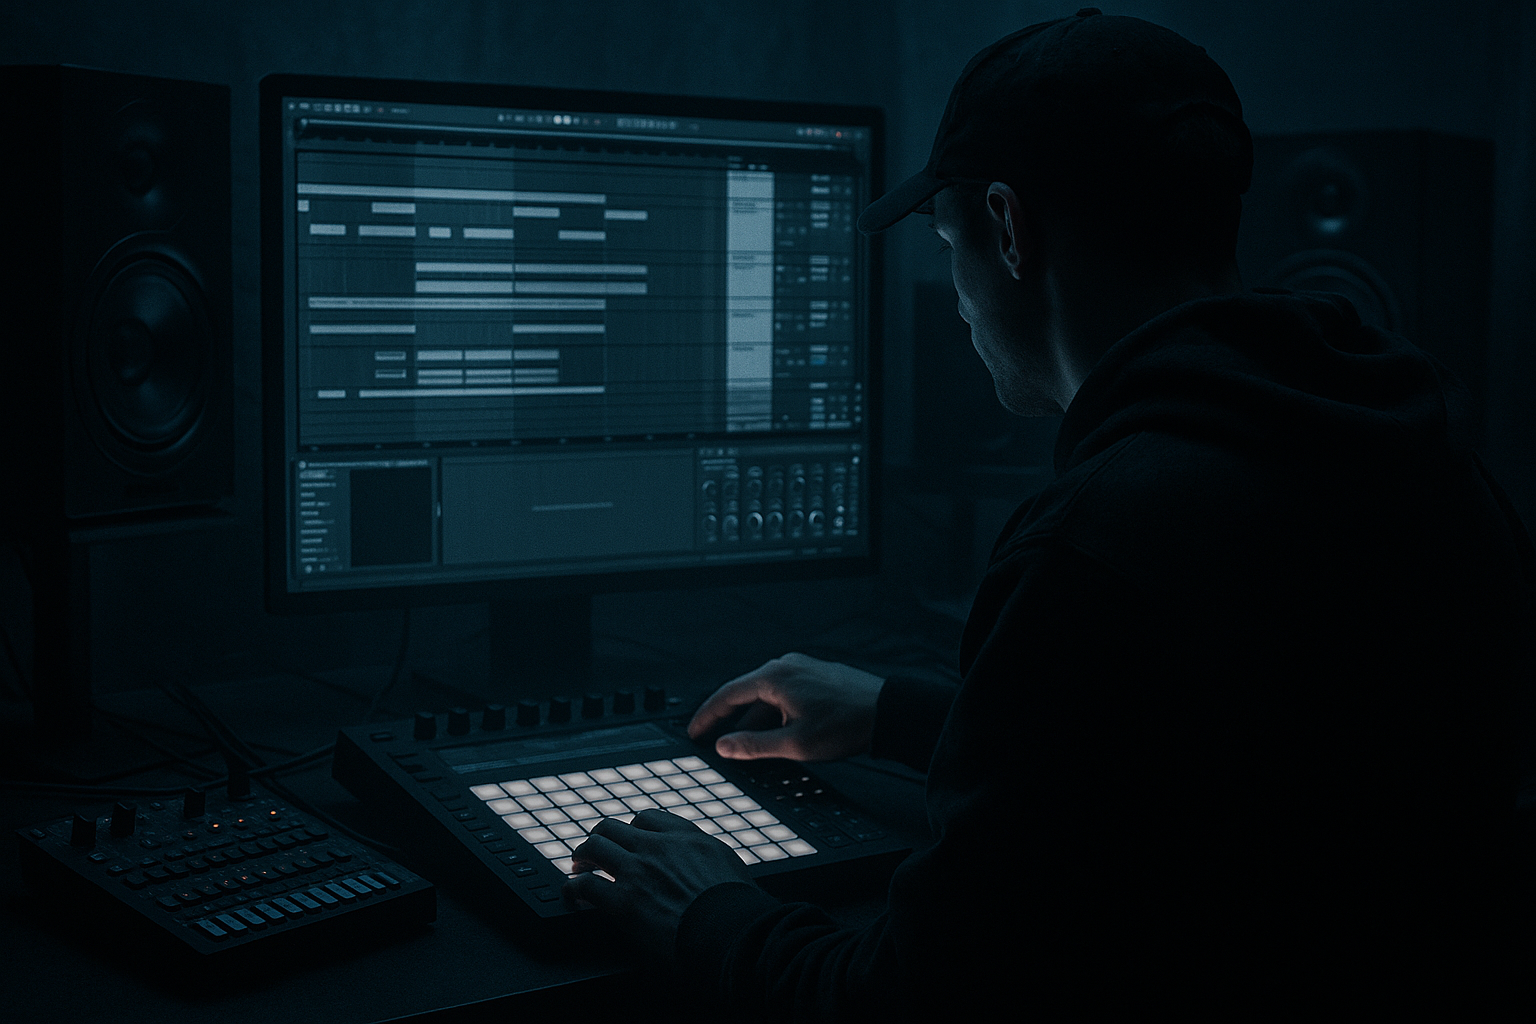
1. Set up a dedicated drum-and-FX structure in Ableton Live 12
Start with a clean session that separates your drum energy into focused groups:
- Group 1: Breaks
- Group 2: Percussion
- Group 3: Risers / Transitions
- Group 4: Drum FX returns if needed
In the Breaks group, place your main break sample or chopped break rack. In the Percussion group, load shakers, rims, tambourines, metal hits, and closed hats. In the Risers group, create a dedicated riser lane using noise, pitch movement, and filtered samples.
Use stock Ableton devices to stay flexible:
- Drum Rack for break chops or one-shots
- Simpler for resampled percussion loops or riser sources
- Auto Filter for shaping risers and top-end build
- Saturator for roughening drums and FX
- Glue Compressor on drum buses for cohesion
- Drum Buss for low-mid punch and transient control
Why this works in DnB: separating these layers lets you control the micro-groove of the break while still adding modern arrangement tension. Jungle and rollers depend on drum hierarchy; if every element shares one bus too early, the swing gets flattened.
2. Build the core break first, then leave space for the layers
Choose a break with strong character: think Amen-style, Think break, funky drummer-type material, or an oldskool chopped amen edit. In Simpler, set the mode to Classic or use slicing if you want detailed MIDI control. If the break is too bright, shape it before layering:
- EQ Eight: low-cut around 25–35 Hz
- Slight dip around 250–450 Hz if the break is boxy
- Gentle lift around 6–10 kHz only if the hats need more air
Keep the break as the groove anchor. Avoid over-processing early. If the break already has a strong snare and hat pattern, do not stack too many layers on the same hit positions. Instead, let supporting percussion fill the spaces between the kick/snare backbone.
Advanced move: duplicate the break track, high-pass the duplicate at around 180–300 Hz, then compress or saturate the high layer more aggressively while keeping the original more natural. Blend the duplicate quietly under the main break to reinforce bite without changing the groove.
3. Design the percussion layer balance like a conversation, not a pile
Your percussion group should not sound like a loop. It should behave like a call-and-response rhythm section. Build 3–5 simple parts:
- a shaker or hat loop with slight swing,
- a rim or woodblock pattern hitting off the main snare,
- a metallic tick or ride fragment for urgency,
- a ghost percussion line that only appears in select bars,
- optional tom hits or low percussion for phrase movement.
Use the Groove Pool with a swung break groove if the source is too rigid. For jungle, try a groove around 54–58% timing with modest velocity variation. Apply it subtly to hats and shakers, not to the main snare.
Balance rules:
- hats/shakers should live mostly above 8 kHz
- rims/ticks should occupy 1.5–5 kHz
- low percussion should stay sparse and avoid stepping on the bass fundamental
- ghost notes should be audible only when the full drum arrangement plays
Use Utility on each percussion layer to control width. Keep most of the crucial rhythmic material narrow or mono-compatible, and only widen non-essential texture layers.
4. Create a riser lane that belongs in jungle, not EDM
This is the key category focus: a good riser in pirate radio DnB is not just a generic sweep. It should feel like a pressure increase before a drop, switch-up, or snare fill.
Build a riser using one of these stock Ableton methods:
- White noise in Simpler
- A short metallic percussion sample stretched and pitched upward
- A resampled hat or break fragment with automation
Recommended riser chain:
- Auto Filter: start with low-pass around 200–500 Hz and automate open to 12–16 kHz
- Pitch automation: raise by 3–7 semitones over 1–2 bars if using tonal material
- Reverb: short-to-medium decay, around 1.2–2.5 s, but keep dry/wet modest
- Saturator: drive around 2–6 dB for grit
- Utility: automate width from narrower in the build to slightly wider before the drop, then snap back
For a darker vibe, try an inverted riser:
- start bright and tight,
- then automate a band-pass or low-pass that gets narrower,
- while adding a subtle reverse percussion tail underneath.
This creates tension without sounding flashy. In DnB, tension often works best when the build suggests movement but does not “announce itself too early.”
5. Route drums and risers to separate buses for control
Create a Drum Bus and a FX Bus. Keep the riser group off the main drum compressor if it’s causing pumping or dulling the groove. This is one of the biggest advanced workflow choices in Ableton Live.
On the Drum Bus, try:
- Glue Compressor: light compression, around 1–2 dB of gain reduction
- Drum Buss: drive modestly, transients slightly up if needed, boom either off or very subtle
- EQ Eight: remove any low rumble or harsh buildup
On the FX Bus for risers:
- EQ Eight high-pass around 150–300 Hz
- Auto Filter automation for buildup
- Saturator or Overdrive for edge
- Reverb used sparingly to avoid washing out the drop
Keep the riser bus separate so you can mute or automate it cleanly during DJ-friendly drop transitions. This is especially useful in pirate radio arrangements where transitions need to feel dramatic but still rhythmic.
6. Automate density over 8, 16, and 32-bar phrases
Pirate radio DnB often relies on strong phrase logic: things evolve in 8-bar chunks. Use this to your advantage.
Suggested arrangement framework:
- Bars 1–8: filtered break, minimal percussion, riser under control
- Bars 9–16: full break, one extra hat layer, first riser swell
- Bars 17–24: add ghost rim, snare decoration, small reverse hits
- Bars 25–32: remove one supporting percussion layer, then hit a stronger riser into the drop or switch
Automate these parameters:
- Auto Filter cutoff on risers
- Utility width on percussion support layers
- Reverb dry/wet on transition hits
- Track volume of ghost percussion in and out by 1–3 dB
- Saturator drive on the riser bus only in the final 1–2 bars before a drop
A strong DnB arrangement trick: let the riser peak half a bar early, then cut it abruptly just before the snare or drop hit. That snap gives the listener a physical sense of impact.
7. Shape the percussion bus so the groove stays dark, not crowded
Once layers are working, mix them as a unit. On the Percussion Bus, use:
- EQ Eight to remove clutter in the low mids, usually around 200–500 Hz
- a gentle dip if hats are harsh around 7–9 kHz
- Glue Compressor only if the hats and rims feel disconnected
- Saturator with Soft Clip on if you want more bite without obvious clipping
Keep an eye on the kick/snare relationship. If the percussion layers start masking the snare crack, reduce the busiest pattern density instead of just EQ-ing everything. Advanced DnB mixing is often about arrangement discipline, not just corrective EQ.
If the top end feels too clean, resample the percussion bus and reintroduce it through Simpler or Drum Rack. That resampled audio will often feel more “broadcast rough” and less polished than the original MIDI layers.
8. Use resampling to make the riser and percussion feel like part of the same world
One of the best pirate radio techniques is to resample a bar of drums and FX, then chop from that audio. In Ableton Live 12:
- route your percussion bus or riser bus to a new audio track,
- record a 1- or 2-bar pass,
- then drag the rendered audio into Simpler or chop it manually.
This gives you:
- natural blending between percussion and FX,
- little timing imperfections that feel human,
- and a more authentic oldskool texture.
Try taking a riser tail and layering it under a reversed break slice. Then high-pass the result and use it as a pre-drop texture. This adds tension without relying on a big cinematic sweep.
Why this works in DnB: the genre rewards textures that feel sampled, repurposed, and rhythmically embedded. A riser that sounds too pristine can clash with chopped breaks; a resampled one can glue into the groove.
9. Finish with mono discipline and drop-proof transitions
Check your low end and your transition elements in mono using Utility. While risers are allowed width, they should not destabilize the mix. Make sure:
- sub and kick remain mono,
- snare core stays centered,
- risers widen only above the low mids,
- percussion support doesn’t hollow out when summed to mono.
For the final transition before the drop:
- automate a brief filter close-down on the riser,
- cut supporting percussion for a beat or half-beat,
- let a reverse tail or snare flam carry the tension,
- then reintroduce full drums with no competing sweep.
A strong oldskool DnB drop often feels bigger because the pre-drop space was controlled, not because the riser was massive. The contrast is the power.
Common Mistakes
- Fix: keep only one or two essential top-end layers and let the break do the rest.
- Fix: resample noise, hats, or break fragments, then saturate and filter them so they feel part of the same sonic world.
- Fix: keep rhythmic core elements narrow and reserve width for texture layers only.
- Fix: automate the riser down or cut it a fraction early before the snare lands.
- Fix: process breaks, percussion, and risers on separate buses so the groove stays alive.
- Fix: build in 8-bar or 16-bar changes. Jungle and DnB need progression, not endless loop repetition.
Pro Tips for Darker / Heavier DnB
Mini Practice Exercise
Spend 10–20 minutes building a 16-bar pirate radio transition:
1. Pick one oldskool break and one percussion loop.
2. Make a riser from white noise in Simpler or a stretched metallic hit.
3. Arrange bars 1–8 with filtered drums and minimal percussion.
4. Add a second percussion layer in bars 9–12.
5. Automate the riser filter and drive into bars 13–15.
6. Cut one percussion layer on the last beat before the drop.
7. Bounce the transition and listen in mono.
8. Ask: does the break still feel like the main character?
Goal: make the transition feel like a real jungle/DnB phrase, not a generic buildup.
Recap
The core idea is simple: in pirate radio-style jungle DnB, percussion balance is arrangement design. Build around the break, support it with selective top-end layers, and treat risers as tension tools that serve the groove.
Remember:
If the drums feel urgent, gritty, and DJ-ready without sounding overcrowded, you’ve nailed the blueprint.

