Main tutorial
Lesson Overview
This lesson is about building a Pirate Signal-style jungle fill in Ableton Live 12, but doing it in a way that feels designed, not pasted in. The core idea is to use macro controls to perform a fill live from a rack: opening filters, shifting pitch, widening transient top-end, throwing in a stuttered vocal chop, and then snapping everything back into the pocket before the next downbeat.
In a real DnB track, this kind of fill usually lives at the end of a 4-, 8-, or 16-bar phrase: right before the drop repeats, before a bass switch, or as a turnaround into the next 8 bars. In jungle and darker rollers, it’s not just decoration — it’s arrangement language. It tells the listener, “the groove is about to turn the corner.” Technically, it matters because it creates energy without needing a full new drum pattern, and musically it matters because it uses contrast, call-and-response, and momentary chaos without wrecking the low end.
This is best suited to jungle, modern jungle rollers, steppy darker DnB, and pirate-radio-influenced break-driven tracks where you want a vocal fragment to act like a rhythmic weapon rather than a lead vocal. By the end, you should be able to trigger a fill that sounds like a properly arranged phrase ending: tense, rhythmic, slightly unhinged, and clean enough that your kick, snare, and bass re-enter with impact.
A successful result should feel like a fill that announces the transition, does not blur the groove, and lands hard enough that the next bar feels bigger than the last.
What You Will Build
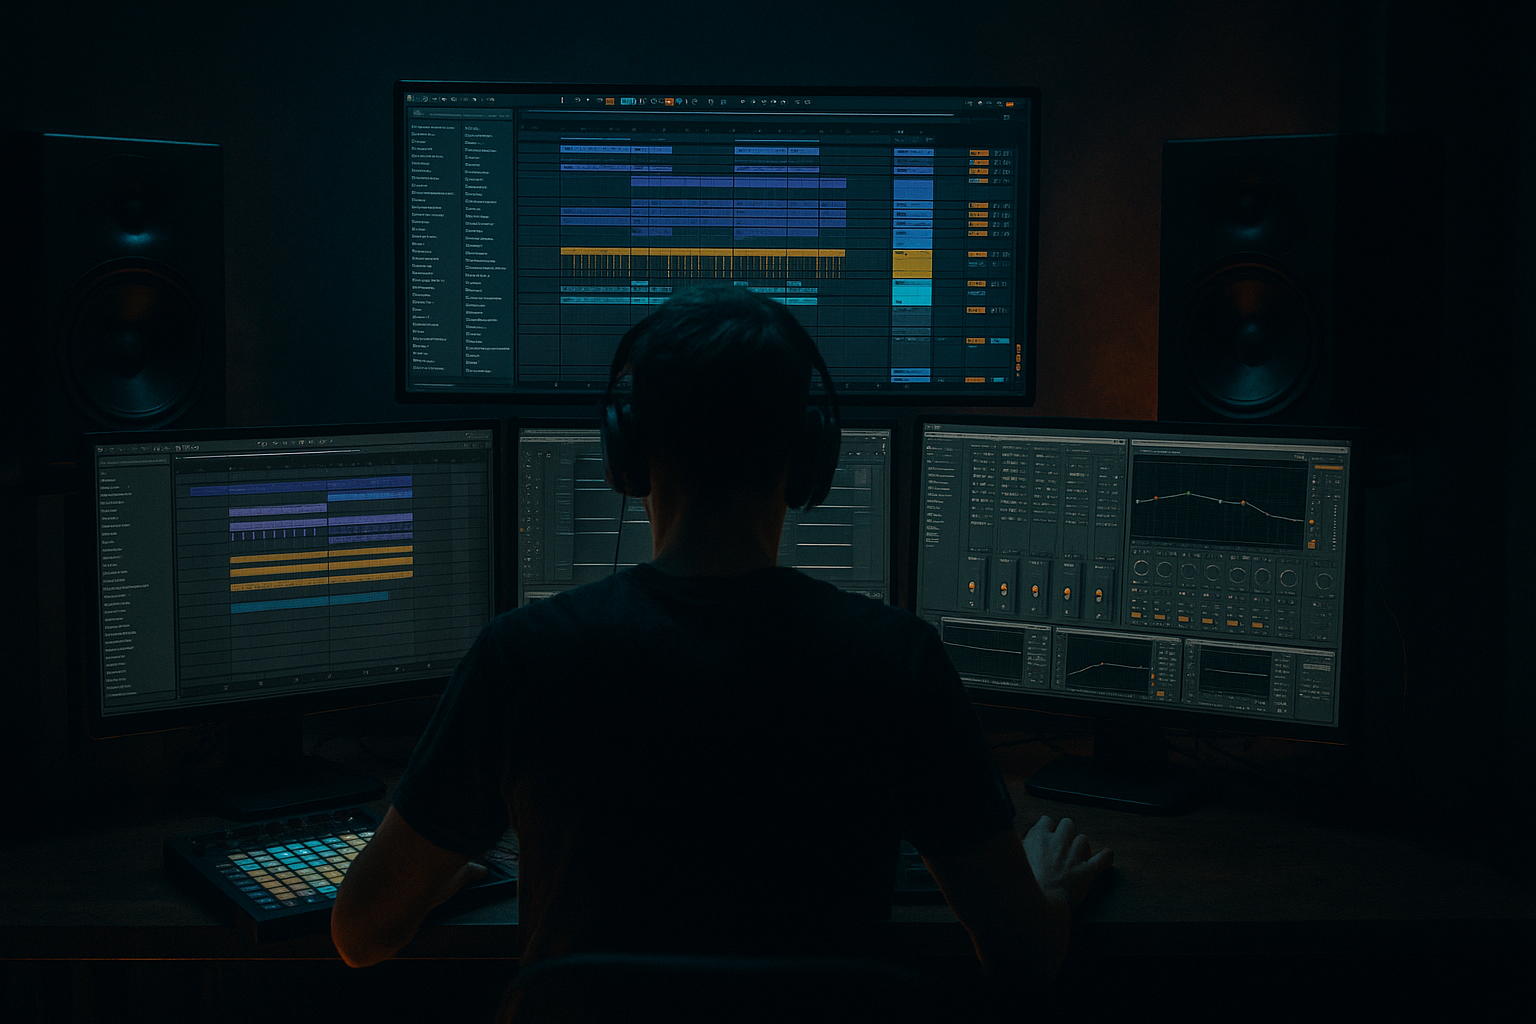
You’re going to build a macro-driven vocal fill instrument in Ableton Live: a rack that takes a short vocal phrase or chopped vocal hit and turns it into a jungle-style fill with controlled movement.
The finished result should have:
- a gritty, pirate-radio vocal character
- a syncopated, break-aware rhythmic feel
- a role as a phrase-turnaround or pre-drop fill
- enough polish to sit in a mix without sounding like a demo idea
- enough control to switch between murky, filtered menace and bright, urgent hype
- Use consonants as percussion. In darker jungle, a hard “t”, “k”, or “s” can function like a ghost snare or hat accent. If the source phrase has one, place it on a rhythmic subdivision and treat it like a drum hit.
- Drive the midrange, not the sub. A gritty vocal fill feels bigger when the aggression lives around the upper mids and presence region, while the bottom stays controlled. That keeps the track menacing without wrecking club translation.
- Create tension with selective intelligibility. Don’t make every word clear. Let one fragment be understandable, then bury the next under filter and delay. That contrast is more cinematic than constant clarity.
- Use a pitch drop at the tail, not the whole phrase. A quick fall of a few semitones on the final syllable can add that “signal collapsing” feeling without turning the fill into comedy. Keep it brief.
- Let the fill degrade in steps. A strong dark fill often opens, saturates, widens, and then collapses. That shape feels alive. If the whole thing is equally destroyed from start to finish, the tension is gone.
- Keep mono discipline on the body. The fill can have stereo texture on top, but the core must still collapse cleanly in mono. That matters when it shares space with a reese or a mono-heavy bassline.
- Pair the fill with a drum silence or reduced break moment. Even a tiny gap before the downbeat can make the vocal fill hit harder. Negative space is part of the sound design.
- Use only stock Ableton devices.
- Use one vocal sample, one Audio Effect Rack, and no more than three chains.
- The fill must fit into one bar or less.
- You must test it with drums and bass, not in solo.
- Can you still hear the vocal identity on first pass?
- Does the fill leave the snare and bass clear on the next bar?
- Does the fill feel more tense at the end than at the start?
Sonically, it should sit like a compact fill layer: midrange-forward, a little dirty, a little stereo at the edges if needed, but still anchored enough that it doesn’t smear your drum transients or fight the sub. Think “one bar of controlled disorder” rather than “full vocal hook.” If it’s working, the fill should feel like it came from the track itself — not an imported effect.
Step-by-Step Walkthrough
1. Choose the right source and trim it like a drum part, not a vocal lead
Start with a short vocal phrase, spoken tag, pirate-radio shout, or even one word chopped from a larger vocal. In DnB, the best fill sources are usually short, percussive, and rhythmically strong. Avoid long sustained syllables for this exercise unless you plan to resample them later.
In the Clip View, trim the sample to a usable slice: one word, one consonant-heavy hit, or a 1/2-bar phrase segment. Warp it so it follows your project tempo cleanly. If the vocal has strong transients, test Beats warp mode; if it’s smoother and pitch-sensitive, try Complex Pro sparingly, but remember that too much stretching can soften the attack.
Set the clip to a musical length that supports the fill — often 1/2 bar, 1 bar, or 2 beats. For jungle fills, shorter is often better because you want the vocal to behave like a rhythmic accent, not a full phrase. If the phrase has a natural attack, place the start point so the consonant hits close to the grid.
What to listen for: the vocal should speak immediately without a vague pickup. If the first transient feels late, you’ll lose the snap that makes the fill work.
2. Build a dedicated Audio Effect Rack and map the phrase into performance moves
Put the vocal clip on an audio track and add an Audio Effect Rack after it. Inside the rack, create a chain structure that lets you shape the fill in layers:
- Chain 1: clean vocal
- Chain 2: filtered/darker version
- Chain 3: destroyed/animated version
You do not need three wildly different sounds. You need three performance states of the same vocal.
A useful stock-device chain for one of the chains:
- Auto Filter
- Saturator
- Echo or Delay
- Utility
For the cleaner chain, use lighter processing:
- EQ Eight
- Compressor
- Utility
The point is to give yourself macro-controlled contrast. Map the rack macros to things you will actually perform:
- Macro 1: Filter Cutoff
- Macro 2: Drive
- Macro 3: Delay/Echo Feedback
- Macro 4: Width
- Macro 5: Pitch or Transpose
- Macro 6: Dry/Wet Blend
Keep the mapping musical rather than extreme. For example:
- Filter cutoff range: roughly 300 Hz to 7 kHz
- Saturator drive: around 2 to 8 dB
- Delay feedback: roughly 15% to 45%
- Stereo width: 80% to 130%, depending on the chain
- Pitch movement: -5 to +7 semitones if the phrase can take it, but keep it smaller for intelligibility
This is where the fill becomes playable. Instead of automating one parameter after another manually, you’re shaping a phrase with one gesture.
3. Make the rhythm jungle-aware before you make it “effecty”
Before adding chaos, make the vocal line lock with the drums. Put your loop against your break or drum group and audition it over the last bar before a drop or switch-up. Jungle fills work because they respect the existing micro-rhythm: the vocal should either land with the snare, answer the snare, or push into the gap before the snare returns.
If you have a chopped break, test the vocal against the snare placement. A vocal hit that lands slightly before the snare can create forward momentum; a vocal hit that answers the snare can feel more conversational. In a 174–176 BPM context, even a tiny timing shift changes the emotional read.
Try two valid options:
- A: Snare-locked fill — place the key vocal hit on the backbeat or directly after it. This gives a classic, authoritative phrase ending.
- B: Anticipated fill — push the vocal slightly ahead of the barline or create a pickup into the last snare. This feels more frantic and pirate-like.
Choose A if the track is already busy and you want clarity. Choose B if the arrangement needs extra pressure before the drop.
What to listen for: the fill should increase urgency without fighting the drum transient. If the vocal makes the snare feel smaller, it’s too loud, too wide, or too continuous.
4. Create the “Pirate Signal” motion with automation inside the rack
Now automate the macros across the last 1 bar or 2 bars of the phrase. Don’t draw every move at the same speed. The best jungle fills usually have a sense of escalation, then a sharp release.
A reliable starting shape:
- First half of the bar: keep the vocal relatively dry and intelligible
- Second half: open the filter, add drive, raise delay feedback, and increase width
- Final 1/8 or 1/16: momentarily push pitch or echo feedback, then cut it back
Concrete ranges that usually work:
- Filter opens from around 500 Hz to 4–6 kHz
- Saturator drive rises by 3–5 dB
- Delay feedback jumps to 25–40% for only the last 1/8 or 1/16
- Width moves from 90% to around 115%
- Dry/wet can swing from 20–35% up to 50–70% for the peak moment
This is where the fill gets its identity. The point is not to wash the vocal in effects the whole time. The point is to create a brief signal flare before the next section.
Stop here if the vocal has become a blurry wash. If you can’t still hear the original phrasing and consonants at least once in the fill, back off the feedback, narrow the width, or shorten the automated effect window.
5. Add a second processing layer for grit, but keep it in its lane
For heavier DnB, the vocal often needs a dirt layer to feel like it belongs in the same world as distorted breaks and bass. Use a second stock-device chain or a duplicate chain with more aggression.
Strong stock-device chain example:
- Auto Filter
- Saturator
- Drum Buss
- Utility
Use this chain for the dirty variant of the fill, not the clean intelligible version. A few useful moves:
- Saturator drive: 4–10 dB depending on source
- Drum Buss drive: subtle to moderate; don’t let it flatten the transient completely
- Filter the low end aggressively so the vocal dirt doesn’t compete with the bass
- If the vocal has ugly sibilance, tame the top with EQ Eight around the harsh zone rather than just cutting everything above it
This layer should feel like static, radio compression, or a broken megaphone — not a separate lead. Keep it low in level and use it to thicken the fill at the moment of impact. The clean chain carries the words; the dirty chain carries the attitude.
Mix-clarity note: if the vocal layer has any widened low mids, collapse them. Keep anything below roughly 150–200 Hz out of the stereo image. On a club system, low-mid stereo smear turns a fill into fog.
6. Use a clip envelope or resampling pass when the fill needs a more deliberate gesture
If the fill is meant to be a one-off arrangement moment, consider printing it to audio once the macro performance is right. That lets you commit the best take and edit the tail with precision.
In practice:
- Perform the macro moves
- Record the result to a new audio track, or freeze/flatten if that’s the cleanest path for your session
- Trim the tail so the fill exits neatly before the downbeat
Why this works in DnB: fills often need to be tight to the barline. Live macro performance is great for discovery, but a printed fill lets you shape the exact end point so it does not smear into the next snare or bass note.
If you want a more surgical version, use a clip envelope or a short automation pass to pitch a final syllable down by a few semitones, then cut it off before it turns into a long tail. That kind of abruptness is very effective in darker jungle contexts.
Workflow efficiency tip: once you land a strong fill, duplicate the track and save one version as clean vocal fill and one as destroyed vocal fill. That gives you instant contrast options for later arrangement decisions without rebuilding the rack.
7. Check it in context with drums and bass before you decide it’s done
This is the real test. Soloing the fill is misleading. Put it back against the full drum loop and bassline, then listen specifically for three things:
- Does the vocal fill read through the snare and break top-end?
- Does it avoid masking the sub and kick impact?
- Does the phrase ending create a meaningful lift into the next bar?
A good fill should feel like it belongs to the track’s groove, not like an inserted effect. If your bassline has a strong syncopated push, the fill should either leave space for that push or deliberately answer it. If your drums are busy, keep the vocal simpler and let the automation do the work. If your drums are sparse, the vocal can take more rhythmic responsibility.
Arrangement example: use the fill on the final bar of every 8-bar section, but vary the intensity. First cycle: clean and filtered. Second cycle: brighter and more distorted. Third cycle: pitch dip at the tail with a short delay throw. That keeps the track from sounding looped while still giving DJs a predictable phrase structure.
8. Make the tail and the restart feel intentional
The biggest difference between an amateur fill and a pro fill is what happens immediately after it. The fill should not simply end; it should clear the path for the groove to re-enter.
Practical move:
- Cut the fill’s lowest mids if they linger into the next bar
- Shorten the final delay throw so it doesn’t step on the downbeat
- Use a quick Utility gain dip or automated mute on the fill track right at the barline if needed
- Let the next snare or bass note hit with full contrast
If the fill is in a drop, the restart should feel bigger because the fill briefly destabilized the meter. If the fill is in an intro or breakdown, it can be more narrative and less aggressive, but it still needs a clean exit.
A solid finished result should sound like the track briefly opens a pirate-radio transmission, spits out a rhythmic vocal warning, then slams back into the drums with more authority than before.
Common Mistakes
1. Making the vocal fill too long
- Why it hurts: a long phrase can sound like a chorus idea, not a fill, and it blurs the barline.
- Fix: trim it to 1/2 bar to 1 bar max for the main gesture, then use only the last syllable for the effect burst.
2. Letting the low mids pile up under the bass
- Why it hurts: 200–500 Hz congestion makes the drop feel cloudy and reduces kick/bass separation.
- Fix: use EQ Eight to cut unnecessary low mids on the fill chain, and keep any dirty layer filtered below the bass’s working area.
3. Over-widening the vocal
- Why it hurts: wide vocal fills can feel exciting in headphones but unstable on a club rig, especially if the width touches lower frequencies.
- Fix: keep the vocal body centered with Utility and reserve width for the upper layer only; check mono compatibility by collapsing the track temporarily.
4. Using too much delay feedback
- Why it hurts: the repeat can survive past the barline and muddy the next drum phrase.
- Fix: automate feedback only for the final accent and pull it back fast; if needed, shorten the return with a hard cut right at the downbeat.
5. Ignoring drum placement
- Why it hurts: a fill that does not respect the snare grid feels disconnected from the track’s swing.
- Fix: align the vocal’s key consonants with the snare or place them as a deliberate pickup into it; test against the break before committing.
6. Distorting the fill so much that the words disappear completely
- Why it hurts: if there’s no readable attack or contour, the ear stops recognising it as a vocal and it becomes random noise.
- Fix: keep one clean chain in the rack and blend the dirty chain under it; let the dirty layer add tone, not replace articulation.
7. Leaving the fill unedited after resampling
- Why it hurts: a sloppy tail can smear over the next bar and weaken the drop re-entry.
- Fix: commit the best pass to audio, then trim the tail tightly and fade it out if needed before the next phrase.
Pro Tips for Darker / Heavier DnB
Mini Practice Exercise
Goal: Build one usable jungle vocal fill that can sit at the end of an 8-bar DnB phrase.
Time box: 15 minutes.
Constraints:
Deliverable: A printed audio version of the fill, trimmed tightly to the barline, plus one alternate macro setting that gives the same fill a darker variation.
Quick self-check:
Recap
Build the vocal as a rhythmic phrase-turnaround, not a lead line.
Use an Audio Effect Rack with macros to perform movement instead of stacking random effects.
Keep the fill tight, readable, and bar-aware so it reinforces the DnB grid.
Check it with drums and bass in context, then commit the best version to audio.
In darker jungle and rollers, the best fills feel like a brief transmission break: gritty, controlled, and perfectly timed.

