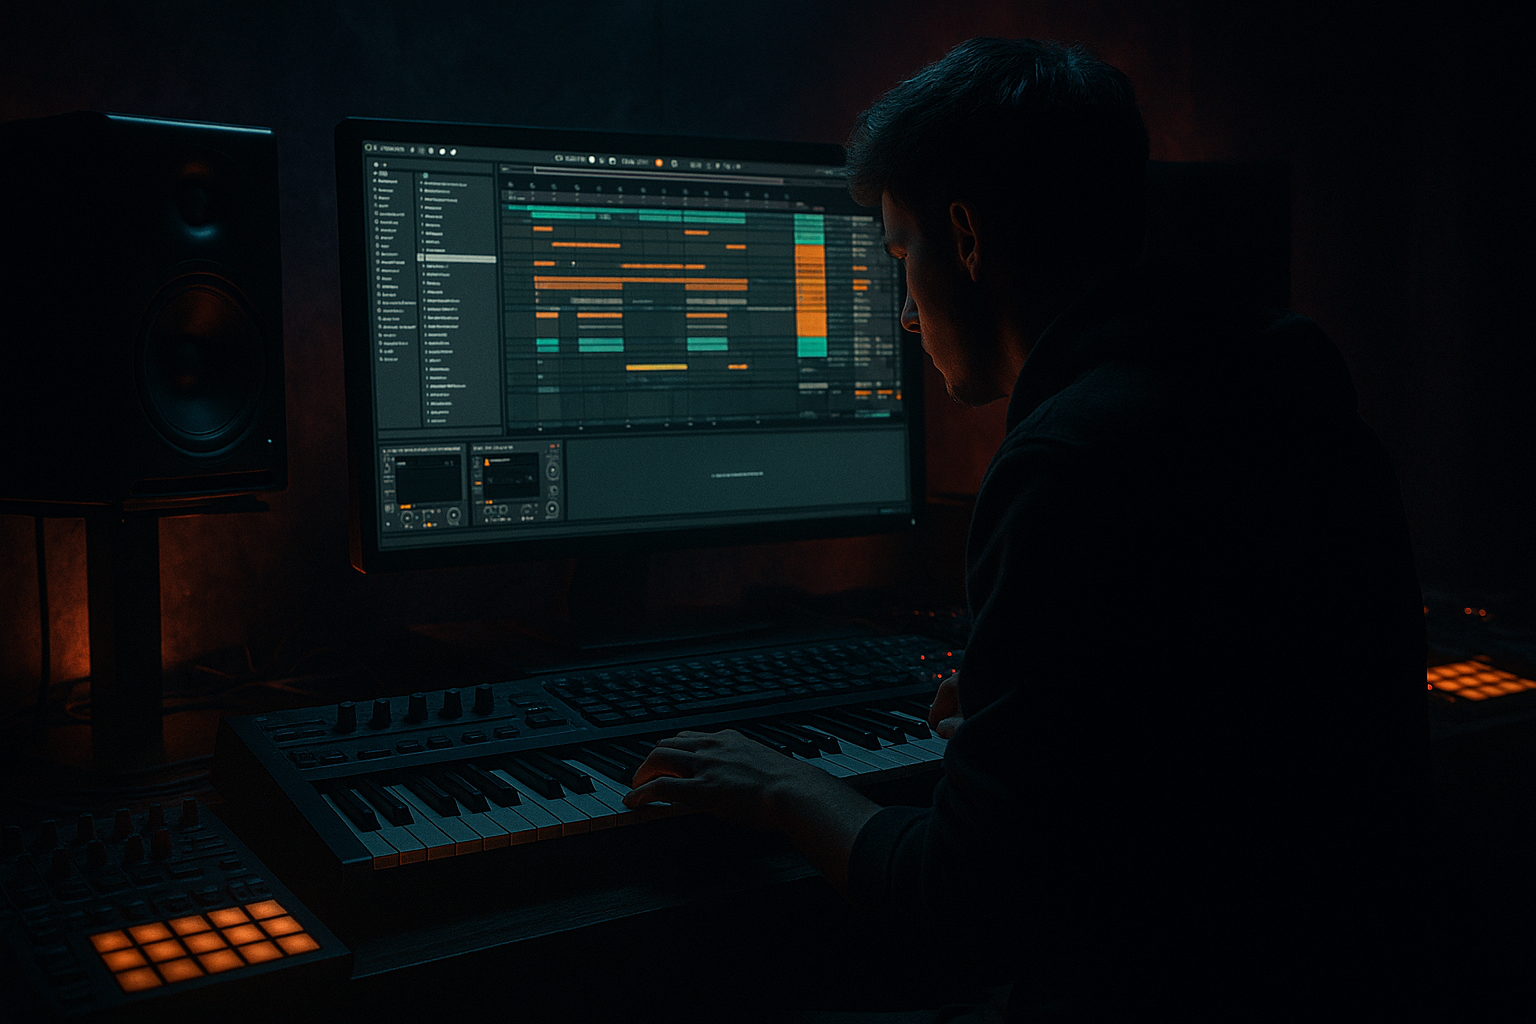
DNB COLLEGE

Drum & Bass Ableton Live 12 Tutorials

LESSON DETAIL

Pitch stepped jungle bass phrases (Beginner)

An AI-generated beginner Ableton lesson focused on Pitch stepped jungle bass phrases in the Basslines area of drum and bass production.

Back to lessons
Pitch stepped jungle bass phrases (Beginner) cover image

Narrated lesson audio

The voice track includes the tutorial plus extra teacher commentary.

Open audio file

Main tutorial

1. Lesson overview 🎛️

Pitch-stepped jungle bass phrases are those classic DnB/jungle basslines that jump between a few notes in a tight, rhythmic pattern, often with short notes, glides, and distinct “steps” that lock to the drums. Think: rolling subs with mid presence that talk in a simple, hypnotic way.

In this lesson you’ll learn how to build that sound in Ableton Live using stock instruments and devices, and how to arrange it like a real 90s/modern jungle roller.

---

2. What you will build 🔊

You’ll create:

  • A 4 or 8-bar bass phrase with pitch-stepped movement (e.g., root → +3 semitones → +7 semitones → back).
  • A bass sound that works in DnB: solid sub + controlled mid layer.
  • A clean workflow: MIDI pattern + scale discipline + distortion + filtering + sidechain.
  • An arrangement-ready bass part that complements breaks/2-step drums.
  • ---

    3. Step-by-step walkthrough ✅

    Step 0 — Project setup (fast + correct)

    1. Tempo: set to 170–175 BPM (start at 174 BPM).

    2. Groove pool: leave off for now. We’ll keep the bass super tight and add groove later if needed.

    3. Create a MIDI track: Cmd/Ctrl+Shift+T

    Name it: `Jungle Bass`.

    ---

    Step 1 — Choose a key + keep it simple 🎼

    Pick a dark, common DnB key like F minor or G minor.

    Ableton tip:

  • Drop a Scale MIDI effect on the bass MIDI track.
  • - Set it to Minor (or use a minor scale preset).

    This stops “wrong notes” while you focus on rhythm.

    ---

    Step 2 — Build a solid bass instrument (stock-only)

    We’ll use Wavetable (great for modern jungle bass), but you can do the same with Operator.

    #### Option A: Wavetable (recommended)

    1. Add Wavetable to your `Jungle Bass` track.

    2. Set:

    - Osc 1: Basic Shapes → choose Sine (or near-sine)

    - Osc 2: off (for now)

    3. Amp envelope (ENV 1):

    - Attack: 0–3 ms

    - Decay: 200–400 ms

    - Sustain: -inf to -12 dB (shorter/”plucky” = more jungle)

    - Release: 60–120 ms

    This gives you that tight “bup” bass note that works with pitch stepping.

    #### Add a touch of harmonics (so it speaks on small speakers)

    Add Saturator after Wavetable:

  • Mode: Analog Clip
  • Drive: 2–6 dB
  • Output: adjust to match loudness (avoid clipping)
  • Add Auto Filter after Saturator:

  • Filter: Low-pass (24 dB)
  • Cutoff: start around 200–600 Hz (we’ll automate later)
  • Resonance: 5–15% (subtle)
  • ---

    Step 3 — Create the pitch-stepped phrase (the core!) 🧱

    We’re going to program a 1-bar loop first, then expand to 4/8 bars.

    1. Create a 1-bar MIDI clip.

    2. Set grid to 1/16.

    3. Start with a rhythmic pattern that leaves space for drums.

    Example pattern (1 bar):

    - Notes on: 1.1, 1.2.3, 1.3, 1.4.2 (classic staggered roll feel)

    - Note length: 1/16 to 1/8, keep it mostly short.

    #### Pick 3–4 “step notes”

    In F minor, try:

  • F1 (root)
  • Ab1 (+3 semitones)
  • C2 (+7 semitones)
  • Optional spicy step: Eb2 (+10 semitones)
  • Practical writing method (fast):

  • Put F1 on most hits.
  • Replace 1–2 hits with Ab1 and C2.
  • End the bar returning to F1 for stability.
  • ✅ You should hear the bass “walk” in stepped jumps rather than a melodic riff.

    ---

    Step 4 — Make it jungle: add glide/legato (tastefully) 🧪

    Pitch stepped bass often benefits from short glides between some notes.

    In Wavetable:

  • Enable Portamento/Glide
  • Mode: Legato
  • Time: 30–90 ms
  • Now overlap only a couple of MIDI notes slightly (so glide triggers).

    Rule: Glide is a spice—use it on transitions, not every note.

    ---

    Step 5 — Control the sub and add a mid layer (clean + loud) 🧼

    A common DnB approach: keep sub clean, add dirt in mids.

    #### Method: Duplicate the track into SUB + MID

    1. Duplicate the bass track twice:

    - `Bass SUB`

    - `Bass MID`

    ##### On `Bass SUB`:

  • Keep it simple and clean.
  • Add EQ Eight:
  • - Low-pass around 120–160 Hz (gentle slope is fine)

    - Remove everything above that.

  • Reduce distortion (or turn Saturator Drive down).
  • ##### On `Bass MID`:

  • Add EQ Eight:
  • - High-pass around 120–160 Hz

  • Add Overdrive or Saturator:
  • - Overdrive: Tone 30–60%, Drive 20–50%, Dynamics 20–40%

  • Optional: add Amp (device) for extra grit:
  • - Amp type: Rock or Heavy

    - Drive low-to-mid; keep it controlled

    Now group both tracks into a group: `BASS BUS`.

    ##### On `BASS BUS`:

    Add Glue Compressor (gentle glue):

  • Attack: 10 ms
  • Release: Auto
  • Ratio: 2:1
  • Aim for 1–3 dB gain reduction
  • ---

    Step 6 — Sidechain it to the kick (rolling clarity) 🥁

    If your drums are hitting hard, the bass needs space.

    On `BASS BUS` add Compressor:

  • Sidechain: On
  • Input: your Kick track (or drum group)
  • Ratio: 4:1
  • Attack: 2–10 ms
  • Release: 60–120 ms (tune to groove)
  • Threshold: adjust until kick punches through (usually 2–6 dB reduction)
  • DnB vibe tip: Shorter release = more “pumping”; longer release = smoother roll.

    ---

    Step 7 — Arrangement ideas (make it feel like a real roller) 🧩

    Now turn your 1-bar loop into a phrase.

    #### 8-bar phrase blueprint (super usable)

  • Bars 1–2: main pattern (simple, stable)
  • Bars 3–4: add a single extra step note (e.g., Eb2 once)
  • Bars 5–6: introduce a call-and-response (leave a gap then answer with C2)
  • Bars 7–8: variation + reset
  • - Bar 7: slightly busier rhythm

    - Bar 8: simplify and land on root (F1) at the end

    #### Automation that screams “jungle”

    On the `Bass MID` Auto Filter:

  • Automate cutoff slightly across 8 bars (e.g., 250 Hz → 700 Hz)
  • Keep it subtle—DnB bass is about consistency, not huge EDM sweeps.

    ---

    4. Common mistakes ⚠️

  • Too many notes: If every 16th is filled, the drums lose impact. Leave pockets.
  • No stable root note: Jungle bass phrases usually return home frequently.
  • Over-gliding: Portamento on every note turns it into a sloppy slide bass.
  • Sub distortion: Distorting below ~120 Hz often makes the low end unstable.
  • Ignoring note lengths: Length is groove. Short notes = punchy; longer = smeary.
  • ---

    5. Pro tips for darker/heavier DnB 🌑

  • Use minor 3rd + tritone flavor (carefully): In F minor, a quick B (tritone) can sound nasty—use as a passing hit and resolve fast.
  • Add subtle chorus to MID only:
  • Try Chorus-Ensemble on the `Bass MID` with:

    - Amount: low

    - Rate: slow

    This widens mids without wrecking mono sub.

  • Mono your sub:
  • On `Bass SUB`, use Utility:

    - Width: 0%

  • Transient control:
  • If bass clicks too hard, slightly increase attack on the amp envelope (to 5–10 ms) or reduce Saturator drive.

  • Resample for grit:
  • Once happy, Freeze + Flatten the MID layer and do micro-edits (gaps, reverses, tiny stutters) for that modern jungle edge.

    ---

    6. Mini practice exercise 📝

    Goal: Make 3 different pitch-stepped phrases in the same key.

    1. Keep the same sound and tempo (174 BPM, F minor).

    2. Create three 1-bar clips:

    - Clip A: only F1 + Ab1

    - Clip B: only F1 + C2

    - Clip C: F1 + Ab1 + C2 plus one “spice” note (Eb2) once per bar

    3. For each clip:

    - Change note lengths (short vs slightly longer)

    - Add one glide transition only

    4. Pick your favorite clip and expand it into an 8-bar phrase using the blueprint above.

    ---

    7. Recap ✅

  • Pitch-stepped jungle bass is about rhythm first, with a few strong interval jumps.
  • Build a clean foundation: Wavetable/Operator → Saturation → Filter → Sidechain.
  • Split into SUB (clean/mono) and MID (dirty/character) for loud, controlled bass.
  • Arrange like DnB: small variations over 8 bars, not constant reinvention.
  • Use glide and automation sparingly—tight and rolling wins.

If you tell me what style you’re aiming for (90s jungle, modern rollers, neuro-influenced jungle), I can suggest a specific note-set and a bass device rack chain tailored to it.

Ask GPT about this lesson

Chat with the lesson tutor, get follow-up help, or use quick actions.

Bigup 👽 Ask me anything about this lesson and I’ll answer in context.

Narration script

Show spoken script
Title: Pitch stepped jungle bass phrases (Beginner)

Alright, let’s build one of the most satisfying bassline styles in jungle and drum and bass: pitch-stepped bass phrases. These are those classic lines that don’t really “sing” like a melody… they kind of talk. They jump between just a few notes, in a tight rhythm, with short hits, little glides here and there, and very clear “steps” that lock into the drums.

By the end of this lesson, you’ll have a usable 4 to 8 bar bass phrase that rolls like a real roller. We’ll do it with stock Ableton devices, keep the sub solid, add a controlled mid layer, and make it sit with drums using sidechain.

Let’s go.

First, quick setup so we’re not fighting the project.

Set your tempo to the drum and bass zone: 170 to 175 BPM. I’m going to pick 174. Leave groove or swing off for now. We want the bass super tight at first, and we can add feel later if we need it.

Now create a MIDI track and name it “Jungle Bass.”

Next: pick a key, and keep it simple. Dark minor keys are your friend here. Let’s choose F minor. And here’s a beginner superpower in Ableton: drop the Scale MIDI effect on the bass track, set it to a Minor scale. This isn’t “cheating.” It’s like putting bumpers on a bowling lane while you learn the rhythm and the pocket. You can always remove it later when your ears are stronger.

Now we need a bass instrument that can do clean sub but also respond well to stepped notes.

Load Wavetable on the Jungle Bass track. For Oscillator 1, choose Basic Shapes and pick a sine or near-sine shape. Turn Oscillator 2 off for now. We’re starting pure, because the groove and the stepping are the focus.

Go to the amp envelope. Set attack really fast, like 0 to 3 milliseconds. Set decay around 200 to 400 milliseconds. Sustain can be very low, even all the way down to minus infinity if you want it super plucky, or around minus 12 dB if you want a bit more body. Release around 60 to 120 milliseconds.

What you’re aiming for is that tight “bup” note that gets out of the way quickly. Jungle basslines often feel punchy not because they’re loud, but because they don’t hang around and smear all over the drums.

Now let’s make it speak on smaller speakers, without ruining the sub.

After Wavetable, add Saturator. Set the mode to Analog Clip. Drive around 2 to 6 dB, and then trim the output so you’re not clipping. The goal is just a little harmonic content, not fuzz.

After Saturator, add Auto Filter. Choose a low-pass filter with 24 dB slope. Put the cutoff somewhere between 200 and 600 Hz to start, and keep resonance subtle, like 5 to 15 percent.

Cool. Sound is ready enough to write the phrase.

Now we program the core: the pitch-stepped pattern.

Make a one-bar MIDI clip. Set your grid to 1/16. And here’s the main concept: rhythm first. Pitch stepping is not about writing an impressive bass melody. It’s about creating a hypnotic rhythm where the notes hop between a small interval palette.

Let’s use a classic staggered pattern as a starting point. Put hits at 1.1, 1.2.3, 1.3, and 1.4.2. Keep most note lengths short, around a sixteenth to an eighth. Think “tap tap tap,” not “bwaaaa.”

Now pick just three or four step notes in F minor.

Start with F1 as your root. Then Ab1, which is the minor third above. Then C2, the fifth. And if you want one extra color note, use Eb2 once in a while.

Here’s a fast writing method: put F1 on most hits, then replace one or two hits with Ab1 and C2. And at the end of the bar, return to F1. That return-home move is a huge part of why jungle bass feels stable and rolling even when it’s moving.

As you listen, don’t ask “is this a good melody?” Ask “does this feel like it’s stepping?” You want obvious jumps: root… minor third… fifth… back home.

Now let’s add a little jungle flavor: glide, but tastefully.

In Wavetable, enable Portamento or Glide. Set the mode to Legato, and set the time to somewhere between 30 and 90 milliseconds. Now, and this is important, glide only happens when notes overlap in legato mode. So overlap only a couple of note transitions in your MIDI clip. Just one or two overlaps in the bar.

Rule of thumb: glide is a spice. If you put it on every note, it stops sounding like steps and starts sounding like a sloppy slide bass. We want “stepped with attitude,” not “falling down the stairs.”

At this point you should have a one-bar loop that feels rhythmic and percussive, and the pitch changes should read like intentional moves, not random notes.

Now we make it mix-ready the drum and bass way: split the bass into sub and mid.

Duplicate the track so you have two copies. Name one “Bass SUB” and the other “Bass MID.” We’re going to keep the sub clean and mono, and put the character and distortion in the mids where it’s easier to control.

On Bass SUB: add EQ Eight. Low-pass around 120 to 160 Hz. The idea is: everything above that gets removed. Also, reduce or remove distortion on the SUB. Distorting the sub range often makes the low end unstable and uneven, and that’s the opposite of what you want in drum and bass.

Add Utility on the SUB and set Width to 0 percent. Mono sub. Always a good habit.

On Bass MID: add EQ Eight and high-pass around 120 to 160 Hz. Now this layer can get dirty without wrecking the foundation.

Add Overdrive or Saturator on the MID. For Overdrive, set Tone around 30 to 60 percent, Drive somewhere like 20 to 50 percent, and Dynamics around 20 to 40 percent. Keep it controlled. If you want extra grit, add Amp after that, something like Rock or Heavy, but keep the drive modest. We’re not trying to turn it into a guitar solo. We’re just giving it teeth.

Quick teacher tip: after distortion on the MID, do a little EQ shaping. If it feels boxy, cut a bit around 200 to 350 Hz. If it needs to “speak,” a gentle bell boost somewhere around 700 Hz to 1.5 kHz can help the stepping translate on phone or laptop speakers.

Now group SUB and MID together into a group called “BASS BUS.”

On the BASS BUS, add Glue Compressor for gentle cohesion. Attack around 10 milliseconds, release on Auto, ratio 2 to 1. Aim for just 1 to 3 dB of gain reduction. This should feel like it tightens the bass, not crushes it.

Now the big one: sidechain to the kick so the groove breathes.

On the BASS BUS, add a normal Compressor after the glue. Turn on Sidechain, choose your Kick track, set ratio around 4 to 1. Attack 2 to 10 milliseconds. Release 60 to 120 milliseconds. Then lower the threshold until you see maybe 2 to 6 dB of gain reduction when the kick hits.

And listen. The goal is simple: the kick punches through without you turning it up, and the bass feels like it rolls around it. Shorter release will pump more. Longer release will feel smoother. Tune this to the drum groove.

Now that we have a one-bar loop, let’s make it into an actual phrase that sounds like a track, not a loop.

Duplicate your MIDI clip out to 8 bars. Here’s a super usable 8-bar blueprint:

Bars 1 to 2: keep it simple and stable. Let the listener learn the pattern.
Bars 3 to 4: add one extra step note one time. Just once. For example, drop Eb2 on a single hit.
Bars 5 to 6: call and response. That can mean leaving a gap, then answering with a C2 hit. Silence is part of the groove.
Bars 7 to 8: variation and reset. Bar 7 can be slightly busier rhythmically, and bar 8 should simplify and land on F1 at the end.

A really good mindset here is “one change per two bars.” Don’t rewrite the bass every bar. Jungle rollers stay hypnotic because they commit to a small idea and let tiny changes feel huge.

Now add subtle automation that feels like a living bassline.

On the Bass MID Auto Filter, automate the cutoff slightly over the 8 bars. Something like 250 Hz up to 700 Hz is plenty. And here’s the trick: don’t do a giant EDM sweep. Keep it mostly stable for 2 to 4 bars, then make a small “scene change” for the next chunk.

Now, some extra coach moves that make this feel professional even at beginner level.

First: think interval palette, not melody. Pick three notes and commit. If your bass keeps changing note choices, it stops feeling like jungle and starts feeling like a random bassline.

Second: make the bass answer the snare. If your snare is on 2 and 4, try placing your step note right after it, like the 16th after 2.1 or 4.1. That makes the bass feel conversational with the drums.

Third: audit note endings. Beginners focus on note starts, but the groove often comes from how quickly your notes get out of the way. If something feels messy, shorten notes that overlap the kick tail or the snare body.

Fourth: velocity is groove control. Even if the synth isn’t super velocity-sensitive yet, you can make it that way. In Wavetable, map velocity to amp level or to filter envelope amount so harder hits bite more. Then use a simple pattern: stronger on downbeats, lighter on offbeats. It makes the phrase breathe.

Fifth: micro-timing. Without adding swing, you can nudge one or two MIDI notes a few milliseconds late, like 1 to 8 ms. Only one or two hits. This adds weight while staying tight at 174.

Now let’s cover common mistakes so you can avoid the usual beginner traps.

If you fill every 16th note, the drums lose impact. Leave pockets.
If you don’t return to the root often, the phrase won’t feel grounded.
If you glide every note, it turns into a messy slide line.
If you distort your sub, your low end gets unstable.
And if you ignore note length, the groove won’t lock. Short notes are punchy. Long notes smear.

Now a quick mini practice exercise, because this skill levels up fast with repetition.

Stay at 174 BPM, stay in F minor, keep the same bass sound.

Make three separate one-bar clips.
Clip A: only F1 and Ab1.
Clip B: only F1 and C2.
Clip C: F1, Ab1, C2, and use Eb2 once per bar as a spice note.

For each clip, change note lengths, and add only one glide transition. Then choose your favorite and expand it to 8 bars with that blueprint: stable, tiny variation, call and response, then reset.

If you want a bigger challenge after that, build a 16-bar section with two patterns: an A clip and a B clip. Keep the rhythm the same, but change exactly two note choices in B. Add one turnaround bar at bar 8 or 16: maybe a quick octave hit like F1 to F2, or a super short chromatic pass like E into F. Then add a tiny 1/8-beat gap before the loop restarts. That stop-and-go moment reads huge in jungle.

Alright, recap.

Pitch-stepped jungle bass is rhythm first, with a few strong interval jumps.
Use a clean chain: Wavetable or Operator into a touch of saturation, into filtering, then sidechain.
Split into SUB and MID so your low end stays stable and your character stays controllable.
Arrange with small variations over 8 bars, not constant reinvention.
And use glide and automation sparingly. Tight and rolling wins.

When you’re ready, tell me what vibe you’re aiming for: early 90s ragga jungle, 2000s rollers, or modern heavier jungle. And I’ll suggest a tight three-note palette and a simple “Bite” macro mapping so you can move from intro to drop like a real, DJ-friendly arrangement.

mickeybeam

Go to drumbasscd.com for +100 drum and bass YouTube channels all in one place - tune in!

Generating PDF preview…