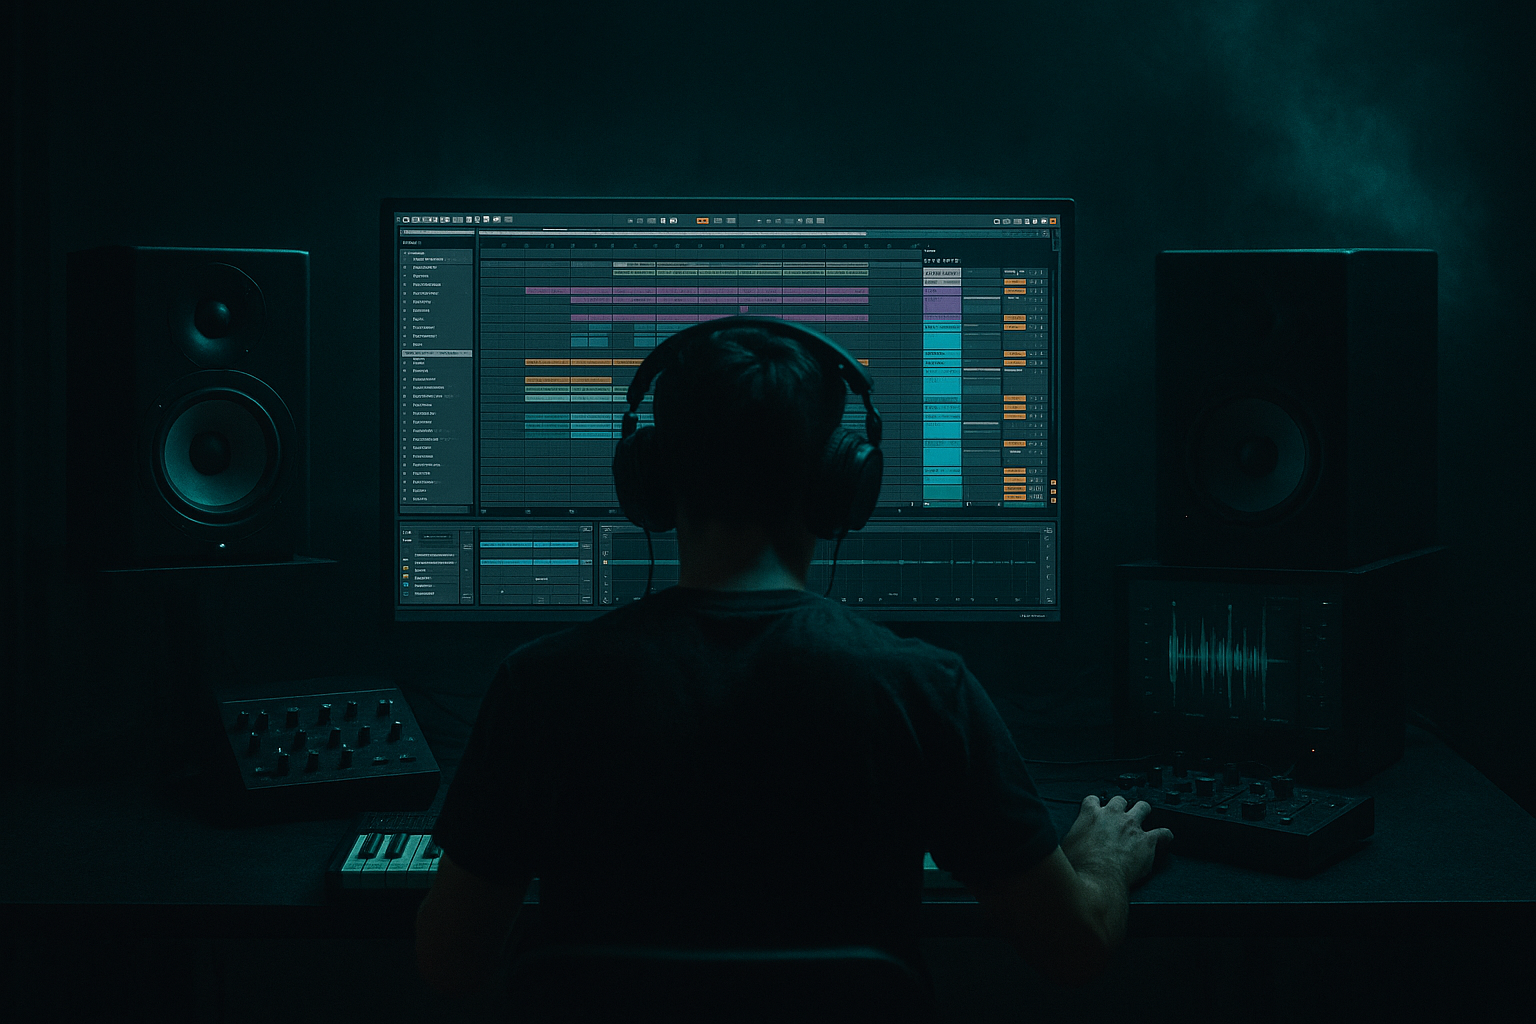
Main tutorial
1. Lesson overview
Welcome — you’re about to learn practical, hands-on techniques for programming hi-hats and percussion grooves for drum & bass in Ableton Live. This lesson is aimed at beginners but focused specifically on DnB / jungle / rolling bass music, so you’ll get real, usable workflows, device chains, step-by-step MIDI programming, and mix tips using stock Ableton devices. Expect concrete settings, pattern examples, and ideas to make your grooves sound tight, rolling, and energetic. Let’s go! ⚡️
Key targets:
- Create crisp, punchy closed/open hats and percussion layers.
- Program rolling, human-sounding DnB hat patterns at 170–175 BPM.
- Use Ableton stock devices (Drum Rack, Simpler, EQ Eight, Saturator, Drum Buss, Groove Pool) to shape tone and movement.
- Learn arrangement and mixing ideas for darker/heavier DnB.
- A steady 1/16 closed-hat bed with velocity variation.
- 32nd/16th hat rolls and ghost hi-hat hits for motion.
- Open hat/clap placement for forward drive.
- Percussion layer (shakers, metallic hi-hats) panned/widened for stereo interest.
- A simple processing chain using Drum Rack + Simpler + EQ Eight + Saturator + Drum Buss and a return reverb/delay for depth.
- Ableton Live (any modern version). This uses only stock devices.
- A few hat/percussion samples (Ableton Core Library has many: Drum Hits -> Hats, Percussions, Loops). You can also slice a breakbeat like an Amen or use single-shot hat samples.
- 1: 110
- e (2nd 16th): 70
- &: 95
- a: 80
- Repeat pattern across bar with slight variations — don’t make all velocities the same.
- Add a MIDI Velocity device before Drum Rack: set Mode to “Random” or manually draw velocities in the piano roll. Good starting min-max range: 65–120.
- Use Note Length device to shorten notes if necessary (closed hats typically 30–60 ms). Set Note Length to 40%–60%.
- Use the Groove Pool: drag a groove (e.g., “shuffle” or extract a groove from a breakbeat) and apply with Amount 30–60% to add swing. You can also adjust Timing/Swing and Random to taste.
- Open hat: put on the “&” of beat 2 and the “&” of beat 4 in a 2 bar feel, or on the “a” of 1 and “&” of 3 for forward motion. Keep open hat velocity around 90–110 and length 140–220 ms.
- Clap/snare top layer: if you want extra drive, place a short clap on the same time as snare 2 (typical DnB snare on 2 & 4 in half-time grid).
- High-pass everything below 300–500 Hz on hats/percs. Use EQ Eight.
- Use light saturation for presence; don’t overdo it.
- Parallel compression: send percs to a return with Compressor (Heavy settings: Ratio 8:1, Attack 1 ms, Release 100 ms), mix in a small amount to thicken without squashing transients.
- Avoid long tails and large reverb on closed hats — that will wash out the mix.
- Intro: start with sparse closed hats (1/8 or half-16th) and gradually bring in percs.
- Build: add 32nd rolls and open hats on the lead into the drop, automate high-pass on percs for tension.
- Drops: full hat bed with layered metallics and a subtle shuffle or groove applied.
- Breaks: reduce hat density and use a filtered shaker pattern or reversed cymbal to signal change.
- Over-quantizing: DnB beats feel lived-in. Hard-quantized hats sound robotic. Use Groove Pool, slight timing nudges, or Note Delay (-5 to +6 ms) to humanize.
- Too much high-frequency boost: makes hat sound harsh and fatiguing; use gentle EQ boosts and saturation instead.
- Excessive reverb on closed hats: creates a muddy top end. Keep reverb short or only on auxiliary sends and low-pass the send return.
- Phasing from layered samples: when layering similar hat samples, check phase — flip phase on one layer or nudge one layer by a few ms to avoid cancellation.
- Making hats louder than the bass and snare: Hats should sit bright but not overpower the low end. Use a balance that preserves the kick/snare/bass prominence.
- Pitch-shift and layer: pitch one hat layer down an octave (or -7 semitones) and low-pass it slightly to create a darker metallic body under the top hat.
- Parallel distortion bus: create a return track with Saturator + Overdrive + EQ then blend in for added grit. Try Saturator Drive 6–10, Type “Analog Clip”, then EQ to tame mid harshness.
- Use gated noise textures: create a white-noise hit, low-pass at 6–8 kHz, and gate it rhythmically with a short transient to add brittle metallic texture (use Auto Filter with envelope follower on newer Live versions, or a Simpler with short sample and Gate).
- Automate high-pass and filter sweeps: for tension, automate a resonant low-pass on the percussion bus during drops, then snap it open.
- Triplet rolls & jungle fills: DnB/jungle often uses 1/8 triplets or 1/16 triplets in fills. Switch grid to triplet and program uneven clusters; add distortion and pitch automation to make them savage.
- Use Corpus / Resonator on a percussion layer with a small dry/wet to add metallic resonances — set dry/wet ~10–20% and predelay low.
- Tight transient: use Drum Buss’ Transient knob (+4 to +8) and Glue Compressor on the bus (Attack 1–3 ms, Release 80 ms, Ratio 4:1) to make percs pop.
- Create MIDI track, insert Drum Rack.
- Load: closed-hat into C1, open-hat into D1, shaker into E1, metallic ping into F1.
- Create a 1-bar MIDI clip.
- Grid = 1/16. Put closed hats on every 1/16.
- Velocity pattern across the 16 notes: [110, 70, 95, 80, 110, 70, 95, 80, 120, 75, 95, 80, 110, 70, 95, 80] (values 0–127).
- Use Note Length device: set to 45%.
- Duplicate clip to 4 bars. On bar 3, switch grid to 1/32 and add a 6-note 32nd roll starting on the “&” of beat 2. Velocity ramp from 60 → 120.
- Add open hat on the “&” of beat 2 and “&” of beat 4 every 2 bars. Length 180 ms, velocity 100.
- On closed hat chain: EQ Eight HP @ 400 Hz, slight +2 dB @ 9 kHz, Saturator Drive 3 soft clip.
- On Drum Rack track: add Drum Buss (Transient +3, Distortion 2), then Glue Compressor on the track (Ratio 3:1, Attack 1 ms, Release 80 ms).
- Create a return reverb (Reverb device): Decay 0.35 s, Low cut 200 Hz, Dry/Wet 12%. Send 6% from percs.
- Extract a groove from a short 2-bar loop of a breakbeat (or use “Swing” groove). Apply to the percussion clip in Groove Pool Amount 35.
- Add a MIDI Note Delay device before Drum Rack with note delay -3 ms on one of the percussion layers to create micro timing differences.
- DnB hi-hats are built on a 1/16 bed with dynamic velocity, accented ghost notes, and occasional 32nd/ triplet rolls for motion.
- Use Drum Rack + Simpler and stock devices (EQ Eight, Saturator, Drum Buss, Glue Compressor) to shape tone and transient.
- Humanize with Groove Pool, slight timing offsets, and randomized velocities.
- Keep reverb short, high-pass low frequencies, and be mindful of phase when layering.
- For darker/heavier DnB, add pitch-shifted low hat layers, parallel distortion, gated noise, and triplet fills with heavy saturation.
- Provide a downloadable Ableton .als starter template with the Drum Rack, chains, and a ready-to-edit clip.
- Walk through making a jungle-style amen-chopped hat groove using “Slice to New MIDI Track.”
BPM suggestion: 170–175 (common DnB tempo).
2. What you will build
A tight 1–2 bar hi-hat & percussion groove suitable for DnB:
At the end you’ll have a 16-bar loop with variations for intro / main section / fill bars.
3. Step-by-step walkthrough
Prerequisites:
Setup
1. Create a new MIDI track. Set the tempo to 174 BPM.
2. Insert a Drum Rack on the MIDI track. This will be your main percussion instrument.
Loading samples into Drum Rack
1. Drag a closed hi-hat sample into pad C1 (MIDI note C1). Use a crisp long-high frequency hat (sample length ~80–200 ms).
2. Drag an open hat sample to D1.
3. Add one or two percussion/metallic samples (shaker, tambourine, splatter) to other pads.
4. Optionally: create a second Drum Rack track for layered percs (for easier separate processing).
Design a basic chain per pad
1. Click the pad (e.g., closed hat) and in the chain view load a Simpler (if the sample isn’t automatically placed into a Simpler).
2. Chain processing (per pad) — place these devices after Simpler:
- EQ Eight: High-pass at ~350–500 Hz (Q moderate) to remove low rumble. Slight boost around 8–10 kHz if needed (+1.5–3 dB).
- Saturator: Drive 2–4, Warmth/Analog Clip on, Soft Clip enabled. (Adds presence and grit.)
- Compressor: Basic Compressor with Ratio 3:1, Attack 1–5 ms (very fast), Release 30–80 ms. Threshold until you get ~1–3 dB reduction. (Optional)
- Drum Buss (optional): Transient +2 to +4, Distortion 2–4, Boom off. This adds snap/presence. Use lightly.
- Utility: Width 100% for percs you want wide; for closed hat you might keep 0–10% to center it.
Programming MIDI — one-bar example (1/16 base)
1. Double-click the MIDI clip area to create a 1-bar clip (set loop to 1 bar).
2. Switch grid to 1/16. At 174 BPM, DnB commonly uses constant 1/16 hats as the bed.
3. Program closed hats on every 1/16 (i.e., each 16th note). That’s 16 notes per bar.
Velocity map (example pattern): This gives groove and accents.
Make it human:
Add off-beat hats / rolls (32nd rolls)
1. Duplicate the 1-bar clip to make an 8-bar loop.
2. On bar 3 and bar 7, create short 32nd-note rolls:
- Switch grid to 1/32. Add 6–8 notes clustered in the space of 1/8 or 1/16 (e.g., six 32nd notes starting on the “&” of 2).
- Use gradually increasing velocities (e.g., 60 → 110) so the roll crescendos.
- Add a small transient boost on the last hit (automation of Drum Buss Transient +2) to emphasize the fill.
Open hat / clap placement
Stereo and layering
1. Keep closed hats mostly centered (Utility Width 0–10% or Pan center).
2. Layer a metallic shaker/ping sample panned ~20–40% left or right for width.
3. On the percussion bus, add an EQ Eight: gentle cut at 400–600 Hz to avoid boxiness, boost 7–12 kHz slightly.
4. Add a send reverb (small room / plate) and delay (short slap or ping-pong) and send a little amount (6–12%) for atmosphere. For DnB, keep reverb very short (decay 0.2–0.6s) and low-pass the reverb to remove high harshness (EQ on return: LP at 10–12 kHz).
Using breakbeat slices for hats
1. Drag a breakbeat audio onto the arrangement view. Right-click and choose “Slice to New MIDI Track”.
2. Choose “Transient” slicing and “Simpler” slices.
3. Open the resulting MIDI track, find which slice(s) contain hat hits, and sequence from there for natural human timing.
4. Apply Groove Pool or quantize slightly to tighten as needed.
Mixing tips (quick)
Arrangement ideas
4. Common mistakes
5. Pro tips for darker/heavier DnB
6. Mini practice exercise (15–30 minutes) 🎯
Goal: Build a rolling hi-hat & percussion groove for a 16-bar loop (174 BPM).
Step 1 — Drum Rack + samples (5 min)
Step 2 — Basic 1-bar pattern (5 min)
Step 3 — Add variation and rolls (5–10 min)
Step 4 — Processing (5 min)
Step 5 — Groove and humanize (2–5 min)
Result: loop your 16 bars, tweak velocities and effects. Make a 2-bar variation with sparser hats for a breakdown.
7. Recap
If you want, I can:
Which would you like next? 👊

