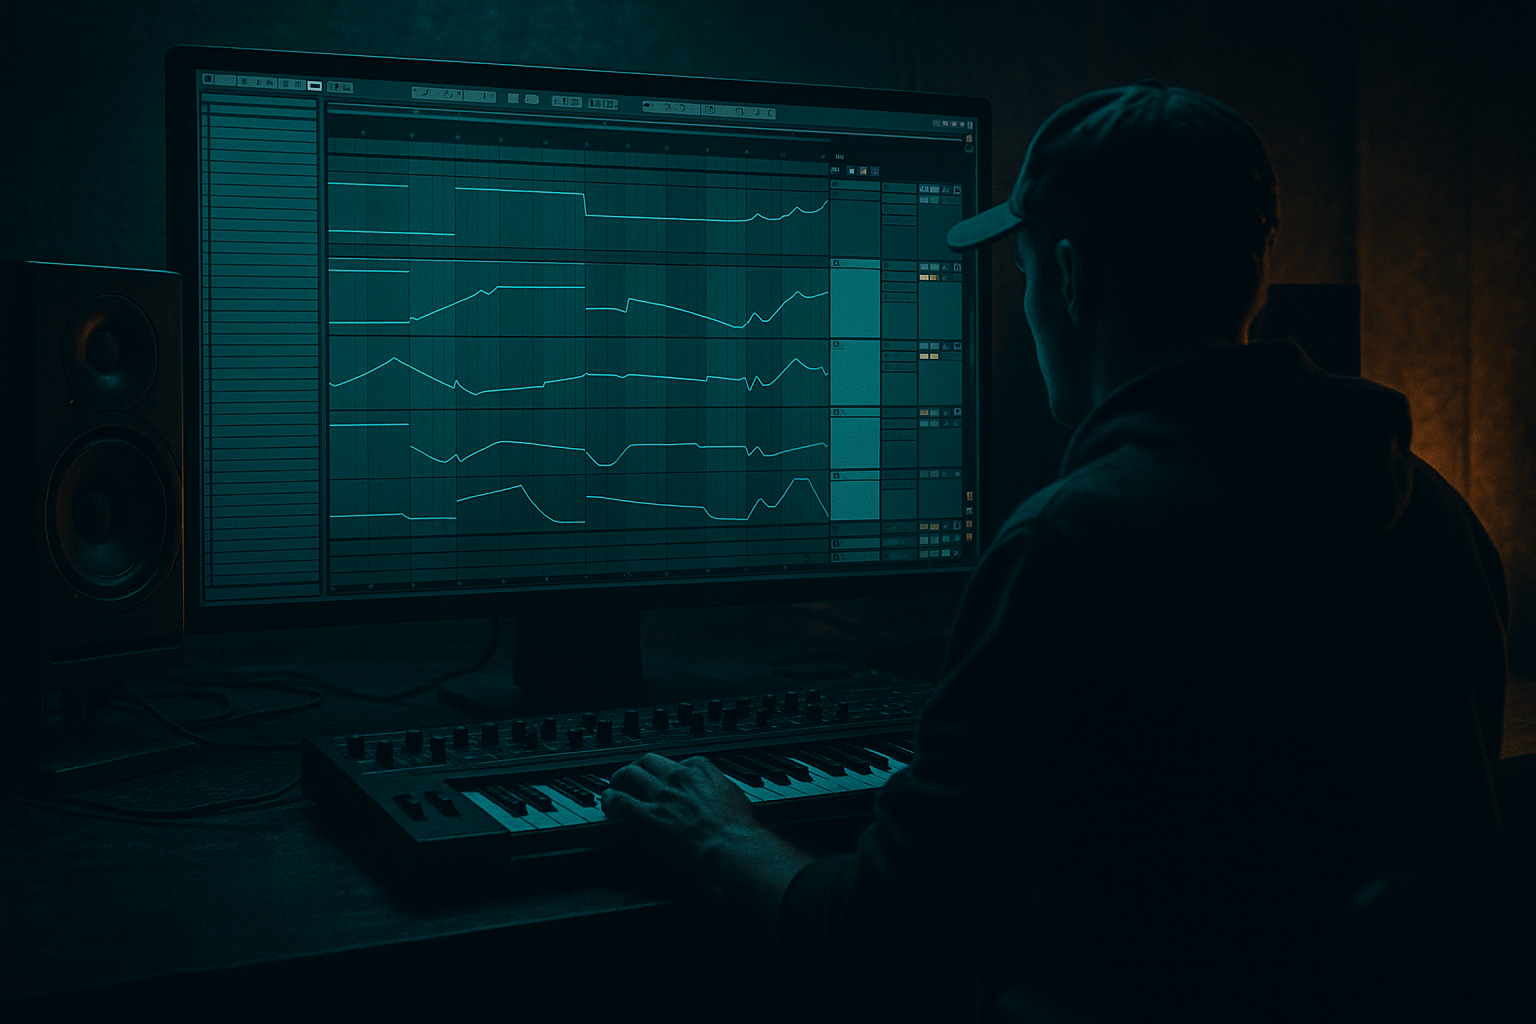
Main tutorial
```markdown
Project Cleanup Before Final Mixdown (Drum & Bass in Ableton Live) 🧼🎚️
1. Lesson overview
Before you hit “final mixdown,” your DnB project needs to be organized, predictable, and CPU-stable—so you can mix fast, make confident decisions, and avoid last-minute chaos (missing samples, clipping groups, mystery sidechains, etc.).
In this lesson you’ll learn a repeatable cleanup workflow tailored to drum & bass / jungle / rolling bass sessions in Ableton Live (Intermediate level). We’ll focus on:
- Arrangement readiness (intros, drops, fills, and DJ-friendly sections)
- Routing + grouping that suits DnB (drums/bass/FX/music/vocals)
- Gain staging and headroom
- Freezing/flattening and CPU hygiene
- Consolidation, labeling, color coding
- Sidechain sanity checks
- Reference + export-ready prep
- Clean group structure (Drums, Bass, Music, FX, Vocals, Returns)
- A consistent routing scheme for parallel drum smash + reverb/delay returns
- Named and color-coded tracks with consolidated audio/MIDI
- Headroom set for a punchy DnB mix (no surprise clipping at the master)
- A “Prints” section (optional) for resampled bass/drum renders
- A reliable pre-mix checkpoint so you can start mixing immediately 🎯
- Utility on group buses for clean gain adjustments.
- Spectrum on Master (temporary) to sanity-check sub and harsh highs.
- Add a 2-bar pre-drop fill: remove sub for 1 bar, bring it back with impact.
- Add a 1/2-bar stop right before drop (classic jungle fakeout).
- Duplicate Drop 1 to Drop 2 and change:
- Drums: Red/Orange
- Bass: Green
- Music: Blue
- Vocals: Purple
- FX: Grey
- Utility/Refs: Yellow
- `DRUMS_Group`
- `BASS_Group`
- `FX_Group`
- `DRUMS_Group` (all drums + breaks)
- `BASS_Group` (sub + midbass + bass FX)
- `MUSIC_Group` (pads, stabs, leads)
- `VOCALS_Group` (if any)
- `FX_Group` (risers, impacts, atmos)
- `DRUMS_KickSnare`
- `DRUMS_Tops`
- `DRUMS_Breaks`
- `RVB_ShortRoom` (tight drum room)
- `DLY_PingPong_1-8`
- `PARA_DrumSmash` (parallel compression/saturation bus)
- Reverb (Short Room):
- Delay:
- Parallel Drum Smash:
- On `BASS_Group` or `SUB_Sine_Mono`:
- Neuro/Rese midbass chains
- Serum/Wavetable/Operator stacks with heavy FX
- Break processing chains
- Long FX risers with modulation
- EQ Eight: cut mud around 200–350 Hz if needed, small lift at 3–6 kHz for crack
- Drum Buss: Drive 5–15, Damp ~10 kHz, Boom 0–10 (careful)
- Transient shaping (stock option): Drum Buss can handle punch; keep it subtle
- No master clipping; master limiter OFF ✅
- All tracks named + color-coded ✅
- Groups set: Drums/Bass/Music/FX/Vox ✅
- Sidechain sources clear and intentional ✅
- Heavy CPU tracks frozen/printed ✅
- Returns labeled, low-cut EQ on verbs/delays ✅
- Unused tracks deleted or deactivated ✅
- Arrangement locators in place ✅
- Collect All and Save before mixing/exporting ✅
- Sub discipline: keep sub mostly mono and clean.
- Control the 150–350 Hz “doom zone”:
- Parallel aggression, not main-channel distortion:
- Print your neuro moments:
- Breaks and tops separation:
- Structure: locators + DnB phrasing
- Clarity: naming, colors, consolidation
- Control: groups, returns, and intentional sidechain
- Stability: freeze/flatten, remove clutter, prevent clipping
- Mix readiness: headroom, reference track, consistent routing
---
2. What you will build
By the end, you’ll have a mixdown-ready Ableton template-like session from your current track, including:
---
3. Step-by-step walkthrough
Step 0 — Save a safety snapshot (do this first)
1. File → Save Live Set As…
2. Name it:
`TrackName_v12_PREMIX_CLEANUP.als`
3. In the Browser, right-click the project → Collect All and Save (optional now, mandatory later).
Why: Cleanup often involves freezing/flattening and deleting. You want a rollback point.
---
Step 1 — Set your “mixdown posture”: levels and master chain
Goal: avoid mixing into a clipped master, especially with heavy DnB drums + sub.
1. Disable any limiter/maximizer on the Master for now (e.g. Limiter, saturators, clipper devices).
- If you used one for loudness while writing, turn it off during cleanup.
2. Target master peak: around -6 dBFS during loudest drop.
3. If the project is too hot:
- Select your main top-level Groups (Drums, Bass, Music, FX, Vocals)
- Pull each group down -3 to -6 dB, not individual tracks yet.
Ableton stock helpers:
---
Step 2 — Clean up the arrangement for DnB structure 🧱
DnB arrangement is often DJ-friendly and impact-based. Make it readable and intentional.
1. Add Locator markers (Arrangement View):
- `Intro (DJ Mix)`
- `Build`
- `Drop 1`
- `Mid/Variation`
- `Break`
- `Drop 2`
- `Outro (DJ Mix)`
2. Standard DnB phrasing: check everything aligns in 8/16/32-bar blocks.
3. Ensure you have:
- Clean drumless intro/outro moments (for mixing)
- Breakdown with tension (pads, atmos, vocal chop, risers)
- Variation in Drop 2 (different bass patch, different drum ghost pattern, switch fills)
Practical arrangement fix ideas:
- hats pattern,
- bass call/response,
- one new FX sweep + crash layer.
---
Step 3 — Consolidate clips and remove “ghost edits”
This prevents accidental clip slips and makes mixing easier.
1. For each track, select the full active region (e.g., from start of intro to end of outro).
2. Cmd/Ctrl + J (Consolidate):
- MIDI clips: consolidate where possible
- Audio: consolidate chopped edits into single clips per section
3. Delete unused clip fragments.
4. In Clip View, check Warp modes:
- Drums (breaks): usually Beats mode
- Vocals: often Complex/Complex Pro
- Bass audio resamples: Tones or Complex depending
DnB-specific tip:
If you have a chopped Amen or classic break, consolidate each phrase (like 8 bars) so edits don’t drift.
---
Step 4 — Track naming, coloring, and ordering (fast and strict)
You should be able to understand the session at 3AM.
Suggested order (top to bottom):
1. Master
2. Returns
3. Drum Groups
4. Bass Groups
5. Music/Synths
6. Vocals
7. FX
8. Reference track (muted)
Color code example:
Naming conventions (examples):
- `KICK_Punch`
- `SNARE_Main_200Hz`
- `HATS_Closed_Shuffle`
- `BREAK_Amen_16bar`
- `SUB_Sine_Mono`
- `REESER_Mid`
- `NEURO_Growl_Resample`
- `RISER_Noise_8bar`
- `IMPACT_Metal`
---
Step 5 — Grouping + routing like a pro (DnB edition) 🔥
A clean routing setup makes mixdown decisions faster.
Recommended groups:
Inside drums, consider sub-groups:
Returns (Send/Return tracks):
Stock devices for returns:
- Reverb: Decay 0.4–0.9s, Pre-delay 5–15ms, Low Cut 200–400Hz
- Echo: set 1/8 or 1/4 dotted for jungle vibes; filter the feedback
- Glue Compressor: Ratio 4:1, Attack 1–3ms, Release Auto, aim 5–10 dB GR
- Saturator: Soft Clip on, Drive 2–6 dB
- EQ Eight after: roll off sub below 80–120 Hz so the parallel doesn’t eat headroom
---
Step 6 — Sidechain cleanup: make it intentional (no mystery pumping)
DnB sessions often end up with multiple sidechains (kick to bass, snare to reese, ghost kick to pads, etc.). You need them clear.
1. Identify your main sidechain drivers:
- `SC_Kick` (could be actual kick or a ghost kick)
- `SC_Snare` (optional for snare breathing)
2. Create a dedicated ghost sidechain track if needed:
- MIDI track: `SC_GhostKick`
- Load Operator with a short click/sine, or use a short muted sample
- Set track to Sends Only or set fader down and make sure it still routes to sidechain input
3. In compressors, rename or note the sidechain source:
- Ableton doesn’t label in the device, so use track/device naming like:
`Compressor (SC_Kick)`
Stock device setup example (Bass ducking):
- Compressor: Sidechain from `SC_GhostKick`
- Attack 0.1–1 ms
- Release 40–120 ms (tune to groove)
- Ratio 4:1
- Threshold: set so you get 2–6 dB GR on hits
---
Step 7 — CPU + stability: freeze, flatten, resample smartly 🧊
DnB bass design can destroy CPU (Wavetable stacks, heavy modulation, convolutions).
Rule: if the sound is “done,” print it.
1. Freeze heavy tracks:
- Right-click track → Freeze Track
2. If you want it fully committed:
- Right-click → Flatten
3. For resampled bass workflows:
- Create an audio track: `BASS_Prints`
- Set input to Resampling or from `BASS_Group`
- Record key phrases (drop bass loops, fills, weird FX)
4. Keep the original synth track disabled (not deleted) unless you’re 100% sure.
Good candidates to print in DnB:
---
Step 8 — Device chain sanity: remove “writer’s clutter”
Your mixdown should not be full of half-used devices.
Go track by track:
1. Delete muted/unused devices.
2. Replace temporary devices with proper ones:
- Sketch EQ → keep EQ Eight
- Random saturators → pick one saturator per purpose
3. Check each track’s chain order (common best practice):
- Cleanup EQ → Dynamics → Tone/Saturation → FX → Limiter (rare, track-level)
DnB drum example chain (Snare):
---
Step 9 — Gain staging: fix clips, trim inputs, unify levels
Target: consistent track levels hitting groups, groups hitting master with headroom.
1. On any track that clips pre-fader (check meters):
- Put Utility first and trim -3 to -12 dB as needed.
2. Avoid using track faders as “input trim.”
- Use Utility for gain staging; fader becomes your mix tool.
3. Check group meters:
- Drums group might peak around -10 to -6 dBFS on its own (varies), leaving room for bass.
---
Step 10 — Returns and sends: clean and consistent
1. Rename returns clearly: `RVB_Room`, `DLY_Echo`, `PARA_Smash`
2. Make return tracks 100% wet (standard send/return behavior).
3. On returns, EQ the low end:
- EQ Eight: High-pass 150–400 Hz depending on the effect.
4. Verify sends:
- Don’t send sub-bass to reverb (unless a special effect).
---
Step 11 — Reference track lane (essential)
1. Create an audio track: `REF_Track (Mute)`
2. Drop in a reference DnB tune in similar style (rolling/dark/jungle).
3. Put Utility on it and reduce gain -10 to -16 dB (so it doesn’t trick you).
4. Route it straight to Master, no group processing.
---
Step 12 — Final “cleanup checklist” before you mix
---
4. Common mistakes ❌
1. Mixing into a limiter you used for writing loudness
→ You’ll chase loudness artifacts instead of balance.
2. Random sidechains everywhere
→ Results in inconsistent groove and mystery pumping.
3. Not consolidating edits
→ Tiny clip offsets ruin transients (especially breaks).
4. Too many parallel processes (smash bus + drum buss + saturator + limiter everywhere)
→ Drums lose punch and become papery.
5. Reverb on sub
→ Mud + less headroom + weak drops.
6. Leaving CPU on the edge
→ Crackles during mix decisions = wrong decisions.
---
5. Pro tips for darker/heavier DnB 🕶️🔩
- Use Utility on `SUB_Sine_Mono`: Width 0%.
Dark DnB often gets thick here. Use EQ Eight cuts on bass/music to leave room for snare body.
Put the nastiness on `PARA_DrumSmash` and blend it in. Keeps transients intact.
Commit to the best 8–16 bar bass takes as audio—then edit like jungle (micro-cuts, reverses, stutters).
Keep breaks in their own group so you can compress/shape them without destroying cymbal air.
---
6. Mini practice exercise 🧪
Take one of your existing DnB projects and do this in 20 minutes:
1. Create locators: Intro / Drop 1 / Break / Drop 2 / Outro.
2. Make groups: `DRUMS`, `BASS`, `MUSIC`, `FX`.
3. Create 3 returns: `RVB_Room`, `DLY_Echo`, `PARA_Smash`.
4. Put Utility first on every group and set master peak around -6 dBFS.
5. Freeze your heaviest 2 bass tracks.
6. Consolidate your main break clip into 8-bar chunks.
7. Add `REF_Track (Mute)` and level-match it with Utility.
When you’re done, press play at the drop: it should run clean, be readable, and feel mix-ready.
---
7. Recap ✅
Project cleanup is how you turn a “creative sketch” into a professional mix session:
If you want, paste your current track’s track list (or a screenshot), and I’ll suggest an optimal group/routing layout for your exact DnB session.
```

