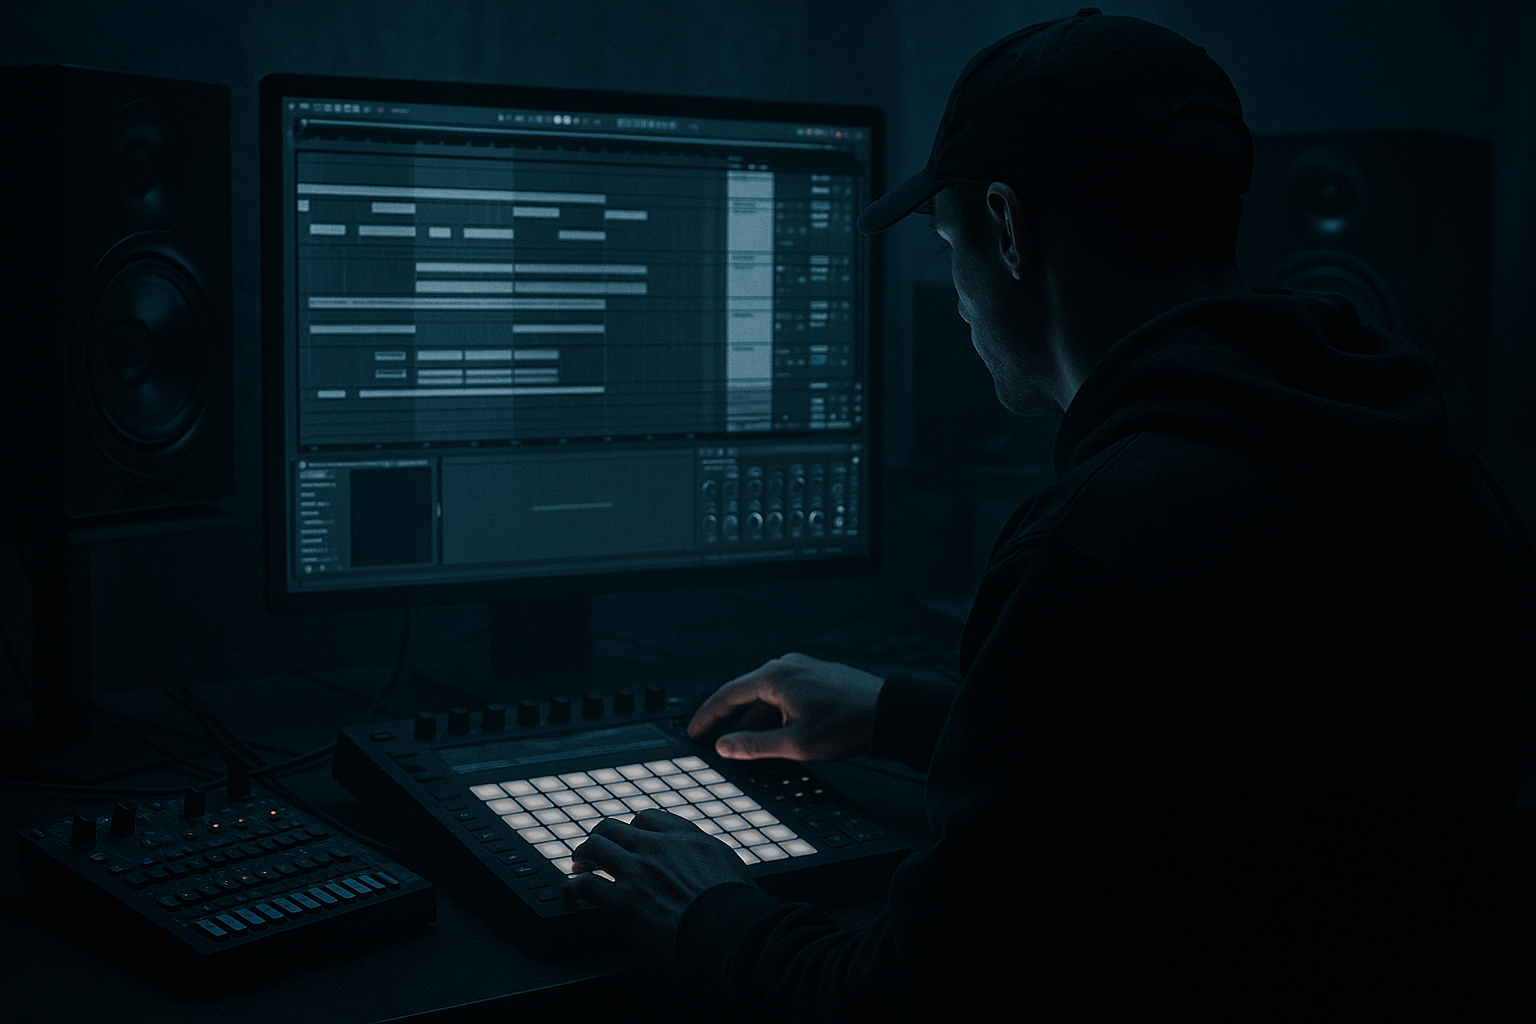
Main tutorial
Pull a Switch‑Up for Floor‑Shaking Low End in Ableton Live 12 (Oldskool Jungle / DnB) 🔥
1. Lesson overview
In oldskool jungle and rolling DnB, a switch‑up is that moment where the groove stays familiar but the bass suddenly changes character—often from a deep sub to a nastier reese, or from a steady tone to a filtered, moving texture. Done right, it hits the floor harder without making the mix collapse.
In this lesson you’ll build a two‑state low end (A = clean sub, B = heavier mid/reese) and a simple, reliable switch technique in Ableton Live 12 using stock devices. ✅
---
2. What you will build
You’ll end up with:
- A Bass Group containing:
- A Switch‑Up FX chain that makes the transition feel intentional:
- An arrangement approach for 32‑bar jungle with a switch at bar 17 or 33.
- Operator settings:
- Add Auto Filter after Operator:
- Add Utility:
- Wavetable:
- Add Auto Filter (IMPORTANT):
- Add Saturator:
- Add Chorus‑Ensemble (for oldskool movement):
- Add Utility:
- In the 1 bar before the switch, do one of these:
- On `BASS BUS`, add Auto Filter:
- On `BASS BUS` add Compressor:
- Switching the sub sound instead of the mid layer → the drop loses consistent weight.
- Stereo sub (wide below ~120 Hz) → weak in clubs + phase issues.
- Too much distortion on the sub → flabby low end and no headroom.
- Not high‑passing the MID layer → sub and mid fight, your mix collapses.
- Over‑reverb on bass → instant mud. Keep reverb sends mostly on mids/highs only.
- Pitch dip for impact: automate MID pitch down -2 semitones for 1/8 beat right before the switch, then snap back.
- Resample a nasty phrase: freeze/flatten the MID (B version), then slice it in Simpler for classic “rewired” bass edits.
- Use Roar subtly: keep Mix under 50% and filter its lows. Roar is powerful—easy to overcook.
- Oldskool movement: slow LFO on Auto Filter cutoff (0.1–0.3 Hz) gives that rolling, hypnotic bass drift.
- Texture layer: add a very quiet noise layer (Operator noise or Wavetable noise) on the MID only, high‑passed above 2–4 kHz.
- You made a proper DnB low end by splitting SUB (mono + clean) and MID (character + movement).
- You created a switch‑up by changing the MID state (A → B) while keeping SUB consistent.
- You added transition FX (filter/swell/short gap) to make the switch feel like a real moment.
- You kept it club‑safe using HP on mids, mono sub, gentle bus control.
- SUB track (always stable, mono, clean)
- MID/REESE track (character + movement, but high‑passed)
- Filter sweep + saturation push
- Optional pitch dip / tape stop vibe
- Quick “air gap” or reverse swell to set up the drop
Oldskool vibe goal: Sub stays consistent = weight; switch happens in the mids = excitement. 🥁🔊
---
3. Step‑by‑step walkthrough
Step 0 — Set up the vibe (tempo + drums)
1. Set tempo to 165–174 BPM (try 170).
2. Drop in a breakbeat (Amen / Think / etc.) and get a simple 2‑step or rolling pattern going.
3. Put a basic drum bus on your break:
- Drum Buss
- Drive: 5–15%
- Boom: 20–35% (tune to taste)
- Transients: +10 to +30
- Keep it punchy, not destroyed (yet).
> The bass switch will feel 10x bigger if the drums already groove.
---
Step 1 — Create a Bass Group with SUB + MID separation (the pro foundation)
1. Create two MIDI tracks:
- `BASS - SUB`
- `BASS - MID`
2. Select both → Cmd/Ctrl + G to make a Group called `BASS BUS`.
#### On `BASS - SUB` (clean weight)
Use Operator (stock) for an instant jungle sub:
- Oscillator A: Sine
- Level: 0 dB
- Envelope (AMP):
- Attack: 0–5 ms
- Decay: 200–500 ms
- Sustain: -inf or set Sustain around -6 to -12 dB if you want held notes
- Release: 50–120 ms
- Filter: Low‑Pass
- Cutoff: 120–180 Hz
- Resonance: 0.0–0.5
- Bass Mono: ON (or Width = 0%)
- Gain: adjust so it’s strong but not clipping
> This track should be boring and powerful. That’s the point. 😈
#### On `BASS - MID` (character + movement)
Use Wavetable or Operator. Here’s a super reliable reese-ish start with Wavetable:
- Osc 1: Saw
- Osc 2: Saw (or Square) slightly detuned
- Detune: 10–25 (don’t go huge)
- Unison: 2–4 voices (careful—too wide can mess mono compatibility)
- Filter: High‑Pass
- Cutoff: 120–200 Hz
- This ensures the MID never fights your sub.
- Drive: 3–8 dB
- Soft Clip: ON
- Mode: Chorus
- Amount: 10–25%
- Rate: 0.15–0.35 Hz
- Mix: 15–30%
- Width: 80–140% (keep it controlled)
---
Step 2 — Write one bassline, feed both layers
1. Create a 1–2 bar MIDI clip on both bass tracks (copy/paste between them).
2. Use a classic jungle rhythm:
- Notes mostly around F–G–G# (or any key you like)
- Rhythm idea: long note on 1, then syncopated stabs before the snare
3. Make the SUB slightly longer than MID (SUB sustains; MID can be choppier).
> Oldskool trick: let the sub “carry the room,” while mids do the talking.
---
Step 3 — Build the switch: A/B bass states without messing your low end
You’re going to switch the MID character, not the SUB. The SUB stays consistent so the dancefloor doesn’t lose the weight.
#### Option A (Beginner‑friendly): Duplicate MID track and swap sound
1. Duplicate `BASS - MID` → rename:
- `BASS - MID (A - Clean)`
- `BASS - MID (B - Nasty)`
2. Keep A simpler (lighter saturation, less chorus).
3. On B, make it heavier:
- Add Roar (Ableton Live 12 stock) after Saturator:
- Style: start with Tube or Distort
- Drive: 10–25%
- Tone: slightly darker (reduce highs)
- Mix: 30–60%
- Add Auto Filter for movement:
- Low‑Pass
- Cutoff: 250–2,000 Hz (automate)
- Resonance: 0.7–1.2
4. Arrange so A plays first 16 bars, then B takes over for the switch section.
This is dead simple and works every time. ✅
#### Option B (Cleaner workflow): Use a RACK to morph between A and B
1. On a single MID track, add Audio Effects Rack.
2. Create 2 chains: `A` and `B`.
3. Put your lighter chain devices in A, heavier chain devices in B.
4. Map Chain Selector to a Macro called `SWITCH`.
5. Set chain zones so:
- SWITCH 0–63 = A
- SWITCH 64–127 = B
6. Automate `SWITCH` to jump at your switch‑up bar.
---
Step 4 — Add the switch‑up FX moment (so it feels intentional) ⚡
A switch hits hardest when you prepare it. You’ll do a mini build that doesn’t ruin the groove.
#### Create a “Bass Switch FX” return (simple + classic)
1. Create a Return Track named `BASS SWELL`.
2. Add devices (in this order):
- Auto Filter
- High‑Pass, Cutoff: 200 → 1,500 Hz (automate or map)
- Resonance: 0.8
- Hybrid Reverb
- Algorithm: Plate (or Hall)
- Decay: 1.5–3.0 s
- Pre‑Delay: 15–30 ms
- Low Cut: 250–400 Hz
- Wet: 20–35%
- Echo
- Time: 1/8 or 1/4
- Feedback: 20–40%
- Filter: keep lows out (HP around 200 Hz)
3. Send only the MID to this return (not the SUB).
#### Arrangement move (classic jungle)
- Mute the SUB for 1/8 or 1/4 beat (tiny gap = huge impact)
- Or low‑pass the whole bass bus quickly then open on the switch
How to do it quickly:
- Low‑Pass
- Cutoff automation:
- Bar 16 beat 3: ~300–600 Hz
- Bar 17 beat 1: open back up (or bypass)
> Keep the sub consistent most of the time. The “gap” is a spice, not the meal. 🌶️
---
Step 5 — Keep it floor‑shaking: manage low end like a DnB producer
#### On the `BASS BUS` group:
1. Add EQ Eight (first):
- Mid/Side mode if you want:
- On Side, roll off below 120 Hz (keep sides clean)
2. Add Glue Compressor (gentle):
- Attack: 10 ms
- Release: Auto
- Ratio: 2:1
- Aim for 1–2 dB gain reduction max
3. Add Limiter (safety):
- Only catching peaks (don’t squash)
#### Sidechain the bass slightly to the kick (optional but helpful)
- Sidechain input: Kick track
- Ratio: 2:1–4:1
- Attack: 1–5 ms
- Release: 60–120 ms
- Gain reduction: 1–3 dB
Jungle doesn’t always pump hard, but a touch of space helps clarity.
---
4. Common mistakes
---
5. Pro tips for darker/heavier DnB 🖤
---
6. Mini practice exercise (15 minutes) ⏱️
1. Build the SUB + MID setup as above.
2. Arrange 32 bars:
- Bars 1–16: MID A
- Bars 17–32: MID B (switch‑up)
3. Add a 1‑bar pre‑switch build:
- Automate `BASS BUS Auto Filter` cutoff down then open
- Add a quick send to `BASS SWELL` on the last 2 beats
4. Export and listen on:
- Headphones
- Laptop speakers (you should still hear the MID switch)
- Mono (Utility → Width 0% on Master temporarily)
Goal: the switch is obvious on small speakers, but the sub stays stable.
---
7. Recap ✅
If you want, tell me your tempo and whether you’re going for Amen roller, ragga jungle, or dark 94 style, and I’ll suggest a specific 2‑bar bass MIDI pattern + exact device settings for that vibe.

