Main tutorial
Lesson Overview
This lesson is about building an oldskool DnB bassline with jungle swing in Ableton Live 12, then turning that bassline into something more alive through resampling. The goal is not just to program a bass patch — it’s to create that worn-in, pressure-heavy, slightly unstable low-end movement you hear in classic jungle, rollers, and darker modern DnB.
In a track, this bassline usually sits in the main drop section and often becomes the hook that locks with the break. It needs to do a few jobs at once:
- carry sub weight
- move like a reese / detuned midbass
- leave space for chopped breaks and ghost notes
- feel swung and human, not grid-perfect
- survive arrangement changes, FX, and DJ-friendly transitions
- a deep mono sub foundation in the 40–60 Hz region
- a midrange oldskool reese / stab hybrid with swing and movement
- a resampled audio version that has extra crunch, asymmetry, and groove
- a call-and-response bass loop that works against a chopped jungle break
- a dark 170–174 BPM roller
- a jungle-influenced drop
- a break-heavy intro-to-drop switch
- a bassline that can be re-edited for A/B phrases, fills, and DJ-friendly mix sections
- Mistake: letting sub and midbass fight each other
- Mistake: over-quantizing the groove
- Mistake: using too much widening on the low end
- Mistake: making the bassline too busy
- Mistake: printing one resample and stopping there
- Mistake: crushing the bass with too much compression
- Mistake: ignoring the break
- Use Saturator in stages rather than one extreme setting. A little drive before resampling, then a little more after resampling, often sounds heavier than one big distortion hit.
- Try a parallel resample layer: keep one clean sub layer and one dirty audio layer. Blend them so the low-end stays stable while the mids get savage.
- Use Drum Buss carefully on the bass group for impact, but keep the Boom section restrained if your sub is already strong.
- Add a tiny amount of Erosion or Redux to the resampled bass only in the upper mids. That creates grime without wrecking the fundamental.
- For a more neuro-leaning edge, automate a narrow Auto Filter or EQ Eight band sweep in the 300 Hz–2 kHz range on the resampled mids. Keep it subtle so it feels like motion, not a wobble effect.
- On the bass phrase, alternate between:
- If the bass is strong but feels small, check the lower mids around 120–250 Hz. A controlled bump there can add body, but too much will blur the kick and break.
- Use mono reference checks constantly. Dark DnB can be wide in the mids, but the sub must remain trustworthy in mono.
- If the break is too cluttered, carve tiny pockets in the bass rather than over-processing the drums. Let the bass and break negotiate the space.
- Lock bass to break groove, not the grid
- Separate sub from midrange clearly
- Resample to gain character, not just loudness
Why resampling matters here: oldskool basslines rarely feel right when they stay too clean. The character usually comes from printing audio, then reworking that audio with warp, slicing, resampling again, and layering distortion, filtering, and transients. That process creates the gritty, slightly unstable energy that makes jungle bass feel alive.
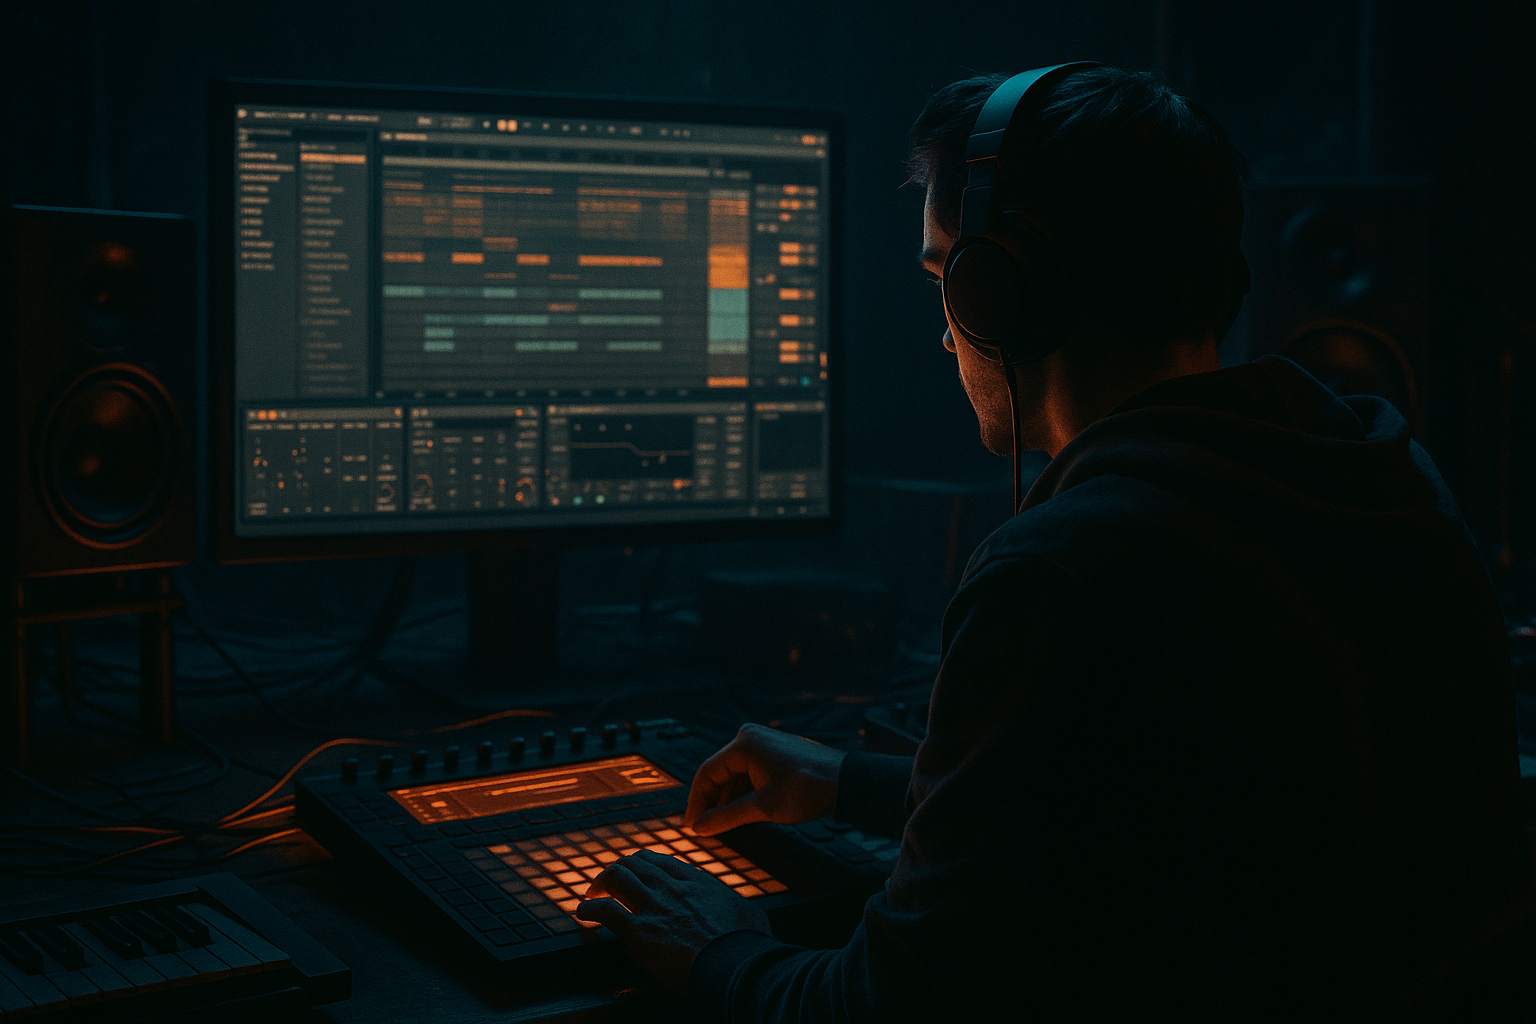
This is an advanced workflow, so we’ll treat Ableton like a sound design and arrangement lab: build the MIDI idea, print it, chop it, process it, and turn it into a bassline with real movement. ⚡
What You Will Build
You’ll create a two-part DnB bass phrase:
By the end, you’ll have a bassline that feels suitable for:
You’re not making a generic synth bass. You’re making a bassline that can hold a 16-bar section, evolve every 2 bars, and still feel raw after resampling.
Step-by-Step Walkthrough
1. Set up the groove bed first: break, tempo, and bass lane
Start at 170–174 BPM. Load a break that already has swing potential — think classic amen-style chops, but any punchy break with ghost hits will work. Put it on one audio track and make sure it’s sliced or manually edited so the snare lands solidly on 2 and 4 while the hats and ghosts create forward motion.
Create two MIDI tracks:
- Track 1: Sub Bass
- Track 2: Mid Bass / Reese
On the drum break track, use Groove Pool if needed, but don’t over-quantize. For jungle swing, the break should feel human and slightly behind the grid in places. If you’re editing audio clips, nudge certain ghost notes a few milliseconds late rather than forcing everything to 100% quantized.
Why this works in DnB: the bassline doesn’t exist alone. Oldskool DnB bass works because it interlocks with a break that already has micro-timing. If the drums are too rigid, the bassline won’t feel like jungle — it’ll feel programmed.
2. Program a sparse bass phrase with off-grid energy
In the Sub Bass MIDI track, load Operator or Analog. Keep it simple:
- Oscillator: sine or triangle-based tone
- Mono on
- Glide/portamento: subtle, around 40–80 ms
- Low-pass filtering if needed to keep it pure
Write a 2-bar pattern with:
- one long note on the downbeat
- a short push or pickup before the snare
- a syncopated answer at the end of bar 1 or bar 2
- occasional note-length changes so it “breathes”
Keep note choices rooted in a minor scale, but don’t overcomplicate the harmony. Classic jungle bass often works with a one- or two-note motif that creates attitude through rhythm, not chord movement.
Parameter suggestions:
- Sub note length: 1/8 to 1 bar, depending on phrase
- Velocity variation: 10–25 points between hits
- Glide time: 40–80 ms
- Peak level on this track: leave headroom; don’t slam the channel
This first MIDI layer is your “skeleton.” It should already feel like a bass hook when looped with the break.
3. Design the midbass with a reese foundation and controlled movement
On the Mid Bass track, use Wavetable or Analog. The aim is a reese-style width and tension, but not an over-polished modern brostep sound. Try:
- Two detuned saws or a saw/square blend
- Slight oscillator spread or fine detune
- Filter: Auto Filter or the synth’s filter with a gentle low-pass move
- Add Chorus-Ensemble lightly for width, then keep it under control
Settings to start:
- Detune: 5–20 cents
- Filter cutoff: around 120–400 Hz depending on how much midrange you want
- Resonance: low to moderate, about 10–25%
- Enveloper/amount to cutoff: subtle, so the note has a chew on the front
- Chorus width: enough to feel wide in the mids, but not smear the low end
Write the same rhythm as the sub, but change one or two note lengths so the midbass “talks” against the break. A good oldskool DnB bassline often has a call-and-response relationship:
- hit 1 = statement
- hit 2 = answer or lift
- hit 3 = shorter stab or pickup
- hit 4 = space
Use note velocity and note length as arrangement tools, not just performance data.
4. Lock the sub and midbass together with disciplined routing
Route both bass tracks into a Bass Group. On the group, insert:
- EQ Eight
- Saturator
- Glue Compressor if needed, very lightly
- Utility
On the sub track:
- Keep the signal mostly mono
- Use Utility with Width at 0%
- Cut anything above the useful sub range if it’s muddy, but don’t over-filter the tone into nothing
On the midbass track:
- High-pass around 80–120 Hz so it doesn’t fight the sub
- Allow more harmonic content in the 150 Hz–1.5 kHz zone
- If the reese gets harsh, tame with a narrow dip around 2–4 kHz
On the Bass Group:
- Saturator Drive: 1–6 dB depending on how aggressive you want it
- Glue Compressor: gentle, 1–2 dB gain reduction max if needed
- Utility: keep mono compatibility checked via Width control and mono reference
This separation is essential in DnB: sub weight must stay stable, while the midbass can wobble, distort, and move around it.
5. Resample the bassline to audio and capture the best version
Now commit. Create a new audio track called Bass Resample and set its input to Resampling or route the Bass Group to it. Arm the track and record a full 4 or 8 bars of the bassline with the drums playing.
Don’t just capture one pass. Record:
- a clean pass
- a more saturated pass
- a version with an FX automation move
- a version where you slightly vary note lengths or octave jumps
Then comp the best bits by slicing the resampled audio into clips. This is where the sound becomes “real.” Audio reveals tiny timing shifts, saturation artifacts, and envelope quirks that MIDI often hides.
After recording:
- use Warp sparingly
- avoid flattening the groove too much
- if a hit feels late in a good way, keep it
- if a transient is dull, you can use clip gain or a short fade rather than rebuilding the patch
Why this works in DnB: resampling turns a static synth line into a performance object. Jungle and oldskool bass often feel powerful because they’re imperfect in an intentional way.
6. Process the resampled audio like a drum element, not just a bass
Once the audio is printed, treat it like a sample. Add an effects chain on the resampled track:
- EQ Eight: cut mud and control harshness
- Saturator: add edge
- Drum Buss: use Drive lightly for impact, keep Boom subtle or off if the low end gets bloated
- Auto Filter: automate cutoff for phrase motion
- Redux or Erosion: use very sparingly for texture
Suggested starting points:
- Saturator Drive: 2–8 dB
- Drum Buss Drive: enough for attitude, but stop before the transient collapses
- Auto Filter cutoff automation: sweep from 200 Hz to 2–8 kHz in transitions, or use more restrained moves within the bass phrase
- Erosion: low amount, just to roughen the high mids
Try printing a second resample after this chain. That second-generation audio is often where the oldskool grit appears. You can then chop it into:
- a main bass loop
- a fill response
- a one-shot stab
- a reverse pickup into the drop
7. Add jungle swing with micro-edits, not heavy quantize
Open the resampled bass audio and manually edit the clip to sit with the break. Instead of forcing everything to the grid:
- nudge certain hits a few ms late
- let short notes land slightly ahead if they need punch
- create a push-pull between kick and bass
- leave one rest per bar so the groove can breathe
Add subtle ghost bass notes on off-beats or just before the snare to mimic the energy of chopped drums. These should be quiet and quick — not obvious, just enough to create forward motion.
A useful arrangement trick:
- Bar 1: full motif
- Bar 2: remove one answer note
- Bar 3: add a pickup or octave flick
- Bar 4: leave space and let the break speak
That four-bar logic is huge in DnB. If the bass never stops, the groove gets fatiguing. If it answers the break, the whole drop feels more alive.
8. Build movement with automation and performance-style variation
Use automation on the resampled track or its return chain to create phrase movement:
- Auto Filter cutoff opening slightly every 2 bars
- Reverb sends only on end-of-phrase stabs, not on the whole bass
- Delay throws on one or two transitions, then cut it back
- Utility gain dips for breakdowns or pre-drop tension
Advanced move: automate an Audio Effect Rack macro that controls:
- Saturator Drive
- Filter cutoff
- Reverb send
- Width on the midrange layer only
Keep automation restrained. The bass should feel like it’s evolving, not like it’s being “FX’d” constantly.
Musical context example: in a 16-bar drop, let bars 1–4 establish the motif, bars 5–8 add a higher octave stab or filtered layer, bars 9–12 strip the midrange for tension, and bars 13–16 bring back the full weight with a fill into the next section.
9. Shape the arrangement around DJ-friendly energy and tension
In an actual track, this bassline needs to work in sections:
- Intro: tease with filtered bass fragments or sub-only hints
- Drop 1: full groove, simple motif
- Mid-drop switch: resampled fill or octave change
- Breakdown: reduce bass to sub pulses or filtered noise
- Drop 2: bring back the resampled version with extra grit
For DJ usability, keep the intro/outro mixable:
- clean 16 or 32 bars
- minimal low-end interference
- no full bass slam until the drop
- use atmosphere, vinyl-style noise, reversed tails, or filtered percussion to lead in
In darker DnB, arrangement is part of the bass sound. If the bassline drops too early or too often, it loses impact. If it’s shaped with space, every return feels heavier.
Common Mistakes
- Fix: high-pass the midbass around 80–120 Hz and keep the sub mono.
- Fix: preserve slight timing offsets, especially on bass pickups and ghost notes.
- Fix: keep width mostly in the mids; use Utility to mono-check often.
- Fix: simplify the phrase. Oldskool DnB often hits harder when there’s space between notes.
- Fix: do at least one second-generation resample after processing. That’s where the grime often appears.
- Fix: use compression for control, not flattening. If the groove loses bounce, back off.
- Fix: edit the bass to answer the drums. The bass should complement the break, not sit on top of it.
Pro Tips for Darker / Heavier DnB
- long note / short note
- short note / rest
- downbeat hit / off-beat answer
That variation is what keeps jungle bass feeling alive over repeated bars.
Mini Practice Exercise
Spend 10–20 minutes making a two-bar jungle bass loop using this workflow:
1. Set the project to 172 BPM.
2. Program a simple break and one bass pattern with sub + midbass.
3. Resample the bass once into audio.
4. Make three edits:
- one version with a shorter pickup note
- one version with a filtered cutoff move
- one version with a doubled end-of-bar stab
5. Bounce or consolidate the best two-bar loop.
6. Loop it with the break and listen for:
- does the bass leave space?
- does the swing feel human?
- does the sub stay solid?
- does the resampled layer add grit without mud?
If it feels stiff, move one or two bass notes slightly off-grid and try again. If it feels weak, resample once more through Saturator or Drum Buss and compare.
Recap
The key to this oldskool DnB bassline is rhythm first, synthesis second, resampling third. Build a simple sub and reese foundation, make it swing with the break, then print it to audio so you can reshape it like a sample. Keep the sub mono, let the mids move, and use resampling to create grime, variation, and performance feel.
If you remember only three things:

