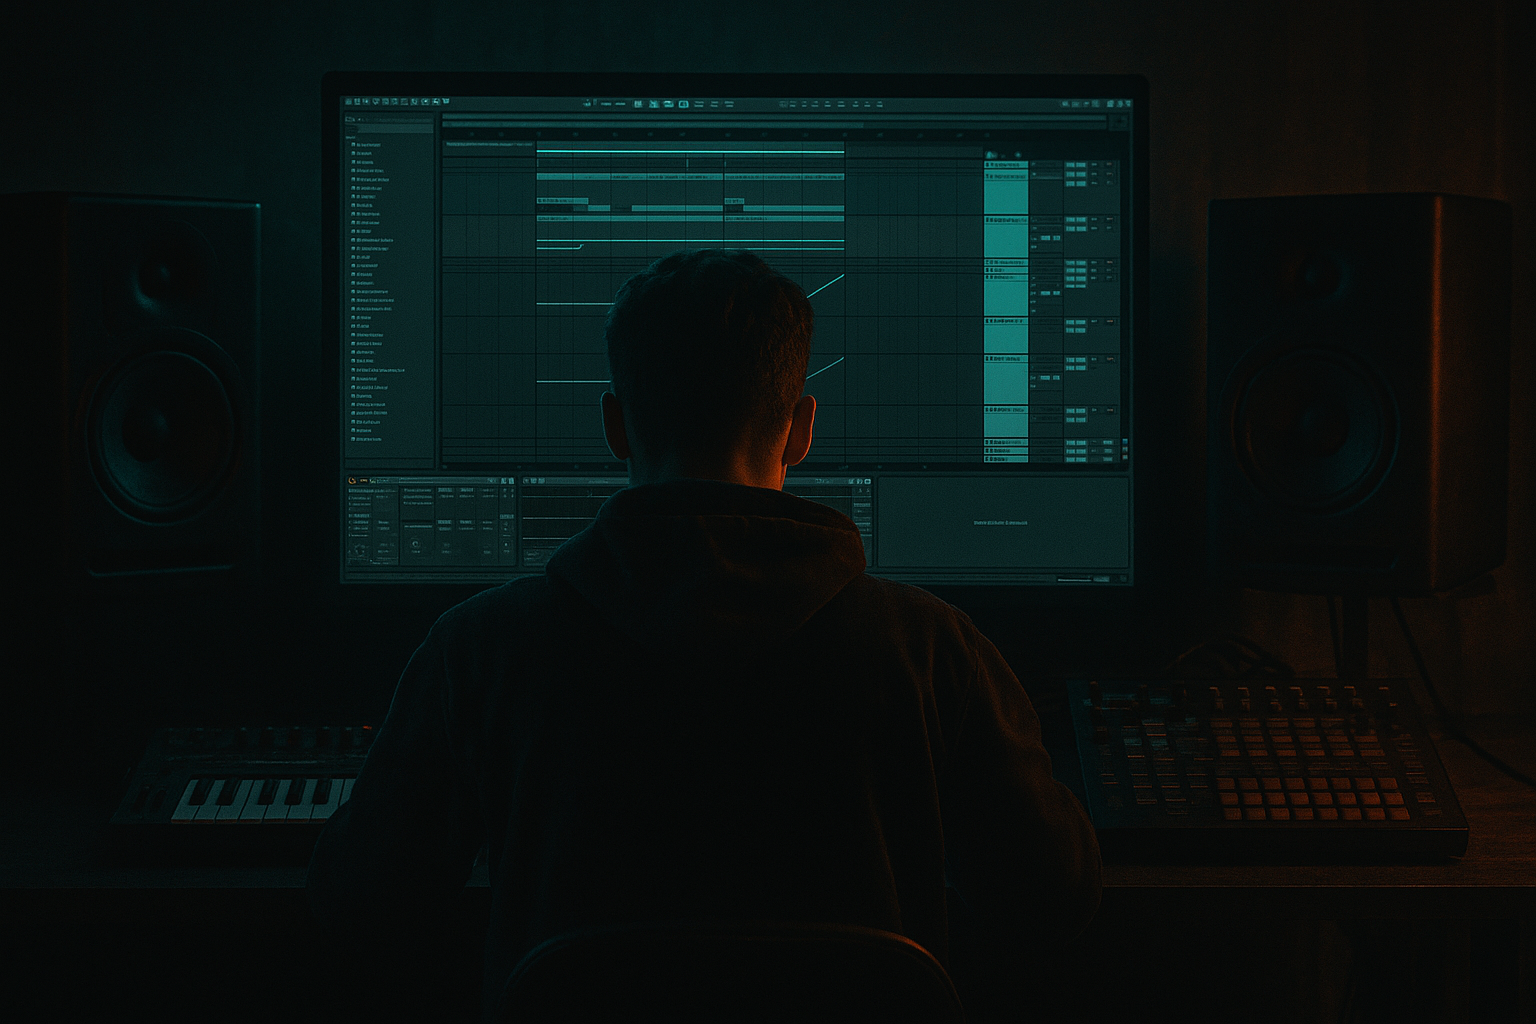
Main tutorial
Pull Oldskool DnB Vocal Texture Using Groove Pool Tricks in Ableton Live 12 (Beginner)
1. Lesson overview
Oldskool jungle/DnB vocals often feel late, swung, slightly “dragged,” and sampled—like they’re riding the groove of the break rather than sitting neatly on the grid. In Ableton Live 12, the Groove Pool is a powerful (and underrated) way to recreate that “lifted from vinyl / chopped from tape” feel without needing complex warping or heavy editing. 🎛️
In this lesson you’ll:
- Extract groove from a break (or use classic swing)
- Apply it to vocal chops for instant jungle texture
- Use Groove Pool controls (Timing/Random/Velocity/Base) to get that imperfect, human sampled vibe
- Lock it into a rolling DnB arrangement
- A breakbeat (Amen-style or similar)
- A vocal sample chopped into 1–8 hits
- A “pulled” oldskool groove where the vocal sits behind the drums with slight randomness
- A simple processing chain that makes the vocal sound like it came from a dusty 90s sampler 📼
- Use just 3–6 vocal hits (“hey!”, “rewind!”, “come again!”) in a Drum Rack.
- Timing
- Random
- Velocity
- Base
- (and often Quantize / “commit” behavior depending on Live version)
- Timing: 70–90%
- Random: 10–25%
- Velocity: 0–20% (more important for MIDI-triggered chops)
- Base: try 1/16 first, then 1/8 if you want chunkier swing
- Break groove amount: keep minimal or off (optional)
- Vocal groove amount: higher Timing/Random
- Commit a version, duplicate the clip, commit again with different Random values—then arrange between them for variation.
- Bars 1–2: Break only (set the groove feel)
- Bars 3–4: Add sparse vocal hits (commit groove)
- Bars 5–6: More vocal fills + echo throws at phrase ends
- Bars 7–8: Full vocal “call” + one bar of space (mute last hit for tension)
- Sidechain the vocal to the snare (subtle):
- Parallel “radio room” vocal buss:
- Resample a bar and re-chop
- Call-and-response with bass gaps
- Use a breakbeat as your timing reference → Extract Groove.
- Apply that groove to vocal chops (best via Slice to MIDI / Drum Rack).
- Shape feel with Timing + Random + Base to get that oldskool drag and swing.
- Commit groove to print the vibe like hardware sampling.
- Add subtle Saturator + Redux + dark Echo/Reverb for authentic jungle/DnB vocal texture.
---
2. What you will build
A tight DnB loop featuring:
End result: a vocal that bounces with your drums instead of fighting them.
---
3. Step-by-step walkthrough
Step 0 — Project setup (quick and clean)
1. Set tempo to 170–174 BPM (start at 172).
2. Create tracks:
- Audio Track 1: Breakbeat
- Audio Track 2: Vocal (or vocal chops)
- (Optional) MIDI Track: Drum hits for reinforcement
DnB note: This technique works best when your drums already have some groove—think classic breaks, shuffles, ghost notes.
---
Step 1 — Choose a break that already “teaches” the groove
1. Drag in a break loop (Amen, Think, Hot Pants, etc.).
2. Warp it:
- Double-click the clip → enable Warp
- Set Warp Mode to:
- Beats (good for drums)
- Preserve: Transients
3. Make sure it loops cleanly over 1 or 2 bars.
Goal: Your break is your groove “source.” 🥁
---
Step 2 — Extract groove from the break into Groove Pool
1. Right-click the break clip.
2. Choose Extract Groove.
3. Open Groove Pool (hot tip: look on the left browser panel—Grooves section / Groove Pool icon depending on layout).
Now you should see a new groove entry based on your break.
Why this matters: This captures micro-timing and feel—exactly what makes old jungle swing.
---
Step 3 — Prep a vocal so it can actually groove
Oldskool vocals are often chopped and re-triggered, not just one long phrase.
Option A (fastest): Audio chops
1. Drag a vocal sample into Audio Track 2.
2. Warp it:
- For vocals, try Complex or Complex Pro
3. Right-click the vocal clip → Slice to New MIDI Track
- Slicing preset: Transients (good start)
- Create: Drum Rack
You now have vocal hits on pads, playable like an old sampler. 🔪
Option B (simpler): One-shot vocal hits
---
Step 4 — Apply the extracted groove to the vocal (the key move)
1. Click your vocal clip (or the MIDI clip that triggers the vocal slices).
2. In the clip view, locate Groove chooser.
3. Select the groove you extracted from the break.
Now press Commit? Not yet. First we shape it in the Groove Pool.
---
Step 5 — Shape the “pulled oldskool” feel using Groove Pool controls
Open the Groove Pool and select your extracted groove. You’ll see main controls like:
Try this DnB starting point:
#### A) Classic “behind the beat” vocal drag
What you’re listening for:
The vocal starts to “lean” into the gaps between break hits—more like it was sampled off a record.
#### B) Make the vocal groove harder than the drums (old jungle trick)
Apply groove to vocal more strongly than the break:
This makes the vocal feel like it’s being thrown around the rhythm, while drums stay stable and driving.
---
Step 6 — Commit selectively (so it’s “printed” like sampling)
Once it feels good:
1. Select the vocal MIDI clip (or audio clip).
2. Use Commit Groove (in clip context menu or Groove Pool workflow).
Why commit? It bakes in the feel like you “resampled” it—very oldskool. 📼
After committing, you can turn off groove and the timing stays.
Workflow suggestion:
---
Step 7 — Add the oldskool vocal texture device chain (stock Ableton)
Put this on your Vocal track (Audio track or Drum Rack chain):
1. EQ Eight
- HP filter around 120–200 Hz (remove rumble)
- Gentle dip around 2–4 kHz if harsh
2. Saturator
- Mode: Analog Clip
- Drive: 2–6 dB
- Soft Clip: On
3. Redux (very light!)
- Downsample: subtle (try 1.2–2.5)
- Bit reduction: tiny or none (avoid destroying intelligibility)
4. Auto Filter (for movement)
- Mode: LP
- Cutoff: 6–14 kHz
- Envelope: small amount so transients poke through
5. Echo
- Time: 1/8 or 1/16
- Feedback: 10–25%
- Filter the echo (HP ~300 Hz, LP ~6–8 kHz)
6. Reverb (small and dark)
- Decay: 0.8–1.6s
- High Cut: 4–7 kHz
- Wet: 5–12%
DnB vibe tip: Keep the vocal darker than you think so it sits inside the drums + bass.
---
Step 8 — Arrangement idea (8-bar rolling DnB mini-drop)
Try this structure:
Classic jungle move: Put a vocal hit on the “and” of 2 or just before the snare—groove will make it tuck in perfectly.
---
4. Common mistakes
1. Grooving everything the same amount
If drums and vocals are both heavily grooved, the whole track can feel drunk. Let drums be steadier; let vocals be looser.
2. Too much Random (turns to mush)
Random is magic… until it’s not. Over 30–35% often kills punch.
3. Wrong Base value
Base too small (e.g., 1/32) can create tiny jitter that sounds like bad warping. Start at 1/16.
4. Not committing / not resampling
Oldskool feel often comes from printing decisions. Commit groove, then edit like it’s “sampled.”
5. Over-bright vocal processing
Bright modern vocals scream “2020s.” Darken and saturate for 90s texture.
---
5. Pro tips for darker/heavier DnB 🖤
Use Compressor with Sidechain from snare, just 1–2 dB reduction so the snare punches through.
Send vocal to a Return track with:
- Saturator (heavier) → EQ Eight (bandlimit 300 Hz–5 kHz) → Reverb (small, dark)
Blend in at -18 to -10 dB return level.
After groove + FX, resample 1–2 bars to audio, then slice again. This creates that “sample of a sample” grit.
In darker DnB, leave vocal hits in the spaces between bass notes—groove helps them sit naturally without constant automation.
---
6. Mini practice exercise (10 minutes)
1. Load a break loop and Extract Groove.
2. Slice a vocal to Drum Rack (transients).
3. Program a 1-bar pattern with 4–6 vocal hits.
4. Apply the extracted groove to the vocal MIDI clip.
5. In Groove Pool, set:
- Timing 80%
- Random 18%
- Base 1/16
6. Commit Groove and duplicate the clip.
7. On the duplicate, increase Random to 25%, commit again.
8. Arrange: bar 1 = clean, bar 2 = randomized version.
Listen: do you get a more “lifted, old tape” vibe without changing the samples? ✅
---
7. Recap
If you want, tell me what style you’re aiming for (early jungle, rollers, techstep, jump-up, etc.) and I’ll suggest specific groove settings + a 2-bar vocal chop pattern that matches it.

