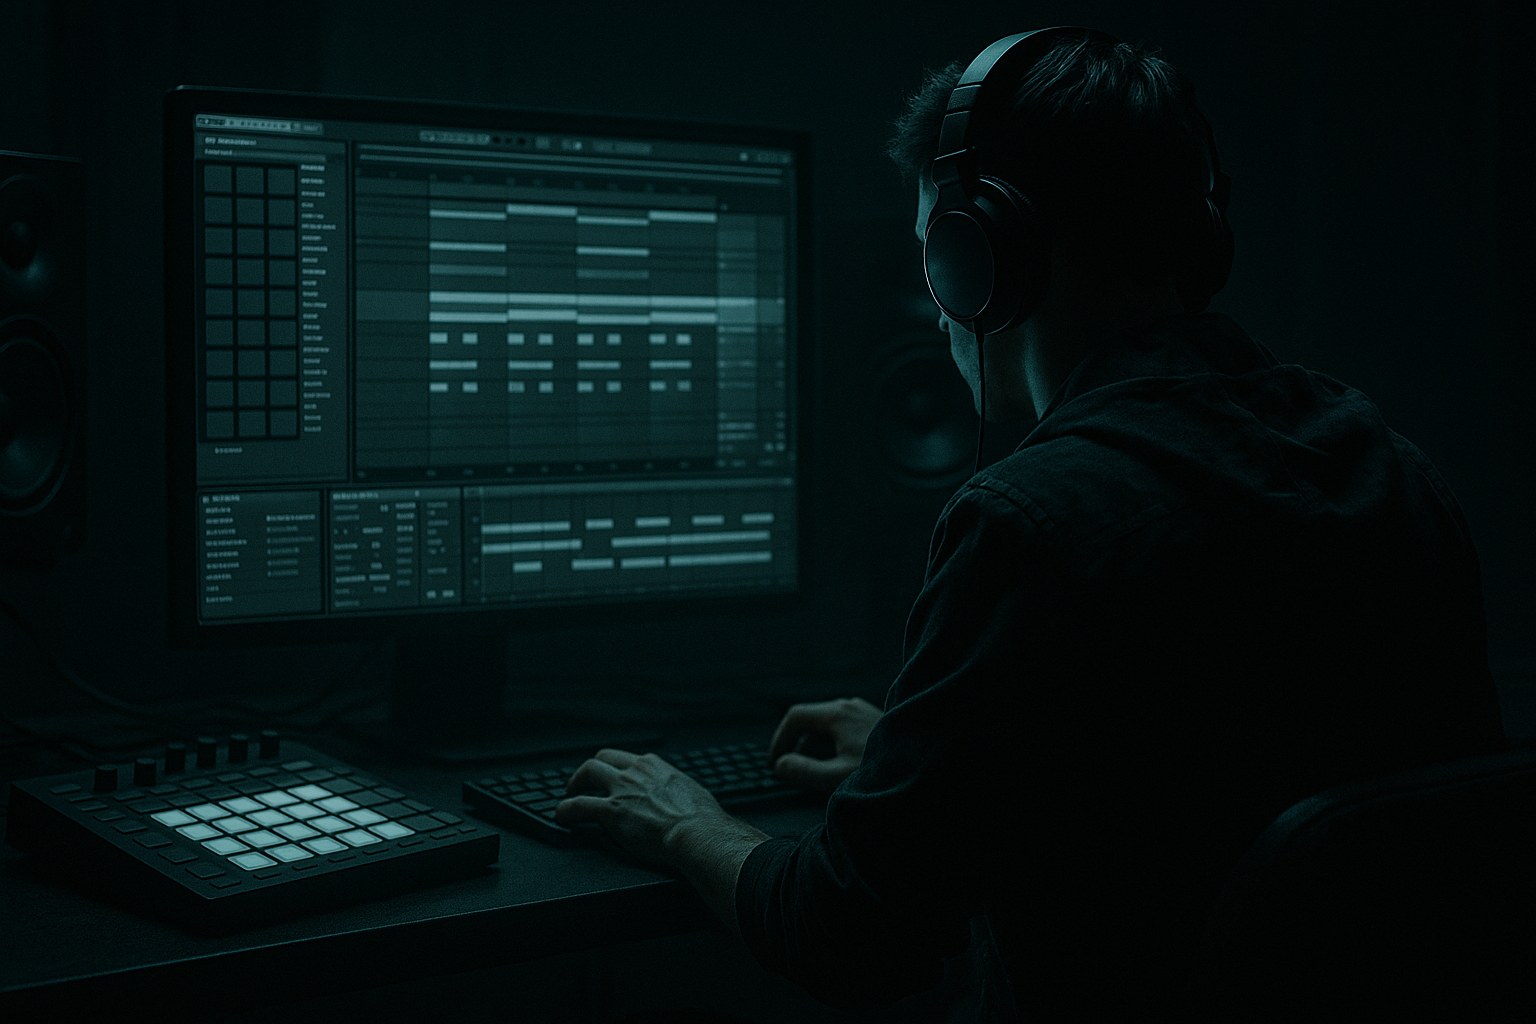
Main tutorial
Quick Bounce-and-Reimport Tricks from Scratch in Ableton Live 12 (DnB Workflow) ⚡️🥁
1. Lesson overview
Bounce-and-reimport is one of the fastest ways to commit, reshape, and weaponize sounds for drum & bass—especially when you’re building rolling drums, resampled basses, and gnarly fills. In Live 12, you can do this extremely quickly using Freeze/Flatten, Resampling, and Consolidate, then reprocessing audio like it’s a sample pack you made yourself.
This lesson is about speed + control: printing audio at the right moments so you can slice, pitch, reverse, stretch, and re-layer without CPU drag or creative hesitation.
---
2. What you will build
By the end, you’ll have a small DnB “bounce workflow” session including:
- A rolling drum loop printed to audio and sliced for fills
- A resampled bass phrase turned into a playable audio instrument
- A reese/tech layer created via aggressive resampling + distortion
- A quick-call “print bus” for instant bouncing and reimporting
- Arrangement moves typical of DnB/jungle: 16-bar builds, drop edits, micro-fills, pre-drop tape stops
- Track: `DRUMS (Group)`
- Route `DRUMS (Group)` to `PRINT`:
- Record 8 bars of your rolling drums.
- Once recorded, right-click the recorded clip → Crop Sample (optional but clean).
- Now you have a committed audio loop.
- Interval: 1 Bar
- Grid: 1/16 or 1/32
- Chance: 10–30%
- Create audio track: `BASS PRINT`
- Audio From: `BASS MIDI (Post FX)` (important)
- Record 4–8 bars including movement.
- Set Warp mode:
- Now do DnB moves:
- Slice small 1/2 bar chunks
- Alternate with your clean bass layer
- Make classic DnB phrasing:
- Bar 16 → Drop
- Every 8 bars
- Last 2 beats before a phrase
- Create a `FX PRINT` track and record only your reverb/delay throws, then edit like audio.
- Printing from the Master with heavy limiting: you’ll bake in pump/clip artifacts and make later mixing harder.
- Not labeling prints: name clips like `Drums_Print_174bpm_8bar_A`.
- Warping everything by default: some bass resamples sound better with Warp off.
- No gain staging before resampling: if you print too hot, you’ll chase distortion forever.
- Layering without phase awareness: especially on sub—keep a clean sub layer separate and mono.
- Protect the sub, destroy the mids: split your bass into Sub (clean) + Reese (abused). Use EQ Eight to carve and Utility to mono the lows.
- Resample at key “commit points”:
- Print rhythmic distortion: automate Roar drive or filter envelope, then resample—now the rhythm is embedded in the audio and feels more intentional.
- Make drums feel like a record: resample drum group, then process the audio with:
- Use short, mean rooms: create a dark space with Hybrid Reverb (small room, short decay), then print reverb hits and reverse them into transitions.
- Bounce-and-reimport in Live 12 is a DnB power workflow: it makes your ideas editable, sliceable, and commit-ready.
- Use a dedicated `PRINT` track and record from groups/buses (not always the master).
- Print drums → slice → fills; print bass → warp/pitch/slice; print distorted layers → build call & response.
- Commit in stages, label everything, and keep sub clean while you go savage on the mids. 🔥
---
3. Step-by-step walkthrough
A) Set up a “Print / Resample” system (fast + repeatable)
1. Create a new audio track and name it: `PRINT`.
2. Set Audio From to:
- `Resampling` (captures your master output), or
- A specific bus/group (cleaner, more controlled).
3. Set Monitor to `Off` (prevents feedback loops).
4. Arm the track, and set a clean record region in Arrangement (e.g., 8 or 16 bars).
DnB tip: Avoid resampling off the Master if you’re using a limiter for loudness—print from a Drum Bus or Bass Bus group before master limiting, then re-limit later.
---
B) Bounce drum processing into audio (commit your groove)
We’ll build a typical rolling loop and print it.
1) Drum Group (example chain)
- Inside: Kick / Snare / Hats / Ghosts / Break layer
Suggested stock chain on the DRUMS group:
1. EQ Eight
- HP around 25–35 Hz
- Small dip 250–400 Hz if boxy
2. Drum Buss
- Drive: 5–15
- Boom: 0–15 (tune to kick fundamental)
- Crunch: 5–20 (careful with hats)
3. Glue Compressor
- Attack: 3–10 ms
- Release: `Auto` or 0.1–0.3 s
- Ratio: 2:1
- Aim: 1–3 dB GR
4. Saturator
- Soft Clip: `On`
- Drive: 1–6 dB
5. Optional: Roar (if you want heavier tone)
- Use subtle drive or multiband for controlled aggression
2) Print it
- On PRINT: Audio From → DRUMS
3) Reimport workflow
Why this matters in DnB: Once your groove is audio, you can slice micro-edits and fills fast, which is a huge part of “pro” drop energy.
---
C) Slice the bounced drum loop for instant fills (jungle-style edits) ✂️
1. Take your printed drum clip and Consolidate (`Cmd/Ctrl + J`) into a clean region (like 8 bars).
2. Right-click the consolidated clip:
- Use Slice to New MIDI Track (choose a slicing preset)
- Slice by: Transients (usually best for drums)
3. You’ll get a Drum Rack with slices. Now:
- Program quick fills like 1/16 stutters before bar 9 (drop)
- Add reverse snare moments by duplicating a snare slice:
- In Simpler: enable Reverse
4. Tighten groove:
- In MIDI, nudge a few ghost hits late by 5–15 ms for swing
- Or add Groove Pool shuffle lightly (don’t overdo in DnB)
Extra: Put Beat Repeat on the slice rack return or a bus:
Automate it for 1–2 beats before transitions.
---
D) Bounce a bass phrase and turn it into a “resampled instrument” 🎛️
This is classic DnB: you design a bass in MIDI, then print to audio so you can slice/pitch/warp and add character.
1) Build a bass chain (stock)
On a MIDI track: `BASS MIDI`
Example device chain:
1. Wavetable (or Operator)
- Osc A: saw-ish or square-ish
- Add slight unison (keep mono compatibility in mind)
2. Auto Filter
- Low-pass with envelope movement
3. Saturator
- Drive: 3–10 dB, Soft Clip `On`
4. Roar (optional but powerful)
- Use multiband to distort mids while protecting sub
5. EQ Eight
- Keep sub clean: reduce messy low-mids if needed
6. Compressor (sidechain from kick/snare bus)
- Classic DnB pump, subtle but consistent
2) Print the bass
3) Reimport & warp like a producer
- For bass: try Complex Pro (for texture) or Beats (for tighter transients)
- If it gets weird, turn Warp off and treat it as straight audio
- Pitch transpose the clip -12 / -7 / +5 for variation
- Reverse tiny tails to create suction transitions
- Consolidate your best 1-bar phrase and duplicate with edits
---
E) Make a heavy reese layer via “bounce → distort → bounce again”
This is where bounce-and-reimport becomes sound design.
1) Start with your BASS PRINT audio
Duplicate it to a new track: `REESE RESAMPLE`.
2) Processing chain (audio track)
Try:
1. EQ Eight
- High-pass at 80–120 Hz (protect sub)
2. Roar
- Distortion type: try `Drive`/`Fuzz`/`Dirt`
- Multiband: distort mids aggressively, leave low band cleaner
3. Chorus-Ensemble
- Very subtle width; don’t smear too much
4. Auto Filter
- Add slow movement or band-pass sweeps
5. Frequency Shifter
- Mode: `Ring` for metallic edge (subtle!)
6. Saturator
- Soft Clip on, final bite
7. Utility
- Width: keep lows mono (or split bands before width)
3) Bounce again
Route `REESE RESAMPLE` to `PRINT` and record 2–4 bars of the nastiest section.
4) Chop it into “call & response”
- Bars 1–2: statement
- Bars 3–4: variation
- Bars 5–8: escalate (more distortion / fills)
- Bar 8: pre-drop edit / stop
---
F) Quick arrangement tricks with printed audio (drop energy)
Once drums and bass are audio, arrangement becomes fast and decisive:
- Add 1-beat silence before the drop (hard cut)
- Or do a tape-stop imitation:
- Automate clip Transpose down quickly (or warp markers) on the last beat
- Insert a micro-fill (1/8–1/4 bar) using your sliced drum rack
- Add Beat Repeat + reverb throw (print it if CPU is high)
Pro move: Print FX returns too.
---
4. Common mistakes
---
5. Pro tips for darker/heavier DnB 🖤
1) After you nail the riff
2) After the first distortion stage
3) After adding modulation FX
Each bounce becomes a new “sample stage” you can chop.
- Redux (tiny bit) + Saturator + EQ Eight
---
6. Mini practice exercise (15–25 min) ⏱️
Goal: Create an 16-bar DnB drop loop using bounce-and-reimport at least 3 times.
1. Build a 2-step + ghost drum pattern at 172–175 BPM.
2. Add a break layer (Amen-ish vibe) and process drums on a group.
3. Print drums to audio (Bounce #1).
4. Slice the printed drums and program two fills (end of bar 8 and bar 16).
5. Write a 4-bar bass riff in MIDI with movement.
6. Print bass to audio (Bounce #2).
7. Duplicate the bass audio, distort aggressively (Roar/Saturator), then print the reese (Bounce #3).
8. Arrange 16 bars:
- Bars 1–8: main groove
- Bars 9–16: variation (different bass slice order + one extra drum fill)
9. Export a quick ref (don’t over-master)—just to check energy.
---
7. Recap
If you want, tell me your preferred DnB lane (jungle, neuro, deep/roller, jump-up) and I’ll give you a tailored bounce template: track layout + routing + print points + a starting drum/bass chain.

