Main tutorial
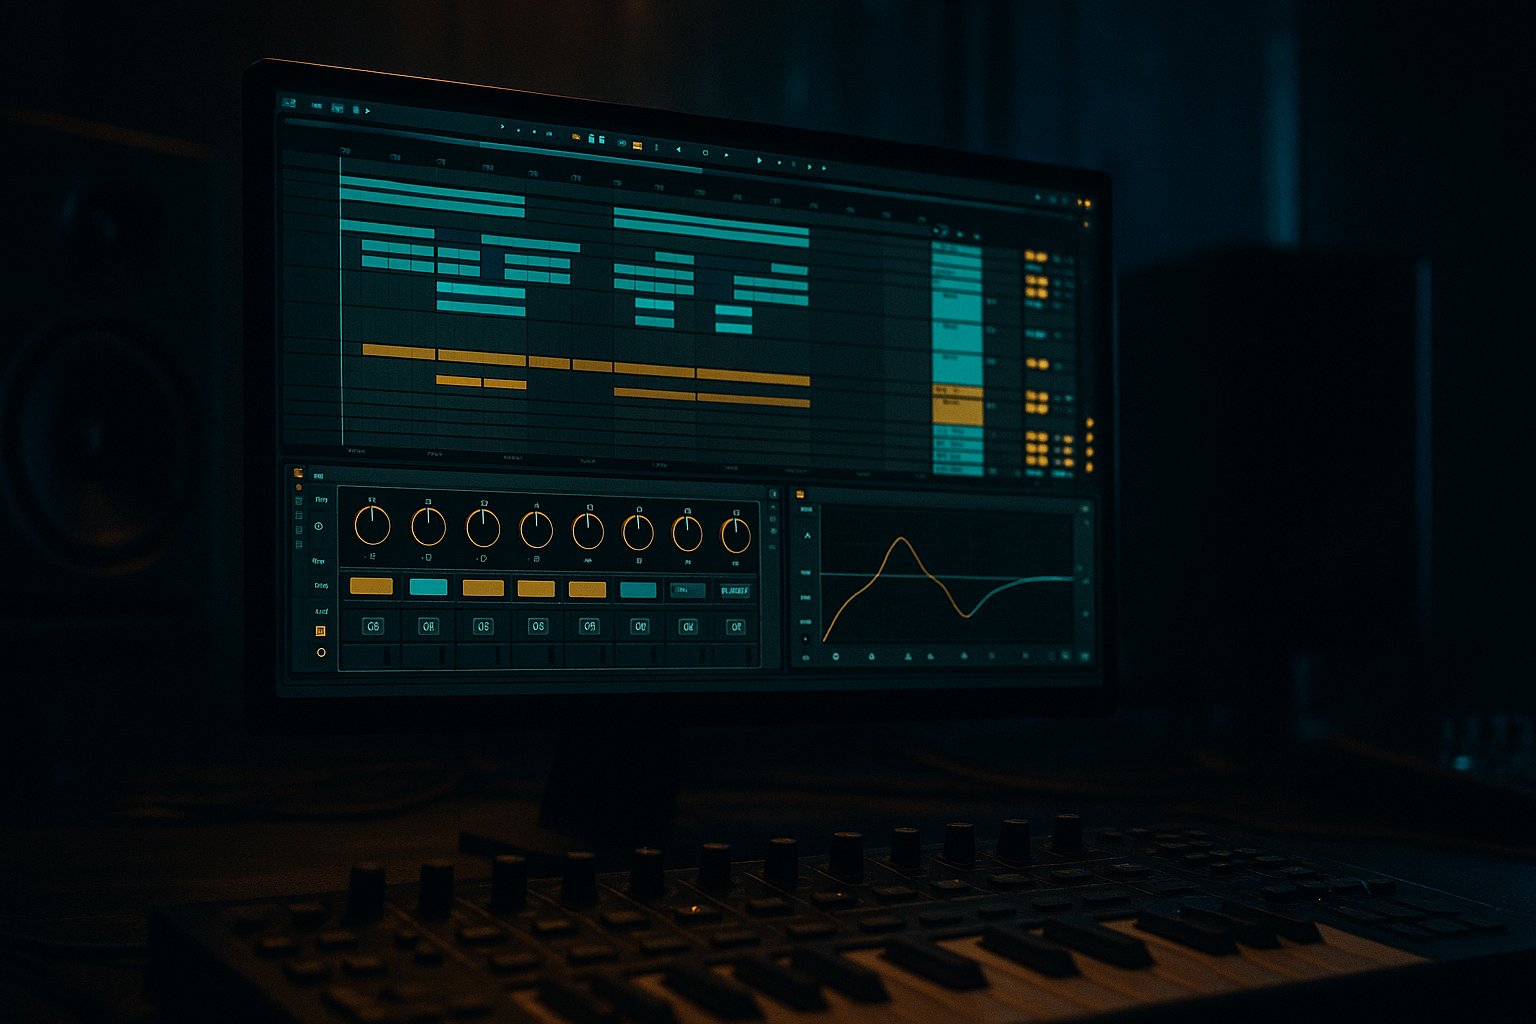
Rack Macro Design for Jungle (Ableton Live)
Teacher: energetic, clear, professional. Target: Intermediate — workflow-focused for drum & bass / jungle / rolling bass music. 🎧🥁
---
1) Lesson overview
You'll build focused Instrument and Audio Effect Racks with mapped macros that let you morph and perform jungle breaks in real time — roll, grit, tilt, width and sub balance — so you can sketch ideas fast and automate energetic transitions in arrangement. This tutorial uses stock Ableton devices (Drum Rack, Simpler/Sampler, Audio Effect Rack, EQ Eight, Saturator, Compressor/Glue Compressor, Beat Repeat, Auto Filter, Utility, Redux, Multiband Dynamics). Expect exact parameter suggestions and mapping ranges.
Goal: create a playable rack that keeps the groove alive, lets you switch/morph break processing, and produces ready-to-arrange DnB sections (intro, build, drop).
---
2) What you will build
A two-part Rack system (Instrument Rack + Master Drum Bus Audio Effect Rack):
1. Instrument Rack (Break Rack)
- 3 chains: Raw Break, Processed Break, Roll Layer (for fast edits)
- Macros mapped for: Drive, Roll Intensity, Pitch/Transpose, Tilt EQ, Width, Chain Selector (morph between chains)
2. Drum Bus Audio Effect Rack (Parallel Processing)
- 3 chains: Sub (low-end dedicated), Grit (distortion/saturation), Transient (attack accent)
- Macros mapped for: Sub Level, Grit Amount, Transient Blend, Sidechain Duck Amount
You’ll have 7–9 macros total that let you perform classic jungle moves: instant rolls, break mutilation, dark grit for drops, and tight sub control for bass interplay.
---
3) Step-by-step walkthrough
Setup notes: use Live 10+ / Live 11. Use Simpler for sample-break playback unless you have Sampler (both work). Keep a duplicate of your raw break for safety.
A. Prepare audio sources
1. Drop an Amen/old-school break into a MIDI track using Simpler (Slice mode) or into an audio track. For MIDI control and mapping, put Simpler inside an Instrument Rack.
- Simpler settings (Slice or Classic): Start/Length around natural slices, Filter off initially, Transpose 0.
2. Duplicate the Simpler chain twice inside the same Instrument Rack (3 chains total). Rename chains: RAW, PROCESSED, ROLLS.
B. Build the Instrument Rack chains
1. RAW chain: just Simpler (clean), followed by Utility (Width default 100%), and an Audio Effect Rack later can process global.
2. PROCESSED chain: Simpler -> EQ Eight (high-pass 60 Hz; bell cut 200–400 Hz if muddy) -> Saturator -> Auto Filter -> Compressor
- EQ Eight: HP 60 Hz (slope 48 dB/Oct), reduce 250–400 Hz by -2 to -4 dB if boxy.
- Saturator: Drive 4–10, Type “Analog Clip”/“Soft Sine” (if available). Dry/Wet initially 30–40%.
- Auto Filter: Type = Lowpass/Comb for movement if you want; Frequency default 8–10 kHz, Resonance 0.15.
- Compressor: Ratio 3:1, Attack 1–5ms, Release 50–120ms — gentle glue.
3. ROLLS chain: Simpler -> Beat Repeat -> EQ Eight -> Utility
- Beat Repeat settings for roll base:
- Interval = 1/16 (for short rolls) or set to 1/32 for fast micro-rolls.
- Grid = 1/16 or 1/32
- Chance = 100 (we’ll control with macro)
- Decay = 0.2–0.6s (short)
- Filter: off or narrow band if you want tonal rolls.
- Important: set Chance to 0 initially if you want no rolls until macro opens.
C. Create the Instrument Rack macros
1. Open Instrument Rack Macro Map Mode.
2. Macro 1 — DRIVE (text: Drive)
- Map Saturator Drive on PROCESSED chain: range 0 → 12 (or Dry/Wet 0–80%).
- Map optional Overdrive on ROLLS chain if you want grit in roll.
3. Macro 2 — ROLL (text: Roll)
- Map Beat Repeat → Chance: 0 → 100.
- Map Beat Repeat → Grid: map a small range (e.g., 1/16 → 1/64) if your Live allows mapping discrete grid values; else map Interval or Offset to vary character.
- Optionally map Beat Repeat → Decay: 0.1 → 0.6.
4. Macro 3 — PITCH (text: Pitch)
- Map Transpose of Simpler on ROLLS chain: -12 → +6 semitones (give pitch-down/upsweep options).
- Map Transpose of RAW/PROCESSED less aggressively (-2 → +2) to allow slight pitching.
5. Macro 4 — TILT (text: Tilt)
- Create a “tilt” sound by mapping EQ Eight gains:
- Map low-mid band gain on PROCESSED chain: -6 dB → +3 dB (boost lows for darker tone, cut for thin)
- Map high shelf (or high band) gain inversely: +3 dB → -6 dB. Use inverse mapping (you can map same macro to both but set directions accordingly).
6. Macro 5 — WIDTH
- Map Utility Width on RAW, PROCESSED, ROLLS: 0% → 200% (or 50% → 150%). Useful to collapse stereo for tightness or widen for breaks.
7. Macro 6 — CHAIN SELECTOR / MORPH (text: Morph)
- If you want instant chain switching: use the Chain List, make 3 chains with distinct zones, then map Chain Selector to macro ranges:
- RAW: 0–33
- PROCESSED: 34–66
- ROLLS: 67–127
- Now you can morph between raw, processed and roll-heavy textures.
D. Build the Drum Bus Audio Effect Rack (Parallel bus)
1. Create a return track or an audio effects rack on the Drum track after the Instrument Rack.
2. Create three chains: SUB, GRIT, TRANSIENT
- SUB chain: EQ Eight (low-pass 120 Hz) -> Saturator (gentle) -> Compressor -> Utility (width 0%) to mono.
- EQ Eight: Low-pass at 120 Hz (slope 48) to isolate sub info
- Utility width 0% keeps sub mono for club systems
- GRIT chain: EQ Eight -> Overdrive/Saturator -> Redux (bit reduction) -> Multiband Dynamics
- Redux: Rate 8–12 kHz, Bit reduction small to taste for grit
- Multiband Dynamics: compress mids/highs to glue
- TRANSIENT chain: Gate/Compressor -> Saturator (light) -> Transient-style shaping with Multiband Dynamics (boost attack band)
- Compressor: Fast attack 0.1–1ms, Release 30–80ms to accent attack.
3. Map macros (in Audio Effect Rack):
- Macro A — SUB LEVEL: map the SUB chain volume 0 dB → -12 dB (so you can pull the low out/in).
- Macro B — GRIT: map GRIT chain Dry/Wet or chain volume: -12 dB → 0 dB.
- Macro C — TRANSIENT: map TRANSIENT chain volume/gain -12 dB → 0 dB.
- Macro D — DUCK (Sidechain): place a Compressor on the GRIT/TRANSIENT chains with Sidechain -> Input from your bass or kick. Map Compressor Threshold -30 → -10 dB so turning macro raises duck amount (or map compressor ratio/release for different feels).
- Compressor settings: Ratio 3:1–5:1, Attack 0.5–3 ms, Release 60–150 ms.
E. Practical mapping notes
- Keep macro ranges practical: you rarely want full destruction instantly—set max values to tasteful extremes.
- Label macros clearly (Drive, Roll, Pitch, Tilt, Width, Sub, Grit, Transient, Duck).
- MIDI map the most-used macros to knobs or a controller for live tweaking/automation.
- Roll automation: 0 → 127 for 1 bar pre-drop then back to 0.
- Drive ramp: 0 → 60 (Saturator Dry/Wet) over 2 bars.
- Sub Level: -6 dB to -2 dB at drop; automate to taste.
- Over-saturating the whole break: this kills transients and clarity. Use parallel grit chain to preserve transient details.
- Cutting essential mids when “tilting” for darkness — don’t remove 200–800 Hz completely; that’s character for snares.
- Mapping too many devices to one macro with full ranges — it creates unpredictable dramatic jumps. Use tempered ranges.
- Forgetting phase/mono checking: heavy processing (bit reduction, pitch) can cause phase shifts. Check in mono and ensure sub remains mono.
- Relying on Beat Repeat default settings: not automating Chance/Grid leads to messy constant repeats. Keep Chance at 0 until you want roll.
- Band-split distortion: duplicate the drum track, low-pass one at ~250 Hz for sub, high-pass the other. Put heavy distortion on the high-passed chain only. Blend with SUB chain to avoid booming distortion.
- Use frequency shifting lightly on snares and percussion for metallic jungle character (Freq Shifter in Max for Live or automation of Transpose). Small detunes add tension.
- Use short gated reverb on snares (send to reverb with pre-delay ~5–30 ms, wet short decay ~0.2–0.6s; Gate after reverb to chop tail). Map reverb send to a macro for sudden big-room hits.
- Duck the grit chain with your bass using sidechain compressor (fast attack, medium release). This keeps bass clarity while letting distortion punch.
- Use Redux at low bit depths (12–8 bit) with sample rate reduction for an old-school break crunch — keep this in parallel so original transients remain.
- For super-tight rolls, map Beat Repeat grid to 1/64 with decay 0.1s, and add a small amount of pitch transpose (+2/+4 semitones) to the roll chain for pitch-up rolls.
- Multiband Dynamics: compress the mid/high band hard to emphasize snap while keeping low band untouched.
- You built a flexible Break Instrument Rack and Drum Bus Audio Effect Rack designed for jungle/DnB manipulation.
- Mapped macros let you perform rolls, apply grit, control tilt/EQ, width, and sub balance rapidly.
- Use parallel chains to preserve transient life while adding destructive effects where needed.
- Automate macros for dynamic arrangement sections: builds, drops, breakdowns, and live performance tweaks.
F. Arrangement & usage ideas
1. Intro: Start with RAW chain, macros: Drive 0–10%, Width 150% for atmosphere. Automate Tilt to thin high-mids for distant break.
2. Build to drop: Automate Roll macro to spike with short automation lanes just before the drop (use a short automation curve).
3. Drop: Engage PROCESSED chain (Chain Selector) and raise GRIT macro for heavy distortion. Lower SUB macro slightly if bass needs space, or automate DUCK to give bass precedence.
4. Breakdown: Use Pitch macro to pitch the break down by -7 to -12 semitones and automate Width down to mono for low-end focus.
5. Live performance: map Roll, Drive, Chain Selector to hardware for immediate variations.
Example automation values:
---
4) Common mistakes
---
5) Pro tips for darker/heavier DnB
---
6) Mini practice exercise (20–30 minutes) 🎯
Goal: Create a playable 4-macro Break Rack (Drive, Roll, Tilt, Sub) and automate a 16-bar section.
Steps:
1. Load a break into Simpler on a MIDI track.
2. Create an Instrument Rack and duplicate into RAW and ROLLS chains.
3. Add Beat Repeat to ROLLS (Interval 1/16, Grid 1/16, Chance 0).
4. Add Saturator on a send or PROCESSED chain and a Utility on the RAW chain.
5. Make 4 macros:
- Drive → Saturator Dry/Wet 0–70%
- Roll → Beat Repeat Chance 0–100
- Tilt → EQ Eight low-mid gain mapping -6 → +4 dB
- Sub → create a return track with low-pass Saturator and map its send amount to this macro (0–100%)
6. Create a 16-bar MIDI/arrangement:
- Bars 1–8: RAW only, Sub -6 dB
- Bars 9–12: Automate Roll macro spikes on bars 11–12 (quick 1-bar automation).
- Bar 13–16: Drive macro to 50% and Sub to -2 dB — this is the drop.
7. Listen and tweak: check mono compatibility and adjust EQ to avoid mud.
Timebox: 20–30 minutes. Save as “BreakRack_Practice.als”.
---
7) Recap
Play with these mappings and controller assignments. The more you automate these macros in arrangement or perform them live, the more idiomatic and musical your jungle grooves will become. Go make those rolling breaks punch and hiss like a true jungle record! 🚀🔥
If you want, I can export a suggested macro mapping screenshot and provide a downloadable Ableton Live set (.als) layout example based on this tutorial — tell me your Live version and I’ll tailor it.

