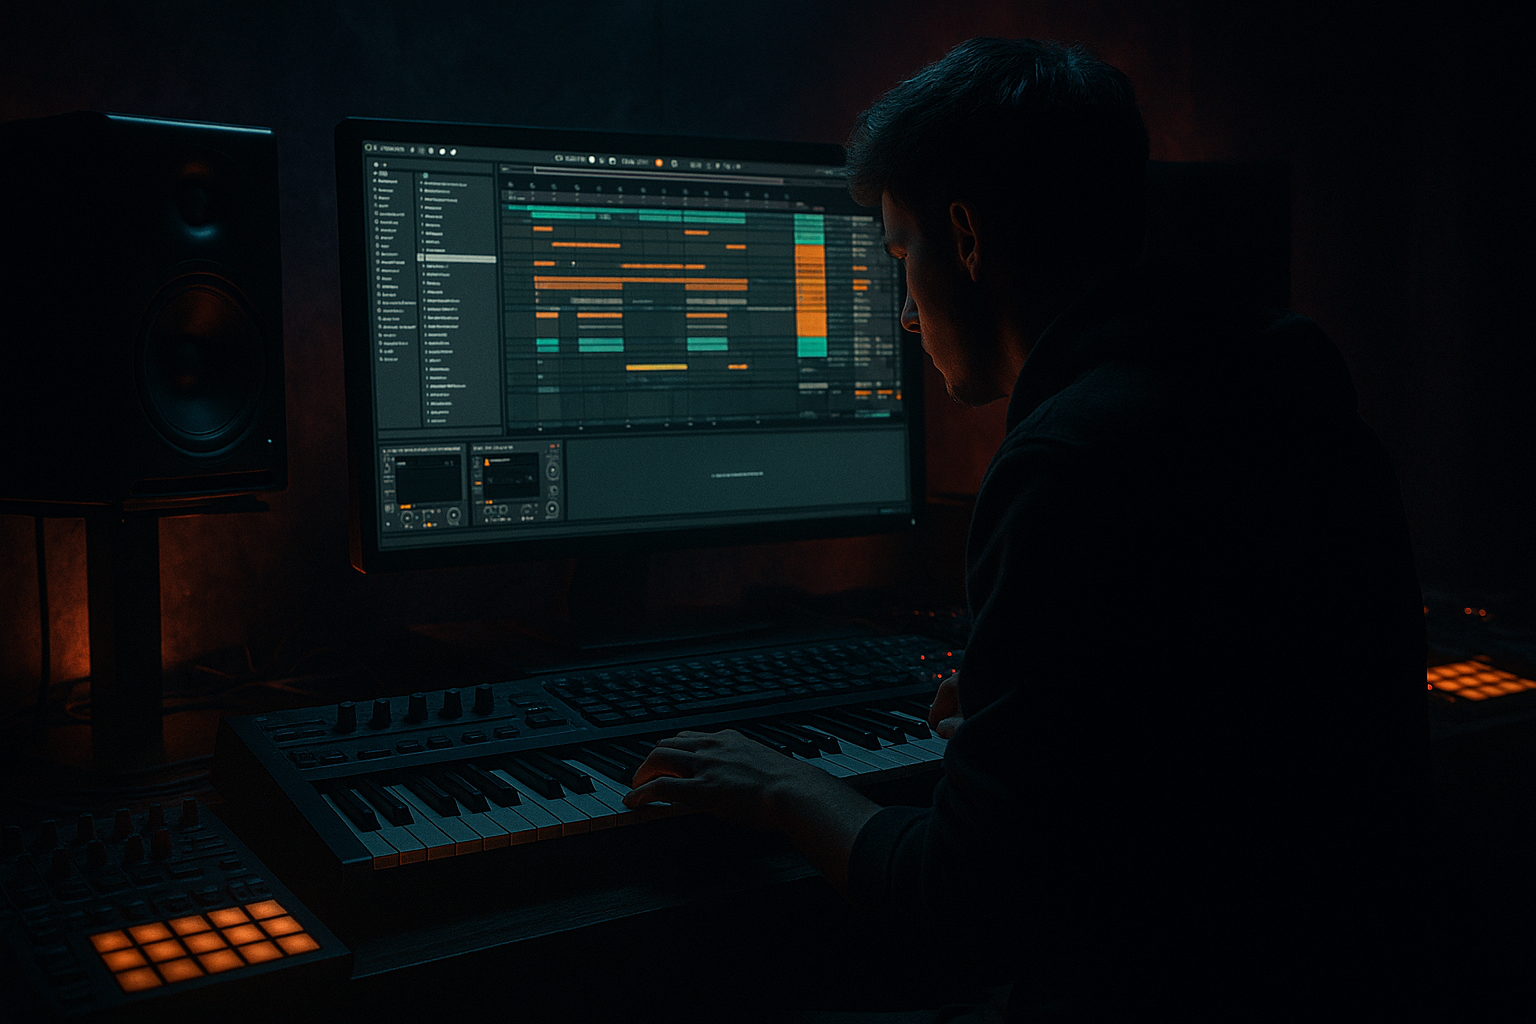
Main tutorial
Lesson Overview
A ragga dub siren is one of those deceptively simple sounds that can instantly give a DnB tune smoke, attitude, and movement. In drum & bass, it works best as a call-and-response element: a hypnotic lead phrase answering the drums, sub, or a Reese bassline. This lesson shows you how to build a dub siren sequence in Ableton Live 12 that feels at home in smoky warehouse rollers, jungle-tech sessions, or darker minimal DnB arrangements.
The goal is not just to make “a siren sound.” The goal is to make it function like a proper bassline-adjacent musical device: tuned to the track, rhythmically locked to the groove, and processed in a way that sits above a heavy low-end without cluttering it. You’ll learn how to create a convincing ragga-style siren using stock Ableton devices, sequence it in a way that feels authentic, and shape it for tension and release in a DnB arrangement.
Why this matters: in Drum & Bass, small motifs do a lot of work. A well-placed siren phrase can create identity in the intro, signal a drop switch-up, or add rave energy before a bass re-entry. Used correctly, it gives you a memorable hook without stealing headroom from the sub or flattening the impact of the drums. 🔥
What You Will Build
By the end of this lesson, you’ll have a short dub siren sequence that feels like it belongs in a smoky warehouse DnB track:
- A tuned, expressive siren lead made with Ableton stock devices
- A repeating 2-bar or 4-bar phrase with pitch movement and rhythmic space
- A sound chain that includes filtering, saturation, delay, and reverb
- A version that sits in the mix without fighting the sub or kick
- An arrangement-ready clip you can use for intros, breakdowns, pre-drops, or switch-ups
- A variation that can answer your bassline in call-and-response style
- Making the siren too bright
- Letting it fight the sub or Reese
- Using too much reverb
- Overplaying the pattern
- No tuning relationship to the track
- Stereo widening the low end
- Use a band-pass filter on the siren for a more haunted, tunnel-like character, especially in breakdowns.
- Add a very light Redux layer if you want more digital grit, but keep it subtle so the sound doesn’t turn brittle.
- Duplicate the siren and detune one copy slightly, then keep the detuned layer low in the mix for body.
- Resample the siren with Echo printed in, then cut it into tiny fills for pre-drop tension.
- Try sidechaining the siren’s wet return to the kick or snare so the ambience ducks out of the way and the drums stay punchy.
- For a jungle-leaning vibe, place the siren over chopped breaks and let it answer the snare on off-grid moments.
- For neuro/darker bass music crossover energy, automate small pitch rises into the last bar before the drop, then slam back to the root note.
- If the tune is very sparse, use the siren like a signature: one phrase every 8 or 16 bars, not constant repetition.
- Keep an eye on headroom. Heavy saturation on the siren can eat mix space fast if you don’t trim the output afterward.
- In a DJ-friendly arrangement, make the intro and outro clean enough that the siren can act as a hook without disrupting mixing energy.
- Build the dub siren as a musical phrase, not just an FX sound.
- Keep it mono-focused, tuned, and rhythmically sparse so it supports the bassline.
- Use Ableton stock devices like Wavetable or Operator, Auto Filter, Saturator, Echo, Reverb, and EQ Eight to shape tone and space.
- Let the siren work in call-and-response with the drums and bass.
- Resample it for easier arrangement and more control.
- In darker DnB, the strongest siren parts are often the ones with the most space and the smartest automation.
Musically, think of it as a haunted, wailing top-line with ragga attitude: not too bright, not too clean, and not so long that it smears the groove. In a dark roller, it might sit behind a sparse break and sub pulse. In a jungle-DnB hybrid, it can come in over chopped Amen edits and a weighty low-end stab. In a neuro-inflected darker tune, it can work as a contrast element before the bass gets aggressive again.
Step-by-Step Walkthrough
1. Set up the context and tempo first
Open a fresh Ableton Live 12 set and set the tempo between 172 and 176 BPM for classic DnB energy. If your track is more halftime-influenced or broken, 170–174 BPM can work well too. Create a simple reference loop with kick/snare or a drum break so you can design the siren in context, not in isolation.
A good starting arrangement mindset:
- 8 bars intro with stripped drums
- Siren enters on bar 5 or 9
- Full drop after a short phrase tease
- Leave room for bassline and sub to dominate the low end
Why this works in DnB: the siren’s job is to heighten tension and identity. If you build it against the rhythm section from the start, you’ll naturally avoid overdoing the low-mid clutter that ruins bass-heavy music.
2. Create the siren source with Wavetable or Operator
For a ragga dub siren, you want a tone that can glide and scream a little without becoming harsh. Two stock Ableton options work well:
Option A: Wavetable
- Oscillator 1: basic saw or square-style wavetable
- Oscillator 2: off or very low in level for simplicity
- Unison: 1–2 voices only
- Filter: low-pass or band-pass, depending on brightness
- Envelope amount: moderate, so the note has movement
Option B: Operator
- Use a sine or saw-based patch for a cleaner “tonewheel/siren” feel
- Add subtle FM if you want more urgent wailing texture
- Keep the patch monophonic
Suggested starting settings:
- Attack: 0–10 ms
- Decay: 300–700 ms
- Sustain: 40–70%
- Release: 120–300 ms
If you want a more authentic dub siren feel, keep it slightly raw and unstable. Don’t over-polish it. The character should feel like a piece of warehouse hardware, not a pristine EDM lead.
3. Make it monophonic and playable like a lead phrase
Set the instrument to Mono if possible and enable glide/portamento. That sliding motion is a huge part of the dub siren character, especially when it answers drum hits or bass stabs.
Practical glide ranges:
- Glide time: 40–120 ms for tight movement
- Glide time: 150–250 ms for a sloppier, more vocal ragga pull
Then program a short MIDI clip. Keep the notes sparse and chant-like rather than melodic in a pop sense. Good phrase shapes:
- Repeated 1-note pulses with occasional pitch jumps
- 2-note call-and-response pattern
- A rising then falling contour across 2 bars
- Long note into a quick answer note
Example musical context:
- In bar 1, hit a note on the “and” of 2
- In bar 2, answer with a higher note on beat 4
- Leave the next bar open so the drums and bass can breathe
This phrasing matters because DnB already has dense rhythmic information. A siren that leaves space feels heavier than one that plays constantly.
4. Tune the siren to the track and the bassline
In DnB, a siren sitting in the wrong pitch range can feel like a random FX layer. Tune it so it relates to your bassline or song key. If your bassline centers around A minor, D minor, or F minor, place the siren phrase around those tonal centers or their fifths/octaves.
Use Tuner or your ear, then adjust:
- Root note around the track’s tonal center
- Higher answer note 5th or octave above
- Occasional passing tone for tension
If you already have a Reese bassline, try making the siren sit above it in a complementary register:
- Siren notes mostly around C3–C5
- Sub and bass weight living below
- Avoid overlapping the siren with bass fundamentals
Direct rule: if the siren starts fighting the bassline emotionally, simplify the bass phrase or move the siren rhythm so it functions as a response instead of a lead-overload.
5. Shape the movement with stock modulation and filters
Add Auto Filter after the instrument. This is where you can make the sound feel more like it’s moving through smoke and space.
Good starting settings:
- Filter mode: Low-pass 12 dB for darker warehouse tone
- Cutoff: 1.2 kHz to 5 kHz, automated over time
- Resonance: 10–25%
- Drive: lightly up if you want extra edge
For movement, automate cutoff in phrases:
- Closed/darker on the first hit
- Open slightly on the answer note
- Pull back before the bass drop
You can also use LFO modulation if the device or instrument patch supports it. Keep modulation subtle:
- Slow LFO rate for wobble-like swirl
- Small depth so it feels alive, not gimmicky
Why this works in DnB: filtered movement helps the siren cut through without occupying constant brightness. That’s critical when your drums are already pushing transients and your bass is filling the lower mids.
6. Process the siren as part of the bass-and-drums ecosystem
Now build a small effect chain that gives the siren depth, dirt, and placement. A strong stock chain could be:
Saturator → Echo → Reverb → EQ Eight
Suggested settings:
- Saturator
- Drive: 2–6 dB
- Soft Clip: on if you want safety and weight
- Echo
- Time: 1/8, 1/8D, or 1/4 depending on groove
- Feedback: 15–35%
- Filter: roll off lows, tame highs
- Modulation: light, for movement
- Reverb
- Decay: 1.2–2.8 s
- Size: medium or large
- Low Cut: 250–500 Hz
- High Cut: 5–8 kHz
- EQ Eight
- High-pass around 180–300 Hz
- Gentle dip around 2.5–4.5 kHz if it gets piercing
- Low-pass if it’s too bright in a dark mix
Keep the siren on its own return or group if possible. That makes it easier to control the send amount and automate its “space” in transitions.
Important mixing rule: the siren should feel deep and wide, but the dry center should remain disciplined. If it smears the kick/snare impact, reduce reverb decay or cut more low-mid from the wet chain.
7. Program the sequence as a call-and-response with the drums and bass
Now write the actual pattern. Don’t make it a constant melody—make it conversational.
A strong 2-bar DnB pattern could be:
- Bar 1: one short note before the snare
- Bar 1 end: a longer held note
- Bar 2: a higher answer note after the snare
- Bar 2 end: a tiny pitch flick or repeat
Use note lengths strategically:
- Short notes for punctuated ragga energy
- Slightly longer notes for atmospheric dread
- Gaps for snare impact and bass re-entry
If your drums use ghost notes or break edits, align the siren to the stronger hits, not every transient. That makes it feel like part of the groove instead of a random layer.
Arrangement example:
- Intro: siren enters alone with filtered drums
- Pre-drop: increase delay feedback and open filter
- Drop: siren drops out or becomes a tiny counter-hit so bass takes over
- Switch-up: bring it back for 1 bar as a signature moment
This is classic DnB arrangement logic: tension first, payoff second, and only a little siren at the peak so the low-end still feels massive.
8. Resample for texture and control
Once the phrase is working, resample it. This is one of the best intermediate-level moves in Ableton Live for DnB, because it turns a programmed sound into a controllable audio texture.
How to do it:
- Create a new audio track
- Set input to resample or route from the siren track
- Record the phrase
- Consolidate the best 1–2 bars
- Edit the audio for cleaner starts/ends and deliberate tails
Benefits:
- Easier arrangement
- Better control over tail length
- Can reverse, warp, chop, or automate clip gain
- Lets you build a siren fill for a drop transition
Try making one “wet” resampled version and one “dry-ish” version. The dry one can sit in the groove, while the wet one can be used only before a drop or in a breakdown.
9. Make room with drum and bass balance
The siren should not force your drum bus or bassline to get smaller than necessary. Instead, carve a smart pocket.
Practical mix moves:
- Use EQ Eight on the siren to remove low end below 200–300 Hz
- If the snare loses snap, reduce siren presence around 2–5 kHz
- Keep the bass and sub mostly mono
- Check the siren in mono to make sure it doesn’t collapse weirdly
If your bassline is a heavy Reese, consider sidechaining the siren lightly to the snare or kick using Compressor or Auto Pan for dynamic space. You do not want hard pumping here unless the style calls for it. Subtle movement is enough.
For warehouse-style DnB, the mix should feel like:
- Drums upfront
- Bass huge and centered
- Siren floating above and around the groove
- Effects tailing off into the room
That balance gives the track a sense of depth without muddying the pressure.
10. Automate for tension, then strip it back at the drop
The most effective dub siren sequences are often more interesting in the buildup than in the drop itself. Automate intensity rather than leaving the sound static.
Good automation targets:
- Filter cutoff opening over 4 or 8 bars
- Delay feedback rising into the transition
- Reverb wet amount increasing before the drop
- Saturator drive nudging up in the final bar
- Volume mute or quick fade right before the bass hits
One strong trick: automate the siren to get wider and wetter as the drop approaches, then cut it or dry it out sharply on the first downbeat. That contrast makes the drop feel heavier.
In darker DnB, restraint is often more powerful than constant motion. A short siren phrase followed by silence can hit harder than a long wash.
Common Mistakes
- Fix: lower filter cutoff, reduce high shelf, and tame 3–5 kHz if it gets painful.
- Fix: high-pass more aggressively and keep the phrasing out of the bass fundamental range.
- Fix: shorten decay, high-pass the reverb return, and automate wetness only in transitions.
- Fix: leave more silence. In DnB, space creates weight.
- Fix: choose a root note that fits the tune and check the siren against the bassline.
- Fix: keep sub and bass mono; let the siren’s width come from delay/reverb, not the fundamental tone.
Pro Tips for Darker / Heavier DnB
Mini Practice Exercise
Set a 15-minute timer and build this from scratch:
1. Create a mono siren patch in Wavetable or Operator.
2. Write a 2-bar MIDI phrase with only 2–4 notes.
3. Add Glide/portamento and make at least one note slide into another.
4. Put Auto Filter, Saturator, and Echo after the instrument.
5. Tune the phrase to your track’s key or bassline root.
6. Resample the result into audio.
7. Make two versions:
- one dry and tight for the groove
- one wet and longer for a transition
8. Place the dry version before a drop and the wet version in the last bar of the breakdown.
Goal: by the end of the exercise, you should have a usable ragga siren hook that can sit inside a DnB intro or pre-drop without masking the bass.

