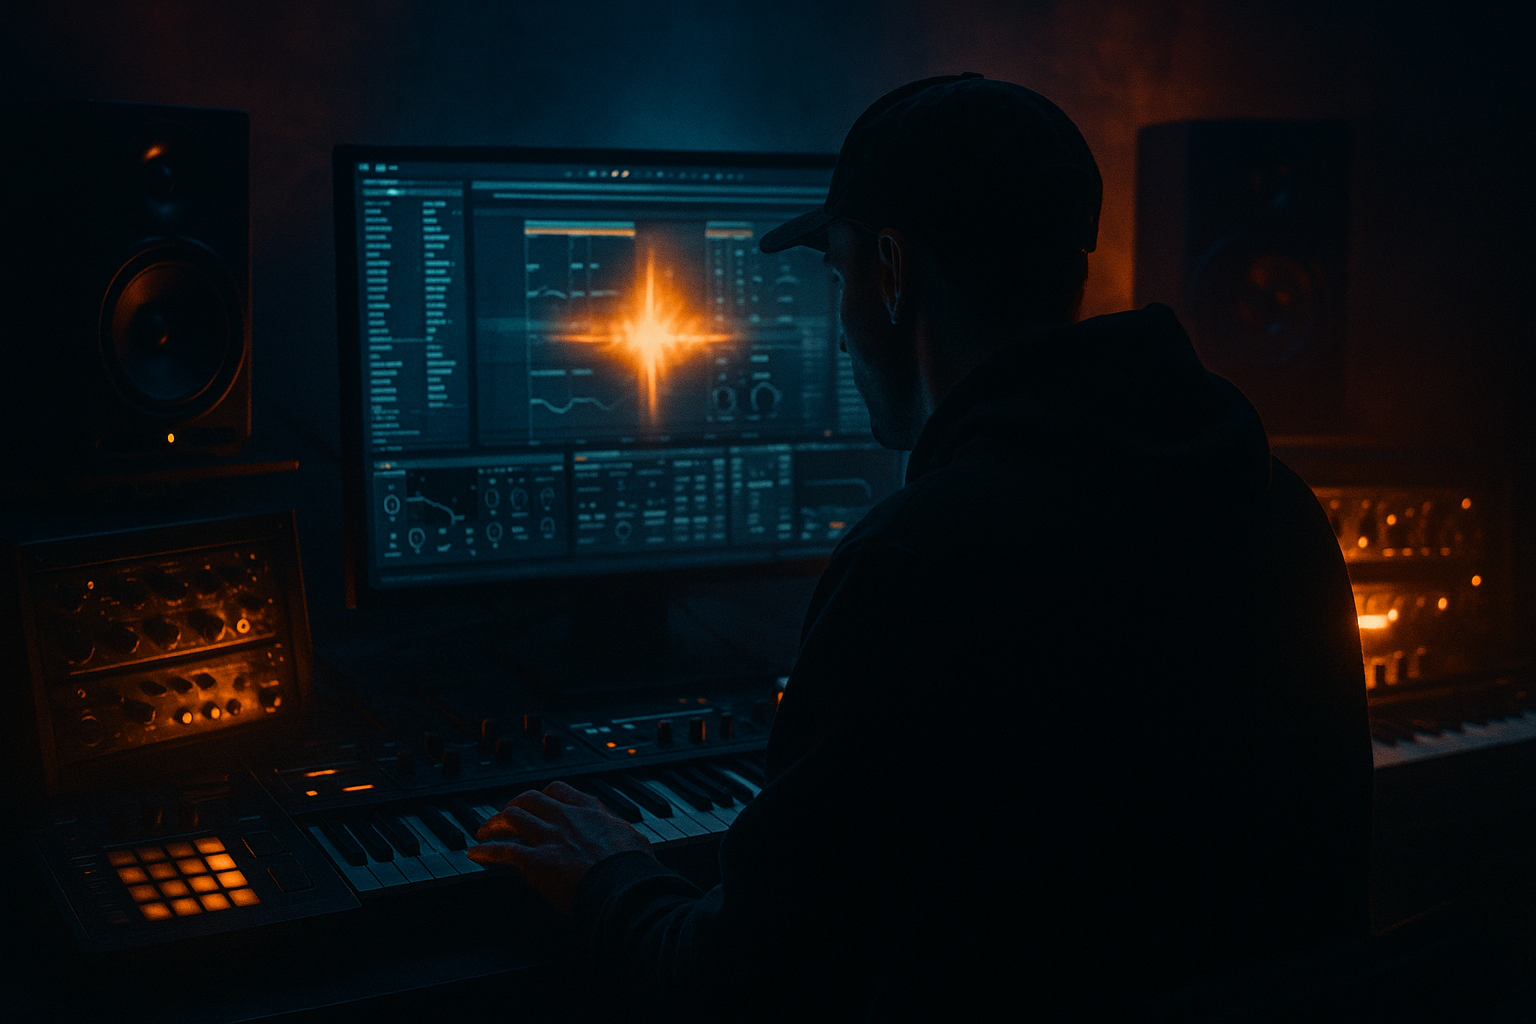
Main tutorial
Lesson Overview
A ragga session transition route is the controlled path you use to move from one section of a Drum & Bass tune into another while keeping that raw, vocal-driven ragga energy alive. In practice, this means building a transition system in Ableton Live 12 that can take you from a sparse intro, through tension-building call-and-response, into a heavy drop, or out of a drop and into a breakdown without losing groove or identity.
In DnB, transitions are not just “effects moments.” They are part of the arrangement language. A good ragga transition route can make a track feel:
- more alive and performance-ready,
- more DJ-friendly,
- more musical than a simple crash-and-filter move,
- and more authentic to jungle, ragga, dancehall, and darker sound system culture.
- ragga vocal chops,
- dub-delay throws,
- filtered break fragments,
- a resampled impact tail,
- and a final downlift into the next section.
- the vocal phrase leads the listener,
- the drums thin out and then re-enter with authority,
- a resampled FX print becomes the glue,
- and the drop arrives with a clear sense of direction rather than a random slam.
- Too much low end in the transition
- Overlong vocal phrases
- Delay tails masking the first kick
- Break fills that are too busy
- Transition FX that sound generic
- Stereo width problems
- Use a “bass vacuum” before the drop
- Resample a distorted vocal pass
- Blend jungle break heritage with modern pressure
- Use micro-automation on filters
- Create one “signature” transition sound
- Keep the sub mono, but let the upper reese breathe
- Build ragga transitions as a route, not just a one-off effect.
- Use resampling to capture vocal throws, break fragments, and FX performances into editable audio.
- Keep the structure clear: vocal lead, drum response, FX bloom, bass vacuum, drop impact.
- Use stock Ableton tools like Simpler, Echo, Auto Filter, EQ Eight, Saturator, Glue Compressor, Utility, and Reverb/Hybrid Reverb.
- Protect the low end, keep the transition musical, and make the final half-bar create real anticipation.
This lesson focuses on resampling as the main engine. That matters because ragga transitions often rely on chopped vocal phrases, delay tails, dubby echoes, filtered drum debris, and little one-shot accidents that sound better when you capture them and turn them into new material. Instead of drawing every transition from scratch, you’ll build a route by recording your own process into audio, then editing that audio into a tight, flexible arrangement.
Why this works in DnB: the genre moves fast. At 170–174 BPM, you need transitions that read instantly, survive heavy drums, and still leave room for the drop to hit with force. Resampling gives you the grit, the unpredictability, and the “one take became the hook” energy that fits ragga-informed DnB perfectly.
What You Will Build
You will build a 4-bar transition route in Ableton Live 12 that can take a track from a drum-and-bass groove into a darker drop using:
The result will feel like a proper sound system transition:
Musically, imagine a track around 172 BPM in F minor, with a halftime ragga vocal in the intro and a rolling reese drop waiting behind it. The transition route will bridge those worlds using automation, resampling, and arrangement choices that keep the low end disciplined and the energy escalating.
Step-by-Step Walkthrough
1. Set up the transition lane inside your arrangement
Create a dedicated group called TRANSITION ROUTE and route it near your drums and bass so it stays visually and sonically central. Inside it, create three audio tracks:
- VOX RESAMPLE
- FX RESAMPLE
- DRUM RESAMPLE
Also create one return track or send target for dub delays if you want to keep the echo system reusable. If you’re working with a template, keep this group pre-colored and near your drop section markers.
Place your scene markers or arrangement locators at:
- 8 bars before the drop
- 4 bars before the drop
- 1 bar before the drop
- Drop
This gives you a transition route that behaves like a DJ-ready pre-drop phrase, which is very natural in DnB.
2. Build the ragga vocal source with phrase control, not clutter
Start with a short vocal line: something like a one- or two-bar ragga phrase, a chant, or a toasting-style callout. Keep it rhythmically simple and strong. In Simpler, switch to Slice mode if you have a longer phrase, or use Classic mode for a single hit. For advanced control:
- set Start/End so only the strongest syllable lands,
- use Warp to lock the phrase to the grid,
- and shorten the release so the chop stays percussive.
Practical settings:
- Filter cutoff in Simpler around 1.5–4 kHz if the vocal is too bright.
- Add Filter Delay or Echo on a send with feedback around 20–35%.
- If the vocal has a lot of low mud, use EQ Eight and high-pass around 120–180 Hz.
The goal is not a full vocal performance. It’s a transition weapon. In ragga DnB, a single vocal stamp can do more than a whole verse if it lands with the groove.
3. Design the rhythmic route with call-and-response
Create a 4-bar structure where the vocal answers the drums and the drums answer back. A strong pattern is:
- Bars 1–2: vocal phrase and stripped percussion
- Bar 3: vocal repetition plus break fill
- Bar 4: rising FX and stop-start tension
- Drop: full drum and bass impact
Use an Audio Effect Rack on the vocal track with three chains:
- Dry chopped vocal
- Dub delay tail
- Filtered grit
On the delay chain, use Echo with:
- Time: 1/8 or dotted 1/8
- Feedback: 25–45%
- Filter: high-pass around 200–400 Hz, low-pass around 5–8 kHz
- Modulation: low to moderate, around 5–15%
Automate the chain volume or device dry/wet so the delay only blooms at the end of phrases. This call-and-response structure is what makes the transition feel like music rather than “effects.”
4. Resample the vocal and delay movement into audio
This is the core of the lesson. Route the vocal track and its send return to VOX RESAMPLE, set the monitor to In, and record the movement while you perform or automate the dry/wet, filters, and mutes.
Capture at least two passes:
- Pass A: clean chop with delay throws
- Pass B: more aggressive version with filter sweeps, reverse fragments, or stutter moments
Don’t worry about perfection. You want usable audio with personality. In DnB, tiny timing imperfections can become groove if the transient shape is right.
Once recorded, consolidate the best moments into 1-bar and 2-bar clips. Reverse one tail manually for a classic downlift feel. If one phrase smears too much, keep the first consonant and cut the rest. For ragga transitions, the attack matters more than the full word.
5. Add drum fragments and ghost movement from your break
Use your existing break or drum bus as a source and resample a short fill into DRUM RESAMPLE. Focus on:
- ghost snares,
- hats,
- one kick pickup,
- or a broken amen-style slice.
In Drum Rack, map a few key break hits and play a tiny fill that leads into the drop. If you’re using live arrangement editing, try these moves:
- duplicate the last 2 hits of a break,
- reverse one hat,
- shift a ghost snare slightly ahead of the bar line,
- cut the kick on beat 4 to create space.
Then resample that fill into audio so you can edit the tail exactly. Use Warp in Beats mode for break fragments so the transient stays sharp. For heavier control:
- use Transient Loop Mode on sliced hits,
- and add Saturator with Drive 2–6 dB to make the fill read on small speakers.
Why this works in DnB: transitions often fail when they are all tops and no body. A tiny drum fragment gives the listener a rhythmic handrail into the drop.
6. Shape the tension with filters, automation, and negative space
The best ragga transitions are often about what you remove. Pull your drum bus down in stages and automate the bass out at the right moment. Use Auto Filter on the drum and FX resamples:
- set LP24 for a smoother sweep,
- start around 10–14 kHz and close toward 500–800 Hz over 2 bars,
- add a touch of Resonance around 10–20% for attitude.
On the bass bus, use a clean low-pass move or simply mute the bass for the final half-bar before the drop. In advanced DnB arrangement, a short bass vacuum is often more effective than a long riser because it creates real punch when the sub returns.
If your transition route feels too busy, try this rule: one hero element per 1/2 bar. Let the vocal lead, then let the drum fill answer, then let the FX tail close the gap. Don’t let every device talk at once.
7. Build a resampled FX print for the final downlift
Create an FX chain on a separate track using stock devices:
- Reverb with decay around 2.5–5 s
- Echo with feedback 30–50%
- Hybrid Reverb if you want a darker plate or room character
- Corpus lightly on a metallic hit if you want an eerie mechanical edge
Then automate a short performance: vocal chop into delay, then a filtered hit, then a noise burst or reversed drum tail. Resample this entire performance into FX RESAMPLE.
After recording, edit the print into a single transition clip. Use fades at the clip edges and tighten the start so it lands exactly before the drop. If the tail overhangs into the sub, high-pass it aggressively with EQ Eight around 180–250 Hz. This keeps the low end open for the drop and avoids the classic “transition eats the first kick” problem.
8. Assemble the route into a clear 4-bar arrangement
Now place your resampled audio clips as a single transition route:
- Bar 1: vocal statement, light drum support
- Bar 2: echo bloom and filtered break movement
- Bar 3: vocal repeat, stronger fill, bass removal
- Bar 4: downlift, silence pocket, drop prep
Keep the arrangement DJ-friendly by leaving clean countable sections around it. In darker rollers or neuro-leaning tunes, the transition should not destroy the loop logic. You still want a DJ or listener to feel the phrase architecture clearly.
Add clip volume automation or track automation so the transition builds without clipping. Leave around -6 dB headroom on the master during arrangement work. If your drop is coming in hot, make sure the transition route is not already eating all the mix energy.
9. Glue the route with bus processing, but keep it disciplined
Put your transition group through a subtle bus chain:
- Glue Compressor with 1–2 dB gain reduction
- EQ Eight to trim low rumble below 30–40 Hz
- Saturator very lightly for density
- optional Utility to check mono compatibility
If the transition feels too wide, narrow the FX resample with Utility Width to around 70–90% on the penultimate bar, then restore width at the drop. If the vocal feels disconnected, use the same room reverb or delay character across both the vocal and the break fragment so they share space.
This is an advanced move: make the transition route sound like a single performance, not separate imported assets.
10. Check the route against the drop and refine the handoff
Solo the transition route with the drop and listen for one thing: does the final moment before the drop create desire, or just noise?
Refine by asking:
- Does the vocal phrase stop too late?
- Is the bass return masked by delay tails?
- Does the drum fill steal attention from the kick?
- Is the last half-bar empty enough to make the drop feel bigger?
In many DnB arrangements, the most powerful move is a one-beat reset before the drop. Try muting most elements on beat 4 and letting only a short vocal hit or reverb tail survive. Then let the kick and sub slam back in on 1. That contrast is the money moment.
Common Mistakes
- Fix: high-pass vocals, FX, and fills aggressively. Keep sub energy out of the transition lane unless it is part of the drop.
- Fix: chop ruthlessly. In ragga DnB, the first syllable often carries the attitude. Let the groove do the rest.
- Fix: automate dry/wet down before the drop or cut the tail with a clip fade and a high-pass filter.
- Fix: simplify the last bar. A two-hit pickup often reads better than a six-hit flurry in a loud club mix.
- Fix: resample your own filter moves, delay throws, and drum fragments. Personality comes from performance, not stock build-up clichés.
- Fix: keep bass and key drum transients mono or narrow. Use width mainly on echoes, atmospheres, and upper percussion.
Pro Tips for Darker / Heavier DnB
- Cut the bass for the final half-bar, then bring it back with a slightly different envelope or reese layer. That contrast makes the return hit harder.
- Run the vocal through Saturator or Pedal lightly, then print it. A slightly broken ragga phrase feels more underground than a clean one.
- Layer a chopped break fill under a clean kick/snare pickup. Keep the transient punch modern, but preserve the shuffle and ghosting from the break.
- Tiny filter moves on the last 1/4 note can create more tension than a giant sweep. Small changes read big at 172 BPM.
- Resample a specific vocal-delay-hit combo and use it throughout the track as a recurring identity cue. That’s how you make the tune feel authored rather than assembled.
- If the drop includes a reese, keep the stereo movement above the sub band. Use Utility or careful EQ filtering to stop low-end phase smear.
Mini Practice Exercise
Set a timer for 15 minutes and build a complete ragga transition route from scratch:
1. Pick one ragga vocal phrase or one vocal chop.
2. Create a 4-bar arrangement around it at 170–174 BPM.
3. Add one break fragment or drum fill.
4. Perform a delay throw using Echo or Filter Delay.
5. Resample the vocal + FX into audio.
6. Resample a drum pickup into a second audio clip.
7. Arrange both clips into a clean 4-bar route into your drop.
8. Add one final bass mute or low-pass move before the drop.
9. Bounce or listen in mono and check whether the handoff still works.
10. Replace one weak moment with a tighter edit.
Goal: by the end of 15 minutes, you should have a usable transition that could actually sit inside a real DnB arrangement.

