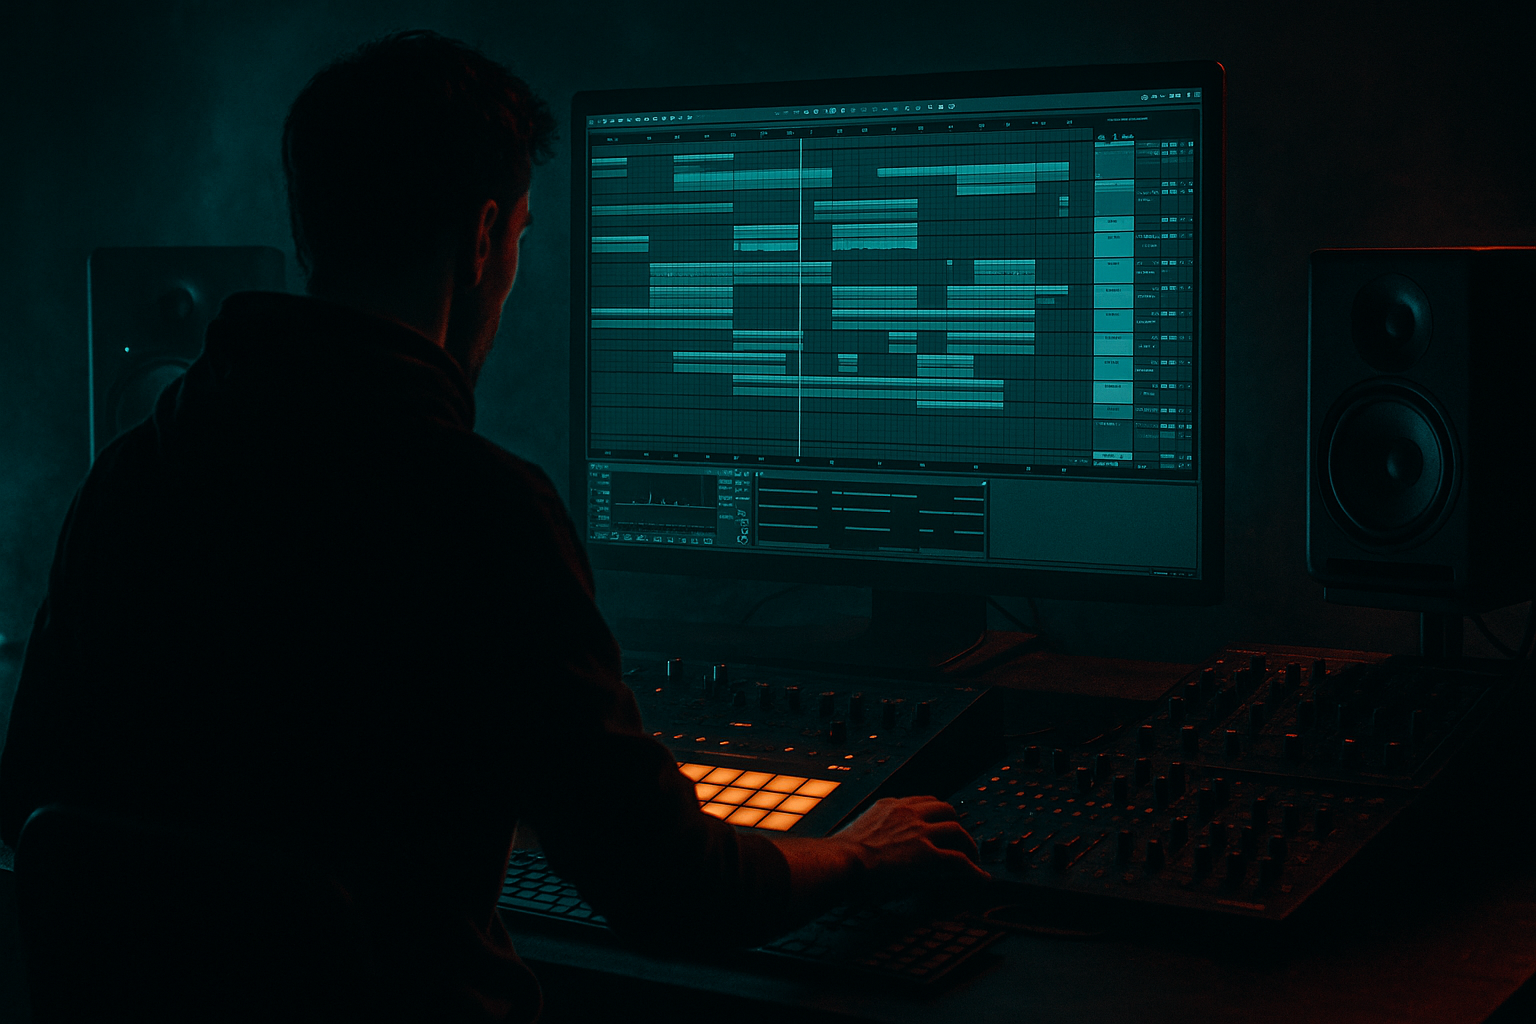
Main tutorial
Lesson Overview
This lesson is about building a reliable Drum & Bass riser and transition FX chain in Ableton Live using stock tools only.
In a DnB track, this technique lives at the end of phrases, before drops, into switch-ups, and leading into breakdowns or re-entries. It is not the star of the track, but it does a huge amount of structural work: it tells the listener something important is about to happen, creates tension, and helps sections feel intentional rather than pasted together.
Why this matters in DnB specifically: at 170–175 BPM, arrangement moves happen fast. If your transitions are weak, the whole tune can feel flat even when the drums and bass are strong. A good riser or tension FX layer gives the DJ and listener a clear sense of momentum, and it makes the drop feel more earned.
Musically, this suits dancefloor, neuro-adjacent, jump-up, and deeper modern rollers—with slight voicing changes depending on how aggressive or subtle you want the result. Technically, the goal is to create an FX element that rises in intensity without fighting the vocal, lead, snare, or bass impact right when the section changes.
By the end, you should be able to hear and build a clean, controllable 4-bar or 8-bar transition effect that increases urgency, stays out of the way of the drop, and feels mix-ready enough to slot straight into a real track.
What You Will Build
You will build a custom DnB riser FX channel that can carry a section from “stable” to “about to explode.”
The finished result should have:
- a clear upward sense of motion
- controlled brightness and stereo width
- a little tail and atmosphere, but not enough to blur the drop
- a shape that works over 4 or 8 bars
- a final moment of release or cut-off that makes the next section hit harder
- into the first drop
- into a second-drop variation
- out of a breakdown
- into a fake-out or pre-drop pause
- Bars 1–8 of pre-drop tension
- Bar 8 beat 4: strong final lift or suck-out
- Next bar: drop lands clean
- Oscillator A: set to Noise
- Enable the filter
- Filter type: Band-Pass or Low-Pass depending on how bright you want the result
- Set initial filter frequency around 1.5 kHz to 3 kHz
- Resonance around 20–35%
- Amp envelope: fast attack, medium release
- Operator with a sine or triangle
- Start low in level
- Use pitch automation later for a subtle rise
- Automate filter frequency from roughly 1.5–3 kHz up to 10–14 kHz over 8 bars
- Automate track volume or Utility gain up by around 3–6 dB across the riser
- If the start feels too obvious, fade the first bar in gently
- Rate: 0.20–0.60 Hz
- Amount: 20–40%
- Phase: 180°
- Set Rate to synced values like 1/8, 1/16, or automate from 1/8 to 1/16
- Amount: 40–70%
- Phase: 0° if you want volume pulsing instead of stereo swing
- Use Shape controls for sharper chopping
- A gives a smoother, modern, cinematic lift and suits deeper or cleaner dancefloor intros.
- B gives a more urgent, mechanical tension and suits heavier drop setups.
- Hybrid Reverb: choose a brighter hall or shimmer-style space, decay around 2.5–5 seconds, dry/wet around 15–30%
- Echo: sync to 1/8 or 1/4, feedback around 10–25%, filter the repeats so they are not muddy
- EQ Eight:
- You want the riser to feel larger and more exciting, not farther away and blurry.
- If the delay is obvious as a rhythmic effect, pull it back unless that is your intention.
- high-pass filtering above 1–2 kHz
- short reverb
- less level than the main riser
- sine, triangle, or saw
- automate pitch up by 7 to 12 semitones over the last 2–4 bars
- low in the mix
- add Saturator lightly if needed
- tighten Auto Pan rate or gating speed
- open the filter faster
- increase reverb send slightly, then cut it before the drop
- automate Utility width wider toward the end, for example from 100% to 130–150%
- optionally add a short pitch spike or upper noise burst
- Utility gain down by 2–6 dB in the final beat
- Auto Filter sweep downward quickly
- EQ Eight high-pass higher than normal right before the cut
- easier visual editing
- easier reverse tails and micro-cuts
- easier to align with the exact pre-drop snare or impact hit
- lower CPU if your project is heavy
- trim tails that overlap the first kick or snare too much
- add a tiny fade-out if there is a click
- nudge the audio earlier or later by a few milliseconds if the tension feels late
- drums
- bass
- lead or stab
- main downlift impact if you have one
- Too harsh: reduce 4–8 kHz, shorten the final opening, reduce saturation
- Too weak: increase final automation slope, add a second upper layer, widen slightly more
- Smears the drop: cut the tail earlier, reduce reverb, lower delay feedback
- Feels disconnected: match the riser tone to your track’s palette by filtering darker or brighter
- Use different riser lengths for different phrase jobs. In DnB, an 8-bar riser into the first drop can be great, but a 2-bar or 4-bar version is often stronger for second-drop fills and switch-ups. Longer is not automatically better.
- Match brightness to sub-style. Cleaner dancefloor often likes a polished, airy top end. Darker roller material often benefits from a narrower, rougher, less “EDM shiny” riser.
- Automate width with intent. Widening the riser near the end can feel massive, but if your drop is also wide, keep the final moment slightly narrower so the drop can expand.
- Sidechain lightly if needed. If your pre-drop snares are important, you can use a subtle compressor sidechained from the snare to tuck the riser on those hits. Keep it gentle—just enough to preserve attack.
- Use grouped FX lanes. Create a dedicated FX group with risers, downlifters, sweeps, and impacts. Color-code it. This keeps arrangement decisions fast when you are deep in a real tune.
- Print alternate endings. Bounce one version with a hard cut, one with a reverb tail, and one with a quick suck-out. Audition them against the drop. This A/B process is faster and more honest than endlessly adjusting one version.
- If the track already has lots of top-end motion, make the riser simpler. Fast hats, fills, and vocal chops already create tension. In that case, the riser should support, not compete.
- Stock Ableton devices only
- One main source track and one optional support layer maximum
- Must include one filter automation and one final pre-drop release move
- Must be high-passed so it does not interfere with sub or kick
- Version A: 8-bar riser into drop
- Version B: 4-bar riser into the same drop
- Both printed to audio and placed in arrangement
- Does each version clearly increase tension?
- Does the final moment create space for the drop?
- Which version better suits the section: 8-bar anticipation or 4-bar urgency?
- choose the phrase target first
- build from a controllable source
- automate filter and intensity over time
- add motion, width, and space carefully
- create a release point before impact
- test it against the full drop, not in solo
Sonic character: airy, tense, slightly noisy, possibly metallic depending on the source.
Rhythmic feel: mostly sustained, but with optional pulsing or acceleration near the end.
Role in the track: transition, tension builder, phrase marker, and drop signpost.
Polish level: arranged, automated, and processed enough to be used in a near-finished DnB session.
A successful result should sound like this: the energy lifts noticeably as the section approaches, the listener expects impact, and when the drop or switch arrives, the FX gets out of the way instead of smearing the moment.
Step-by-Step Walkthrough
1. Choose the transition target before you design anything
First, decide exactly where this FX belongs:
In Ableton, mark the phrase with locators or at least visually identify the bars. For this lesson, build a riser over 8 bars before the drop, then test whether it also works as a 4-bar version.
Why this matters: in DnB, transitions are arrangement tools. If you build an FX sound with no destination, it often ends up too long, too dramatic, or emotionally mismatched.
A useful phrasing example:
Context check: soloing the FX at first is fine, but very quickly bring back your drums and any lead or vocal. A riser that sounds huge alone can feel messy once the snare build and top loop are in.
2. Create a solid source sound instead of relying on random samples
Make a new MIDI track and load Operator. Build a simple noise-based source:
Now draw one long MIDI note for the full 8 bars.
Why use this source: noise-based risers are perfect in DnB because they fill the upper spectrum without creating too much obvious pitch conflict with bassline content. They also take processing and automation very well.
If you want a more tonal version, duplicate the track and make a second layer:
But keep the main build centered on FX, not on turning this into a lead patch.
3. Shape the upward motion with filter and level automation
Now automate the core movement. This is the heart of the lesson.
On the noise riser track:
Why it works: a riser feels like it is “growing” when spectral content and intensity increase together. In DnB, this is often more effective than just making something louder.
What to listen for:
1. The first half should feel like setup, not climax.
2. The last 2 bars should feel more urgent than the first 6, but not harsh.
Troubleshooting moment: if the riser already sounds “maxed out” by bar 4, your automation curve is too linear or too steep. In Ableton, make the automation flatter at the start and steeper near the end so the pressure builds later.
4. Add movement with Auto Pan or rhythmic gating
A static riser can work, but in DnB it often feels more alive with some pulse.
Add Auto Pan after Operator. You can use it in two different ways.
Option A: subtle stereo motion
This gives width and motion without obvious tremolo.
Option B: rhythmic gating for tension
A versus B decision:
Why this works in DnB: because the groove is so fast, even non-drum FX benefit from some rhythmic relationship to the grid. A pulsing riser can lock better against hats and snares, especially in pre-drop bars.
5. Build a proper stock FX chain for width, wash, and focus
Now make the riser feel produced.
Try this stock-device chain:
Operator → Auto Pan → Hybrid Reverb → Echo → EQ Eight
Suggested settings:
- High-pass around 150–300 Hz
- If needed, dip 2–5 kHz by a few dB if it starts biting too hard
- Gentle high shelf if the top lacks air
Why this chain works: the reverb creates scale, the delay adds trailing energy, and the EQ keeps the whole thing in the “transition lane” rather than in the drum or bass lane.
What to listen for:
Workflow tip: once this chain starts working, save it as an Audio Effect Rack preset. DnB producers reuse transition frameworks constantly, then retune the automation and timing per track.
6. Add a second layer for bite or tone, but keep it controlled
Duplicate the riser idea with a second track if the main noise layer feels too generic.
Two good options:
Metallic/top layer
Use Collision or a bright sample with:
Tonal pitch-rise layer
Use Operator:
The reason to keep this layer quiet is that your main job is still transition FX. If the tonal layer becomes the focus, the pre-drop can start sounding like a lead build from another genre rather than a DnB transition.
Fix-it moment: if the tonal layer clashes with your vocal, stab, or key center, either reduce its level heavily, shorten it to the final 2 bars, or remove pitch and let it act as texture only.
7. Create the final pre-drop lift with automation density
The last bar is where the riser either sells the drop or weakens it.
In the final 1 bar to 2 beats, increase activity:
A practical move: duplicate the riser audio or freeze/flatten it later and reverse a small tail into the final snare hit before the drop.
This is where arrangement payoff matters. In DnB, the listener often expects a clear “here it comes” signal. That signal can be subtle, but it should be deliberate.
Important: if your drop starts with a very wide lead or wide bass texture, do not make the riser maximum-width right up to the transition. Leave room for the drop to feel bigger.
8. Add a cut, suck-out, or micro-gap before impact
A lot of transitions fail because the riser never releases. It just continues straight into the drop and masks the first kick-snare-bass statement.
Use one of these options in the final half-beat to one beat before the drop:
Option 1: hard cut
Automate the riser volume down to silence just before the drop.
Option 2: quick filter dip
Rapidly close the filter in the final moment.
Option 3: reverb-only tail
Automate the dry signal down while the reverb tail lingers, then cut the reverb return before the drop hits.
Option 4: frequency suck-out
Use Auto Filter or EQ Eight automation to thin the riser drastically right before impact.
This creates contrast, and contrast is what makes drops hit.
A useful stock chain for this final shaping:
Utility → Auto Filter → EQ Eight
Stop here if the transition already works in context. Do not keep adding layers just because the soloed FX still sounds simple. In a full DnB arrangement, simple and controlled often wins.
9. Commit to audio and edit the exact drop handoff
Once the automation feels good, freeze and flatten the riser track or resample it to audio.
Why commit this to audio:
Now zoom in around the phrase change:
This is one of those small producer moves that separates “nice sound” from “usable arrangement tool.”
10. Test the riser against the actual DnB drop, not against silence
Bring back the full drop section:
Now ask three questions:
1. Does the riser clearly point at the drop?
2. Does it leave room for the first bar of impact?
3. Does the transition feel like the same record, not a pasted-on FX cliché?
If not, fix according to the symptom:
A strong result should feel like the pressure rises, the room opens, the listener braces, and then the drop arrives cleaner because the FX made space for it.
Common Mistakes
1. Making the riser too bright too early
Why it hurts: the build peaks halfway through, so the final bars have nowhere left to go.
Ableton fix: flatten the early filter automation and save the biggest frequency opening for the last 2 bars.
2. Leaving too much low-end in the FX
Why it hurts: it clouds the pre-drop and can weaken the first kick/bass impact.
Ableton fix: use EQ Eight or Auto Filter to high-pass the riser around 150–300 Hz, sometimes higher if the arrangement is dense.
3. Using huge reverb all the way into the drop
Why it hurts: the drop loses definition, especially on the first snare and bass hit.
Ableton fix: automate Hybrid Reverb dry/wet down before impact, or print the FX to audio and trim the tail aggressively.
4. Making the transition louder instead of more intense
Why it hurts: it feels like a volume cheat, not a tension build.
Ableton fix: automate filter opening, width, pulse rate, and spectral density first. Keep level changes secondary.
5. Over-layering random FX that do not match the track
Why it hurts: the riser feels pasted on and can clash tonally or emotionally.
Ableton fix: keep one main noise layer and one supporting layer at most, then shape them to the track with EQ and timing.
6. No release point before the drop
Why it hurts: the drop has no contrast, so even strong drums feel smaller.
Ableton fix: create a cut, suck-out, or fast filter collapse in the final half-beat.
7. Designing in solo for too long
Why it hurts: soloed FX often encourages over-processing and excess width.
Ableton fix: check the riser with drums and musical elements every few minutes, especially from 2 bars before the drop through 1 bar after.
Pro Tips
Mini Practice Exercise
Goal: Build one 4-bar and one 8-bar DnB riser that both lead cleanly into the same drop.
Time box: 15 minutes.
Constraints:
Deliverable:
Quick self-check:
Bonus check: mute the riser. If the section suddenly feels flatter and less directional, your FX is doing its job.
Recap
A strong DnB riser is not just noise getting louder. It is a transition device with a destination.
Remember the core formula:
If it lifts energy, points cleanly at the next section, and then gets out of the way right on time, you nailed it.

