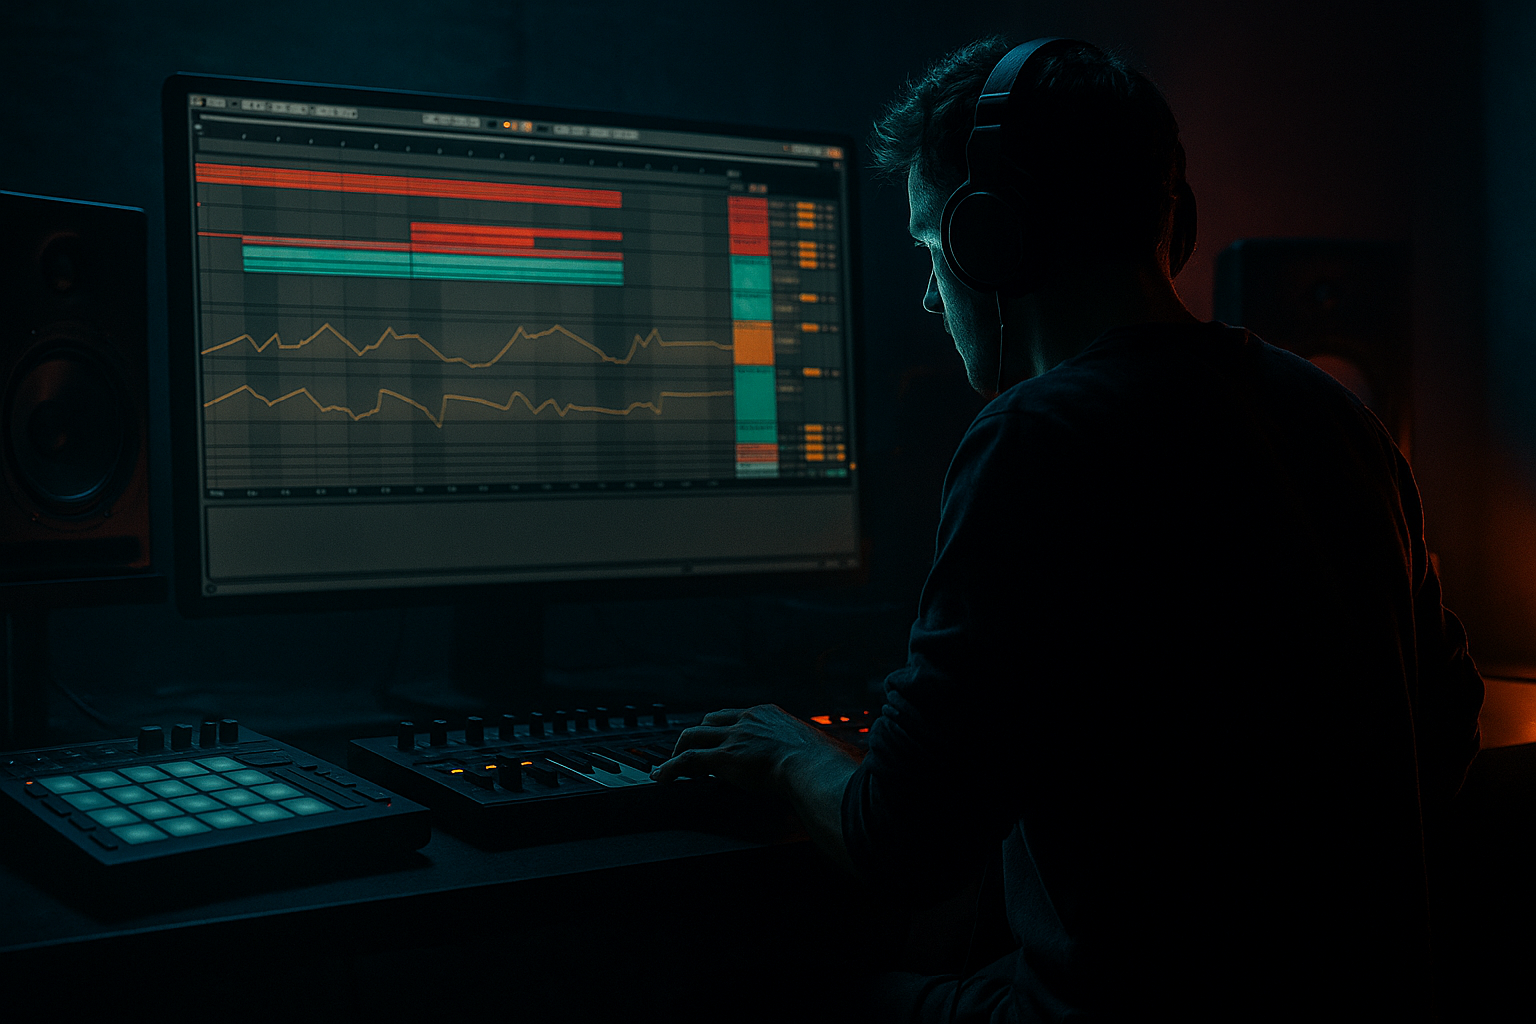
Main tutorial
```markdown
Rave Chord Progressions for Jungle (Ableton Live) ⚡️
Skill level: Advanced • Category: Composition • Context: Drum & Bass / Jungle / Rolling rave music
---
1) Lesson overview 🎛️
Rave chords in jungle aren’t “jazzy chord theory flexing”—they’re functional, emotional weapons: tight voicings, bold minor/Phrygian flavors, and rhythmic stabs that lock to break edits and bass movement.
In this lesson you’ll build a set of classic rave chord progressions (with DnB-rooted voicings), then process them the way jungle actually treats chords: resampling, filtering, distortion, stereo control, and arrangement automation—all in Ableton stock devices.
---
2) What you will build 🧱
You’ll end up with:
- A 4–8 bar jungle chord loop (rave stab style) in a dark/minor key
- A routed chord bus with:
- A simple arrangement template: intro → drop → variation → breakdown → second drop
- A resampled chord audio rack for instant stabs and fills
- F minor, G minor, A minor
- Phrygian or harmonic minor touches for darker pulls
- Osc 1: Saw, Unison 2–4, Detune 10–20
- Osc 2: Square (quietly mixed, -12 to -18 dB)
- Filter: LP24
- Amp Env:
- Fm9 (no 5): F–Ab–Eb–G
- Try voicing it midrange:
- Gb major over F (slash-ish vibe): F–Gb–Bb–Db
- Bbsus2 add 6 vibe (color chord): Bb–C–F–G
- Bar 1: Fm9 (F–Ab–Eb–G)
- Bar 2: Db major flavor (Db–F–Ab–C)
- Bar 3: Eb (Eb–G–Bb)
- Bar 4: C or C7 (C–E–G–Bb) ← yes, E natural breaks the scale; that’s the point
- Keep it hypnotic and repetitive for rollers.
- Great for “hands in the air” moment before a drop.
- Velocity variation: Strong on beat 1/3, lighter on syncopations.
- Note length: 50–160 ms for tight stabs.
- Mode: Time
- Length: 1/16 (adjust to taste)
- Gate: 70–90%
- Reverb:
- Keep send low: -18 to -10 dB range.
- Hybrid Reverb (Convolution off or very subtle):
- Add Echo after it:
- Bars 1–2: stabs sparse (space for break + bass)
- Bars 3–4: add an answering stab or higher inversion
- Bars 5–6: introduce a new chord (or same chords, new rhythm)
- Bars 7–8: send to Dub Verb + filter down to set up a reload
- High-pass chords to 600–1k, drown in dub verb
- Bring in a filtered vocal shot
- Then hard-cut reverb tail right before the drop (automation to 0) for impact.
- Pads instead of stabs: long sustains blur the break and reduce urgency. Clamp note length.
- Too much low-mid energy: chords fighting bass at 150–400 Hz = instant mud. High-pass and carve.
- Over-wide chords: stereo wideners can smear transients and weaken center punch. Use Utility and keep width sane.
- No resampling: raw MIDI chords can sound too clean. Jungle loves “printed audio” texture.
- Static filter: rave chords should move. Automate cutoff or use subtle envelope/filter LFO.
- Use harmonic minor tension: In F, sneak E natural (C7 chord) for that dark pull.
- Band-limit aggressively: After saturation, use EQ Eight:
- Parallel distortion bus:
- Call-and-response with bass:
- Pitch automation on resampled stabs:
- Jungle rave chords are rhythmic stabs, not harmony beds.
- Use minor + tension (9ths, sus, slash/tension clusters) and don’t fear out-of-key dominants.
- Make it sound legit with saturation, filtering, controlled width, and sidechain.
- Resample → chop → Simpler/Drum Rack for true rave-stab authority.
- Arrange with intention: sparse → variation → throw → cut for maximum drop impact.
- Saturation + band-limiting
- Phaser/chorus movement
- Reverb that doesn’t swamp the drums
- Sidechain/pumping tuned for 170–175 BPM
---
3) Step-by-step walkthrough ✅
Step 0 — Session setup (so it feels like jungle immediately)
1. Set tempo: 172 BPM (good middle ground).
2. Create tracks:
- MIDI Track: “Rave Chords”
- Audio Track: “Chord Resample”
- Return A: “Short Verb”
- Return B: “Dub Verb”
3. If you’re building in context, drop in a basic break (Amen / Think) and a rolling sub to feel the pocket.
---
Step 1 — Choose a key + scale that screams rave
Classic jungle rave chords love:
For this tutorial: F minor (F–G–Ab–Bb–C–Db–Eb).
> Ableton tip: Load Scale (MIDI Effect) and set Minor + Root F if you want guardrails, but advanced users: you’ll break the rules intentionally later.
---
Step 2 — Pick a chord source (stock synth, fast) 🎹
Use Wavetable (clean + flexible) or Analog (instant rave warmth).
We’ll use Wavetable.
Wavetable preset starting point (manual setup):
- Cutoff: ~2–5 kHz to start (you’ll automate later)
- Drive: 3–6
- Attack 0–5 ms
- Decay 250–450 ms
- Sustain -inf (or very low)
- Release 80–150 ms
This gives you stab behavior instead of pads.
---
Step 3 — Build 3 “DnB correct” rave chord voicings (not just triads) 🔥
Rave chords often imply minor tonality with suspended tension, minor 7/9 colors, or cluster voicings—but voiced tight and hit like a stab.
#### Voicing Set A (classic minor rave stab)
In F minor:
- That “9” (G) is the sparkle; dropping the 5 keeps it punchy.
- F3–Ab3–Eb4–G4
#### Voicing Set B (Phrygian bite / darker jungle)
- This creates that “wrong-but-right” tension used in darker rave.
#### Voicing Set C (suspended rave, very usable for movement)
- Great as a “lift” chord between darker hits.
> Workflow: Put each chord on its own MIDI clip row (or one clip with different bars) so you can audition progressions rapidly.
---
Step 4 — Write progressions that work in 170+ BPM jungle
Here are three practical, usable progressions. Make each 4 bars.
#### Progression 1 (proper rave minor tension)
| Fm9 | Dbmaj7-ish stab | Eb | C (or C7) |
Why it works: That C / C7 pulls hard back to F minor = rave energy.
#### Progression 2 (Phrygian-ish dark roller)
| Fm9 | Gb tension chord | Fm9 | Eb sus / Eb |
#### Progression 3 (lift + drop)
| Fm9 | Bb color chord | Db | C7 |
---
Step 5 — Make them jungle: rhythm programming (stabs, not pads) 🥁
DnB chords are percussive elements. Use rhythm like a drum pattern.
1. Set MIDI clip length: 1 bar loop initially.
2. Place chord hits on:
- Beat 1
- “&” of 2 (offbeat)
- Beat 3
- “a” of 4 (late pickup into next bar)
At 172 BPM, try 1/8 and 1/16 placement.
Then do:
> Ableton trick: Add Note Length (MIDI Effect) to clamp stabs consistently:
---
Step 6 — The essential chord processing chain (stock devices) 🧨
On your Rave Chords track:
1. EQ Eight (pre-drive cleanup)
- HPF at 150–250 Hz (24 dB/oct)
- Small dip at 300–500 Hz if boxy
- Gentle shelf down above 10–12 kHz (optional—rave chords often band-limited)
2. Saturator
- Mode: Analog Clip
- Drive: 3–8 dB
- Soft Clip: On
Goal: make the stab speak on small speakers.
3. Auto Filter (for movement)
- LP or BP
- Envelope amount small, or automate cutoff
- Try BP around 800 Hz – 2.5 kHz for “telephone rave”
4. Chorus-Ensemble or Phaser-Flanger
- Chorus-Ensemble: Amount 15–30%, Rate 0.2–0.6 Hz
- Keep it subtle; you want width without washing the transient.
5. Compressor (sidechain from kick/snare group)
- Sidechain Input: Drum Bus / Kick+Snare
- Ratio 3:1 to 5:1
- Attack 5–15 ms
- Release 80–160 ms (tune to groove)
- Aim for 2–5 dB GR on hits
6. Utility (stereo discipline)
- Bass Mono: 120–200 Hz (if using Utility’s Bass Mono in newer Live)
- Width: 80–110% depending on how wide your breaks are
---
Step 7 — Reverbs that don’t wreck the drums (Return workflow) 🌫️
Return A: Short Verb (glue)
- Decay: 0.6–1.2 s
- Predelay: 10–25 ms
- HPF: 250–400 Hz
- LPF: 6–9 kHz
Return B: Dub Verb (for fills + breakdowns)
- Decay: 2.5–6 s
- Predelay: 25–45 ms
- Size: medium/large
- HPF: 400–700 Hz
- Time: 1/8D or 1/4
- Feedback: 20–35%
- Filter: keep it mid-focused
Automate sends—don’t leave dub verb on all the time.
---
Step 8 — Resample for authentic rave stab behavior 🎚️
This is where it becomes “record-like.”
1. Set Chord Resample audio track input to Resampling.
2. Arm it, record 8–16 bars of your chord performance (including automation).
3. Now chop:
- Warp mode: Beats (Transient loop OFF for cleaner chops)
- Slice into 1-shot hits.
4. Put the best stab into Simpler:
- Classic mode
- Decay: 200–500 ms
- Filter: LP around 3–6 kHz
5. Build a Drum Rack with 4–8 different chord stabs (different voicings + filter positions).
> This is how you get that “sampled rave chord” firmness—even if you synthesized it.
---
Step 9 — Arrangement ideas (how jungle uses chords) 🧠
Use chords like a “hook layer,” not constant harmony.
8-bar drop blueprint:
Breakdown trick:
---
4) Common mistakes 🚫
---
5) Pro tips for darker/heavier DnB 🕳️
- HP 250–350 Hz, LP 6–8 kHz
This “old rave system” bandpass sits perfectly above subs and under hats.
Create a return with Pedal (Saturator works too), then EQ it narrow and blend:
- Pedal: Drive 20–40%, Tone darker
- EQ: emphasize 1–3 kHz, cut lows
Write chord stabs on spaces where your reese stops. The silence makes it heavy.
In Simpler, automate Transpose -2 to +2 semitones for nasty fills.
---
6) Mini practice exercise 🧪 (15–25 minutes)
1. Pick F minor and program Progression 1 for 4 bars.
2. Make two versions:
- Version A: tight 1/16–1/8 stabs, minimal reverb
- Version B: resampled stabs in Drum Rack + dub verb throws on bar 4
3. Add one “illegal” chord moment:
- Use C7 (with E natural) or the Gb tension chord for 1 beat only.
4. Export both loops (audio) and A/B them against your break:
- Which one locks harder?
- Which one feels more “rave”?
---
7) Recap 🔁
If you want, tell me your target sub style (clean sine, reese, 4x4 donk bass, etc.) and I’ll suggest chord rhythms that leave the perfect holes for it.
```

