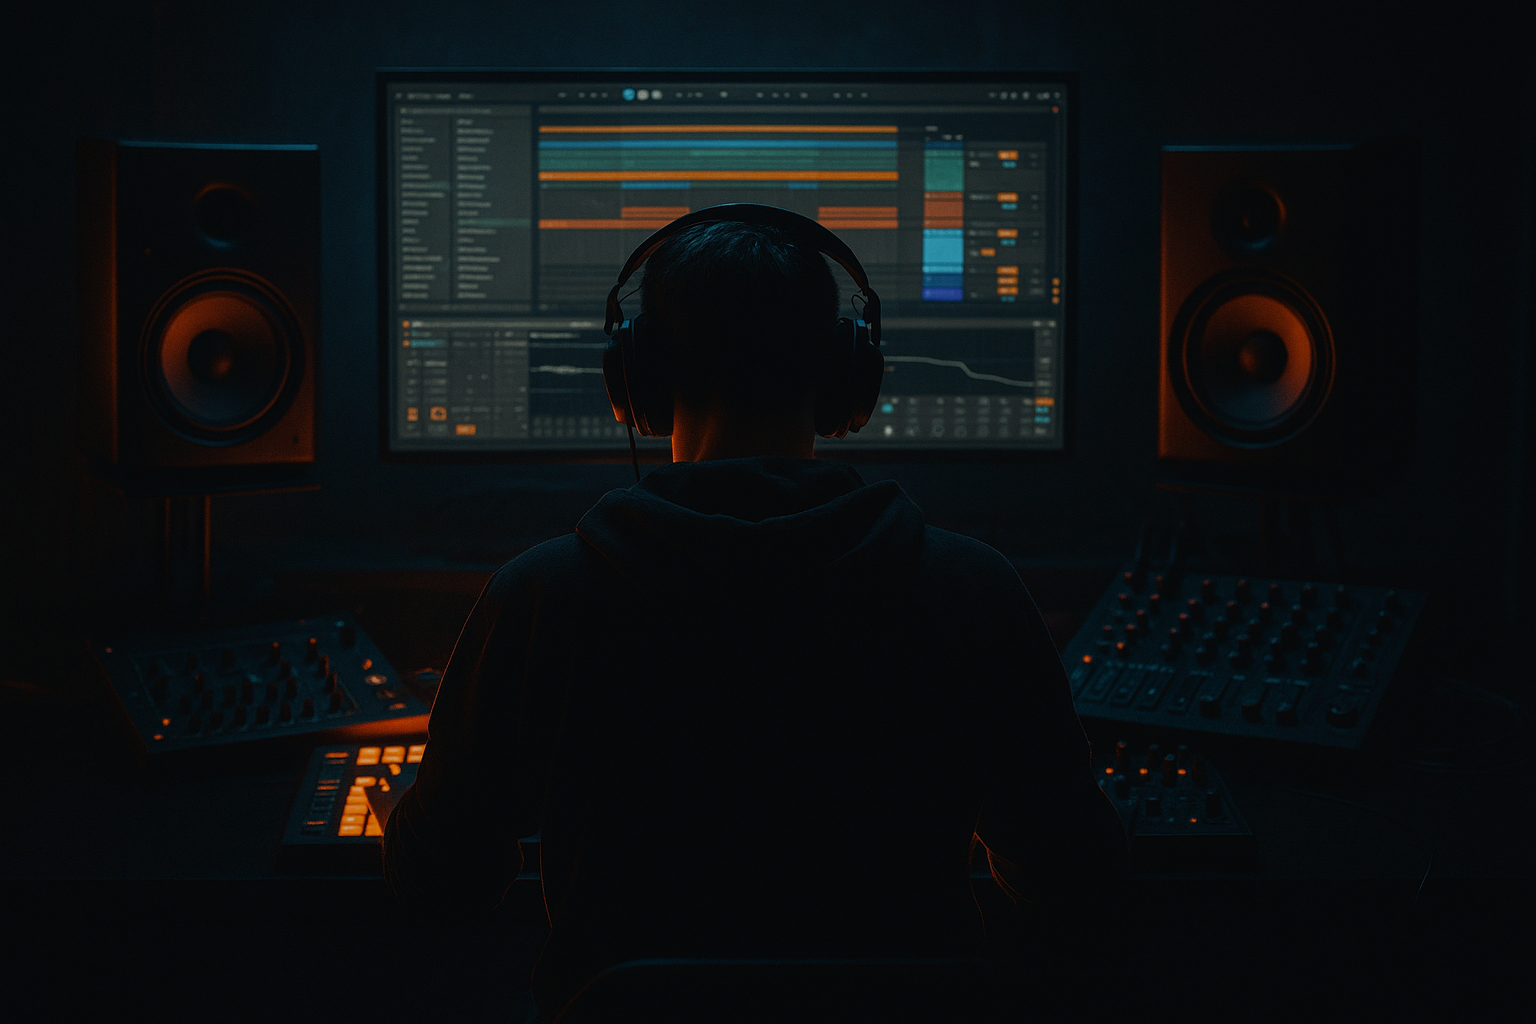
Main tutorial
Lesson Overview
This lesson shows you how to build a rave pressure think-break switchup in Ableton Live 12: a short, high-energy section where a vocal phrase, chopped break, and tension FX collide to create a sudden drop in momentum without losing the dancefloor. In DnB, this kind of switchup usually lives right before a drop, at the end of an 8-bar phrase, or as a mid-track surprise before the second drop. It works because it changes the emotional temperature fast: the drums feel more broken, the vocal feels more urgent, and the arrangement opens up just enough to make the next impact hit harder.
This is especially effective in roller, jungle-influenced, darker dancefloor, and rave-leaning DnB where you want something that feels energetic and old-school without turning messy. Technically, the challenge is keeping the break exciting while the vocal stays readable and the low end remains clean. Musically, the goal is to create a “pressure release” moment: the listener feels a rush of movement, but the groove still points toward the next drop.
By the end, you should be able to build a switchup that sounds like a deliberate arrangement move, not a random edit. It should feel tight, tense, and DJ-usable, with enough space for the kick, snare, and sub to return cleanly after the switchup. A successful result sounds like the track suddenly lurches forward into a ravey, break-heavy pocket, while the vocal acts like a hook or command line that keeps the section memorable.
What You Will Build
You will build a short 8-bar think-break switchup using a vocal chop, a controlled break edit, and simple Ableton stock processing. The result will have a ravey, pressured character: chopped vocal phrases sitting over a broken drum pattern, with enough grit and motion to feel underground, but enough arrangement control to keep the low end focused.
The rhythmic feel should be pushed and unsettled, like a break answering the vocal rather than simply looping underneath it. The role of the section is to act as a bridge, fake-out, or mini-drop variation that increases tension before the main bass returns. It should be polished enough to sit in a real arrangement, meaning the vocal is intelligible, the break has punch, and the sub lane is not fighting the edits.
Success sounds like this: the vocal hook lands clearly, the break feels alive and reactive, the energy climbs across the 8 bars, and the next drop feels bigger because the listener has just been pulled through a controlled moment of chaos.
Step-by-Step Walkthrough
1. Choose the exact moment for the switchup
Place the switchup at the end of an 8-bar or 16-bar phrase, ideally right before a drop or before a second-drop variation. In DnB, this kind of move works best when it has a clear job: either to reset the room, tease the hook, or give the DJ a clean transition point.
In Ableton Arrangement View, find the phrase boundary where the drums or bass can afford to drop out slightly. If your track is 174–176 BPM, a switchup that starts on bar 9, 17, or 33 usually feels natural. Keep the lead-in simple: a one-bar fill or a short break pickup can make the switchup feel intentional.
What to listen for: the moment should feel like a clear sentence ending, not a random interruption. If the groove is still too busy before the switchup, reduce the earlier bass movement so the change has somewhere to land.
2. Pick a vocal phrase that can act like a command or hook
For a beginner-friendly rave pressure switchup, choose a short vocal that has strong rhythm and a clear attitude. Think one to four words, or a sliced phrase with a strong accent. It could be a spoken line, a crowd-style chant, or a clipped rave vocal.
Drag the vocal onto an audio track and trim it so the strongest syllable starts right on a beat or slightly ahead of it. In DnB, a vocal switchup often works better when the first hit is slightly urgent rather than perfectly relaxed. If needed, use Warp and nudge the transient until the phrase locks to the grid.
Two useful options:
- Option A: spoken/chant vocal for a darker, more ruthless feel.
- Option B: chopped rave phrase for a more euphoric, classic-jungle energy.
Choose A if you want menace. Choose B if you want crowd energy. Both work; the difference is emotional tone, not technique.
3. Build a clean vocal chain using stock devices
Start simple and keep the vocal focused in the mix. A very usable stock chain is:
- EQ Eight: high-pass around 100–160 Hz depending on the vocal body, and gently cut harshness around 3–5 kHz if the phrase bites too hard
- Compressor: light control, around 2:1 to 3:1, just enough to even out jumps in syllables
- Saturator: add a small amount of Drive, often somewhere around 1–4 dB, to help it cut through the break
- Reverb: short decay, low-ish wet amount, so the vocal gets space without washing out the rhythm
If the vocal is thin, don’t try to “fix” it with huge reverb. DnB switchups need definition. The vocal should sit on top of the percussion energy, not dissolve into it.
What to listen for: the vocal should still sound clear when the drums come in underneath. If the consonants disappear, reduce reverb wetness and add a touch more Saturator instead.
4. Create a think-break pattern that answers the vocal
Pull in a breakbeat from your library and place it under the vocal phrase. Chop it into a simple pattern first: kick and snare accents on strong points, with a few ghost hits or pickup hits to create movement. Keep the first version readable.
A beginner-friendly starting point is:
- strong snare hits on the usual backbeats
- one or two extra snare or rim hits leading into the next bar
- a short break fill in the last half-bar before the drop
Use Ableton’s Slice to New MIDI Track only if you already have a break you want to chop quickly. Otherwise, you can simply cut the audio and drag the slices manually in Arrangement View. The goal is not complexity; it is controlled momentum.
Why this works in DnB: the vocal creates the hook, and the break creates motion. Together, they give the switchup a rave pressure feel that sits between a breakdown and a mini-drop.
5. Shape the break so it stays punchy instead of noisy
Put this stock chain on the break bus or on the break track:
- EQ Eight: high-pass very gently if needed, usually around 30–45 Hz to clean sub rumble
- Drum Buss: use Drive carefully for weight and Snap for transient edge
- Saturator: a small amount of drive can help the break hold its own against the vocal
- optional Glue Compressor if the break needs a bit of cohesion, but keep it subtle
A useful setting direction is light-to-moderate processing, not destruction. In DnB, if the break becomes too thick in the low mids, it starts fighting the sub and the vocal feels buried. Keep the transient feel alive.
What to listen for: the snare should still crack through the vocal layer. If the break turns cloudy, cut a little around 200–400 Hz on the break track and reduce any overdone reverb.
6. Decide how much the sub should be present during the switchup
This is your key A-versus-B decision point.
- A: Sub ducks out or narrows down
- Best for a more dramatic, rave-break switchup
- Makes the vocal and break feel exposed
- Creates more impact when the sub comes back in
- B: Sub stays quietly present
- Best for rollers or darker track continuity
- Keeps the floor moving
- Feels less like a breakdown and more like a sideways shift
If you choose A, automate the bass track volume down or mute it for 1–2 bars, then bring it back with a short fill. If you choose B, keep the sub simple: one note, maybe two, and avoid busy movement. In either case, the low end should remain mono and stable.
Mix-clarity note: if the break and vocal are both busy, don’t let the bass add stereo confusion. Keep the sub clean and centered. That keeps the switchup powerful instead of blurry.
7. Automate filters and tension FX for a proper pressure build
Use stock automation to make the section feel like it is tightening up. A good simple move is:
- automate a Auto Filter or EQ high-pass on the break or vocal riser
- open the filter slightly over 2–4 bars before the switchup
- then snap it back or remove it as the vocal lands
Keep the motion clear and avoid over-automating everything. One of the biggest beginner mistakes is making every sound move at once. In DnB, tension is often stronger when one element leads and the others stay disciplined.
Add one small tension cue if needed:
- a reversed vocal tail
- a short noise swell
- a downlifter into the first bar of the switchup
Keep these low in the mix. They should help the transition, not become the transition.
8. Arrange the switchup in a clean 8-bar sentence
Here is a practical phrasing example for an 8-bar switchup:
- Bars 1–2: vocal hook enters, break is sparse
- Bars 3–4: break becomes busier, a second vocal chop answers the first
- Bars 5–6: add ghost hits, raise tension with a filter opening or snare fill
- Bars 7–8: strip the pattern slightly, then slam into the next drop
This works because the listener hears a clear arc: introduction, escalation, release. If the section is too even, it will feel like a loop rather than a switchup.
Stop here if the section already feels strong with just the vocal, break, and one FX move. You do not need to add more layers just because the timeline is empty. In DnB, the cleanest idea often hits hardest.
9. Check the section against the drums and bass in context
Bring the switchup back into the full track and listen with the main kick, snare, and bass. This is where the idea either becomes a real arrangement move or exposes its flaws.
Ask three practical questions:
- Does the vocal still read when the kick and snare return?
- Does the break leave enough room for the next bass line?
- Does the switchup make the next drop feel bigger?
If the answer is no, reduce the number of active elements before adding new ones. Often the fix is simply to thin the break for the final bar and leave a small gap before the drop impact. That gap makes the drop feel louder without changing the sound design.
10. Commit the switchup to audio if the edit is becoming complicated
If you have layered multiple vocal chops, break edits, and automation moves, bounce or freeze the section into audio so you can finish faster. This is a workflow efficiency win in Ableton: once the shape is working, printing it helps you stop endlessly tweaking and start arranging.
After committing, make one more pass:
- tighten any untidy starts
- remove accidental overlaps
- ensure the vocal tail does not muddy the next downbeat
This is especially useful if your switchup has a lot of tiny edits. A printed audio version is easier to manage and often sounds tighter in the session.
11. Add one final contrast move for the second-drop version
If the switchup appears again later in the track, do not copy it exactly. Change one element:
- switch the vocal from spoken to chopped
- remove one drum layer
- shift the break fill to a different beat
- keep the same phrase but reverse the last vocal tail
This gives the track a sense of progression. In DnB, repetition is useful, but identical repetition weakens payoff. A second-drop switchup should feel like the same idea with one smarter twist.
Common Mistakes
1. Using a vocal that is too long
- Why it hurts: long phrases clutter the switchup and fight the break rhythm.
- Fix: trim the vocal to one strong phrase or chop it into 1/2-bar or 1-bar fragments in Arrangement View.
2. Letting the break overwhelm the vocal
- Why it hurts: the hook disappears, so the section becomes drum noise instead of a memorable switchup.
- Fix: lower the break level, cut some low mids around 200–400 Hz with EQ Eight, or remove a few non-essential hits.
3. Over-widening the low end
- Why it hurts: stereo bass or wide low frequencies make the switchup weak and unstable in clubs.
- Fix: keep sub elements centered and use width only on tops, vocal ambience, or FX above the low end.
4. Adding too much reverb to make it “ravey”
- Why it hurts: the vocal loses impact and the break loses definition.
- Fix: shorten the reverb decay, lower the wet amount, and use a cleaner vocal chop instead of more space.
5. No clear phrase length
- Why it hurts: the switchup feels random and the drop loses momentum.
- Fix: lock the section into 4-bar or 8-bar phrasing so the listener can feel the build and release.
6. Leaving the sub active during every busy edit
- Why it hurts: the low end becomes muddy and the switchup loses contrast.
- Fix: either simplify the bass during the switchup or make the sub line extremely minimal.
7. Forgetting the return to the main drop
- Why it hurts: the switchup may be cool on its own, but it does not increase the impact of the next section.
- Fix: design the last bar to create space, then bring the kick/snare/sub back with a clean, obvious restart.
Pro Tips for Darker / Heavier DnB
- Use the vocal as a rhythm weapon, not just a lyric. Short chopped words, shouted syllables, or clipped phrases can land like percussion. If the vocal has a strong attack, it can cut through a dense break without needing loads of level.
- Print the vocal through mild saturation before you commit. A little Saturator drive can make the phrase sound closer and more urgent, which suits darker DnB. Too much drive will blur consonants, so keep it controlled.
- Let the break get nastier in the top end, not fatter in the lows. If you want more menace, push texture in the hats, shuffles, and snare crack rather than piling on extra low frequencies. That keeps the sub lane available for the next drop.
- Use ghost notes to imply speed. Even a simple break feels more intense if you add one or two low-velocity or quieter hits that nudge the groove forward. The listener feels movement without the pattern becoming crowded.
- Create contrast through negative space. In heavier DnB, one bar of restraint can feel more aggressive than five bars of constant fill. A brief gap before the drop is often what makes the switchup hit.
- Keep the vocal and break in different frequency jobs. If the vocal is bright, let the break be slightly darker. If the vocal is gritty and mid-heavy, keep the break more top-end and transient focused. This helps the section stay readable on club systems.
- Use a mono check on the switchup. If the idea only works wide, it will lose shape in a club. Collapse your monitoring or check mono compatibility and make sure the vocal still feels strong and the snare still speaks clearly.
- Use only one vocal phrase
- Use only one break
- Use no more than two FX layers
- Keep the sub either fully out or extremely simple
- a chopped vocal
- a break pattern with at least one fill
- one tension automation move
- a clean return point into the next drop
Mini Practice Exercise
Goal: Build a 4-bar rave pressure think-break switchup that can sit before a drop.
Time box: 15 minutes.
Constraints:
Deliverable:
A finished 4-bar section in Ableton Arrangement View with:
Quick self-check:
Play the switchup against your kick, snare, and bass. If the vocal is still obvious, the snare hits hard, and the next drop feels bigger than the switchup itself, you’ve succeeded.
Recap
A strong rave pressure think-break switchup in DnB is built from three things: a clear vocal hook, a controlled break rhythm, and a deliberate phrase shape. Keep the sub disciplined, keep the vocal readable, and let the arrangement do the heavy lifting. The best result should feel tense, energetic, and intentional — like the track briefly opens a trapdoor before slamming back into the drop.

