Main tutorial
Lesson Overview
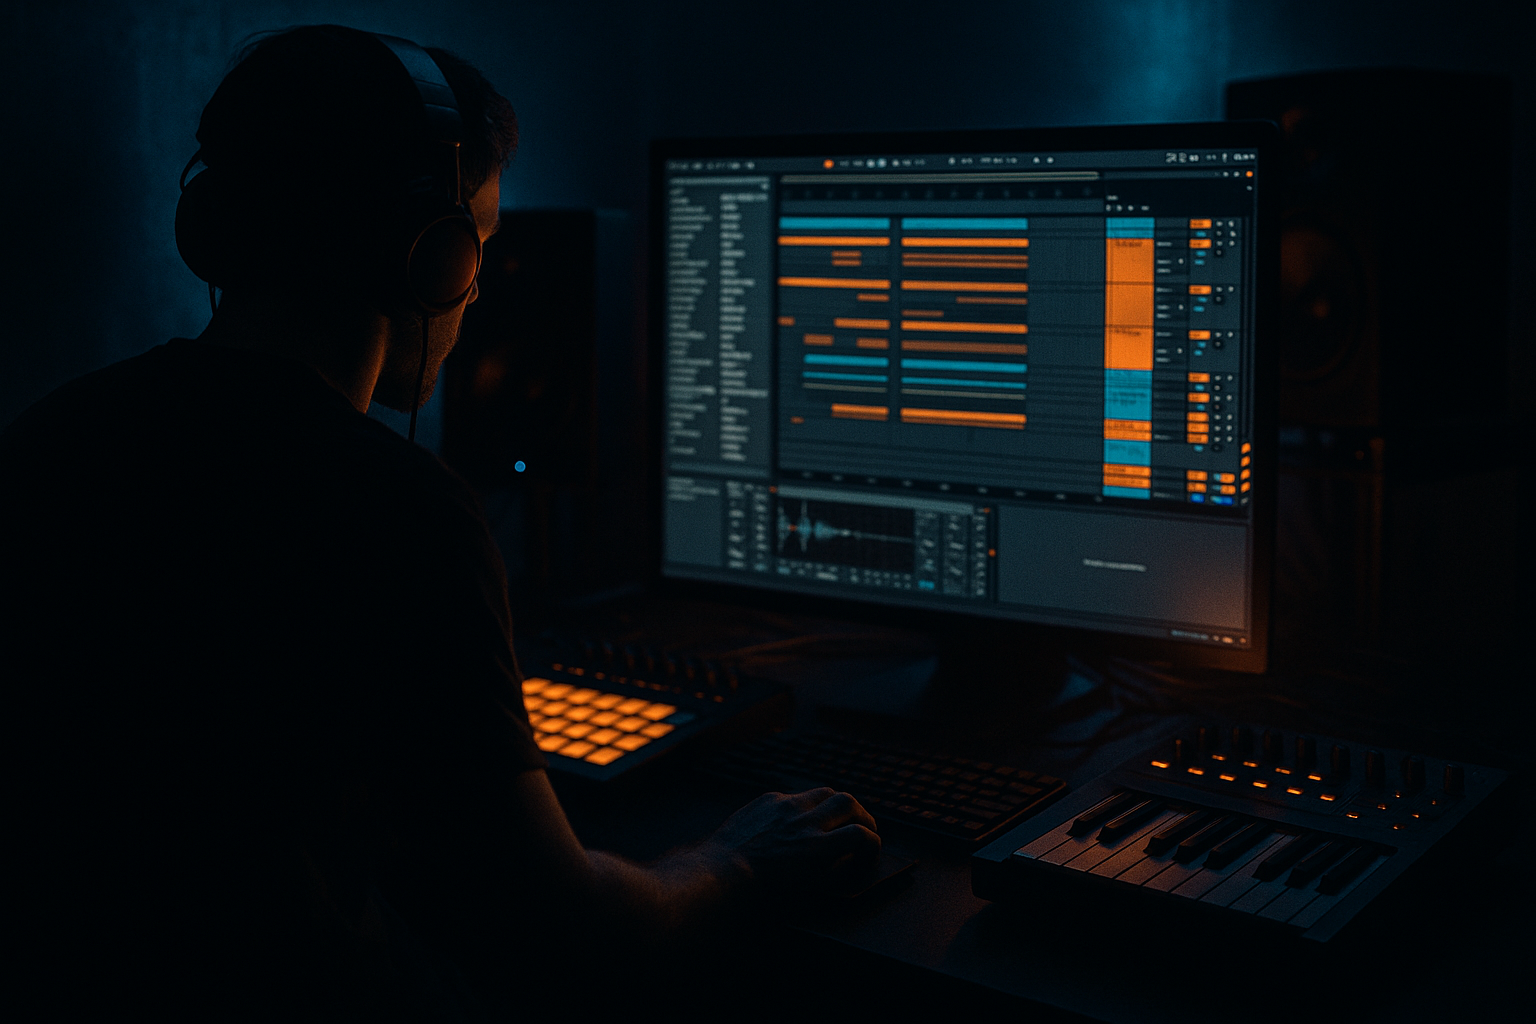
This lesson is about building a warehouse-style intro bassline blueprint in Ableton Live 12 using resampling as the main sound-design engine. The goal is not just to make a heavy loop, but to create that specific DnB intro pressure: a bass idea that feels unstable, industrial, and DJ-friendly, while still leaving room for the drop to feel inevitable.
This technique lives in the intro and pre-drop section of a Drum & Bass track, especially in dark roller, neuro-leaning, techstep-influenced, and rave-pressure arrangements where the intro itself already carries tension. Instead of saving all the identity for the drop, you use a resampled bass phrase to establish the record’s character early: metallic movement, sub discipline, stabs of midrange menace, and enough rhythmic space for drums and FX to breathe.
Why it matters musically: a great intro bassline gives the listener a hook before the drop, but it also functions like a pressure valve. You can imply the drop’s energy without fully revealing it. Why it matters technically: resampling lets you print motion, distortion, filtering, and automation into audio, which gives you more control over the groove and a more “finished” texture than trying to keep every layer live forever. In DnB, that’s a big deal because low-end timing and phase coherence get messy quickly when too many modulation layers stay active.
By the end, you should be able to hear a short, looping intro bass phrase that feels like it belongs in a dark warehouse set: tight in mono, convincing against drums, with clearly shaped movement, and polished enough to sit in an arrangement without sounding like a demo loop.
What You Will Build
You will build a 4-bar warehouse intro bass blueprint that feels like a rough-edged, high-pressure loop sitting before a drop.
Sonically, it should have:
- a controlled sub foundation
- a midrange reese or growl texture
- filter-driven movement
- occasional resampled grit and transient bite
- enough space for kick/snare and breaks to cut through
- syncopated but not overcrowded
- locked to the drum pocket
- capable of working as a call-and-response with the snare or a break accent
- heavy enough to imply the drop, but not so full that it steals the scene
- an intro identity line
- a tension builder
- a DJ-friendly phrase that can loop cleanly or evolve into the drop
- a bridge between atmosphere and full impact
- Use resampling as a character filter, not just a recording method. The best pressure sounds often come from printing one slightly overdriven pass, then printing a second pass with the next stage of processing. That layered history gives the bass a more lived-in, warehouse feel.
- Let the sub stay boring on purpose. In darker DnB, the sub should often be the most disciplined part of the sound. If the texture is chaotic, the sub must be the anchor. Keep it centered, short, and predictable.
- Make the midrange behave like a machine with damage. A good intro bass in this lane often feels mechanical until one detail breaks the symmetry: a reversed tail, a clipped accent, a filtered choke, or a sudden octave lift. That tiny disruption creates menace.
- Use tension through subtraction. If the phrase is already dark, don’t add more distortion first. Remove a beat, shorten a note, or mute the last hit of the bar. In DnB, absence can hit harder than extra layers.
- Resample a version with the filter slightly too closed, then open it by automation later. This preserves the sense of pressure being released. A too-open sound from the start often kills the intro’s narrative.
- Keep the low-mid under control. The 150–400 Hz zone is where warehouse bass can get huge or muddy. If the bass feels thick but the kick disappears, it’s usually this area, not the sub, that needs correction.
- Print a second, uglier layer only for transition moments. A harsh, clipped resample can be tucked under the main line for the last bar of the intro or the pre-drop. Used sparingly, it adds brutality without exhausting the groove.
- Use only stock Ableton devices
- Keep the sub mono
- Use no more than 3 notes in the main phrase
- Resample at least one full pass
- Include one automation move and one chop/edit
- Check the result with kick and snare in context
- keep the sub clean and mono
- let the mid layer carry the damage
- resample to freeze useful motion
- make the phrase work with drums, not beside them
- automate for pressure and release, not random movement
- arrange it like a DJ-friendly intro with a payoff
Rhythmically, it should feel:
In the track, it should function as:
Polish-wise, it should be print-ready and mix-aware, not a final master sound. You want something that already feels like a record idea, with enough headroom and clarity to keep shaping later.
Success sounds like this: when looped with drums, the bassline feels dangerous, deliberate, and spatially controlled—not noisy for the sake of it, and not too polite to carry a rave intro.
Step-by-Step Walkthrough
1. Start with the drum context before you design the bass
Put down a simple intro drum frame first: a kick, a snare, and a light break or hat pattern. In DnB, the bassline’s rhythm only makes sense once you know what it is answering.
Keep the drum bed sparse enough that the bass can “speak.” A typical intro frame might be:
- kick on the 1
- snare on the 2 and 4
- break ghost notes or hats on offbeats
- a little room for silence before the phrase repeats
Why this matters: warehouse pressure comes from negative space as much as density. If the bass is built in isolation, it often ends up too busy once drums are added.
What to listen for: the bass should already feel like it is leaning into the snare or stepping around it, not fighting it.
2. Write a short MIDI phrase that can survive being resampled
Create a bass instrument track with Operator, Wavetable, or even a simpler stock setup if you already have a core tone. Don’t over-design yet. The goal is a phrase with enough character to print into audio.
Use a 1- or 2-bar motif with a small number of notes. For a warehouse intro, less is usually better:
- one root note
- one or two lower passing notes
- a short octave jump or stab on the turnaround
- maybe one accented note that lands just before the snare
A useful starting tempo of movement is:
- note lengths around 1/8 to 1/4
- occasional stabs shorter than 1/16 for edge
- release times short enough to avoid blur, often around 80–180 ms depending on the synth
The important part is not melodic complexity. It’s the phrasing shape. You want something that could become a loop, then be transformed by resampling into a more aggressive texture.
If the line sounds too “composed” and not enough like pressure, simplify it. Warehouse bass usually benefits from repetition with evolving texture, not from busy note-writing.
3. Build a dual-layer bass chain: sub discipline + dirty movement
Use two layers from the start, even if you plan to print them together later.
Chain A: Sub layer
- Operator or Wavetable with a sine or very clean waveform
- low-pass or minimal harmonics
- mono only
- keep it centered and stable
Useful parameters:
- oscillator level conservative
- envelope decay around 150–300 ms if you want a slightly plucky sub
- filter closed enough that the sub remains pure
- no wide stereo on this layer
Chain B: Mid texture layer
- Wavetable, Operator with added harmonics, or a sampled reese-style source
- Saturator with Drive around 2–8 dB
- Auto Filter moving in a subtle range, roughly 120 Hz to 1.5 kHz depending on how vocal you want it
- Redux only if you want a harsher, more digital edge; keep it restrained
Why this works in DnB: the sub gives the track weight, while the mid layer gives it identity. In intro basslines, you need both, but they must be separated enough that the low end remains readable when drums arrive.
Mix-clarity note: keep the sub layer mono and the mid layer controlled. If the mid layer is too wide before resampling, the bass can sound impressive soloed but collapse or smear when the kick and snare hit.
4. Set up a resampling capture track and print the first pass
Create a new audio track and set its input to Resampling. Arm it, then play the MIDI bass loop through the drum context and record a full pass.
This first print is not the final sound. It’s your raw material.
Why print now:
- automation becomes audio movement
- any accidental transient or distortion can become a usable feature
- you can chop, reverse, time-stretch, and re-balance details more freely
- you start making editorial decisions instead of endlessly tweaking synth parameters
Use this first pass to capture:
- filter sweeps
- amplitude accents
- device movement
- any automation on distortion or modulation
Workflow efficiency tip: name the audio clip immediately by function, not by vague description, for example: “intro bass resample A,” “dirty pass,” or “filter motion take.” That saves time when you start building variations.
5. Chop the resample into phrases and decide whether the bass should feel mechanical or unstable
Once printed, go into the clip and make small cuts around the strongest moments. Don’t try to preserve every beat exactly as it was. This is where the sound becomes an arrangement tool.
Here’s an important A versus B decision:
A. Mechanical / warehouse-grid version
- keep the chopped audio tightly aligned
- use clean 1-bar or 2-bar repetition
- let the groove feel rigid, industrial, and DJ-functional
B. Unstable / rave-pressure version
- nudge some slices slightly off the grid
- let one phrase enter a hair late or early
- use a few reversed pieces or stretched tails for a more volatile feel
Both are valid. Choose A if the intro needs to feel like a precision tool. Choose B if you want more menace and unpredictability.
What to listen for: if the sliced phrase loses the pocket, it means the edits are too aggressive. The bass should still “step” with the drums, even if the texture is damaged.
6. Process the printed audio with a second-stage Ableton chain
Now you are shaping audio, not merely a synth patch. A very effective stock-device chain here is:
Chain example 1: Saturator → EQ Eight → Compressor
- Saturator: Drive around 3–6 dB, Soft Clip on if needed
- EQ Eight: cut unnecessary mud around 150–350 Hz if the resample bloats
- gentle dip around 2–5 kHz if the upper bark is harsh
- Compressor: use modest control, not heavy squashing; aim for a tighter envelope, not a flattened life
Another useful chain:
Chain example 2: Auto Filter → Saturator → Utility
- Auto Filter for controlled sweeps and tension
- Saturator to dirty the filtered movement
- Utility to check mono and keep width decisions honest
Important trade-off: filtering before distortion gives a cleaner, more focused movement; distortion before filtering gives a more chaotic, smeared warehouse tone. Choose based on the phrase’s role.
Stop here if the resample already sounds like it has a strong identity. If it does, commit this to audio and move on. Don’t ruin a good printed texture by endlessly “improving” it.
7. Shape the groove against the drums, not just to the grid
Put the bass against the kick-snare frame and check the interaction in context. This is where the intro either gains authority or falls apart.
Make one deliberate timing choice:
- if you want a more driving roller feel, let the bass land slightly ahead of the snare response
- if you want a more heavy warehouse drag, let the bass answer just behind the snare, creating a weightier pocket
Adjust by tiny amounts. In DnB, milliseconds matter. A small nudge of a slice can completely change the perceived swing.
What to listen for:
- the snare should still punch through clearly
- the bass should feel like it is pushing air, not masking the drum transient
- the groove should still feel forward when looped for 8 bars
If the bassline feels strong solo but loses impact with drums, the usual fix is not more distortion. It is often a rhythmic or spectral correction: move a slice, shorten a decay, or carve a narrow pocket around the snare presence zone.
8. Automate tension in a way that survives the intro loop
Warehouses intros need evolution, but not random motion. Use automation to create a clear phrase arc over 4 or 8 bars.
Good automation targets in Ableton Live:
- Auto Filter cutoff
- Saturator Drive
- EQ Eight gain on a narrow midrange emphasis
- Reverb send on a tiny tail only if it does not cloud the low end
- Utility width on the mid layer, not the sub
A practical phrasing example:
- bars 1–2: tighter, more filtered, more withheld
- bars 3–4: slightly wider or more distorted
- last half-bar: brief tension spike or reverse-style punctuation before looping
Keep the automation subtle enough that it feels like the room is opening up, not like a synth tutorial. In a DnB intro, the listener should sense that the record is building pressure without giving away the full drop.
If the phrase becomes too static, automate a 2–4 dB gain lift in the mid layer or a gentle filter opening. If it becomes too obvious, scale it back and let the drums carry more of the narrative.
9. Check mono and low-end focus before you start arrangement expansion
This is non-negotiable for a bassline blueprint. Use Utility on the bass group and check the bass in mono.
Listen for:
- Does the sub stay stable?
- Does the mid texture disappear in a bad way?
- Do any printed stereo effects suddenly hollow out the sound?
If the low end collapses in mono:
- narrow or remove width from the sub
- high-pass the mid layer slightly higher
- reduce stereo processing below the bass’s usable range
- keep wide movement above the fundamental, not inside it
Why this works in DnB: clubs reveal phase issues ruthlessly, and bass-heavy genres make those issues obvious fast. A warehouse intro has to be heavy in the room, not just exciting on headphones.
A successful result should feel solid in the center, tense in the mids, and still readable when the stereo image is reduced.
10. Turn the idea into an arrangement element, not just a loop
Put the bass phrase into a realistic intro arrangement. For example:
- 8 bars of atmosphere and restrained bass hints
- 4 bars of increasing bass pressure
- 1 bar of near-drop tension
- then release into the drop or a fake-out
A strong warehouse intro often works best with a DJ-friendly phrase length:
- 8 bars if the record needs room for mixing
- 4 bars if the intro is meant to be more immediate and impact-led
You can also create a second version for the next section:
- first pass: filtered, darker, more minimal
- second pass: same core phrase, but with one extra octave stab, a harsher resample, or a more open filter
That gives the track progression without needing a brand-new bass concept. In DnB, that kind of controlled evolution is usually more effective than introducing unrelated material.
Common Mistakes
1. Making the resampled bass too wide too early
- Why it hurts: the low end becomes unstable, and the intro loses club authority.
- Fix in Ableton: keep the sub mono with Utility, and limit width to the mid layer only. If needed, high-pass the wide layer so the fundamentals stay centered.
2. Over-printing distortion before the phrase is rhythmically convincing
- Why it hurts: loud texture can hide weak groove decisions.
- Fix in Ableton: simplify the MIDI, get the pocket right, then resample and distort. Use Saturator after the phrase already works with drums.
3. Letting the bass fight the snare in the same presence range
- Why it hurts: the intro loses punch and the groove feels crowded.
- Fix in Ableton: use EQ Eight to carve a modest dip around the snare’s presence area in the mid layer, or move a bass hit so it answers the snare instead of landing on top of it.
4. Building a bassline that only works solo
- Why it hurts: solo tone is not arrangement function.
- Fix in Ableton: loop the bass with a kick/snare and a stripped break while you work. Make decisions in context, not in isolation.
5. Too many moving parts in one phrase
- Why it hurts: the listener cannot latch onto the groove, especially before the drop.
- Fix in Ableton: reduce note count, mute one modulation source, or commit a complex layer to audio and chop only the moments that matter.
6. Ignoring mono compatibility after adding stereo FX
- Why it hurts: the bass can sound huge in stereo but hollow in the room.
- Fix in Ableton: use Utility to check mono, then remove width from everything below the useful midrange.
7. Printing without a clear arrangement role
- Why it hurts: you end up with a cool loop but no usable intro.
- Fix in Ableton: decide whether the phrase is an intro hook, pre-drop tension, or transition device before resampling. That determines how much density and motion it needs.
Pro Tips for Darker / Heavier DnB
Mini Practice Exercise
Goal: Build a 4-bar warehouse intro bass phrase using resampling, then make it work cleanly with drums.
Time box: 15 minutes
Constraints:
Deliverable:
A loopable 4-bar intro bass idea with at least one printed audio variation, ready to be dropped into an arrangement.
Quick self-check:
Mute the drums for 5 seconds, then bring them back. If the bass immediately feels like it belongs in a dark DnB intro and the snare still cuts through, you’ve got the right balance of pressure and space. If it only sounds impressive solo, simplify the rhythm or reduce the width.
Recap
The core move is simple: write a restrained bass phrase, print it, chop it, and shape it in context. In DnB, that gives you more authority than endlessly tweaking synth settings.
Remember the essentials:
If the result feels like a dark room slowly charging up before the drop, you’re in the right zone.

