Main tutorial
Lesson Overview
This lesson is about rebuilding a tape-hiss atmosphere that sounds like it belongs in a 90s-inspired dark Drum & Bass track rather than a random lo-fi layer pasted on top. In practice, this means creating a noisy, slightly unstable bed of air that can sit under an intro, run through breakdowns, or hang behind a drop to add age, menace, and depth without cluttering the kick, snare, sub, or reese.
In DnB, this kind of atmosphere matters because it does two jobs at once:
1. Musically, it gives you that haunted, smoked-out, old-rave darkness that makes a track feel like a lost dubplate, not a clean demo.
2. Technically, it fills empty high-mid space and smooths section transitions, but only if it is controlled so it does not smear the transient punch or steal attention from the drums and bass.
This technique suits 90s-inspired jungle, dark rollers, atmospheric DnB, and rawer halftime-adjacent DnB sections especially well. It also works in intros and outros for DJ usability, where you want the track to feel lived-in and cinematic before the full groove lands.
By the end, you should be able to hear a hiss layer that feels organic, slightly unstable, and intentionally dirty, with enough motion to stay alive, enough filtering to stay out of the way, and enough character to make the arrangement feel deeper. A successful result should feel like the air around the track is breathing with the tune, not like white noise pasted over the top.
What You Will Build
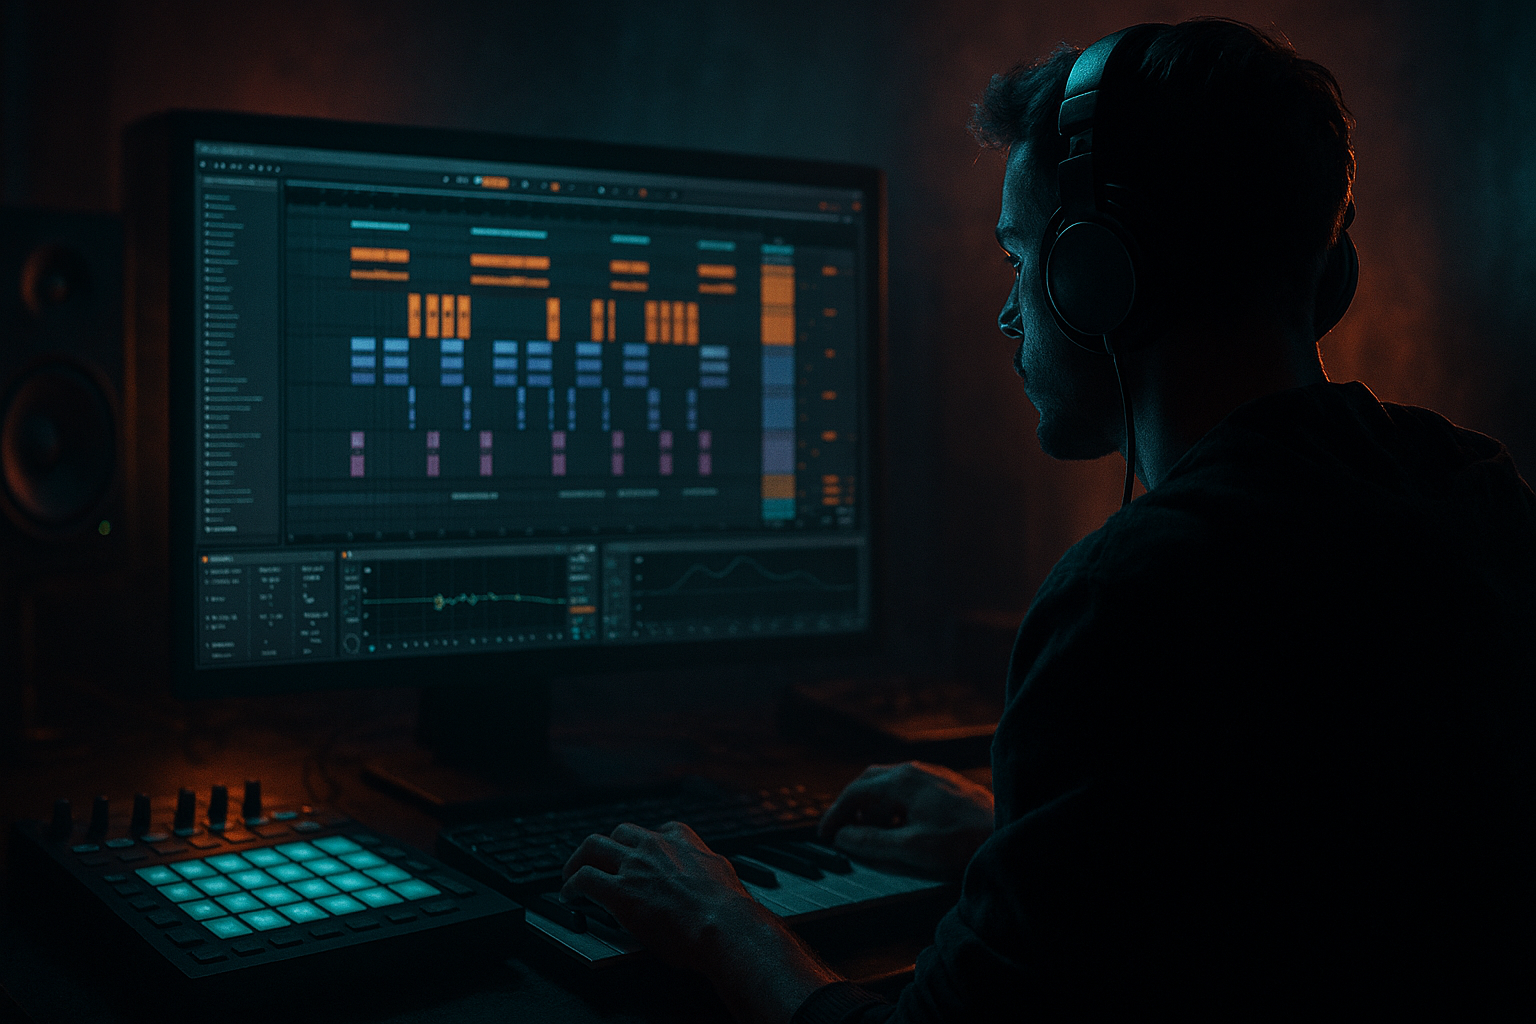
You will build a tape-hiss atmosphere bed in Ableton Live 12 that sounds like it came from a worn cassette deck, an old sampler chain, or a neglected reel bouncing around in a smoky 90s DnB session.
The finished layer should have:
- a soft but gritty hiss character
- slight pitch, tone, and amplitude instability
- a dark filtered top end
- optional stereo width in the air only, not in the low end
- enough movement to evolve over 8 or 16 bars
- a role as intro texture, drop underlay, breakdown tension, or transition glue
- Let the hiss darken the groove, not explain it. In a heavy roller, the atmosphere should increase dread before the listener can consciously identify it. That means filtering lower than you think and keeping the layer mostly felt, not foregrounded.
- Tie the hiss to the snare space. If your snare lands hard on 2 and 4, a subtle hiss bed can fill the air around it, but only if it avoids the snare’s critical crack zone. A small dip around 3–5 kHz can help the snare punch through while the hiss still contributes lift.
- Print variation, then pick the best take. Build two or three hiss renders with different saturation or filter settings, then drop them into arrangement lanes and choose the one that works best against the drums. In DnB, “best in context” beats “most interesting soloed” almost every time.
- Use tape hiss as transition glue, not just ambience. A short fade-up into a fill, or a hiss swell that cuts before the drop, can make a section change feel deeper without needing a giant riser.
- Keep sub and hiss psychologically separate. The sub should feel physical and centered. The hiss should feel like air, dust, and decay around it. If they seem to occupy the same emotional space, the mix gets blurry fast.
- If the tune is neuro-leaning, make the hiss more unstable but less bright. A slightly degraded bed with subtle flutter can add menace without stealing attention from the bass design. That’s often better than a shiny atmospheric layer.
- Use only Ableton stock devices.
- Keep the main hiss layer below the drums in perceived priority.
- Make one version dark and stable, and one version slightly more animated.
- Do not use more than three devices on the main chain.
- An 8-bar loop with the hiss integrated into a drum-and-bass context.
- A second 8-bar variation with a different filter or saturation balance for a second drop or breakdown.
It should not sound polished like modern ambient noise design. It should feel aged, dusty, and characterful, but still mix-ready enough that it can live under drums and bass without masking the groove.
Success sounds like this: when you mute it, the track feels cleaner but flatter; when you bring it back in, the tune instantly feels more underground and more period-correct, yet the kick, snare, and sub still punch through clearly.
Step-by-Step Walkthrough
1. Start with a source that already behaves like tape air
In Ableton, create a new audio track and load a source that can act as your raw hiss bed. You have two solid options:
- A recorded noise source: sample a quiet section from vinyl crackle, tape noise, room tone, or an old sample intro.
- Synthetic noise: use Operator with a simple noise source or use Analog’s noise if that’s your faster route.
For this lesson, the most practical route is often Operator noise printed to audio, because it gives you control and quick commit workflow. Set a long note or hold the source so the noise sustains continuously, then print it to audio once it feels right.
Why this works in DnB: raw noise gives you a consistent atmospheric bed that can be shaped around the drums instead of fighting them. DnB needs low-end precision, so starting with a source that is already tonally simple keeps the rest of the chain manageable.
What to listen for: you want a noise source that feels smooth, not fizzy, and that has enough density that it won’t disappear once filtered.
2. Shape the hiss into a tape-like band rather than full-spectrum noise
Insert EQ Eight immediately after the source. Your first job is to make the hiss occupy a believable tape/air region rather than the entire spectrum.
Try this as a starting point:
- High-pass around 250–500 Hz
- Low-pass around 8–12 kHz
- If the hiss feels too sharp, add a small dip around 4–6 kHz
- If it feels too dull, open the low-pass slightly rather than boosting highs
This is not just cleanup. It defines the era and function. 90s tape hiss usually lives as a rolled-off, imperfect top layer, not a glossy wideband noise wash.
Why this works in DnB: the low end belongs to sub, kick, and bass. The upper midrange belongs to snare snap, break detail, and bass presence. Hiss needs to live above that hierarchy without poking holes in it.
What to listen for: the hiss should sound like air behind glass, not like a new plugin noise floor. If it starts sounding white and modern, close the top further.
3. Add controlled instability with a modulation chain
Now give the hiss a worn, slightly unstable tape identity. Use one of these stock-device chains:
Chain A: subtle tape wobble
- Auto Filter with a gentle low-pass or band-pass movement
- LFO-style movement via automation or slow clip envelopes
- Saturator for soft harmonic grit
Chain B: more degraded sampler-tape feel
- Redux very lightly for grain
- Saturator
- Auto Filter
For Chain A, keep the movement slow:
- Filter cutoff moving within roughly 6–10 kHz
- Resonance very low, just enough to avoid dead-flat motion
- Slow automation over 4 or 8 bars, not rapid wobble
For Chain B, use Redux extremely carefully:
- Bit reduction subtle, often just enough to roughen the texture
- Downsample lightly if needed, but avoid obvious digital aliasing unless that’s the point
The reason this works is that old tape hiss is never truly static. Even a tiny amount of tonal drift helps it feel like part of a physical playback system instead of a looped effect.
What to listen for: the layer should breathe, not wobble like a chorus effect. If the pitch-like motion becomes obvious, you’ve gone too far.
4. Drive it just enough to sound older, not crushed
Add Saturator after the filter and keep it modest. This is where the layer gets its worn, dusty edge.
Useful starting points:
- Drive: around 2–6 dB
- Soft Clip: on if you need control
- Output: compensate so the level does not jump
- If using Overdrive, keep the frequency focus restrained and avoid making the hiss harsh
You are not trying to distort the hiss into a lead sound. You want harmonics that make the noise feel like it has been through an old path: tape, preamp, sampler, or a slightly abused console channel.
Why this matters in DnB: a little grit helps the atmosphere sit with dark drums and bass better than pristine noise does. The texture shares a family resemblance with reese grit, break dirt, and overdriven room tone, so the whole track feels more coherent.
5. Decide whether the hiss is a bed or a movement layer: A versus B
This is a key creative choice.
A. Bed version
- Keep the hiss fairly even
- Minimal automation
- Works best under intros, breakdowns, and long tension passages
- Best if you want a stable, smoked-out atmosphere
B. Movement version
- Automate filter cutoff, volume, or subtle pan shifts across 8 or 16 bars
- Let the hiss rise into fills or drop away just before the snare lands
- Best for build tension, fake-outs, and second-drop evolution
In a real DnB arrangement, both are useful. The bed version is your anchor. The movement version is your arrangement weapon. If you only have one, choose based on the section: intro and breakdowns usually want A; transitions and rebuilds often want B.
Listening cue: if the hiss starts drawing attention away from the snare pattern or bass phrasing, it is too animated for a dense drop.
6. Place it in context with drums and bass immediately
Do not design this in solo for long. Bring in your drum loop, snare, and sub or reese early and check the atmosphere against the actual track.
A good workflow in Ableton:
- Loop 8 bars of your drum/bass section
- Mute and unmute the hiss while the groove plays
- Check whether the hiss adds depth or just adds noise
- If needed, pull it down until you miss it when it is off
This is where you decide if the atmosphere supports the groove or competes with it. In DnB, the groove is king. The hiss should be felt more than heard during the drop unless it is part of a deliberate transition.
What to listen for:
- Does the snare still crack through?
- Does the sub still feel centered and solid?
- Does the hiss make the break feel deeper without washing out ghost notes?
7. Carve space so it never muddies the low-end hierarchy
Use EQ Eight again if needed, or place it before saturation depending on the tone you want to preserve. The goal is to keep the hiss out of the way of the core rhythm section.
Practical cleanup moves:
- High-pass higher if the layer is clouding the kick body: try 400–700 Hz
- Narrow cut around any annoying nasal area, often 1.5–3 kHz
- If the hiss is fighting snare crack, reduce the 3–6 kHz zone a little
- If the track feels dull after filtering, add brightness by opening the filter rather than boosting with EQ
Mono-compatibility note: if you widen this layer, keep the core hiss band mono-safe. Any stereo treatment should be in the upper air only. Avoid widening a full-range noisy layer because it can create unstable imaging and clutter the center when the track hits a club system.
A useful rule: the darker the tune, the more carefully you should protect the center channel. Your sub and drums need the center. The hiss can live around them.
8. Add stereo width only where it helps the atmosphere
If the hiss needs a bigger “room” feel, use Utility and/or Chorus-Ensemble carefully, but keep the widening subtle.
Two valid routes:
- Mono-ish, gritty route: keep the hiss mostly center-focused for a raw, cassette-like vibe
- Wide air route: widen only the filtered top end for a larger cinematic halo
A practical way to do the wide version is to split the sound into two bands:
- low part kept narrow or mono
- high part widened gently
In Ableton terms, that can be done with layered tracks or careful filtering on duplicated tracks.
Why this works in DnB: wide top noise can make the track feel bigger without compromising the dancefloor. But if the whole hiss is wide, it can blur the stereo image and make the groove feel less punchy.
Decision point: if your track is a dark roller with a tight club focus, favor narrow and physical. If it is an atmospheric jungle or bleak halftime-DnB hybrid, the wider halo may suit the mood better.
9. Automate it like a real arrangement element, not a static effect
Now turn the hiss into a phrase-based part of the track. Use volume, filter cutoff, or device on/off automation to create structure.
A strong arrangement example:
- Intro 1–8 bars: hiss present but low, filtered dark
- Bars 9–16: slowly open the top end and raise level a touch
- Pre-drop bar 16: brief swell or lift, then cut for impact
- Drop 1: tuck it back under the drums
- Second drop: bring a slightly more degraded or brighter variant
This kind of phrasing makes the atmosphere function like a DJ-friendly transition tool. It gives the track shape without needing a melodramatic riser.
Workflow efficiency tip: once the automation feels right, commit the hiss to audio. Hiss layers are ideal candidates for freezing/flattening or resampling because their movement is often more useful as printed arrangement material than as a constantly editable device chain.
10. Create a second version for contrast later in the tune
A serious DnB track benefits from evolution. Make a second hiss layer or resampled duplicate for the second drop or breakdown.
Good contrast options:
- darker and duller version for the first section
- brighter, slightly more degraded version for the second section
- version with more obvious tape flutter or grain
- version with a short reverse swell into the snare pickup
Keep the core identity the same, but change one or two traits. For example:
- first drop: filtered, almost subconscious
- second drop: more open top, more saturation, slightly more unstable
This keeps the arrangement moving without turning the track into a texture showcase. The atmosphere should support the journey, not replace it.
Common Mistakes
1. Leaving the hiss full-spectrum
Why it hurts: it crowds the snare crack, hi-hat detail, and top-end definition, and it can make the whole mix feel thin even though it sounds “busy.”
Fix: use EQ Eight to high-pass and low-pass the noise. Start by removing lows below 250–500 Hz and trimming the top above 8–12 kHz.
2. Making the hiss too bright
Why it hurts: bright hiss sounds modern and cheap in the wrong way. It competes with cymbals and can make dark DnB lose its weight.
Fix: close the filter down, reduce the 3–6 kHz area if needed, and listen for a more smoked-out top rather than sparkling air.
3. Over-widening the layer
Why it hurts: wide noise can feel impressive in solo but unstable in the club and messy in mono.
Fix: keep the core layer narrow and widen only the high band, or leave it mostly mono if the tune is already dense.
4. Using too much distortion
Why it hurts: the hiss turns into harsh fizz, which masks snare transient detail and can make the track tiring.
Fix: back the Saturator drive down to a few dB, or soften the top with filtering after saturation.
5. Designing it in isolation and never checking against drums
Why it hurts: a hiss layer that sounds great alone may vanish completely, or worse, blur the groove once the drum break and sub enter.
Fix: loop drums and bass early, and compare mute/unmute in context. If you do not miss the layer when it is off, it is too subtle; if it weakens the groove, reduce it.
6. Using motion that is too fast
Why it hurts: fast wobble reads as an effect, not a worn atmosphere, and it distracts from the pocket.
Fix: automate slowly over 4 or 8 bars, or use very gentle filter movement instead of obvious modulation.
7. Keeping the hiss on throughout the entire drop at the same level
Why it hurts: constant texture flattens arrangement contrast and removes the payoff from section changes.
Fix: make it rise, thin out, or disappear around key drum phrases and bring it back for transitions or later variation.
Pro Tips for Darker / Heavier DnB
Mini Practice Exercise
Goal: Build one tape-hiss atmosphere that works under an 8-bar DnB loop and one variation for a later section.
Time box: 15 minutes.
Constraints:
Deliverable:
Quick self-check:
Mute the hiss and ask: does the track lose depth and age, or just lose noise?
Then sum to mono and check: does the groove still feel solid, with the kick, snare, and sub unchanged in weight?
Recap
Build tape hiss in DnB as a controlled atmospheric layer, not a generic noise effect.
Filter it into a believable band, add only enough saturation and instability to make it feel aged, and always judge it against the drums and bass.
Keep the center clean, protect mono compatibility, and automate the layer like a real arrangement tool.
If the result feels like the air around the tune is darker, older, and more cinematic without weakening the groove, you nailed it.

