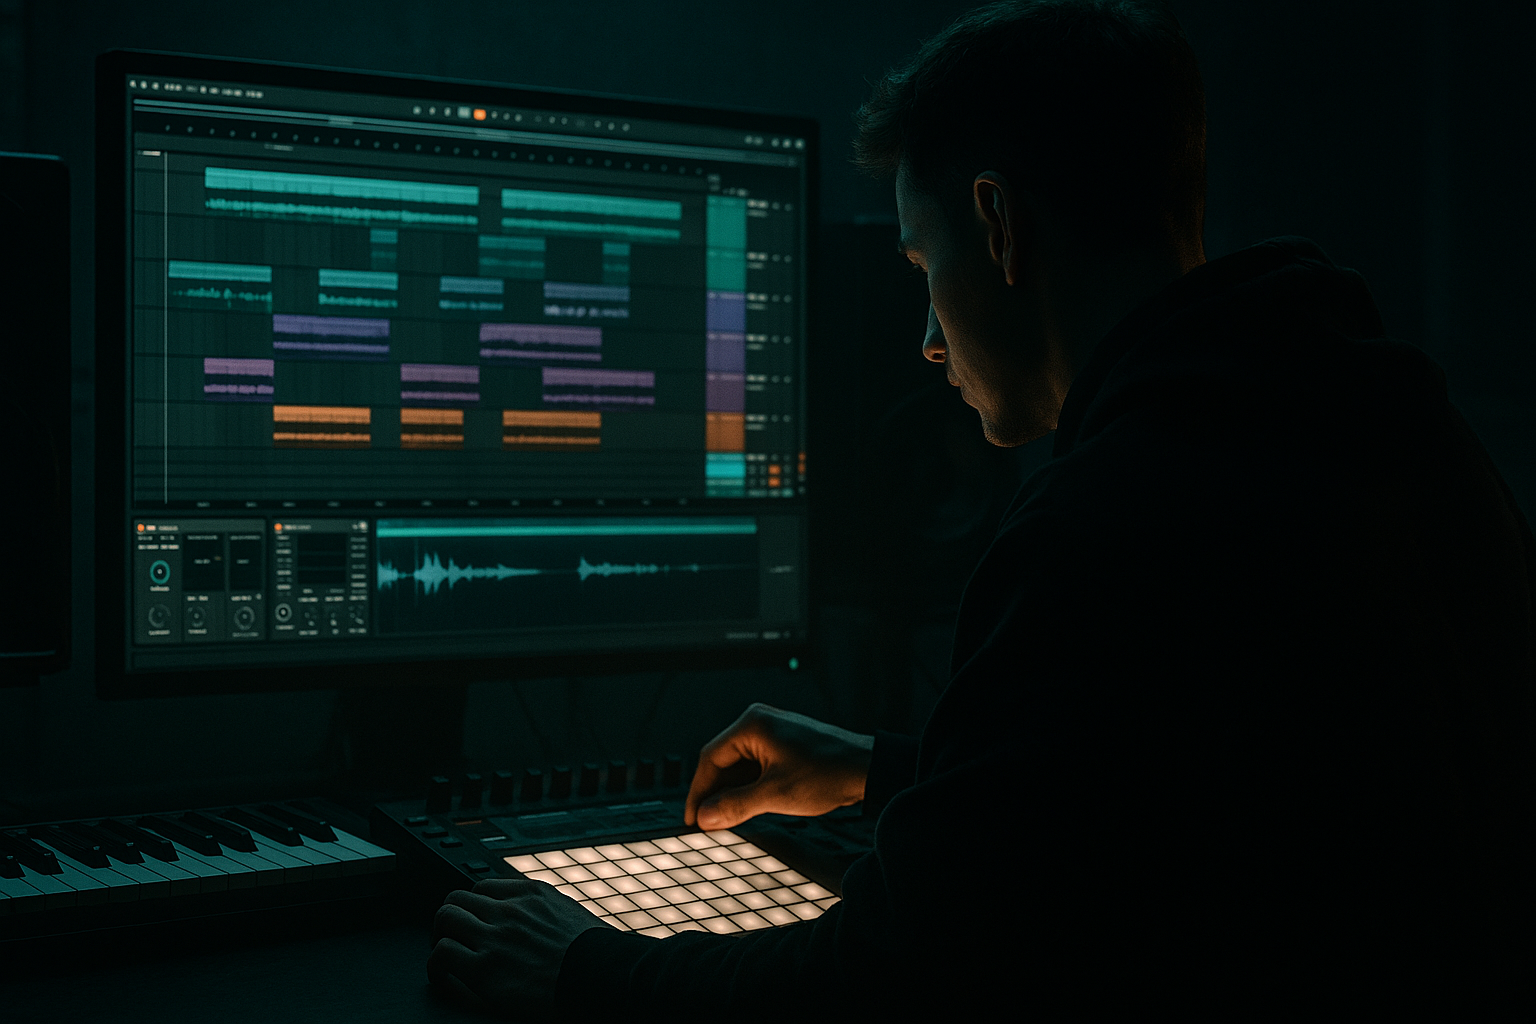
Main tutorial
```markdown
Rebuild an Oldskool DnB Intro with Breakbeat Surgery (Ableton Live 12) 🥁⚡
Skill level: Intermediate
Category: DJ Tools (intro tools, tension building, mix-friendly arrangements)
---
1. Lesson overview
In this lesson you’ll rebuild a classic oldskool/jungle-style drum & bass intro using breakbeat surgery in Ableton Live 12. The goal is to create an intro that feels authentic (chopped, shuffled, gritty), but is also DJ-friendly: clean bars, predictable energy ramps, and clear mix points.
You’ll learn how to:
- Warp and stabilize a breakbeat (tight but not sterile)
- Slice it for surgical rearrangement
- Build call-and-response intro patterns (think: Amen/Think funk energy)
- Add oldskool texture using stock Ableton devices (without overprocessing)
- Arrange the intro so it mixes well in a club set 🎛️
- A chopped break pattern that escalates from sparse → busy
- A consistent 2-step backbone for mixability
- Classic “tape/air” texture + subtle grime
- One or two fill moments (snare rush, reverse hit, gate trick) to lead into the drop
- Rename the track: `BREAK SURGERY RACK`
- Color it bright (you’ll live here for a bit)
- Algorithmic: Plate or Hall
- Decay: 1.2–2.5 s
- Pre-delay: 15–30 ms
- High-cut: 6–10 kHz
- Return EQ: High-pass 200–400 Hz
- Time: 1/8 or 1/4 dotted
- Feedback: 15–35%
- Filter: Keep it dark (low-pass around 4–7 kHz)
- Modulation: subtle for movement
- Mostly backbone: kick + snare + a hat layer
- Add light room verb, minimal edits
- Filter slightly darker (Auto Filter gentle low-pass at ~12 kHz)
- Bring in ghost notes
- Add one stutter fill at bar 16
- Increase send to delay/reverb slightly (automation)
- Slightly busier chop pattern
- Introduce a “ridey” hat slice or tambour hit
- Add subtle noise sweep (Operator noise or a sample) into phrase end
- Add a short snare roll (last 1 bar)
- Pull reverb/delay down right before drop (DJ clarity)
- Last beat: a clean pickup (reverse snare / impact)
- Over-quantizing the entire break: kills the swing and “human” push-pull.
- Too many chops too early: DJs need a stable intro groove to mix into.
- Overdoing reverb on the full break: smears transients and makes beatmatching harder.
- No velocity shaping: jungle funk is dynamics-heavy; flat velocities sound fake.
- Letting low-end from the break fight the bass: high-pass the break and keep sub space for the drop.
- Make the break meaner without making it louder:
- Use “negative space” like techstep:
- Create tension with filtering and automation:
- Ghost note brutality:
- Resample for character:
- Warping a break properly (tight, not robotic)
- Slicing to Drum Rack for precise breakbeat surgery
- Anchoring everything with a DJ-friendly 2-step backbone
- Adding funk via ghost notes + velocity control
- Using stock Ableton devices (EQ Eight, Drum Buss, Glue, Saturator, Hybrid Reverb, Echo)
- Arranging in 8/16-bar phrases with clean mix points and controlled FX
---
2. What you will build
A 16 or 32-bar DnB intro at ~170–174 BPM with:
Vibe references (conceptually): oldskool jungle intros, early techstep tension, rolling DnB DJ-tool style.
---
3. Step-by-step walkthrough
Step 0 — Session setup (DJ-tool mindset) 🎚️
1. Set tempo to 172 BPM (adjust to your target).
2. Set grid to 1 Bar view for arrangement work.
3. In Arrangement View, create markers:
- 1–9: Intro A (sparse)
- 9–17: Intro B (busier)
- 17–33: “Full intro” / pre-drop (if doing 32 bars)
DJ tool rule: Keep changes on phrase boundaries (every 8 or 16 bars).
---
Step 1 — Choose and warp a break (tight but alive)
Pick a break with character (Amen, Think, Hot Pants-style, or any crunchy break).
1. Drag the break into an audio track.
2. Click the clip → enable Warp.
3. Set Seg. BPM properly:
- If it’s a classic sampled break, it might come in at weird tempo. Use Warp From Here (Straight) to get it close.
4. Choose Warp Mode:
- Beats mode for classic break control
- Preserve: Transients
- Transient Loop Mode: Off (start here)
- Envelope: ~60–80% (higher = tighter transients)
- If it gets too clicky, try Complex Pro (less “oldskool” but smoother).
Goal: The break should loop cleanly over 1 or 2 bars without drifting.
---
Step 2 — Convert to slices for breakbeat surgery 🔪
We want surgical chops that still feel like jungle.
1. Right-click the warped clip → Slice to New MIDI Track.
2. In the dialog:
- Slice by: Transients (best start)
- Create one slice per: Transient
- Slicing preset: Built-in (Simple) or Drum Rack (recommended)
Ableton creates a Drum Rack with each transient mapped to pads.
Pro workflow:
---
Step 3 — Build a solid 2-step backbone (DJ-friendly) 🚦
Before you go crazy, lock a foundation that mixes cleanly.
1. Create a new MIDI clip on the Drum Rack track: 1 bar loop.
2. Find the core hits:
- Kick transient slice (often earlier in the break)
- Snare transient slice (usually strong on beat 2 and 4)
3. Program:
- Kick on 1 and 3 (or just 1 for more jungle space)
- Snare on 2 and 4
4. Quantize only the backbone:
- Select those notes → Quantize to 1/16 with ~50–70% strength (keep human drift)
Now you’ve got a clean “mix spine” that still uses break texture.
---
Step 4 — Add shuffle and ghost-note funk (the “oldskool” part) 👟
This is where it starts sounding like real break science.
1. Duplicate your 1-bar clip to 2 bars.
2. Add ghost snares and hats by placing quieter slices in between:
- Put small snare ghosts just before beat 2 and 4 (classic push)
- Add hat slices on offbeats (the break will provide natural swing)
3. Use velocity as your groove engine:
- Main snare: ~110–127
- Ghosts: ~30–70
- Hats: ~40–90 (vary them)
Ableton tip: In Live 12 MIDI editor, use velocity editing + randomization lightly rather than hard quantize.
---
Step 5 — Micro-edits: stutters, reverses, and “chip” fills 🧨
Create signature jungle “surgery” moments without ruining mixability.
A) 1/16 stutter on a snare (end of bar 8 / 16)
1. Pick a snare slice.
2. At the end of your phrase (last beat), repeat it in 1/16 notes for one beat.
3. Lower velocity across the repeats slightly (like a decay).
B) Reverse a single slice (classic tension)
1. Duplicate the snare slice sample:
- In Drum Rack, click the pad → open Simpler
2. In Simpler, enable Reverse (for just that pad)
3. Use that reversed hit once right before the next phrase.
C) “Chip” edit (tiny hit as a pickup)
Place a very short percussive slice 1/32 before the snare (if you’re on 1/16 grid, fake it by nudging slightly off-grid).
---
Step 6 — Add grime + cohesion with a stock device chain 🧱
Break slices can sound disconnected. Glue them while keeping grit.
On the Drum Rack track, try this chain:
1. EQ Eight
- High-pass: 30–40 Hz (remove rumble)
- Gentle dip: 200–350 Hz if boxy (–2 to –4 dB)
- Small shelf: 8–12 kHz if too fizzy (–1 to –3 dB)
2. Drum Buss
- Drive: 5–15% (adjust)
- Crunch: 5–20% (taste)
- Boom: Off or very low for intros (save sub weight for drop)
- Transients: +5 to +15 if you want snap
3. Glue Compressor (subtle)
- Attack: 3–10 ms
- Release: Auto
- Ratio: 2:1
- Aim for 1–3 dB gain reduction on peaks
4. Saturator (optional, for oldskool hair)
- Mode: Soft Sine or Analog Clip
- Drive: 2–6 dB
- Turn on Soft Clip
Keep it restrained: intros should tease power, not blow the drop early.
---
Step 7 — Create space with sends (dubby but controlled) 🌫️
Oldskool intros love atmosphere, but DJs love clarity. Use sends.
Send A: Reverb (Hybrid Reverb)
Send B: Delay (Echo)
Send only ghost hits and occasional snare accents to keep the mix point clean.
---
Step 8 — Arrange a proper oldskool DnB intro (16–32 bars) 🧭
Here’s a practical arrangement template that DJs will love:
Bars 1–8: Sparse “teaser”
Bars 9–16: Add funk + edits
Bars 17–24 (if doing 32): Tension ramp
Bars 25–32: Pre-drop energy
DJ Tool tip: Keep kick+snare recognisable at all times, even when chopping.
---
Step 9 — Optional: Layer a clean top for modern clarity ✨
If your break is too dusty, layer carefully:
1. Add a closed hat sample on an audio track or in a second Drum Rack.
2. High-pass it around 6–10 kHz (EQ Eight).
3. Keep it subtle: it should support the break, not replace it.
---
4. Common mistakes 🚫
---
5. Pro tips for darker/heavier DnB 🖤
- Drum Buss with a touch more Drive and Transients
- Saturator with Analog Clip + Soft Clip for edge
Drop out hats for a bar, leave kick+snare dry, then slam back in.
- Auto Filter low-pass gradually opening from 4 kHz → 12 kHz over 8 bars
- Then snap slightly darker right before drop for contrast.
Turn ghost snares into “whips” by adding a tiny bit of Echo send just on those hits.
Route break track to a new audio track and Resample 8 bars, then warp that and re-slice. One generation of resample often adds glue and attitude.
---
6. Mini practice exercise 🎯
Goal: Make an 8-bar intro loop that evolves every 2 bars.
1. Take one break, slice to Drum Rack.
2. Build a 2-step backbone (kick on 1/3, snare on 2/4).
3. Create four 2-bar variations:
- Var 1: Backbone only (dry)
- Var 2: Add hats + ghosts (low send)
- Var 3: Add one micro-stutter on snare (end of bar 6)
- Var 4: Add reverse snare pickup + remove reverb right before loop restarts
4. Automate Hybrid Reverb send:
- Increase slowly over bars 1–7
- Hard drop send to near zero on bar 8 last beat
Export the 8-bar loop and test it like a DJ tool—does it feel easy to mix into?
---
7. Recap ✅
You built an oldskool DnB intro by:
If you want, tell me the break you’re using (Amen/Think/etc.) and the vibe (jungle / techstep / rollers), and I’ll suggest a specific 16-bar intro pattern + device settings to match.
```

