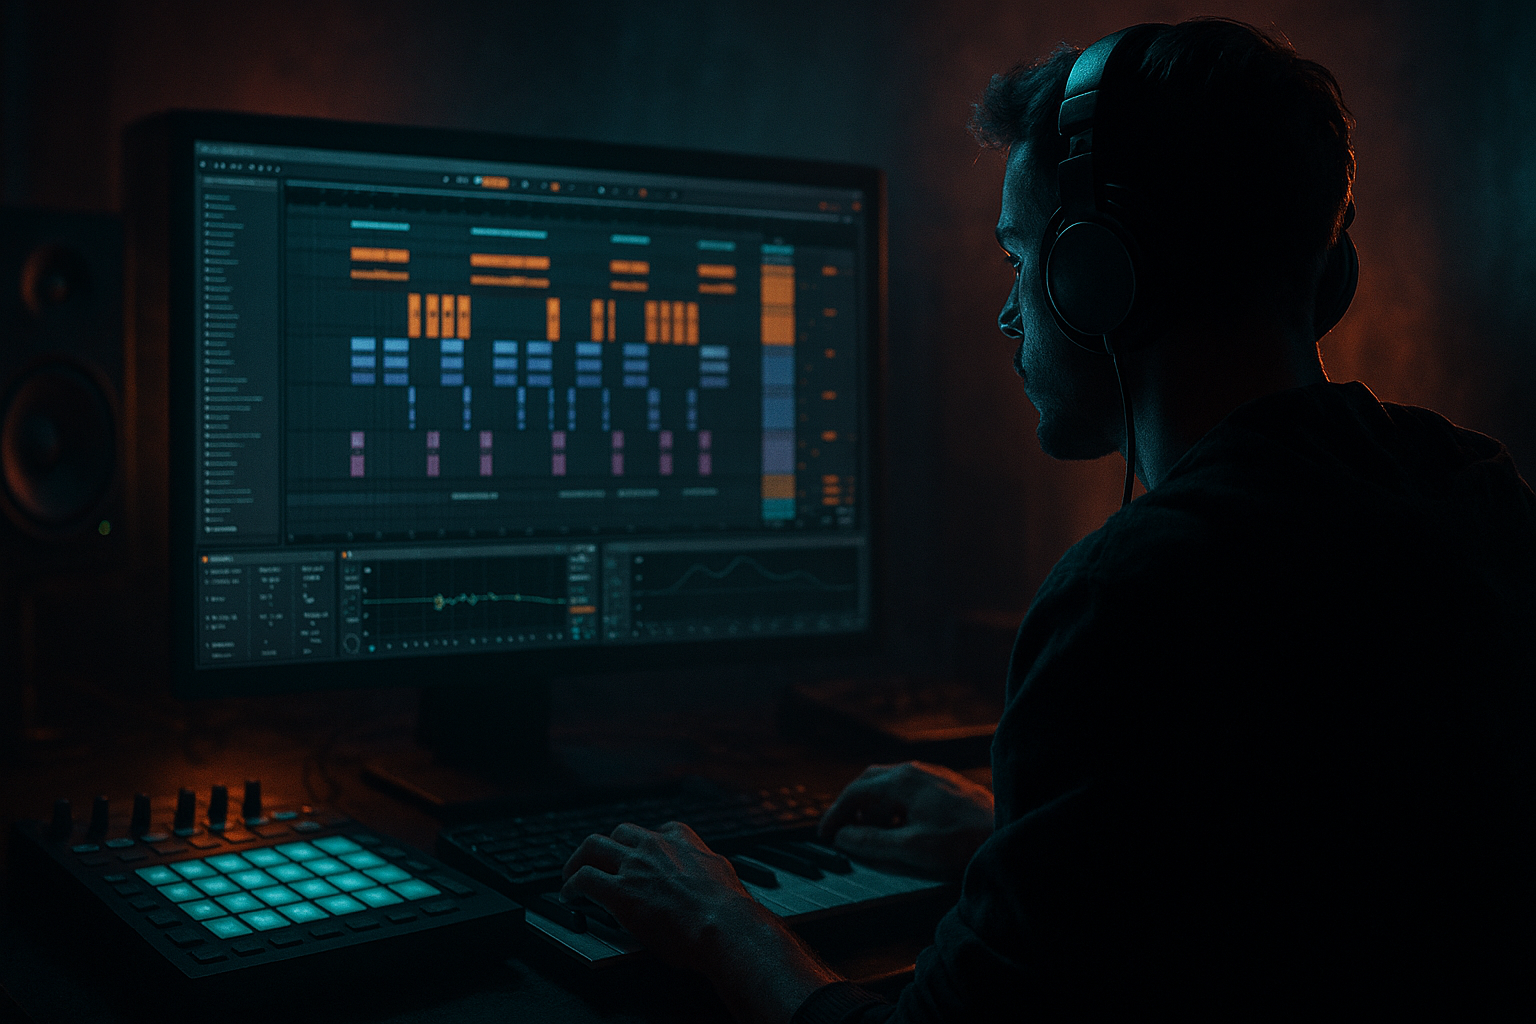
Main tutorial
Reese Bass Fundamentals Masterclass (Pirate-Radio Energy) 🏴☠️📻
Ableton Live • Advanced • Drum & Bass Basslines
---
1. Lesson overview
This lesson is about building proper DnB Reese bass: wide, snarling, harmonically alive, but still tight, mix-ready, and arrangement-friendly. We’ll focus on the classic “pirate-radio” energy—gritty midrange movement + clean sub discipline, the exact vibe you hear in rolling jungle and modern neuro-leaning rollers.
You’ll learn:
- How to design a Reese from scratch (using stock Ableton devices)
- How to separate sub + mids like a pro (no flabby low end)
- How to make it move (phase, filter, distortion, resampling)
- How to arrange it for rolling DnB (call/response, fills, tension/release)
- Sine/triangle foundation
- Always centered, controlled dynamics
- Detuned saws + movement
- Saturation + filtering + resampling
- Sidechained to the kick, with controlled width
- 8 bars “statement” + 8 bars “variation” with fills and automation.
- Tempo: 172–176 BPM
- Warp mode: leave defaults, but keep your bass audio in Complex Pro OFF (use Beats/Tones if needed).
- Set meter: 4/4
- Make groups: DRUMS, BASS, MUSIC/FX
- Algorithm: A only
- Osc A: Sine (or Triangle if you want more harmonics)
- Level: set so it peaks around -12 to -8 dB pre-mix
- Amp Envelope:
- Low-pass isn’t needed; instead:
- Add a gentle dip if room is boomy: 120–180 Hz, Q ~1.2, -1 to -3 dB (only if necessary)
- Hard rule: keep sub mostly below ~90–110 Hz in harmonic density.
- Sidechain: Kick (or kick channel in your drum rack)
- Ratio: 3:1 to 5:1
- Attack: 5–15 ms (let initial sub transient breathe)
- Release: 60–120 ms (tempo-dependent; aim for groove)
- Gain reduction: 2–5 dB on kick hits
- Osc 1: Basic Shapes → Saw
- Osc 2: Basic Shapes → Saw
- Detune:
- Voices: Mono ON (for tight DnB phrasing)
- Glide/Portamento: 30–80 ms (for slurs on note changes)
- Filter type: LP24 (or MS2 for bite)
- Freq: start around 400–1.2kHz (depends on how bright your saws are)
- Drive: 2–6 dB
- Envelope amount: subtle, 5–15%
- LFO: ON
- Mode: Analog Clip
- Drive: 3–8 dB
- Soft Clip: ON
- Output: compensate to similar loudness (A/B properly)
- Type: Rock or Heavy
- Gain: low to medium (2–6)
- Bass/Mid/Treble: start neutral, then push mids slightly if needed
- High-pass at 90–130 Hz (24 dB slope)
- Optional notch if it honks: 250–400 Hz
- Optional presence shaping: gentle boost around 800 Hz–1.5 kHz if it needs “radio bite”
- Mode: Chorus
- Rate: 0.15–0.35 Hz (slow movement)
- Amount: 10–25%
- Width: 60–120%
- Mix: 10–25%
- Bass Mono: ON, set to 120 Hz (this keeps lows centered even if chorus spreads)
- Width: start at 100%, then adjust to taste
- Ratio: 2:1 to 4:1
- Attack: 0.5–5 ms
- Release: 50–120 ms
- GR: 1–4 dB
- Macro 1: “Tone” → Auto Filter Freq
- Macro 2: “Growl” → Auto Filter Drive + Saturator Drive (small range)
- Macro 3: “Movement” → Chorus Amount + Filter LFO amount
- Macro 4: “Width” → Utility Width (cap it; don’t exceed ~140%)
- Macro 5: “Bite” → EQ Eight high shelf or bell around 2–4 kHz (small)
- Add a slow LFO to Osc 2 Pitch:
- EQ Eight (clean low end, remove rumble)
- Saturator (push harmonics)
- Redux (tiny bit for grit)
- Auto Filter (automation for tension)
- Limiter (safety, not loudness)
- Downsample: 1.2–2.5
- Bit reduction: OFF or very small
- Makes the bass more stable in the mix
- Lets you edit rhythmically (micro-stutters, reverses, fills)
- Gives that “pirate broadcast” compact aggression
- Bass pattern: 2-bar loop, repeats 4x
- Keep automation minimal: small tone changes every 4 bars
- Use space: don’t fill every 1/16 unless it’s a neuro roller
- Add a second Reese phrase or call/response:
- 1/8 note stop (silence) before the snare
- Reverse a bass hit into the downbeat
- Quick automation spike: “Growl” macro up for 1 beat then back
- Parallel distortion rack:
- Mid/Side EQ moves (stock technique):
- Noise layer for transmission grit:
- Phase discipline:
- Saturate in stages:
- Use mostly root + fifth + minor third movement
- Add 1–2 glides (overlapping notes) for attitude
- SUB track (Operator sine)
- Reese Mids track (Wavetable saw+saw detune)
- Macro “Tone”: slightly more open by bar 15
- Macro “Movement”: increase subtly in bars 9–16
- Reverse a hit into bar 16, or stutter the last 1/2 bar.
- Toggle mono on your master (Utility → Width 0%)
- If bass disappears, reduce stereo effects and reinforce midrange.
- A Reese that hits hard in DnB is not one sound—it’s a system: clean mono sub + aggressive moving mids.
- Use detuned saws + controlled filtering + staged saturation for the core.
- Keep the low end disciplined with HP on mids, mono sub, and sidechain that supports groove.
- For pirate-radio energy, resample, edit rhythmically, and automate in musical phrases.
---
2. What you will build
By the end, you’ll have a two-layer Reese system:
1) SUB (mono, clean, consistent)
2) REese MIDS (stereo, modulated, aggressive)
Plus a mini 16-bar arrangement that screams underground:
---
3. Step-by-step walkthrough
Step 0 — Session setup (fast but important) ⚙️
DnB workflow tip: build bass at lower monitoring volume than you think. If it sounds huge quietly, it’ll sound massive loud.
---
Step 1 — Create the SUB (clean, mono, unshakable) 🔊
Track: MIDI Track → name it `BASS SUB`
Device chain (stock):
1. Operator
2. EQ Eight
3. Saturator (optional, subtle)
4. Compressor (sidechain from kick)
#### Operator settings (simple + solid)
- Attack: 0 ms
- Decay: ~250 ms (depends on your bass pattern)
- Sustain: -inf if you want pure plucks, or ~-6 dB for held notes
- Release: 60–120 ms (avoid clicks)
#### EQ Eight
#### Sidechain compression (classic DnB pump, not EDM)
Compressor on SUB:
✅ Your sub should feel like a stable engine, not a wobble.
---
Step 2 — Build the Reese MIDS (the pirate-radio snarl) 🧨
Track: MIDI Track → name it `BASS REESE MIDS`
Device chain (core):
1. Wavetable (or Operator if you prefer)
2. Auto Filter
3. Saturator
4. Amp (or Pedal)
5. EQ Eight
6. Chorus-Ensemble (or Hybrid Reverb for weirdness, sparingly)
7. Compressor (sidechain)
8. Utility
#### Wavetable settings (classic reese base)
- Osc 2 detune: +8 to +18 cents
- (Optional) Global Unison: 2–4 voices, Amount 10–25% (don’t go supersaw unless you want it modern)
Key move: The Reese “movement” is largely beating/phase interference from detune + modulation. Don’t over-modulate yet—get the raw tone right.
#### Auto Filter (movement + control)
- Rate: 1/8 or 1/4 (try 1/8 for roll)
- Amount: small (you want motion, not wobble bass)
#### Saturation / distortion stack (don’t just slam one device)
Saturator
Amp
This combo gives you harmonics + density without turning into fizzy mush.
#### EQ Eight (crucial for sub separation)
On Reese Mids, do this every time:
- Choose cutoff based on how dominant your SUB is
#### Stereo width (controlled!)
Chorus-Ensemble (very usable for Reese width)
Then Utility at the end:
#### Sidechain the mids too
Compressor (sidechain from kick)
This stops the Reese mid punch masking the kick click.
---
Step 3 — Make it “talk”: modulation that fits rolling DnB 🎛️
Now we add intentional movement that supports groove.
#### A) Map Macro controls (Instrument Rack is your friend)
Group devices on Reese Mids → Cmd+G (Instrument Rack). Create 4–6 macros:
This makes arrangement automation fast and musical.
#### B) Add subtle pitch drift (it’s the sauce)
In Wavetable:
- Rate: 0.05–0.15 Hz
- Amount: very small (1–4 cents equivalent)
This creates a living Reese without obvious wobble.
---
Step 4 — Resampling for grime + consistency (pirate-radio technique) 🎚️
A lot of “radio energy” is resampled mid bass with controlled chaos.
#### Resample workflow
1. Freeze + Flatten the Reese Mids MIDI to audio OR record it onto an audio track via Resampling.
2. Chop the best 1–4 bar phrases.
3. Add an audio processing chain:
Audio chain (stock):
Redux settings (subtle—don’t destroy it):
You want edge, not “8-bit meme.”
#### Why resample?
---
Step 5 — DnB arrangement ideas (16-bar roller blueprint) 🥁
Here’s a reliable structure:
#### Bars 1–8 (Statement)
#### Bars 9–16 (Variation + hype)
- Bar 9–12: same pattern but darker filter position
- Bar 13–16: open filter slightly + add a fill at bar 16
Fill ideas:
DnB realism tip: automate in phrases (2, 4, 8 bars). Random automation every bar often sounds like you’re auditioning plugins, not writing music.
---
4. Common mistakes 🚫
1. Wide sub: if your sub has stereo info, the club will punish you. Use Utility Bass Mono.
2. No real separation: Reese mids must be high-passed. If the mids fight the sub, you’ll never get clean weight.
3. Over-distorting too early: get the raw oscillator balance right first, then saturate.
4. Too much chorus: width is great until the bass loses impact. Keep chorus mix modest.
5. Sidechain too extreme: if it pumps like house, you’ll lose rolling momentum.
6. No midrange focus: a Reese that’s only sub + fizz won’t translate on small speakers. Aim for 250 Hz–1.5 kHz character (carefully).
---
5. Pro tips for darker/heavier DnB 🌑
- Create an Audio Effect Rack on Reese Mids:
- Chain A: Clean
- Chain B: Distort (Amp + Saturator + EQ)
- Blend to taste. This keeps definition while adding violence.
- Use EQ Eight in M/S mode
- Cut some harshness in the Sides around 2–5 kHz if width gets spitty
- Keep Mid strong around 300–900 Hz for “radio core”
- Add a very low-level noise (Wavetable noise osc or vinyl noise sample)
- Band-pass it (EQ Eight) around 1–4 kHz
- Sidechain it slightly to the kick/snare
This can fake that “broadcast” vibe without ruining the bass.
- If sub feels inconsistent note-to-note, try:
- Operator: enable Retrig / consistent phase behavior (or resample and pick stable hits)
- Consistency = louder perceived bass.
- Small drive at multiple points beats one mega distortion most of the time.
---
6. Mini practice exercise 🧪
Goal: Create a 16-bar Reese roller bass that evolves without losing mix control.
1) Write a 2-bar bass MIDI pattern in A minor (or F minor):
2) Build:
3) Automate only two things across 16 bars:
4) Resample the Reese Mids to audio and create one fill:
5) Check translation:
---
7. Recap ✅
If you want, tell me your target style (jungle roller, techstep, modern neuro roller, etc.) and I’ll give you a specific 2-bar MIDI pattern + macro automation plan to match it.

