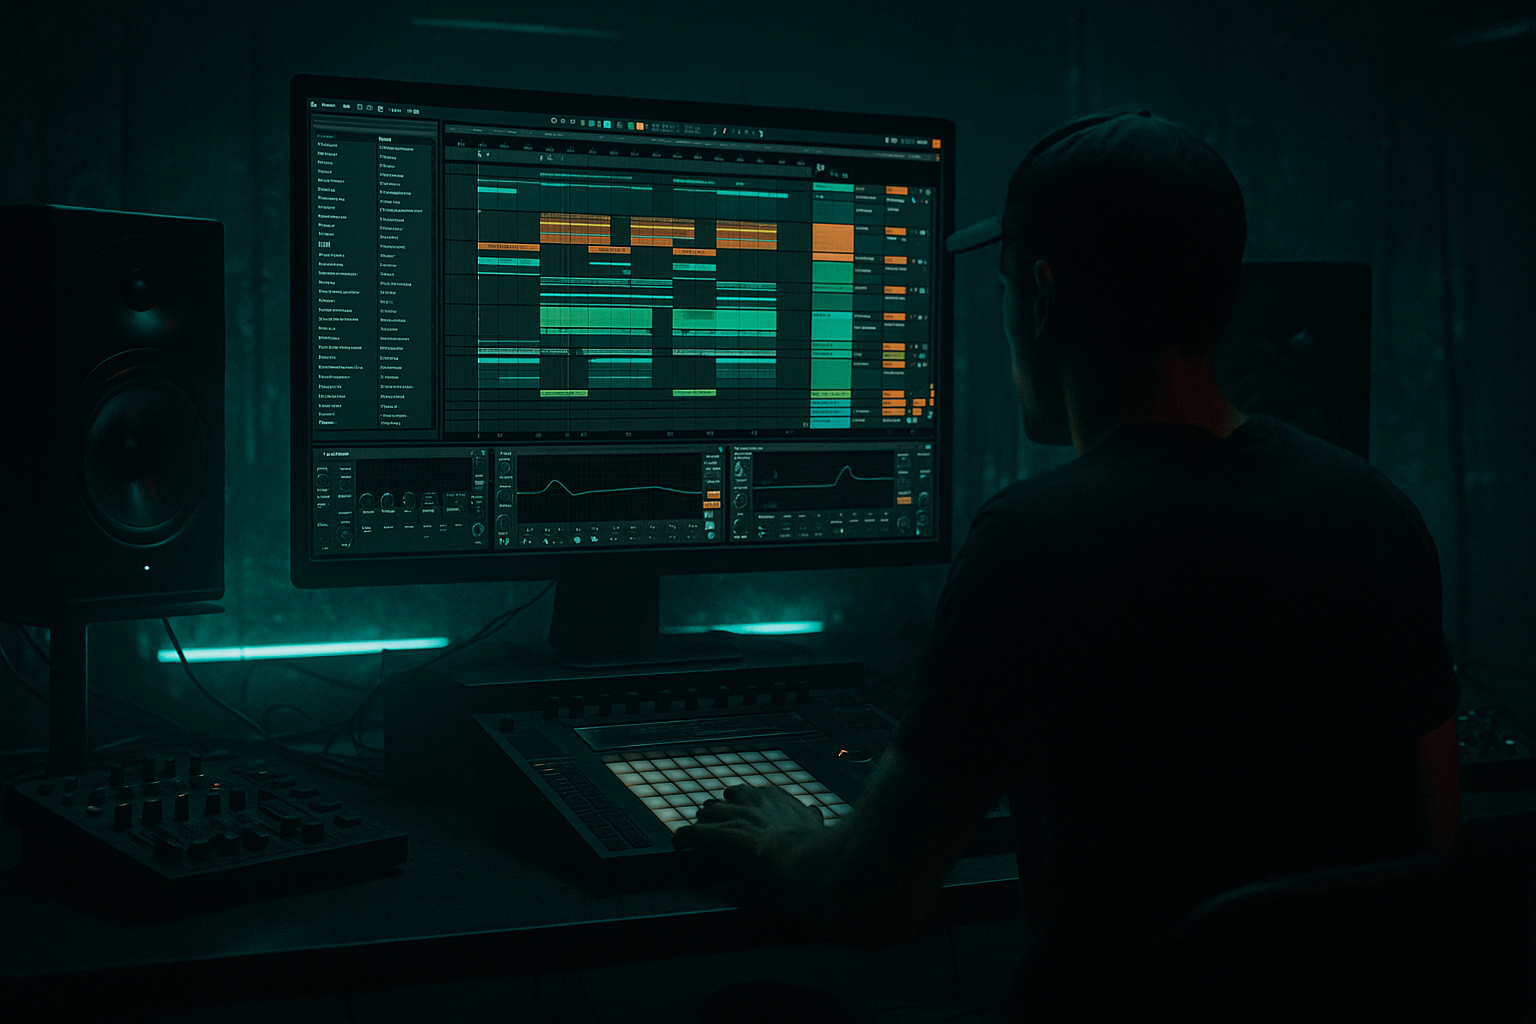
DNB COLLEGE

Drum & Bass Ableton Live 12 Tutorials

LESSON DETAIL

Reese chop ghost deep dive for rewind-worthy drops in Ableton Live 12 for jungle oldskool DnB vibes (Intermediate)

An AI-generated intermediate Ableton lesson focused on Reese chop ghost deep dive for rewind-worthy drops in Ableton Live 12 for jungle oldskool DnB vibes in the DJ Tools area of drum and bass production.

Back to lessons
Reese chop ghost deep dive for rewind-worthy drops in Ableton Live 12 for jungle oldskool DnB vibes (Intermediate) cover image

Narrated lesson audio

The voice track includes the tutorial plus extra teacher commentary.

Open audio file

Main tutorial

```markdown

Reese Chop Ghost Deep Dive (Ableton Live 12)

Rewind‑worthy drops for jungle / oldskool DnB vibes 🔥🌀

Skill level: Intermediate

Category: DJ Tools (production tools that translate to DJ‑style impact)

---

1. Lesson overview

A classic jungle/DnB “rewind moment” is often not a brand-new sound—it’s a bass phrase you’ve heard before, but chopped with intent, with ghost notes, pull-backs, and micro-silences that make the crowd lean forward.

In this lesson you’ll build a Reese bass rack and a chop + ghost workflow in Ableton Live 12 that lets you:

  • Create tight reese stabs and rolling tails
  • Add ghost hits (quiet “shadow notes”) that glue rhythm together
  • Commit to audio for razor edits (oldskool energy) ✂️
  • Arrange a drop that screams “reload!” without sounding gimmicky
  • ---

    2. What you will build

    You’ll end up with:

  • A Reese Bass Instrument Rack (stock devices) with:
  • - Clean sub lane

    - Mid reese lane

    - Movement + grit lane

  • A “Chop Bus” audio track ready for:
  • - Slice-to-MIDI chops

    - Ghost notes (velocity/volume ghosts)

    - DJ-style pull-backs

  • A 16-bar drop template with call/response chops, ghost fills, and impact gaps.
  • ---

    3. Step-by-step walkthrough

    A) Session setup (jungle-ready)

    1. Tempo: 165–172 BPM (try 168 BPM for classic rolling feel).

    2. Grid: Set to 1/16 (you’ll switch to 1/32 for micro edits later).

    3. Project defaults (helpful):

    - Turn on Groove Pool view (we’ll add swing later).

    - In Preferences → Record/Warp/Launch: make sure Create Fades on Clip Edges is enabled (helps with clicks).

    ---

    B) Build a stock Reese (Instrument Rack)

    Create a MIDI Track → add Instrument Rack named: `REESE - Chop Ghost`.

    #### Chain 1: SUB (clean, stable)

    1. Add Operator

    - Algorithm: A only

    - Osc A waveform: Sine

    - Octave: -1 (or -2 depending on key)

    2. Add EQ Eight

    - Low-pass around 90–110 Hz (gentle slope)

    3. Optional: Compressor

    - Ratio 2:1, slow-ish attack 15–30ms, release 80–150ms

    - Just 1–2 dB GR to even it out.

    ✅ Goal: sub is boring and consistent.

    #### Chain 2: MID Reese (the classic growl)

    1. Add Wavetable (or Operator if you prefer)

    - Wavetable:

    - Osc 1: Basic Shapes (saw-ish)

    - Osc 2: Basic Shapes (square-ish)

    - Detune: 10–25 cents

    - Unison: 2–4 voices, Amount low/moderate

    2. Add Chorus-Ensemble

    - Mode: Chorus

    - Rate: 0.25–0.60 Hz

    - Amount: 15–35%

    - Width: 120–160%

    3. Add Auto Filter

    - Type: LP24

    - Frequency: start around 200–600 Hz

    - Envelope amount: subtle (5–15), short decay

    4. Add Saturator

    - Mode: Analog Clip

    - Drive: 3–7 dB

    - Soft Clip: ON

    5. Add EQ Eight

    - High-pass at 90–120 Hz (keep sub lane clean)

    - Optional dip around 250–400 Hz if it gets boxy.

    ✅ Goal: mid layer has “teeth” but leaves room for sub.

    #### Chain 3: MOVEMENT / GRIT (oldskool air + edge)

    1. Duplicate MID chain or start fresh.

    2. Add Frequency Shifter

    - Mode: Ring Mod

    - Fine: 10–40 Hz (small movement)

    - Mix: 10–25%

    3. Add Amp (yes!)

    - Preset: start with Bass / Clean

    - Drive: 2–5

    4. Add Redux (very subtle)

    - Downsample: 1.2–2.0

    - Bit Reduction: 0 or tiny

    - Dry/Wet: 5–15%

    5. EQ Eight: high-pass 150–250 Hz (this is texture only).

    ✅ Goal: adds dirt that reads on small systems and through busy breaks.

    ---

    C) Make it “choppable” (commit to audio like a jungle head)

    1. Write a 2-bar Reese phrase in MIDI:

    - Keep it simple: root note + a couple of jumps (e.g., root → b7 → root)

    - Rhythm: start with 1/8 notes, then add a few 1/16 pushes

    2. Freeze & Flatten the Reese MIDI track (or resample):

    - Create an Audio Track named `REESE CHOPS (AUDIO)`

    - Set the Reese track output to Resampling OR record the track’s output into audio.

    Why: Audio gives you fast, brutal edits—this is where the rewind magic lives.

    ---

    D) Slice to MIDI for quick chop kits

    1. On the audio clip: right-click → Slice to New MIDI Track

    2. Settings:

    - Slice by: Transient (or 1/16 if your phrase is smooth)

    - Create one slice per: transient

    - Slicing preset: Built-in (Simpler)

    3. Now you have a Simpler with each hit mapped across MIDI notes.

    ✅ You can “play” chops like a drum kit—very DJ tool friendly.

    ---

    E) The “Ghost Chop” concept (what it is + how to do it)

    A ghost chop is a quieter, shorter, often filtered version of the main reese hit. It creates momentum without stealing the spotlight.

    #### Method 1: Velocity ghosts inside the Simpler MIDI

    1. Program a 1-bar pattern (typical rolling pocket):

    - Main hits: on 1, 1.2, 1.3.3 (feel it out)

    - Ghost hits: between mains, often 1/16 late or on off-steps

    2. Ghost velocity targets:

    - Main hits: 90–120

    - Ghost hits: 20–55

    3. In Simpler:

    - Turn on Filter (LP24)

    - Map Velocity → Filter (so ghosts are darker)

    - In Live: use Modulation in Simpler (Vel to Filter / Amount)

    - Aim for ghosts to lose top-end while mains stay bright.

    ✅ Result: ghosts feel like movement, not extra notes.

    #### Method 2: Duplicate lane + “Ghost Bus” processing (super controllable)

    1. Duplicate the audio chop track: `REESE GHOST`

    2. Clip Gain: pull down -8 to -14 dB

    3. Insert chain on `REESE GHOST`:

    - Auto Filter: LP24, 200–500 Hz

    - Utility: Width 0–50% (narrow ghosts)

    - Saturator (gentle): Drive 1–3 dB

    - Optional Gate:

    - Fast attack, short release to make “ticks”

    4. Use ghosts only on leading into snare or into phrase turns.

    ✅ This is the “shadow” of the reese—very oldskool, very effective.

    ---

    F) Tight chops without clicks (micro-edit discipline)

    When you hard-chop reese audio, clicks happen. Handle it properly:

    1. In the audio clip view:

    - Turn on Fade and use tiny fades:

    - Fade in: 1–3 ms

    - Fade out: 3–10 ms

    2. Warp mode:

    - For bass audio, try Complex Pro OFF (often too smeary)

    - Use Beats mode:

    - Preserve: Transient

    - Envelope: 50–90 (tweak for punch vs smooth)

    ---

    G) Build a rewind-worthy drop arrangement (16 bars)

    We’ll use negative space + call/response like classic jungle.

    #### Bars 1–4: Statement (simple, heavy)

  • Main reese chop on downbeats
  • Ghosts fill the “breathing” spaces
  • Keep sub steady (long notes or tied notes)
  • Tip: Let the drums be the busy part at first—bass sets the authority.

    #### Bars 5–8: Add conversation

  • Introduce a new chop (higher slice) on every 2nd bar
  • Add a 1/8-note pullback before a snare (micro-silence is power)
  • DJ tool move: 1/4 bar of silence before a slam back in.

    #### Bars 9–12: Variation + menace

  • Add a filtered “question” phrase:
  • - Automate Auto Filter cutoff down on bar 9

    - Snap it open on bar 10 beat 3

  • Add a single long reese tail at bar 12 end (set up the switch)
  • #### Bars 13–16: The “reload bait”

  • Do a fake-out:
  • - Bar 15 beat 4: cut everything except a tiny ghost reese + hat

    - Bar 16 beat 1: full slam back (main chop + sub + break)

    Optional: Add a vocal stab (“REWIND!” style) but keep it tasteful 😄

    ---

    H) Glue it with sidechain and bus control (stock devices)

    Create a Bass Bus group (all bass lanes inside).

    1. On Bass Bus: Compressor (sidechain to kick)

    - Sidechain input: Kick track

    - Ratio: 3:1

    - Attack: 5–15 ms

    - Release: 60–120 ms

    - Aim: 2–5 dB GR on kick hits

    2. Add EQ Eight after compressor:

    - Cut a little 200–350 Hz if muddy

    - Optional gentle shelf down 5–8 kHz if the reese hisses

    3. Optional Limiter (light safety):

    - Just catch peaks (1–2 dB max)

    ---

    4. Common mistakes

  • Over-layering the sub: If your mid reese has lots of low-end, you’ll get phasey “whoomp.” High-pass mids and keep sub pure.
  • Ghost notes too loud: If you hear them like main notes, they’re not ghosts—turn them down and/or darken them.
  • Chopping without fades: Click city. Use tiny clip fades or consolidate with fades.
  • Warp mode smearing: Complex/Complex Pro can blur bass. Try Beats mode or minimal warping.
  • No arrangement dynamics: Constant chopping with no gaps = fatigue. Silence is part of the groove.
  • ---

    5. Pro tips for darker/heavier DnB 🖤

  • Split distortion by band:
  • Use Audio Effect Rack on the MID/GRIT lanes:

    - Chain A (200–800 Hz): Saturator heavier (Drive 6–10 dB)

    - Chain B (800 Hz–4 kHz): lighter, keep articulation

  • Mono the low mids slightly:
  • On bass bus Utility: Bass Mono 120–160 Hz (or Width <100 below ~200 using rack splits).

  • Pitch dips for menace:
  • In Simpler, automate Pitch Env slightly down at the start of main hits (very short). Makes it “slam.”

  • Oldskool swing:
  • Add a Groove (e.g., MPC-ish or shuffled 16ths) to ghost MIDI only, not the main hits. Subtle pocket shift = roll.

  • Break compatibility:
  • If you’re using classic breaks, carve bass around the snare crack:

    - Small dip 180–220 Hz or 2–3 kHz depending on snare tone.

    ---

    6. Mini practice exercise (15 minutes) 🎯

    1. Make a 2-bar reese phrase and render to audio.

    2. Slice to MIDI (transient) and program a 1-bar loop:

    - 4 main hits (vel 100)

    - 6–10 ghost hits (vel 25–45)

    3. Create a 1/4 bar silence right before bar 2 beat 1, then slam back in.

    4. Bounce a quick demo and listen:

    - Do the ghosts pull you forward?

    - Does the silence make the return hit feel bigger?

    ---

    7. Recap

  • You built a multi-lane stock Reese (sub/mid/grit) that’s stable and mixable.
  • You committed to audio, then used Slice to MIDI for fast jungle-style chop performance.
  • You added ghost chops using velocity + filtering (or a dedicated ghost lane).
  • You arranged a 16-bar drop using space, pullbacks, and call/response—the stuff that triggers rewinds. 🔁

If you want, tell me your target vibe (e.g., Metalheadz dark, 94 ragga jungle, techstep-ish) and I’ll suggest a specific 16-bar chop pattern + device macros to match.

```

Ask GPT about this lesson

Chat with the lesson tutor, get follow-up help, or use quick actions.

Bigup 👽 Ask me anything about this lesson and I’ll answer in context.

Narration script

Show spoken script
Welcome back. Today we’re doing a deep dive into a very specific jungle and oldskool DnB weapon: Reese chop ghosts. The kind of bass edits that don’t just sound cool in the studio, they create that rewind moment on a system. And the big idea is this: a rewind-worthy drop is rarely a brand new bass sound. It’s usually a familiar bass phrase, but it’s been chopped with intent. Little pull-backs, micro-silences, and those quiet shadow hits that make the groove feel like it’s breathing.

This is intermediate level, so I’m going to assume you already know your way around Live 12, warping basics, and the difference between MIDI programming and audio editing. What we’re building is a stock-device Reese rack, then we’re committing it to audio, slicing it like a DJ tool, and programming ghosts that push and pull against the drums.

Let’s set the session up first.

Set your tempo somewhere between 165 and 172. I like 168 for that classic rolling feel, where breaks and bass feel fast but not hyper. Set your grid to sixteenths. We’ll go to thirty-seconds later when we start doing the truly disrespectful edits.

Now do yourself a favor in Preferences. Go to Record, Warp, Launch, and make sure “Create Fades on Clip Edges” is enabled. If you skip this, you can still fix clicks later, but you’ll waste time. Also open your Groove Pool view. We might not swing everything, but ghosts love swing.

Now we build the Reese. Create a MIDI track and drop an Instrument Rack on it. Name it something obvious like “REESE - Chop Ghost.” This rack is going to have three lanes: sub, mid, and movement grit. The reason we split it is simple: you want the sub to stay boring and consistent while the upper layers do the talking. Oldskool basslines get their power from stability down low and attitude above.

Chain one is SUB. Add Operator. Keep it dead simple: algorithm A only, a sine wave on oscillator A, and drop the octave to minus one, maybe minus two depending on the key. Then add EQ Eight and low-pass around 90 to 110 hertz with a gentle slope. You’re not trying to “sound design” the sub. You’re trying to keep it reliable.

Optional but useful: a Compressor after the EQ. Ratio two to one, attack around 15 to 30 milliseconds, release around 80 to 150. Just tickle it. One or two dB of gain reduction. This is about evenness, not punch.

Chain two is your MID Reese, the growl that people recognize. Add Wavetable if you’ve got it handy. Set oscillator one to a saw-ish basic shape, oscillator two to a square-ish basic shape. Detune them around 10 to 25 cents. Add unison, but don’t go crazy: two to four voices, low to moderate amount. The goal is width and movement without losing the center.

Now add Chorus-Ensemble. Use Chorus mode. Rate somewhere in the quarter hertz to 0.6 hertz range, amount maybe 15 to 35 percent, width 120 to 160. This is where that classic Reese swirl starts.

Then add Auto Filter. Low-pass 24. Start the cutoff somewhere like 200 to 600 hertz. Add a little envelope amount, like 5 to 15, with a short decay. That tiny envelope snap is a big part of why chops read as “played” instead of just sustained notes.

Now add Saturator. Analog Clip mode. Drive about 3 to 7 dB, and turn Soft Clip on. Then EQ Eight. High-pass around 90 to 120 hertz. This is crucial: the sub lane owns the lows. If you let the mid layer keep too much low end, you’ll get phasey whoomp and the bass will feel like it’s wobbling in a bad way. If the mid is boxy, dip a bit around 250 to 400.

Chain three is movement and grit. Duplicate the mid chain if you want, but we’re going to make it more “reads on small speakers,” more nasty, more air and edge.

Add Frequency Shifter. Ring Mod mode. Fine around 10 to 40 hertz. Mix 10 to 25 percent. You’re not trying to make it sound like sci-fi; you’re just adding that unsettled motion.

Then add Amp. Yes, Amp. Start with a bass or clean style and drive it around 2 to 5. After that, Redux, but very subtle: downsample around 1.2 to 2.0, keep bit reduction at zero or barely any, and dry/wet maybe 5 to 15 percent. Then EQ Eight and high-pass it somewhere like 150 to 250 hertz. This lane is texture only. It should not fight the sub.

Quick teacher note here: if you solo the grit lane and it sounds thin and ugly, you’re probably doing it right. Its job is to show up when everything else is playing.

Now we need a phrase that’s choppable.

Write a simple two-bar Reese phrase in MIDI. Keep it classic: root note, then maybe jump to the flat seven, then back to root. Rhythm-wise, start with eighth notes so it feels stable, then add a few sixteenth pushes to give you something to chop later. Don’t over-compose. Remember: we’re thinking like DJ edits, not like “let me write the most complicated bassline.” The edits will create the excitement.

Now commit to audio. This is where jungle energy lives. Freeze and flatten the track, or resample it. I like to create an audio track named “REESE CHOPS (AUDIO)” and record the output. Either way is fine. The point is: audio gives you brutal, fast edits that feel like you’re cutting a record.

Once you’ve got the audio phrase, right-click the clip and choose Slice to New MIDI Track. Slice by transients if the phrase has clear attacks. If it’s too smooth, slice by sixteenths. Use the built-in slicing preset so it drops into Simpler. Now you’ve got a chop kit: each slice mapped across MIDI notes.

This is huge. Because now you’re not just editing audio. You’re performing edits. You can literally play bass chops like drums. That’s why this lesson lives in the DJ tools mindset.

Now we get into the main concept: ghost chops.

A ghost chop is a quieter, shorter, often darker version of the main Reese hit. It’s not there to be noticed. It’s there to make the groove lean forward. If your ghosts sound like extra notes, they’re too loud, too bright, or too “on the grid.”

We’ll do it two ways. First, velocity ghosts inside the Simpler MIDI.

Create a one-bar pattern. For main hits, pick a few anchor points. You can start with something like a hit on beat one, then a couple of off-beat placements to taste. The exact grid numbers matter less than the relationship to the snare. In jungle, the snare is the anchor. So audition your bass against the snare, not the kick. If the bass pattern makes the snare feel later or weaker, adjust.

Set main hit velocities around 90 to 120. Ghost velocities around 20 to 55.

Now inside Simpler, turn on the filter. Use LP24. And here’s the trick: map velocity to filter cutoff so louder hits are brighter and quieter hits are darker. The ghosts should naturally tuck behind the drums.

And timing-wise, this is where people level up: ghosts are timing tools first, tone tools second. Nudge your ghosts slightly late, like 5 to 15 milliseconds. You can do it by nudging MIDI notes, or even easier, use Track Delay.

Here’s a groove weapon setup: set your Reese main track track delay to about minus 5 milliseconds, so it’s slightly ahead and urgent. Set your Reese ghost lane, if you’re using one, to plus 8 to plus 20 milliseconds, so it drags and rolls. Keep the sub at zero milliseconds. That way the low end stays reliable and the upper rhythm does the swaggering.

Which brings us to method two: a dedicated ghost bus, super controllable.

Duplicate your audio chop track and name it “REESE GHOST.” Pull the clip gain down by 8 to 14 dB. Then put an Auto Filter on it, LP24, cutoff around 200 to 500. Add Utility and narrow the width, somewhere between zero and 50 percent. This is important in busy breaks: stereo bass movement can smear the groove. Ghosts especially should not take over your stereo image.

Add a gentle Saturator, drive 1 to 3 dB. Optional Gate with fast attack and short release if you want the ghost to become more of a tick than a note. Then use ghosts sparingly: leading into snares, or leading into phrase turns. Think of them like tiny pre-echoes.

Now we talk micro-edits and clicks, because chopping bass audio is where a lot of people get frustrated.

Whenever you hard chop, you risk clicks because you’re cutting a waveform at a non-zero crossing. Live makes this easy if you handle it like a pro: in the audio clip view, turn on fades and use tiny fades. Fade in 1 to 3 milliseconds, fade out 3 to 10 milliseconds. That’s usually enough.

For warping, avoid Complex or Complex Pro for bass chops unless you absolutely need it. It can smear the tone. Try Beats mode. Preserve transients, and set the envelope somewhere around 50 to 90 depending on whether you want it punchy or smoother. The more envelope, the more it holds the slice shape.

Now we arrange the drop. Sixteen bars, and we’re aiming for call and response plus negative space. Silence is part of the groove. If you never stop, nothing hits.

Bars one to four: statement. Keep it simple and heavy. Main Reese chop on the downbeats or the obvious anchors. Ghosts fill breathing spaces, but lightly. Sub stays steady, maybe long notes or tied notes. Let the drums be the busy part at first. The bass sets the authority.

Bars five to eight: add conversation. Bring in a new chop, maybe a higher slice, every second bar as an answer. And introduce a pull-back: an eighth-note pullback before a snare, or even a quarter-bar silence before a slam back in. That micro-silence is power. In DJ terms, that’s the “are you ready?” moment.

Bars nine to twelve: variation and menace. Automate a filter down on bar nine so it feels like the bass ducks into the floor, then snap it open on bar ten around beat three so it bites again. And at the end of bar twelve, introduce a long Reese tail. That tail sets up the switch because it gives your ear continuity while you prepare the fake-out.

Bars thirteen to sixteen: reload bait. Here’s the move. Near the end, like bar fifteen beat four, cut almost everything. Leave maybe a tiny ghost Reese tick and a hat. Then bar sixteen beat one: full slam back in. Main chop, sub, break, all together. If you want to add a vocal stab, keep it tasteful. The bass and silence should do most of the talking.

Now let’s glue the bass so it hits hard but doesn’t fight the kick.

Group all your bass lanes into a Bass Bus. On the bus, add a Compressor and sidechain it to the kick. Ratio three to one, attack 5 to 15 milliseconds, release 60 to 120. Aim for about two to five dB gain reduction on kick hits. Then EQ Eight after it. If it’s muddy, carve a bit around 200 to 350. If it’s hissing, a gentle shelf down around 5 to 8k can help. Optional Limiter just catching peaks, one to two dB max.

A few common mistakes to avoid while you’re doing all this.

Don’t over-layer the sub. If your mid Reese has too much low end, the whole bass becomes phase soup. High-pass the mids, keep the sub pure.

Don’t make ghost notes too loud. If you can sing them, they’re not ghosts. Turn them down, darken them, delay them a hair.

Don’t chop without fades. Click city. Tiny fades are non-negotiable.

And don’t do constant chopping with no dynamics. If there are no gaps, the listener gets fatigue and the drop stops feeling like an event.

Now, a couple of pro tips if you want it darker and heavier.

Try splitting distortion by band on the mid and grit lanes with an Audio Effect Rack. Distort 200 to 800 harder, keep 800 to 4k lighter so articulation survives.

Mono your sub, always. Utility on the sub lane at zero percent width. Then do a quick phase sanity check on the Bass Bus: toggle mono on and off while the drop plays. If the bass character vanishes in mono, your width sources are fighting. Narrow the gritty chain or reduce detune and unison.

And for oldskool swing, here’s a neat move: apply groove only to the ghost MIDI clip, not the main hits. That way your anchors stay solid, and the shadows do the rolling.

Let’s do a fast 15-minute practice so you can lock this in.

Make a two-bar Reese phrase and print it to audio. Slice to MIDI by transients. Program a one-bar loop with four main hits at velocity 100, and six to ten ghost hits at velocity 25 to 45. Then create a quarter-bar silence right before bar two beat one, and slam back in. Bounce a quick demo and listen the next day if you can. The questions are simple: do the ghosts pull you forward, and does the silence make the return hit feel bigger?

Before we wrap, one last coaching mindset reminder. Think in DJ edits, not bassline writing. Treat the Reese like a record you’re cutting up: short statements, tiny pre-echo ghosts, abrupt mutes, and prints with different character. And commit in stages. Print a clean pass, print a distorted pass, print a filtered ghost pass. Then chop between prints for contrast without stacking a million devices.

That’s it. You’ve built a multi-lane stock Reese rack, committed to audio, sliced it into a playable chop kit, added ghost chops with velocity and filtering or a dedicated ghost lane, and arranged a 16-bar drop using space, pullbacks, and call and response.

If you tell me your BPM and which break you’re using, like Amen, Think, or Hot Pants, I can suggest a specific ghost timing map that locks to that break’s swing, plus a couple macro ideas to make your chop kit feel performance-ready.

mickeybeam

Go to drumbasscd.com for +100 drum and bass YouTube channels all in one place - tune in!

Generating PDF preview…