Main tutorial
Lesson Overview
A fill push is one of the most effective oldskool DnB / jungle arrangement tricks for making a Reese bassline feel like it’s lunging forward into the next phrase. In a 90s-inspired darker track, this is not about giant modern supersaw drops or hyper-edited breakdowns — it’s about pressure, anticipation, and momentum. You’re using a short bass fill, usually at the end of a 2-, 4-, or 8-bar phrase, to “push” the groove into the next section while keeping the track gritty, dancefloor-focused, and DJ-friendly.
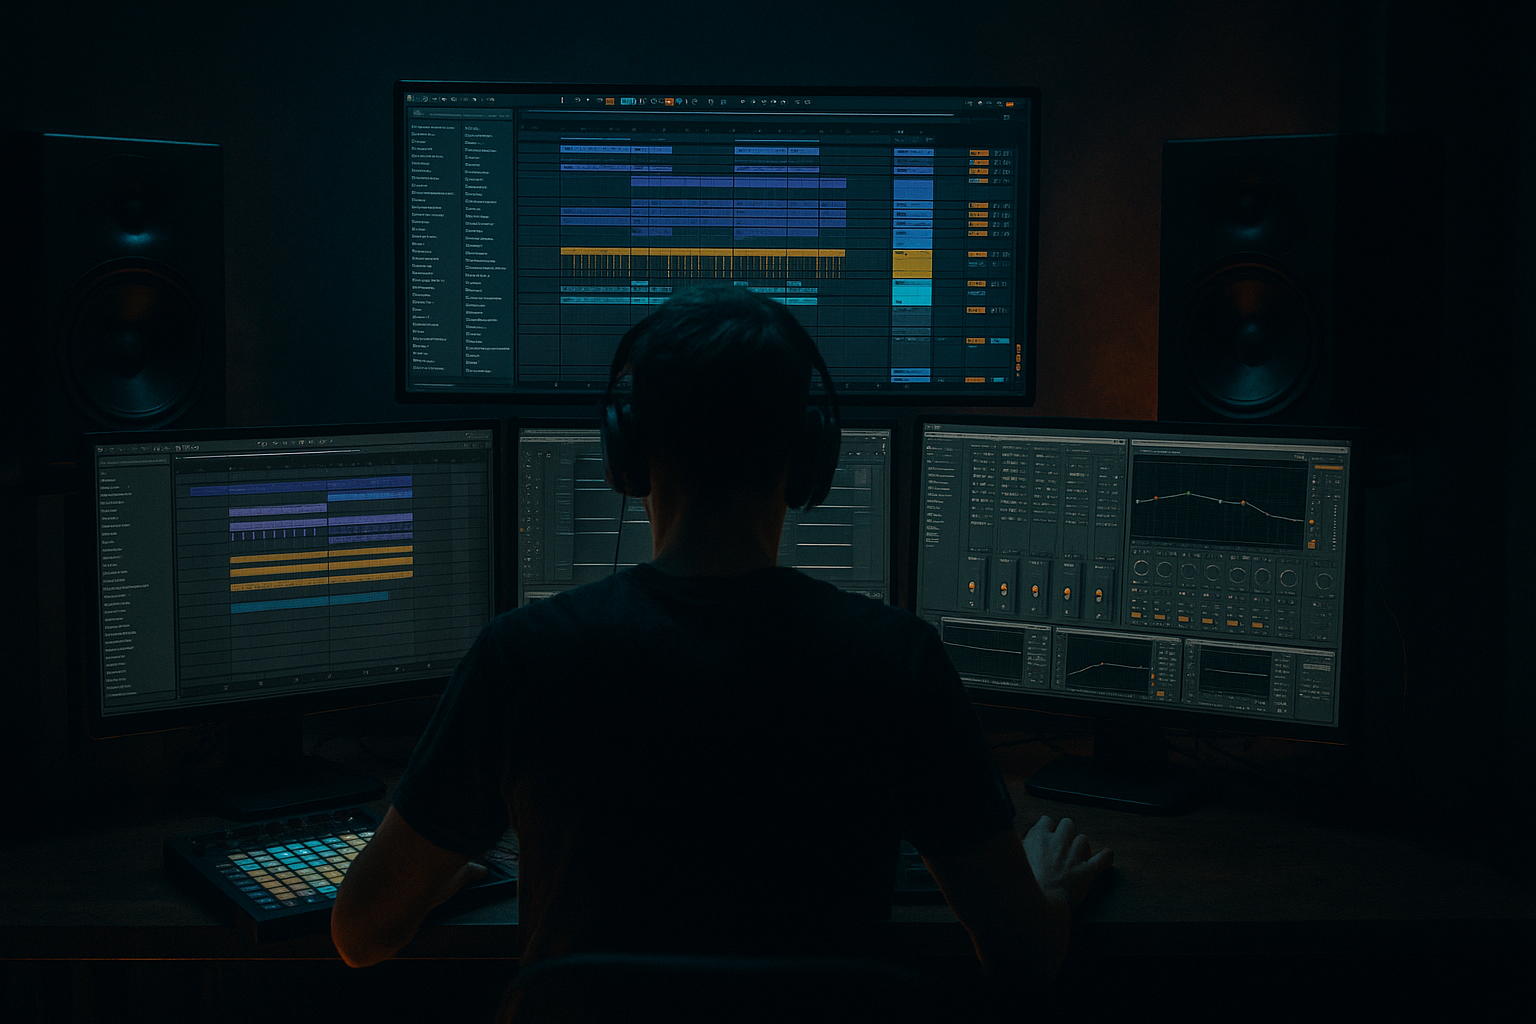
In Ableton Live 12, this technique is especially powerful because you can build the Reese as a tightly controlled instrument, then turn it into an edit tool: duplicate phrases, resample variations, warp little tail movements, automate filters and distortion, and create small arrangement events that feel bigger than their size. For oldskool jungle or dark rollers, this matters because the bass is often the emotional engine of the track. A good fill push can make a loop feel alive without breaking the hypnotic pocket.
The goal here is to build a Reese bassline that keeps its low-end weight intact, then opens up into a short fill phrase with a more aggressive contour, slightly widened midrange, and a clear return to the groove. Think of it like a bass “breath” before the next hit. Used well, it adds tension without clutter, and that’s exactly the kind of edit that separates a solid DnB loop from a track that feels finished.
What You Will Build
You’ll build a 90s-inspired Reese bass pattern in Ableton Live 12 with:
- a solid mono sub foundation
- a midrange Reese layer with slow detune movement
- a short end-of-phrase fill push that rises in intensity for 1/2 bar or 1 bar
- automation on filter, distortion, and stereo width to make the fill speak
- a call-and-response relationship with the drums so the fill lands like a proper DnB edit
- an arrangement-ready loop that works in a roller, oldskool jungle, or darker amen-driven tune
- Bars 1–3: restrained Reese riff, low-mid pressure, minimal movement
- Bar 4: fill push using a slightly higher note, tighter rhythm, extra filter opening, and more saturation
- Return: drop back into the original groove with impact
- Making the fill too melodic
- Widening the whole Reese, including the low end
- Over-automating filter movement
- Ignoring drum phrasing
- Too much distortion flattening the note identity
- Not leaving space after the fill
- Parallel grit on the midrange only: duplicate the Reese mid chain and process the copy with heavier Saturator or Overdrive, then blend it low. This adds menace without destroying clarity.
- Micro pitch drift for unease: very subtle modulation on oscillator pitch or wavetable position can make the fill feel more unstable. Keep it minimal — think movement, not wobble.
- Short delay throws on the last fill note: use Echo or Delay on a send, automate a quick wet burst only at the phrase end, then pull it down immediately.
- Resample and reverse tiny slices: a reversed final 1/16 or 1/8 of the Reese fill can create that oldskool tape-like push into the next bar.
- Check the fill in mono and low volume: if the phrase still feels urgent at low level, it’s usually working. If it only works loud, the arrangement is probably relying too much on hype and not enough on phrasing.
- Use call-and-response with the break: let the drums leave a gap where the fill can speak. A small hole in the break can make the bass feel huge.
- Keep the sub simpler than you think: darker tracks often feel heavier when the sub is conservative and the midrange does the expressive work.
- Which version pushes hardest into the next bar?
- Which one stays darkest?
- Which one feels most like a 90s DnB edit?
- Build the Reese with separate sub and mid control
- Treat the fill push as a phrase edit, not just a louder bass note
- Use filter, saturation, and subtle width automation to create tension
- Keep the sub mono and stable
- Lock the bass fill to the drum phrasing
- Resample when you want more edit control and oldskool character
- In darker DnB, the best fill pushes feel restrained, heavy, and inevitable
Musically, this might feel like:
By the end, you’ll have a loop that sounds like it could sit in the breakdown-to-drop transition of a 90s-inspired DnB track, or act as a recurring 4-bar bass edit in a heavier arrangement.
Step-by-Step Walkthrough
1. Build the Reese as two controlled layers: sub and mid
Start with an Instrument Rack on a MIDI track and create two chains: one for sub and one for Reese mid. On the sub chain, use Operator or Analog with a sine wave, then low-pass it heavily if needed. Keep it simple: one oscillator, no spread, no unneeded movement. Aim for -12 to -9 dB peak headroom on the chain so the bass has room to breathe in the mix.
On the mid chain, use Wavetable, Analog, or Operator with two detuned saws or saw/triangle-style oscillators. For a classic dark Reese feel, keep the detune modest: roughly 5–15 cents between oscillators, with slow LFO movement if desired. Put Saturator after the synth with Soft Clip on and Drive around 2–6 dB to introduce harmonic density. Then add Auto Filter with a low-pass around 180–500 Hz depending on how much upper mid you want.
Why this works in DnB: the sub stays stable for club translation, while the moving midrange gives the Reese its unmistakable tension. Oldskool darkness depends on this split personality — the low end anchors the groove, and the midrange does the emotional shifting.
2. Write a short phrase, not a full bassline loop
In the MIDI clip, avoid packing too many notes into the whole bar. For a dark 90s-style vibe, try a 2-bar or 4-bar phrase with space. Use a note group centered around the root, fifth, and octave, then introduce a passing note or chromatic movement at the fill point.
Example idea in D minor:
- Bar 1: D1 / D2 rhythmic stabs
- Bar 2: D1 with a small pickup note to F1 or C#1 for tension
- Bar 3: repeat with slight variation
- Bar 4: fill push with a higher D2 or F2 accent and shorter note lengths
Keep note lengths tight enough that the bass breathes with the drums. If the track is more roller-like, use fewer notes and let the groove come from the edit. If it’s more jungle-influenced, add a slightly busier pickup before the fill.
3. Design the fill push as an edit, not just a louder note
The fill push should feel like a deliberate phrase change. Duplicate the last half-bar or full bar of your bassline and make the final section different. The classic move is to raise intensity without blowing up the groove.
Try these edit moves:
- shorten the last note before the phrase ends
- add a quick 1/16 or 1/8 pickup note
- shift the last note up an octave for a moment
- change the rhythm so the fill lands against the snare
- add a syncopated rest so the next downbeat hits harder
In Ableton Live 12, use the MIDI note editor to make the fill precise. You want the fill to imply motion forward, not sound like a random bass solo. For oldskool darkness, the fill often works best when it feels almost like a compressed melodic gesture, not a flashy lead line.
4. Automate the Reese movement so the fill opens up
Now create the actual “push.” On the Reese mid chain, automate the Auto Filter cutoff and possibly the Saturator Drive during the fill. A good starting range:
- Filter cutoff: move from around 180–300 Hz in the main groove up to 600–1.2 kHz during the fill
- Saturator Drive: increase by 2–4 dB only for the fill
- Filter resonance: keep it subtle, around 0.10–0.35, unless you want a more nasal bark
You can also automate Utility width on the mid chain. Keep the main phrase tighter or even mono-ish, then widen the fill slightly for impact. Do this carefully: the low frequencies should remain mono, and only the midrange should open up.
If you’re using Wavetable, automate wavetable position or unison amount very lightly. For darker DnB, this works better as a small increase in motion than a dramatic sound design shift. The fill should sound like the same bass suddenly deciding to get more agitated.
5. Resample the Reese fill for surgical edit control
One of the most effective advanced workflows in Ableton is to resample your own bass fill. Route the Reese track to a new audio track set to resampling or set its input to the Reese track, then record just the fill section. Now you can treat that audio like a drum edit.
Once recorded, use:
- Warp to tighten timing if needed
- Reverse for a quick pre-hit swell
- Fade handles to avoid clicks on tight cuts
- Slice to New MIDI Track if you want to trigger different fill fragments
This is especially strong for Edits because the bass fill becomes part of your arrangement vocabulary. You can chop the last note, pitch the tail down slightly, or echo just the final transient. For jungle and oldskool DnB, resampling gives the bass a more “constructed” feel, like it was edited in the arrangement rather than over-programmed in one instrument lane.
6. Lock the fill to the drum phrasing
The Reese fill should answer the break, not fight it. Put it against a drum loop or amen edit and listen for where the snare, ghost notes, or kick accents want space. A strong approach is to make the fill land in the last half of a 4-bar phrase, while the break does a small variation at the same moment.
Example arrangement context:
- Bars 1–2: standard break + Reese groove
- Bar 3: ghost note variation in the break
- Bar 4: Reese fill push on the second half-bar, leading into a snare fill or break restart
If the drums are busy, keep the bass fill shorter and lower in register. If the drum pattern drops out slightly, you can let the Reese fill be more expressive. In DnB, the bass and drums are a single rhythmic system — the fill is only powerful if it fits that system.
7. Shape the fill with transient and low-end discipline
For the bass fill to hit harder, avoid over-blurring the transient. Use Drum Buss lightly on the Reese mid chain or on a bass bus:
- Drive: 5–15%
- Crunch: very subtle, or off if it gets too fizzy
- Boom: usually off for the bass itself unless you’re intentionally creating a synth-kick effect
If the fill gets too smeared, tighten it with Gate or shorten MIDI note lengths. If it’s too flat, use Envelope Follower or very subtle Auto Filter envelope movement to create a small “bark” at the start of the fill.
Keep sub discipline strict: no stereo widening on the sub chain, and always check in mono. The fill can be more animated in the mids, but the foundation must remain centered and clean. That’s how you get weight without losing club compatibility.
8. Use arrangement editing to make the fill feel like a real event
In the Arrangement View, don’t just loop the bassline endlessly. Create a 16-bar section and vary the fill every 4 or 8 bars. A classic DnB structure could look like:
- 8-bar intro with filtered bass hints
- 16-bar drop section with one recurring 4-bar fill push
- 8-bar switch-up with a slightly more aggressive fill and extra break edits
- return to the main groove with a stripped-down variation
Use automation lanes to introduce the fill: filter opens, delay throws, or a short reverb burst on the last note only. A tiny Echo send on the fill can create a movement tail, but keep the feedback low and the timing short so it doesn’t blur the groove. For oldskool energy, the arrangement should feel like a sequence of controlled edits, not continuous maximalism.
Common Mistakes
- Fix: keep it rooted in the bass note language of the track. Use tension notes sparingly and return to the root quickly.
- Fix: keep sub mono. Only open up the mid chain or use Utility width automation on mids only.
- Fix: subtle motion is usually stronger in DnB. If the fill sounds like a sweep effect instead of a bass push, reduce the range.
- Fix: align the fill with the snare and break accents. The bass should feel like a response, not a separate idea.
- Fix: use Saturator or Drum Buss in moderation. You want edge, not a constant square-wave blur.
- Fix: the return to the groove matters as much as the fill itself. Let the next downbeat breathe.
Pro Tips for Darker / Heavier DnB
Mini Practice Exercise
Spend 15 minutes building three versions of the same 4-bar Reese phrase in Ableton Live 12.
1. Version A: minimal fill
- Basic Reese groove
- Only one small pickup note in bar 4
- No automation
2. Version B: automated fill push
- Same groove
- Automate Auto Filter cutoff up by a few hundred Hz on the final bar
- Add 2–4 dB Saturator Drive only on the fill
3. Version C: resampled edit
- Record the fill as audio
- Reverse the last slice or shorten the tail
- Add a tiny Echo throw on the final hit
Then compare them over a simple breakbeat. Ask:
Choose the strongest version and copy it across an 8-bar section, then vary it once every 4 bars.

