Main tutorial
Lesson Overview
This lesson is about turning a raw Reese into a finished arrangement bass element for jungle and oldskool DnB: crisp transients up front, dusty mids in the body, and a controlled low-end that hits hard in the drop without smearing the drums. In practice, this is the kind of bass treatment you use when you want a patch that can live through a full 32-bar section, not just a single sound-design moment.
In Drum & Bass arrangement, the bass isn’t just a sound — it’s a phrasing tool. A Reese that has been transformed correctly can do three jobs at once:
- anchor the drop with sub weight,
- create rhythmic attack against breakbeats,
- and carry movement across call-and-response phrases, switch-ups, and fills.
- a mono-compatible sub foundation that stays stable under the kick and snare,
- a stereo upper layer with detuned movement and dusty mid harmonics,
- a transient-shaped front edge that helps the bass speak on small speakers,
- and automation-ready arrangement states for intro, drop, switch, and fill sections.
- bars 1–4: stripped intro hinting the Reese through filtering,
- bars 5–8: first drop with a clipped, punchy bass response,
- bars 9–16: a variation where the mids grit up and the stereo widens,
- then a switch-up with a more aggressive transient and dustier texture for the second half of the drop.
- Too much stereo in the low end
- Distortion on the whole bass instead of only the mid band
- Transient too sharp, causing clash with snare
- Reese movement is wide but vague
- Bass is too constant across the entire arrangement
- Mids are dirty but harsh
- Sub is colliding with kick and making the drop floppy
- Resample the bass twice
- Use arrangement contrast, not just more distortion
- Let the break define the aggression
- Automate the top chain width, not the sub
- Use very small envelope differences between repeated notes
- Try subtle parallel Drum Buss on the mid chain
- Reference classic jungle phrasing
- Keep headroom for the arrangement
Why this matters in DnB: the genre lives or dies on impact and separation. Jungle and oldskool-inspired rollers need the bass to feel alive and slightly unruly, but still disciplined enough to leave space for chopped breaks, snare ghosts, and atmospheric top layers. The target here is a Reese patch with a clean transient edge, a dusty midrange haze, and arrangement-ready automation so it can evolve across 16- or 32-bar sections without falling apart.
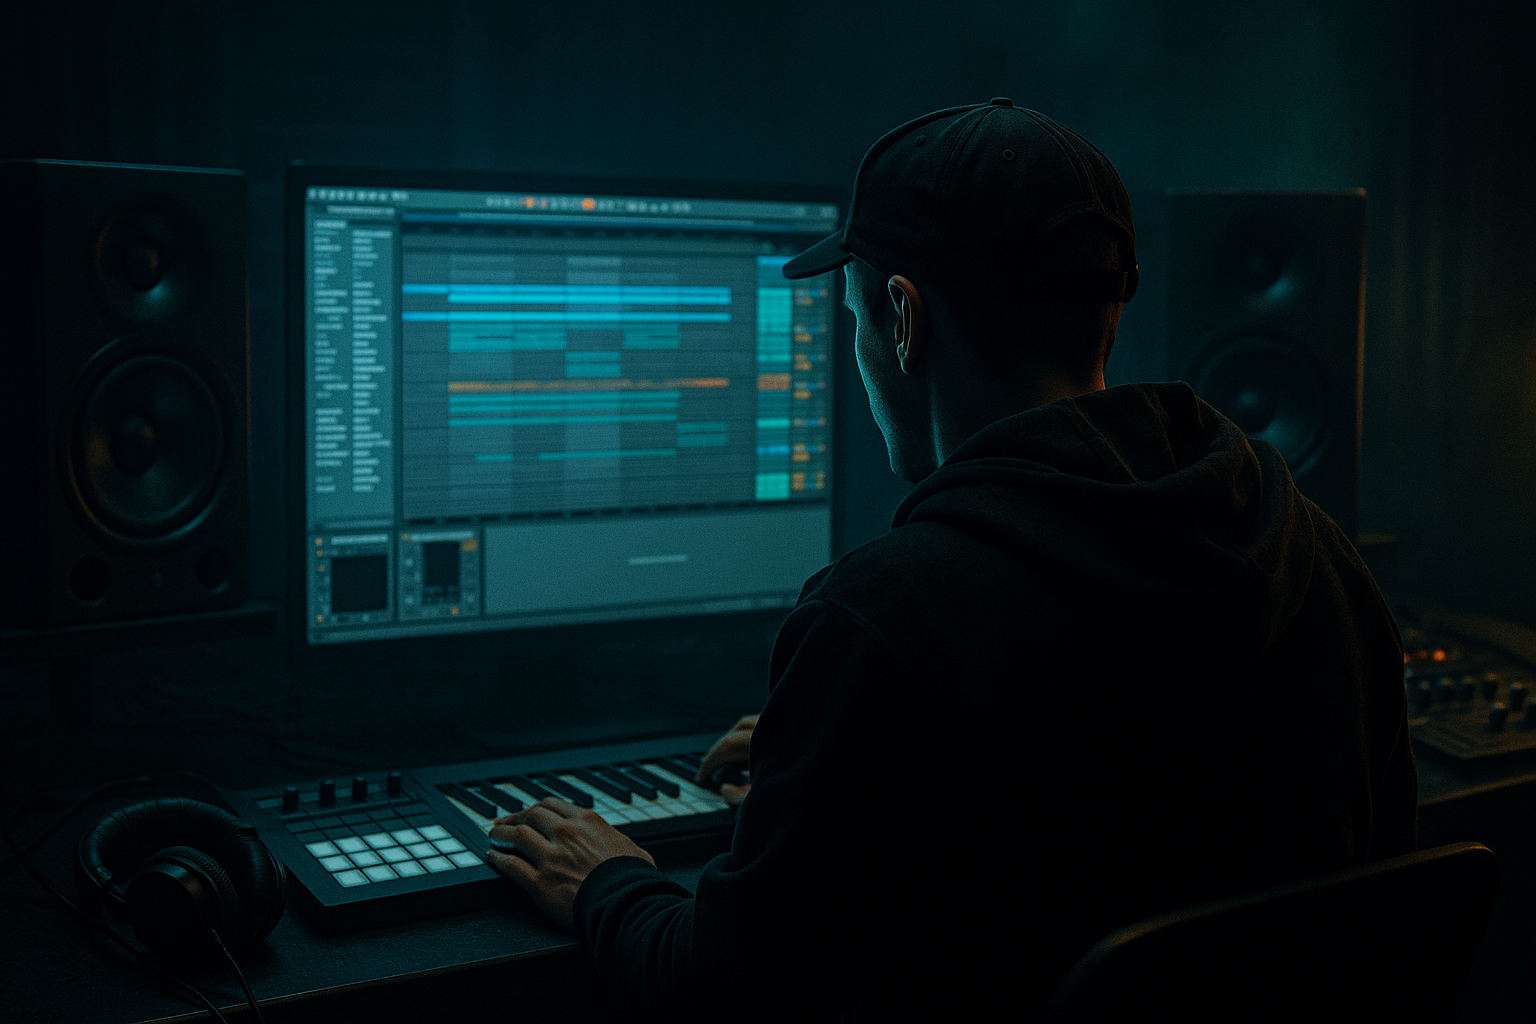
We’ll build this inside Ableton Live 12 using stock devices and an arrangement-first workflow, so the sound is designed to serve the track structure from the start, not bolted on after the fact.
What You Will Build
By the end, you’ll have a bouncy, gritty Reese bass performance that works in a jungle / oldskool DnB drop:
Musically, think of a 174 BPM roller where the bass answers the drums in short phrases:
The final result should feel oldskool in attitude, modern in control.
Step-by-Step Walkthrough
1. Build the source Reese in a way that can survive arrangement processing
Start with Wavetable or Analog. For this lesson, Wavetable is the easiest route because you can control the harmonic shape before resampling.
- In Wavetable, choose a basic saw-based wavetable.
- Use two oscillators:
- Osc 1: saw, unison 2–4 voices, detune around 6–12%
- Osc 2: saw or slightly different wavetable, detune similar range but slightly offset
- Keep the oscillator mix wide enough to create beating, but not so wide that the bass collapses later.
- Set the filter to a low-pass 24 dB mode, cutoff around 180–400 Hz to begin, with a small amount of resonance.
- Add a very subtle Pitch Envelope if you want more attack on each note, but keep it restrained. For jungle/oldskool, you want movement, not modern EDM snap.
Play a simple 2- or 4-note phrase in the drop register, usually around F, G, A, C or whatever fits the tune. Keep it short and repetitive at first. This helps you judge the bass as a rhythmic object, not a solo sound.
Why this works in DnB: a Reese is already rich in movement, so the arrangement version doesn’t need extra complexity everywhere. You want a stable tonal identity that can be transformed by processing and automation across sections.
2. Split the bass into three functional bands using stock devices
In Ableton, create a Bass Group and place three chains inside an Audio Effect Rack:
- Sub chain
- Mid grit chain
- Top transient chain
This is the core of the transform.
On the Sub chain:
- Add EQ Eight and low-pass around 90–120 Hz.
- Use Utility and set Width = 0% to keep the sub mono.
- Add Saturator with Soft Clip on, Drive around 1–3 dB only if you need a touch of density.
On the Mid grit chain:
- Add EQ Eight high-pass around 120–160 Hz and low-pass around 2.5–4 kHz.
- Add Overdrive or Saturator.
- If using Overdrive, keep frequency around 250–800 Hz, drive moderate, dry/wet around 20–50%.
- Optionally add Redux very lightly for dusty digital grain; reduce bit depth only a little, enough to roughen the center without turning it into aliasing soup.
On the Top transient chain:
- High-pass around 1.5–3 kHz.
- Add Drum Buss with Drive low, Crunch low, and Transient slightly up.
- Use this chain sparingly; it should be the edge, not the whole personality.
This split lets you arrange the sound like a section, not a single static patch. You’ll later automate the chains for different parts of the drop.
3. Shape the transient so the bass speaks against the break
Now focus on the front edge. In jungle and rollers, the bass often needs to snap just enough to sit with chopped breaks. If the transient is too soft, the bass disappears behind the drums. If it’s too sharp, it fights the snare and kick.
On the top transient chain, use:
- Drum Buss
- Transients: +10 to +25
- Drive: low to moderate
- Boom: usually off or very restrained for this application
- Auto Filter before Drum Buss if you want to fine-tune where the bite lives
- Glue Compressor after Drum Buss if the transient gets too uneven:
- Ratio 2:1
- Attack 10–30 ms
- Release Auto or 0.3–0.6 s
- Aim for only 1–2 dB of gain reduction
If the bass is MIDI, you can also use Amp + Cabinet very lightly on the mid chain to create a sharper onset. For a dirtier oldskool character, the transient doesn’t have to be pristine — it just has to be defined.
A good test: mute the drums and hear if the bass still has a clear “speak” at the front of each note. Then unmute the break and make sure it doesn’t steal the snare’s impact.
4. Create dusty mids with controlled saturation, not random distortion
The “dusty mids” part is what gives the bass its aged, smoked-out jungle identity. The mids should feel worn-in, slightly compressed, and harmonically busy — like a sound that’s been through tape, samplers, and a few rough rehearsals.
On the mid grit chain, try this order:
- EQ Eight: remove unnecessary low-end and fizz
- Saturator: Drive 3–8 dB, Soft Clip on
- Echo very subtly if you want micro-space in the mids
- EQ Eight again to tame harshness around 2.5–5 kHz
- Optional Corpus very lightly if you want an odd resonant body
Concrete settings to start:
- Saturator Drive: +4 to +6 dB
- Soft Clip: On
- Dry/Wet: 50–80%
- EQ dip around 3.2 kHz if the harmonics get brittle
- High shelf cut above 8–10 kHz if the grit is too modern
The idea is not to “make it dirty” in a vague way. The goal is to create a textured mid band that still sounds like one bass note when arranged with drums.
If you want extra oldskool grime, resample this chain to audio and then slice it. That locks in the character and lets you edit the phrase like a break.
5. Resample the Reese transform and edit it like an arrangement element
This is where it becomes an arrangement lesson, not just sound design. In Ableton Live, resampling the bass chain to audio gives you more control over phrasing, muting, and switch-ups.
- Route the Bass Group to a new audio track set to Resampling or internal input.
- Record a 4- or 8-bar loop of the bassline.
- Consolidate the take and view the waveform.
- Edit note-length decisions directly in audio by slicing, cutting gaps, and creating micro-rests.
Look for moments where the waveform can breathe. In DnB, basslines often work better when they leave tiny holes for the snare tail or a break chop.
Arrangement move:
- Bars 1–4: filtered version with reduced mids
- Bars 5–8: full bass in with transient chain active
- Bars 9–12: introduce a gap before bar 9 to let the break hit alone
- Bars 13–16: automate the grit chain up for tension before the next phrase
This is a very practical oldskool method: record the patch, then arrange the audio. It tends to feel more authentic than endlessly tweaking MIDI.
6. Automate chain levels for drop evolution and switch-ups
Inside your Audio Effect Rack, map the chain volume or a macro to each band so you can morph the bass across the arrangement.
Suggested macro targets:
- Macro 1: Sub level
- Macro 2: Mid grit level
- Macro 3: Transient edge
- Macro 4: Filter cutoff
- Macro 5: Stereo width of mid/top only
- Macro 6: Drive amount
In the first 8 bars of the drop:
- keep sub solid,
- mids at 70–90%,
- transient chain slightly lower.
In the second 8 bars:
- increase mid grit by 2–4 dB,
- open the filter a bit,
- widen the top chain subtly.
A strong arrangement move is to automate a low-pass filter sweep on the mid chain during a fill, then slam it back open on the next downbeat. Another option is to automate Utility width on the upper chain from 0–40% in the intro, then back to full stereo in the drop.
This kind of automation is what gives a DnB tune its forward motion without needing a completely new bass sound every 8 bars.
7. Lock the low end with kick/bass separation and groove placement
In DnB, the bass is only as good as its relationship with the kick and snare. If the bass and kick share the same low-frequency moment, the drop loses punch.
Practical approach:
- Use EQ Eight to carve a small dip in the bass around the kick’s fundamental if necessary.
- If your kick lives around 50–70 Hz, ensure the sub isn’t masking that exact area.
- Place bass notes to answer the kick rather than always coincide with it.
- Use short rests before the snare on key phrases to let the backbeat breathe.
In Ableton Live 12, zoom into arrangement view and check bar alignment. If your bass notes are too long, shorten them by a few 16ths. In jungle and rollers, a tiny timing change can make the groove feel much more intentional.
For groove, try:
- slight note length variation
- occasional off-grid pickup notes
- ghost bass hits before the main phrase
Keep the MIDI or audio phrase rhythmically simple enough that the drum edits remain the hero.
8. Add transition FX without washing out the bass character
Now make the arrangement feel finished. Use FX to frame the Reese, not smear it.
Good Ableton stock choices:
- Reverb on a send for very short tails on select mids/highs
- Delay for call-and-response tails in fill sections
- Auto Filter sweeps for tension into the drop
- Hybrid Reverb if you need a darker room-ish edge, but keep it subtle
- Reverse audio from your resampled bass for pre-drop transitions
Use these ideas:
- automate a narrow band-pass on the bass in the 2-bar intro before the drop,
- reverse a chopped bass tail into a snare fill,
- mute the sub on the last beat before a switch-up so the next downbeat lands harder.
For jungle energy, try using a short pre-drop stop: remove the sub for half a bar, let the break and FX breathe, then bring the full Reese back in. The contrast makes the return feel much bigger.
Common Mistakes
- Fix: keep the sub chain in mono with Utility Width at 0% below roughly 100 Hz.
- Fix: split the rack into sub/mid/top so the dirt stays in the right frequency zone.
- Fix: reduce Drum Buss Transients, soften the attack, or move transient shaping to a narrower high band.
- Fix: narrow the filter and focus the modulation in the 120 Hz–3 kHz area, where the character actually reads.
- Fix: automate chain levels and filter states per section so the sound evolves over 8- or 16-bar blocks.
- Fix: use EQ Eight to notch around 2.5–5 kHz, then re-check at lower monitoring volume.
- Fix: shorten note lengths, carve space with EQ, and offset some bass notes from the kick transient.
Pro Tips for Darker / Heavier DnB
- First pass for the main drop tone.
- Second pass for a more crushed version used only in switch-ups or end-of-phrase fills.
- A half-bar of filtered bass followed by a full-open hit often feels heavier than nonstop saturation.
- If the drums are busy, keep the bass simpler and more disciplined. The contrast creates perceived weight.
- Widening only the dusty upper harmonics keeps the low end solid while the bass feels bigger.
- Shorter notes on the second repetition can make a two-bar phrase feel like a live DJ loop.
- Blend in a crushed duplicate chain at low level for extra bite without losing the original body.
- Think in call-and-response with the break: bass line, drum fill, bass reply, snare lead-in, drop hit.
- Leave enough space so the bass can expand in later sections; don’t max out density in bar 1.
Mini Practice Exercise
Spend 15 minutes on this:
1. Build a Reese in Wavetable or Analog with two detuned saw layers.
2. Split it into sub, mid grit, and top transient chains using an Audio Effect Rack.
3. Resample 4 bars of a simple 174 BPM bass phrase.
4. Edit the audio so bars 1–2 are filtered and restrained, bars 3–4 are more open and aggressive.
5. Automate the mid grit chain to rise in the second half of the phrase.
6. Create one 1-bar switch-up where the sub drops out on beat 4 and returns hard on the next downbeat.
7. Bounce a rough arrangement loop and check it in mono.
Goal: make the same bass feel like three different arrangement states without changing the core sound.
Recap
The key idea is to treat the Reese as an arrangement system, not just a patch. Build the bass with separate sub, mid, and transient control, then use resampling, automation, and phrasing to make it evolve across the drop. Keep the sub mono, let the midrange carry the dusty character, and shape the front edge so it locks with the break.
If it works, you’ll hear a bass that feels proper for jungle and oldskool DnB: crisp on attack, dusty in the middle, and disciplined enough to drive the arrangement from intro to switch-up without losing the groove.

