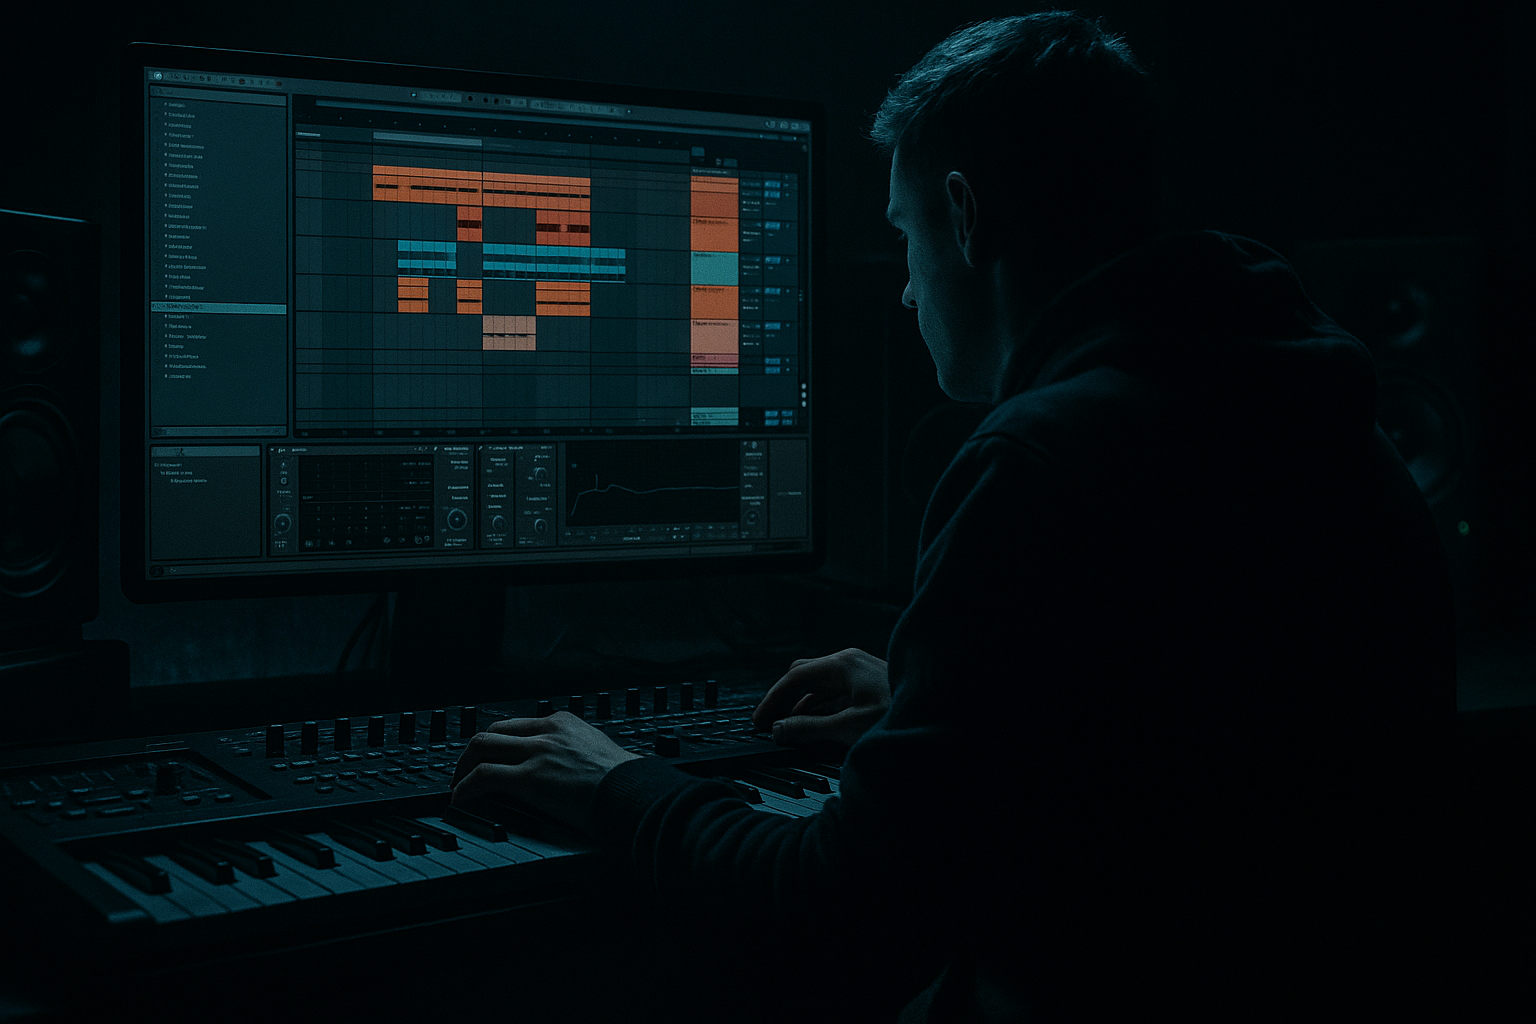
Main tutorial
Reese System: Air Horn Hit Drive in Ableton Live 12 for Jungle / Oldskool DnB Vibes
1. Lesson overview
In this lesson we’re building a Reese system that has an air horn hit drive character: a bass sound that feels wide, snarling, moving, and aggressive, with a short horn-like attack that punches through a jungle or oldskool DnB mix 🔥
This is not about a smooth modern neuro bass.
This is about rude midrange attitude, classic detune motion, and controlled distortion that gives you that 90s rave / jungle / oldskool rolling DnB energy.
You’ll learn how to:
- build a Reese from Ableton stock devices
- shape an air horn-style transient
- make the bass drive without losing low-end weight
- process it into a usable DnB bass system
- place it in a drop or call-and-response arrangement
- Wavetable or Operator
- Saturator
- Roar or Overdrive
- EQ Eight
- Chorus-Ensemble
- Auto Filter
- Utility
- Drum Buss
- optional Redux and Limiter
- clean sine sub
- mono
- simple note-following bass foundation
- detuned saw-based mid bass
- wide, unstable motion
- driven into harmonic saturation
- short attack layer that gives the bass a blast / horn stab feeling
- band-limited midrange emphasis
- makes the bass read as “hit-driven” rather than just sustained
- 8-bar loops
- call-and-response drops
- jungle reese phrases
- oldskool roll patterns
- filtered intro to drop transitions
- Operator
- EQ Eight
- Utility
- Osc A: Sine
- Level: 0 dB to start
- Filter: off
- Voicing: Mono
- Glides: off for now
- D1
- D1
- F1
- C1
- High-pass at 20–30 Hz
- No aggressive shaping needed
- If the sub clashes with the kick, dip around the kick’s fundamental slightly
- Width: 0%
- Bass mono by nature
- Gain: adjust for balance later
- Wavetable
- Chorus-Ensemble
- Saturator
- EQ Eight
- Utility
- Osc 1: Basic Shapes > Saw
- Osc 2: Saw, tuned slightly sharp
- Osc 1 Unison: 2 voices
- Osc 2 Unison: 2 voices
- Detune: light to medium
- Phase: try free-running if you want more analog drift
- Voicing: Mono
- Glide: very short or off, depending on style
- Low-pass filter around 120–250 Hz if you want the bass darker
- Or leave more open if you want the air horn to speak clearly
- Slight filter envelope can add punch:
- Mode: Chorus
- Amount: low to medium
- Rate: slow
- Delay: short
- Width: fairly wide
- Drive: 3 to 8 dB
- Soft Clip: On
- Output: compensate gain
- High-pass around 90–140 Hz so it doesn’t fight the sub
- Cut muddy area around 200–350 Hz if needed
- Boost carefully around 700 Hz – 1.5 kHz for growl
- If the sound is too fizzy, dip around 3–6 kHz
- Width: 100% or more on the Reese only
- Keep the sub separate and mono
- Wavetable or Operator
- Auto Filter
- Roar or Overdrive
- EQ Eight
- Drum Buss
- Utility
- Use a saw or square waveform
- Set very short amp envelope
- Play the same note as the bass
- Osc A: square or sine-saw blend if available
- Add a fast pitch envelope:
- This creates a more “horn hit” style transient
- Band-pass or low-pass with a resonant peak
- Sweep the cutoff slightly higher for attack emphasis
- Try:
- Drive moderately
- Set tone toward midrange bite
- Use multiband or serial character if you want more complexity
- Drive: moderate
- Tone: toward brighter mids
- Dry/Wet: 30–70%
- High-pass around 150–300 Hz
- Focus the energy in the mids:
- Roll off excessive top if it hisses
- Drive: low to medium
- Crunch: subtle
- Transients: slightly up
- Boom: usually off for this layer
- Keep this layer fairly centered
- Width: 0–40% depending on taste
- Sub: strongest in the low end
- Reese: main body and movement
- Air Horn: audible attack, but not overpowering
- Sub: 0 dB
- Reese: -6 to -10 dB
- Air Horn: -8 to -14 dB
- kick
- snare
- hats
- breaks
- FX
- Open it slightly before fill hits
- Close it for darker sections
- Sweep it into the drop for tension
- Increase slightly in fills
- Reduce in heavy drop sections if the stereo image gets too messy
- Push it higher during transitions
- Pull it lower for darker, meaner sections
- Automate more drive on the downbeats or key accents
- Use subtle increases for call-and-response phrases
- Bar 1: D1, rest, D1, F1
- Bar 2: C1, rest, D1, rest
- Bar 3: D1, D1, F1, G1
- Bar 4: C1, rest, D1, long hold
- Let the kick and snare breathe
- Place bass hits between break hits
- Use syncopation, but don’t overcomplicate it
- Oldskool energy often comes from space and attitude, not constant notes
- If your kick is deep, keep the sub simple and tuck the Reese body above it
- Use EQ to create separation around the kick fundamental
- Leave space around the snare hit
- Avoid long bass sustains directly under the snare if it weakens the impact
- If the break is busy, reduce Reese stereo width slightly
- If the break is thin, the Reese can be wider and more animated
- sub = weight
- Reese = body/movement
- horn = attack/identity
- a little Saturator
- a little Drum Buss
- a little Roar
- Sub: simple root-note pattern
- Reese: detuned mid bass with chorus and saturation
- Air horn: short hit layer with filter emphasis
- At least one automation move on either cutoff or drive
- Use Utility to keep the sub mono
- Bar 1: D1, rest, D1, rest
- Bar 2: D1, F1, rest, D1
- Bar 3: C1, rest, D1, A0 or A1
- Bar 4: D1 held slightly longer into the next phrase
- darker
- more distorted
- more chopped
- How to build a clean mono sub
- How to create a wide Reese mid layer
- How to design a horn-like attack layer
- How to use Ableton stock devices to shape tone and aggression
- How to balance, automate, and arrange the bass like a proper DnB producer 🎛️
- clean low end
- wide moving mids
- short rude horn attack
- controlled distortion
- rhythmic space
Ableton Live 12 stock devices are enough for this. We’ll mainly use:
---
2. What you will build
You’ll create a 3-layer bass system:
Layer A: Sub
Layer B: Reese body
Layer C: Air horn hit
Final goal
A bass patch that works for:
---
3. Step-by-step walkthrough
Step 1: Set up the MIDI bass instrument rack
Create a new MIDI track and load an Instrument Rack.
Inside the rack, make three chains:
1. SUB
2. REESE
3. AIR HORN
This lets you balance each element independently, which is crucial in DnB where the low end must stay tight.
---
Step 2: Build the Sub chain
#### Device chain
#### Operator settings
Use Operator for a clean sine:
#### MIDI notes
Write a simple root-note pattern in the lower octave.
For classic jungle, keep it simple and supportive.
Example:
If your bassline is more rolling, add syncopation, but keep the sub clean.
#### EQ Eight
#### Utility
Goal: a stable foundation that doesn’t smear the groove.
---
Step 3: Build the Reese chain
This is the heart of the sound.
#### Device chain
#### Wavetable settings
Use a waveform with harmonic richness:
If you want a more raw oldskool tone, keep the sound simple and let processing create the attitude.
For more movement, add a second oscillator slightly detuned.
#### Filter
- Attack: 0 ms
- Decay: 120–250 ms
- Sustain: low to medium
- Release: short
#### Chorus-Ensemble
This helps create the classic swim of the Reese.
Suggested starting point:
Keep this subtle. Too much chorus destroys center punch.
#### Saturator
Add attitude and harmonic density.
Suggested settings:
If the sound starts getting harsh, reduce drive and use more controlled EQ after it.
#### EQ Eight
Shape the Reese body:
#### Utility
Goal: a wide, rude midrange Reese with controlled low-end.
---
Step 4: Build the Air Horn hit layer
This layer is what gives the system the hit drive feel.
Think short rave stab + bass presence.
#### Device chain
#### Sound source
Use one of these approaches:
##### Option A: Wavetable stab
- Attack: 0 ms
- Decay: 80–180 ms
- Sustain: 0
- Release: short
##### Option B: Operator horn-style stab
- pitch drop from slightly higher pitch down to note pitch over 20–50 ms
#### Auto Filter
- Frequency: 400 Hz to 2.5 kHz
- Resonance: moderate
- Envelope amount: medium
This makes the layer feel like a horn punch instead of a plain synth note.
#### Roar or Overdrive
This is where the aggression comes from.
Roar:
Overdrive:
#### EQ Eight
- Boost lightly around 800 Hz – 2 kHz
#### Drum Buss
Great for turning it into a percussive hit:
#### Utility
Goal: a short, rude horn-like attack that adds urgency and character.
---
Step 5: Balance the three layers
Open the rack chain volumes and balance them like this:
A good starting balance:
Then adjust in context with drums.
In DnB, the bass should work with:
Not in isolation.
---
Step 6: Add movement with automation
The Reese system becomes exciting when the tone evolves over time.
Automate these parameters:
#### Reese filter cutoff
#### Chorus amount
#### Air horn filter frequency
#### Saturator / Roar drive
This makes the bass feel alive instead of static.
---
Step 7: Program a classic jungle / oldskool bassline
Try a 2-bar or 4-bar phrase with space between hits.
#### Example pattern idea
In D minor:
Keep some notes short and some slightly longer.
The air horn hit layer works best on shorter notes or accented notes.
Rhythm tips
---
Step 8: Make it sit in the mix
#### Kick relationship
#### Snare relationship
#### Breaks relationship
#### Master-safe control
Put a Limiter at the end while designing to avoid clipping, but don’t over-limit the character.
---
Step 9: Resample for extra grit
A classic DnB move: resample the bass system.
#### Workflow
1. Solo the bass rack
2. Record to audio
3. Chop the best hits
4. Warp or retrigger them
5. Reprocess with:
- Saturator
- Redux
- Drum Buss
- Auto Filter
This can give you a more sampled, oldskool, chopped-rave feel.
---
4. Common mistakes
1. Making the Reese too wide in the low end
If the sub or low mids are stereo, the bass loses power.
Keep the sub mono and the Reese width controlled.
2. Overdistorting the horn layer
If the air horn becomes harsh or brittle, it stops cutting and starts hurting.
Use saturation to enhance mids, not to obliterate them.
3. Too much low-mid buildup
A lot of Reese sounds get muddy around 200–400 Hz.
Cut this area carefully with EQ Eight.
4. No separation between layers
If all three layers are full-range, you get a cloudy mess.
Each layer should have a job:
5. Bassline too busy
Oldskool DnB energy often comes from phrasing, not constant notes.
Leave space for the drums to talk.
6. Not checking in mono
Your Reese may sound huge in stereo but collapse in mono.
Always check mono compatibility with Utility.
---
5. Pro tips for darker/heavier DnB
Tip 1: Use a darker filter envelope
For a meaner vibe, keep the Reese more closed and let the horn layer provide the bite.
Tip 2: Push saturation in stages
Instead of one huge distortion, use:
This often sounds bigger and less brittle.
Tip 3: Add subtle pitch instability
A tiny bit of detune or oscillator drift adds that classic analog unease.
Tip 4: Use note length as part of the groove
Short notes for horn hits, longer notes for tension.
That contrast is very effective in jungle-style basslines.
Tip 5: Resample and re-chop
This is one of the best ways to get a darker, more authentic DnB texture.
Processing audio instead of only MIDI makes the bass feel more finished.
Tip 6: Layer with a rave stab texture
If the track needs more oldskool attitude, layer the horn hit with a very quiet rave stab or organ-style sample, then high-pass it heavily.
This can push the “air horn” identity even harder.
---
6. Mini practice exercise
Exercise: Build a 4-bar Reese horn system
#### Task
Create a 4-bar loop in Ableton Live using the three-layer rack.
#### Requirements
#### Suggested pattern
Use one key, for example D minor, and build this rhythm:
#### Challenge
Export the bass line as audio and then make a second version:
Compare which one feels more usable in a jungle drop.
---
7. Recap
You’ve now built a Reese system with an air horn hit drive in Ableton Live 12 that fits jungle and oldskool DnB vibes.
What you learned
Core takeaway
For this style, the magic is in the contrast:
If you want, I can also turn this into:
1. a device-by-device Ableton Live 12 rack preset recipe, or
2. a MIDI + automation example for a full 8-bar jungle drop.

